Wammi
Trainmaster
18-ERS-6
Posts: 146
|
Post by Wammi on Jan 11, 2010 15:13:14 GMT -5
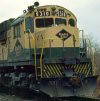
My build of the Milwaukee Road SD10 #550. This will be the first of 3 SD10s. I couldn't find a good photo of the 550 online so here is the 551 as an example.  Photo credit: www.rrpicturearchives.net/showPicture.aspx?id=1569847Here are a couple detail shots of the 543, which has the typical SD10 rebuild details:   Photo credit for the two photos of the 543 above: www.rrpicturearchives.net/locoPicture.aspx?id=95609Locomotive History: Built by EMD as Milwaukee Road SD7 #2217 (10/1953), renumbered to MILW #517. Rebuilt and upgraded to SD10 standards (4/1974) and renumbered to MILW #550. Acquired by SOO through merger (1985). Unit was to become SOO #6109 but never applied. Retired (1/1987), sold to DME, became DME #550, named "Larry Pressler". Sold to Indiana Railroad (1997), became INRD #550. Now stored and out of service. (Credit: www.mountainrailway.com/SOO%20Line%20Roster%20Archive/SOO%206100%20Page.htm ) Our starting point is a Proto 2000 SD7:  I invite you to follow along as we recreate in miniature one of the Milwaukee Road's unique branch line work horses. The SD10 #550. Thanks for looking. -Bob |
|
Wammi
Trainmaster
18-ERS-6
Posts: 146
|
Post by Wammi on Jan 11, 2010 15:14:25 GMT -5
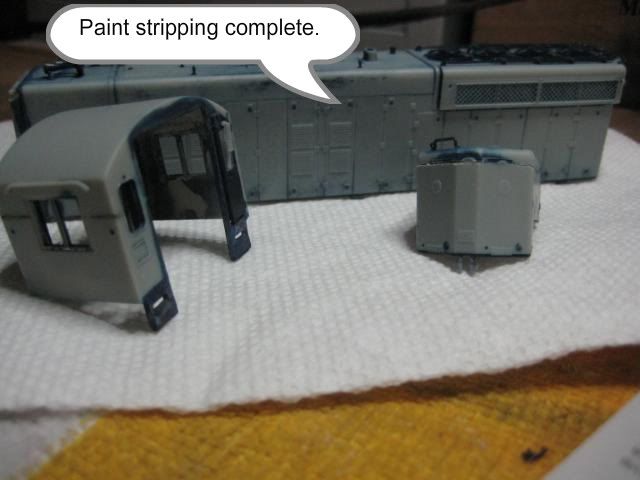
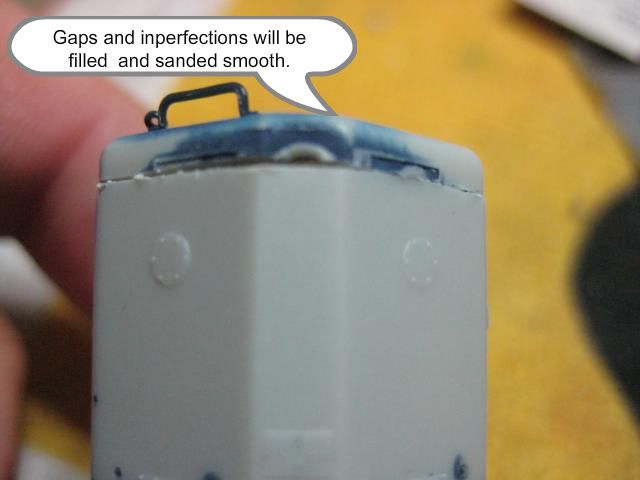
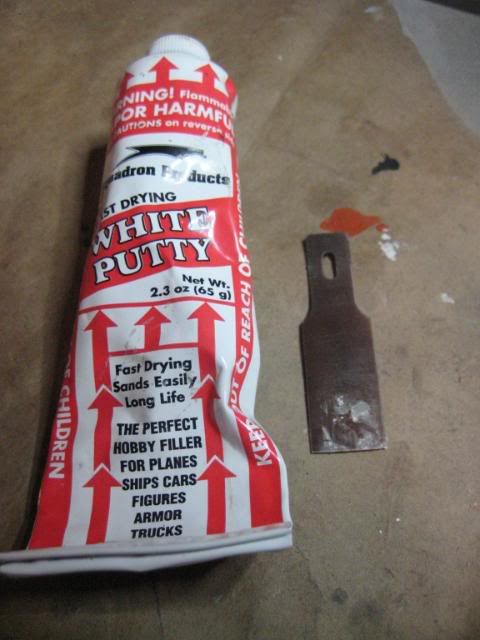
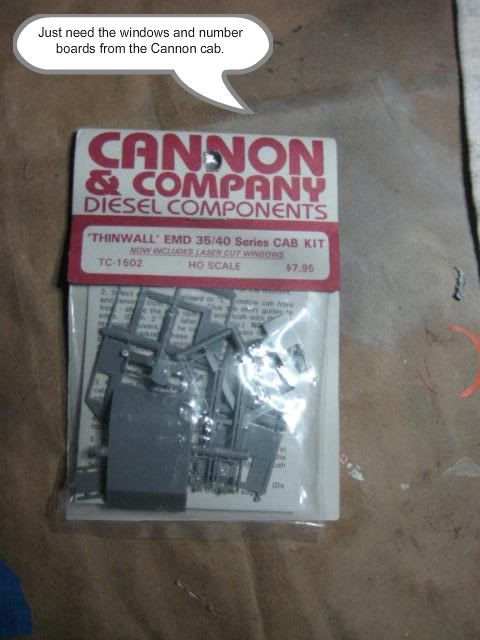
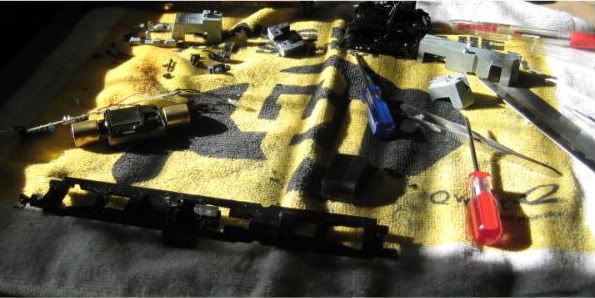
A selection of detail parts to be used. I still have a couple to purchase, but this is the most of them. 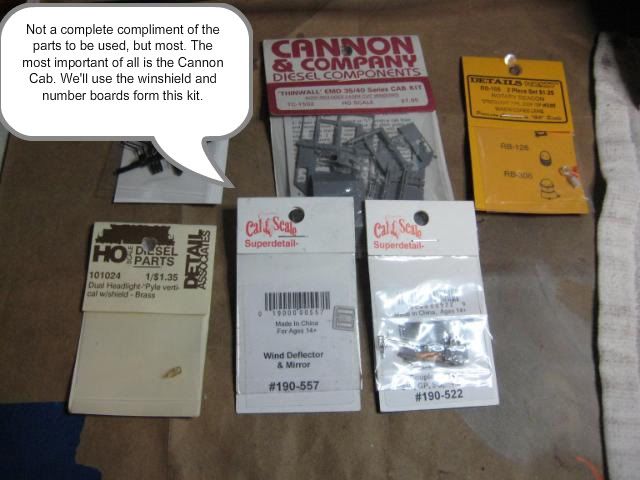 Chemicals to be used. 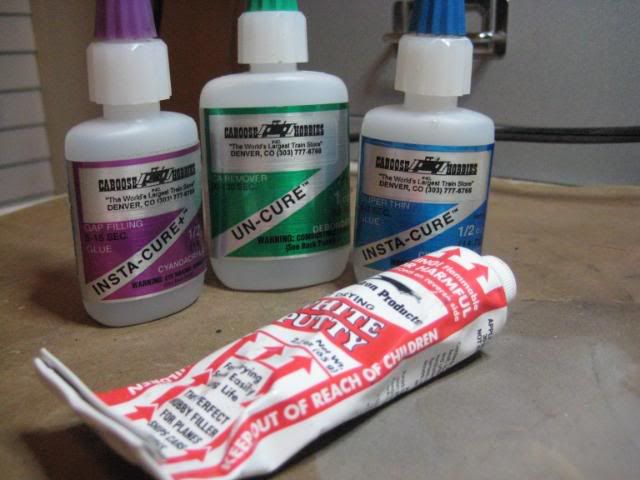 Cuts are made with Exacto razer saws with fine teeth. 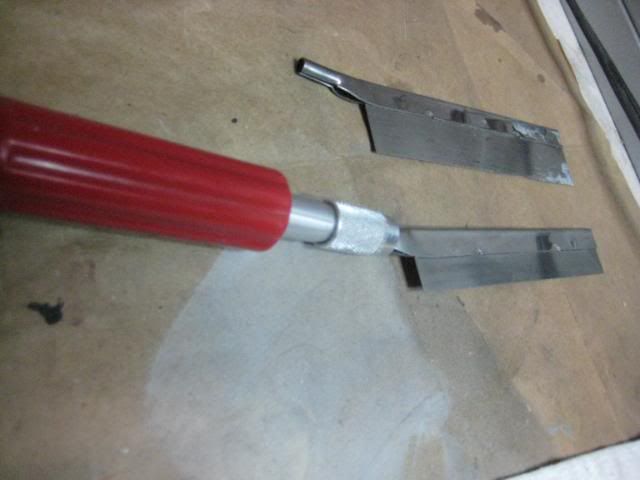 Preparing the shell for disassembly. 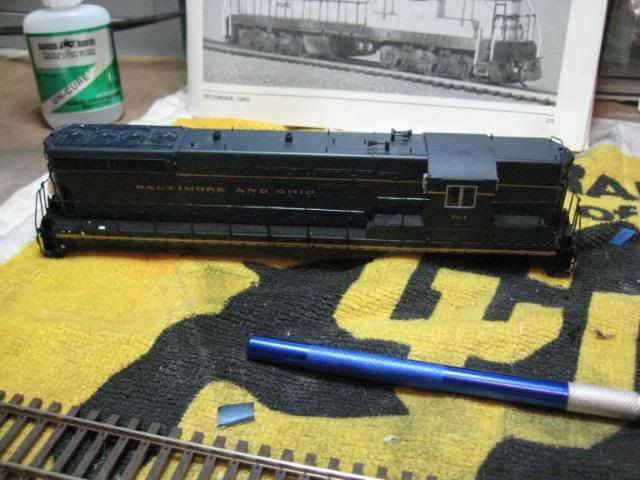 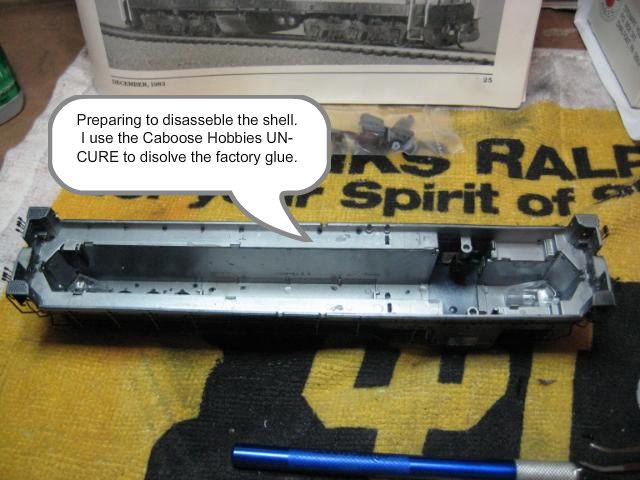 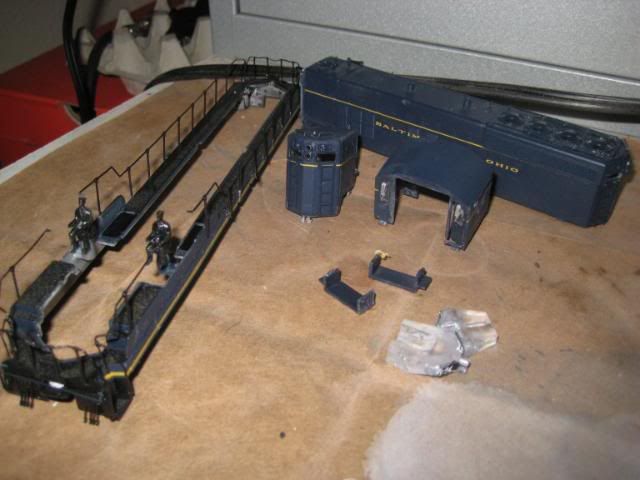 Short hood chop job. 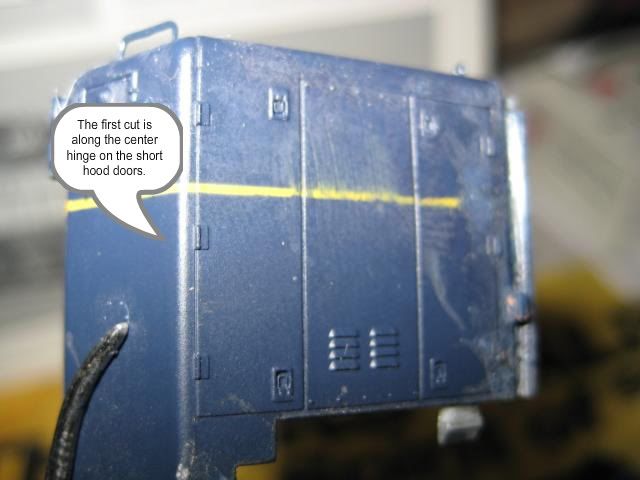 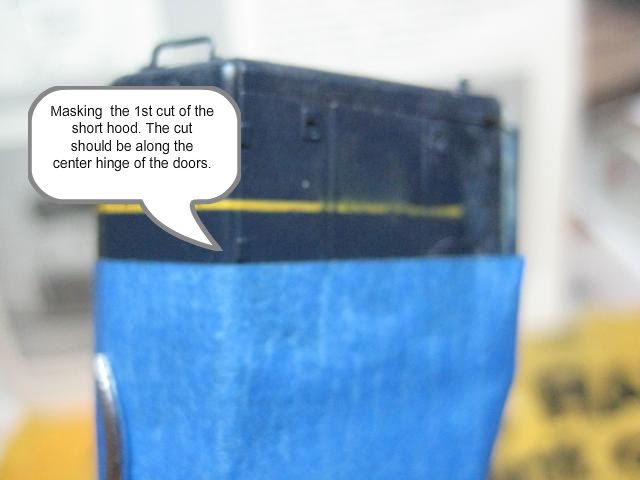 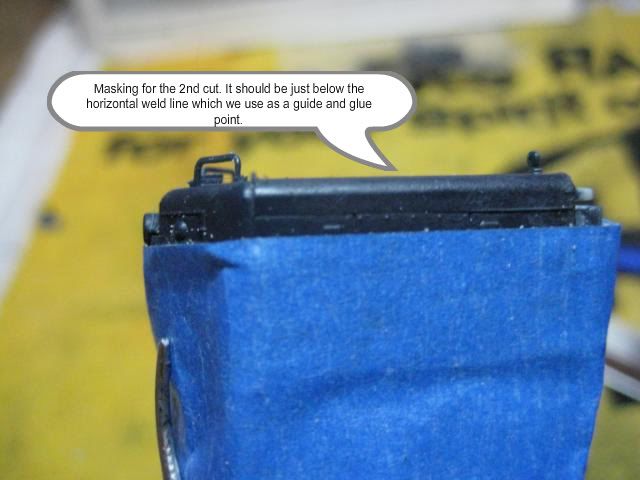 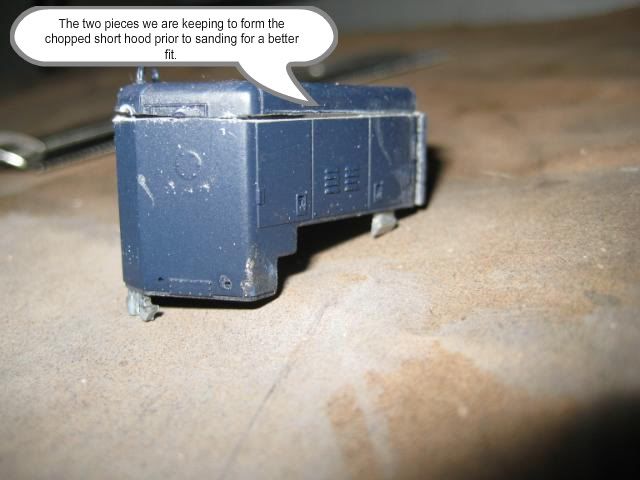 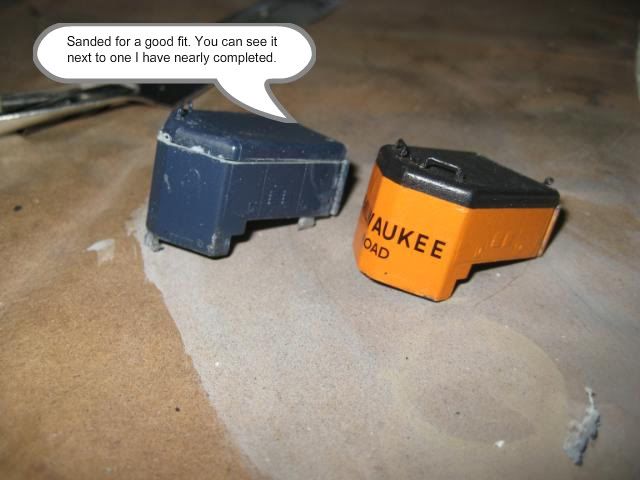 Next we'll strip the shell using isopropyl alcohol. I like to use 99% which works very fast, but takes great care. 70% is a safer option. I'll have to test the 99% on the P2K plastic to insure it is safe to use on it. While we are waiting for the shell to strip, We'll hack the frame to pieces! Thanks for looking! I'm happy to answer any questions. |
|
Wammi
Trainmaster
18-ERS-6
Posts: 146
|
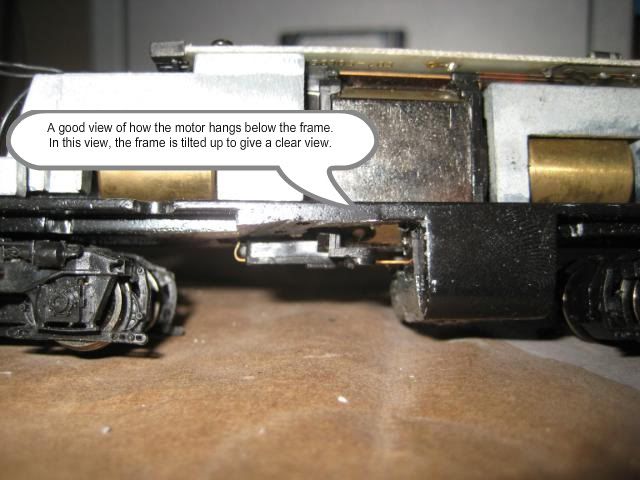
Post by Wammi on Jan 11, 2010 15:15:29 GMT -5
|
|
Wammi
Trainmaster
18-ERS-6
Posts: 146
|
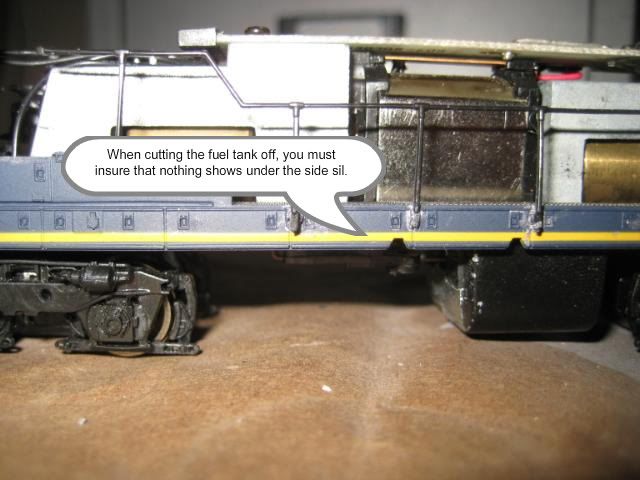
Post by Wammi on Jan 11, 2010 15:16:18 GMT -5
While the unit is completely disassembled, I chopped the weight. Now you don't have to remove as much as I did. You only need to remove enough so the weight will allow the new lowered short hood to fit properly over it. I chose to remove the entire short hood portions for 2 reasons. 1. I was pretty sick of sawing soft metal.  2. Typical operations involving SD10s on the branch lines, Northern Montana Sub in particular, would not require the extra weight in the model. It was common to see 3 SD10s pulling rather short trains. This is especially true just prior to, and after the bankruptcy of 1977. This is the era I model. So, here's a couple pics of the weight chop: 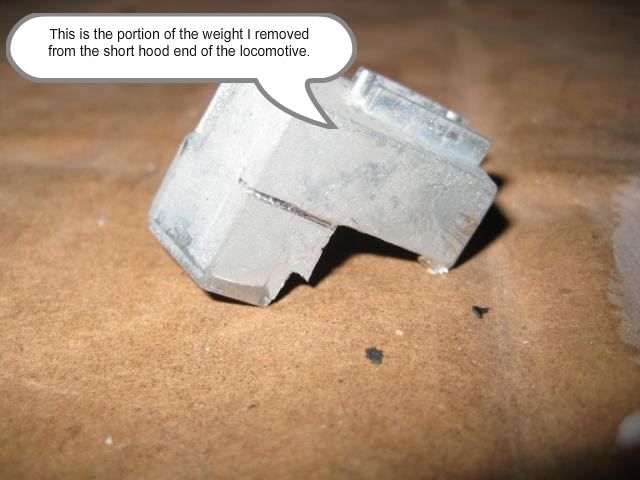 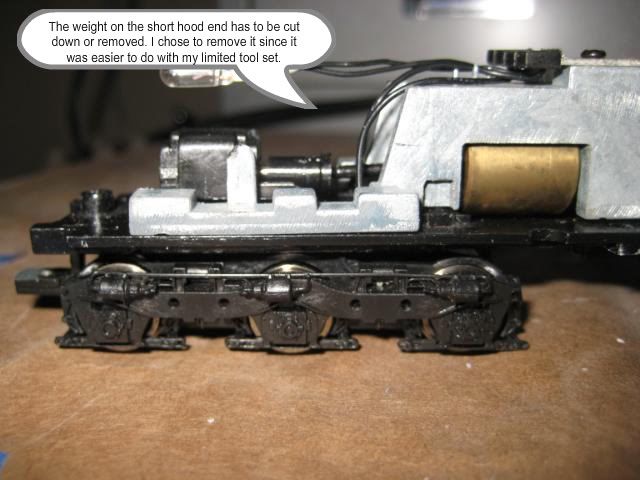 Finally! Enough with the frigg'n razor saw already...  |
|
Wammi
Trainmaster
18-ERS-6
Posts: 146
|
Post by Wammi on Jan 12, 2010 0:12:50 GMT -5
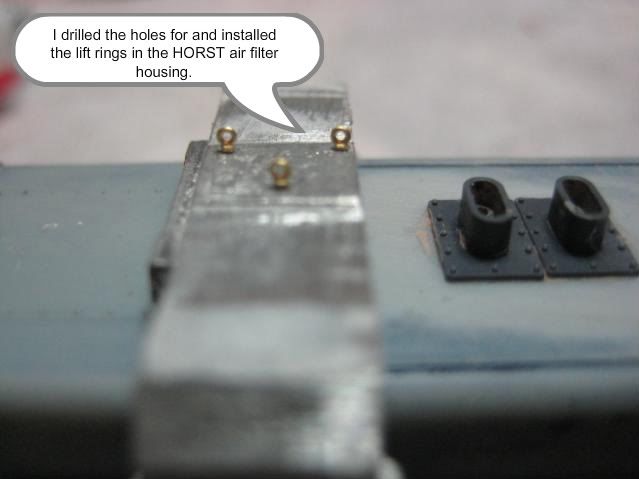
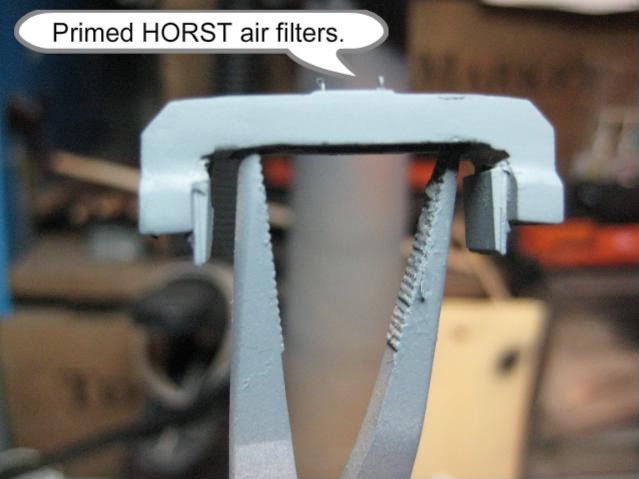
Peir, Details Associates makes the Horst Air filters that you see on the 551. The low profile version I'll have to scratch build when I build up the 558 later on.
|
|
Wammi
Trainmaster
18-ERS-6
Posts: 146
|
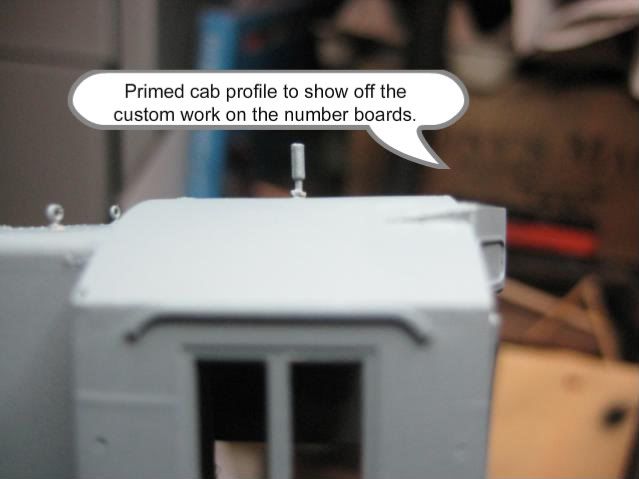
Post by Wammi on Jan 12, 2010 0:13:28 GMT -5
|
|
|
|
Post by gnsteve on Jan 12, 2010 1:51:55 GMT -5
Thanks for slowing your progress to document your detailing steps. There's alot of good stuff here. The Un Cure looks to be just what I need to disassemble some P-2000 shells.
|
|
Wammi
Trainmaster
18-ERS-6
Posts: 146
|
Post by Wammi on Jan 12, 2010 8:52:22 GMT -5
Thanks Steve. Glad you are finding some useful information here.  |
|
|
|
Post by diesel on Jan 16, 2010 0:59:20 GMT -5
Hey Bob,
I don't know if you've already found out, but when you strip the P2k body in alcohol, it usually unglues the body parts if not almost all the way through.
Dan
|
|
|
|
Post by stewarttrains98 on Jan 18, 2010 17:34:48 GMT -5
Very nice step by step. Very interesting model that you are building. Looking forward to seeing more of the unit.
|
|
Wammi
Trainmaster
18-ERS-6
Posts: 146
|
Post by Wammi on Jan 19, 2010 16:22:21 GMT -5
Hey Dan thanks for that tip! I didn't know that. I'll try just the alcohol next time. Thanks Stewarttrains. I appriciate the kind words. The latest update is posted on my web site here: www.agawamsouthern.com/?q=node/80 |
|
|
|
Post by icghogger on Jan 22, 2010 10:48:01 GMT -5
Sun on a Beach, Bob, that is coming together nicely!
|
|
Wammi
Trainmaster
18-ERS-6
Posts: 146
|
Post by Wammi on Jan 22, 2010 13:00:25 GMT -5
|
|
dekon
Staff Member
Posts: 634
|
Post by dekon on Jan 24, 2010 9:34:14 GMT -5
Great job, I really like how you are showing your build step by step.
|
|
Wammi
Trainmaster
18-ERS-6
Posts: 146
|
Post by Wammi on Jan 25, 2010 0:45:21 GMT -5
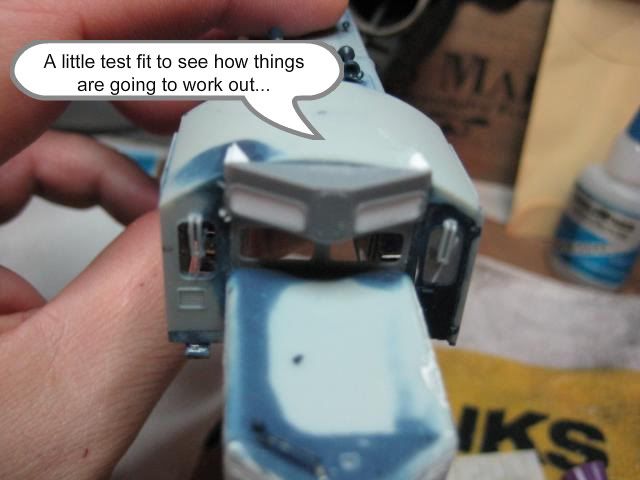
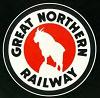
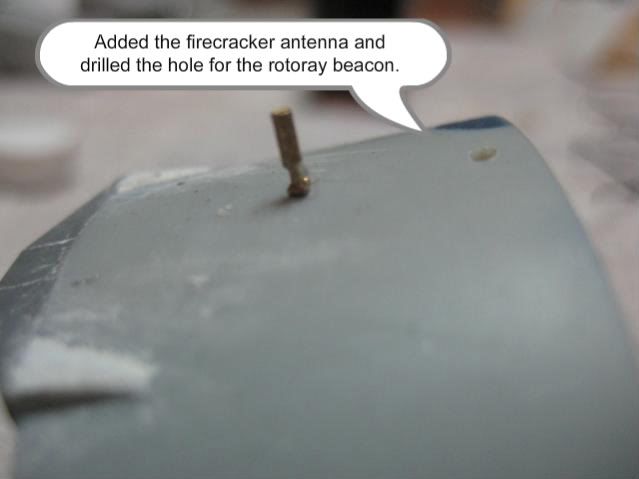
Thanks Peir and Richard. Well, I was busy last night and this morning work on projects. Got quite a bit done on the SD10 build... Working on the frame detials... 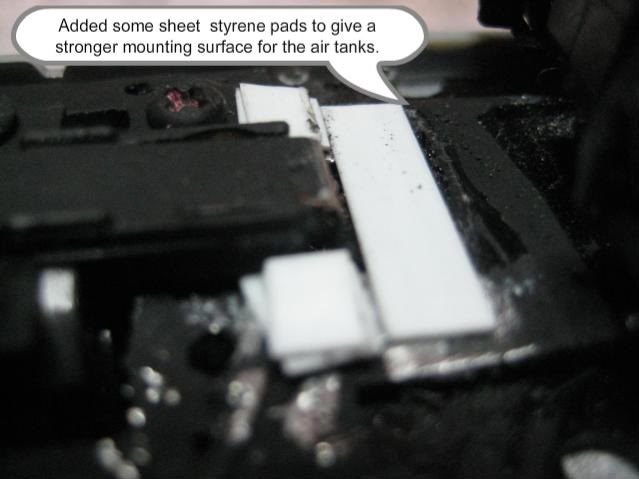   and some work on the pilots... 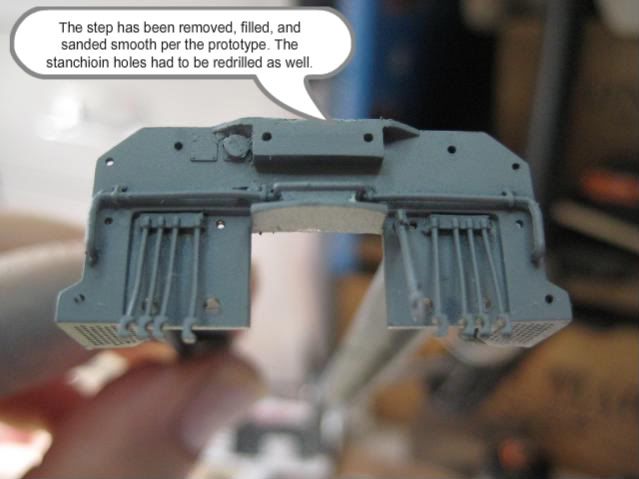 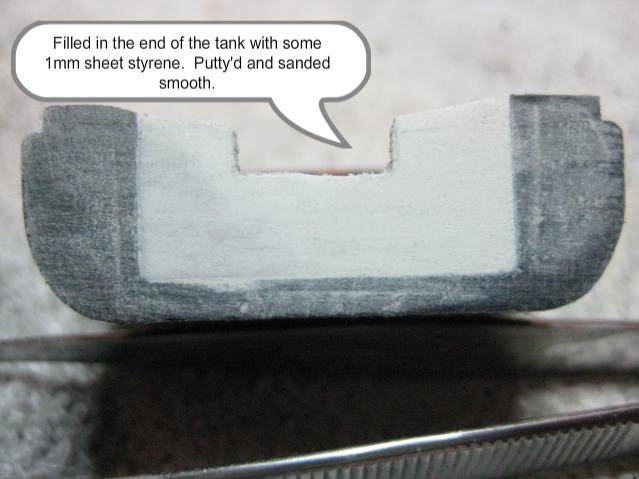 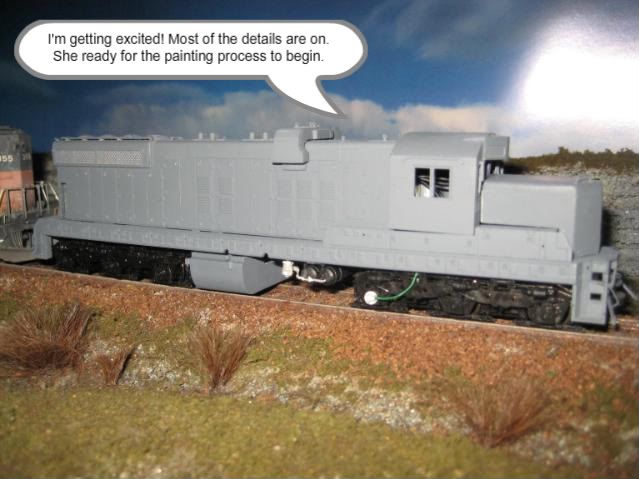 On to some misc. things... 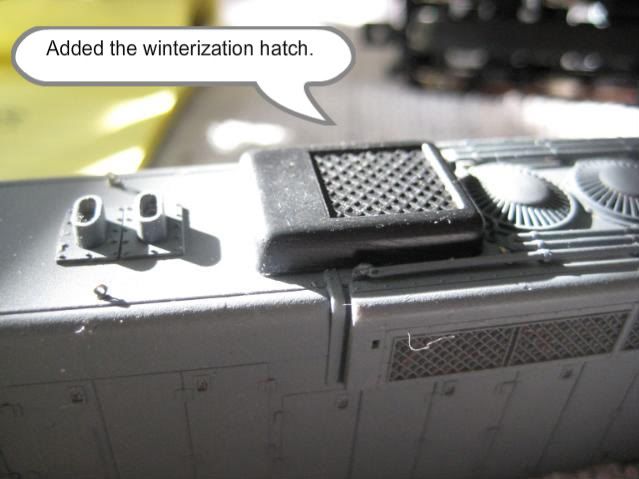 Next I'll begin the painting process... Thanks for reading... |
|
|
|
Post by graftonterminalrr on Jan 25, 2010 10:58:50 GMT -5
That would look TERRIFIC in CP Rail System red   Interesting fuel tank. In all seriousness, now I know what to do with that basket-case Proto SD7 I have lurking in the pars box. |
|
Wammi
Trainmaster
18-ERS-6
Posts: 146
|
Post by Wammi on Jan 25, 2010 12:54:51 GMT -5
Haha... not in a million years in my fleet! It does look sharp in that livery, however.
|
|
|
|
Post by gtw4633 on Jan 25, 2010 13:30:38 GMT -5
I am so glad you posted this. I've been considering building 1 in HO and I've been researching a couple in N. I'm not sure what unit I'll do for HO, but in N, 534 is one of them. there was a couple more that survived into CP and kept their MILW Bandit Job. I was planning on doing all of those for local power on my layout
|
|
Freightrain
Chairman
Modeling CSX from 1995 to present
Posts: 625
|
Post by Freightrain on Jan 25, 2010 16:47:43 GMT -5
Lookin good man!
|
|
|
|
Post by rdg5310 on Jan 26, 2010 11:52:15 GMT -5
Bob, real nice job on this build!  |
|


 2. Typical operations involving SD10s on the branch lines, Northern Montana Sub in particular, would not require the extra weight in the model. It was common to see 3 SD10s pulling rather short trains. This is especially true just prior to, and after the bankruptcy of 1977. This is the era I model.