|
|
Post by justGO on Jan 31, 2015 23:17:16 GMT -5
Here are some more GO Transit engines I've been working on. I put a primer coat on one of the F40PH and the GP40-2. I'm almost finished with the details on them and these will be the first I've ever painted. Any tips before I start? I'm thinking of doing the GP40-2 in separate pieces rather than assembling it. I'll have to be careful painting the grab irons, any suggested methods? thanks in advance.

![]()
|
|
|
|
Post by CP_8530 on Feb 1, 2015 7:06:29 GMT -5
Airbrush or other? Paint brand? If they're the first ones you've ever painted with an airbrush, I'd try a test spray or two on some junk shells to get the hang of it.
Always spray the lighter colours on first, (white) then the darker (green, black). Keep an eye out for coverage, it's easy to miss some of the nooks and crannies like under and around the bell/horn.
I personally prefer painting stuff in separate pieces, but you need to be very careful when you're doing this with colour separation lines (masking the white to spray on the green) or it may not line up when assembled. You can always do the base white colour on each separately, and put it together to mask and spray the green.
|
|
|
|
Post by bnmodeler on Feb 2, 2015 7:59:33 GMT -5
What kind of paint are you going to use?
Looks great so far
|
|
|
|
Post by justGO on Feb 4, 2015 4:04:25 GMT -5
I'll be airbrushing these. I have Scale coat GO green and GO white to paint them. I've got some scrap parts to test my mixture on and I have the Tamiya tape to do the masking. Once I do the main body with the airbrush I'm thinking of doing the black on the nose and other details with a small brush.
|
|
|
|
Post by justGO on Mar 14, 2015 17:12:28 GMT -5
Here's an update on my GO Transit engines. These are the first models I have ever airbrushed so it's been learning experience. All in all I think they are coming out ok. I'm using Scalecoat paint, GO transit Green and white, a little bright for the green in my opinion but I still like it. I have the yellow stripe left to paint, and some tiny touch ups then time to decal. You can see on the GP40-2 where I had to recut the brake wheel depression, I had set the wheel too low and the side stripe intersected it, again a learning experience. Pretty fun though, and the boards have definitely helped keep me going with great advice and insights, thanks


|
|
|
|
Post by slowfreight on Mar 16, 2015 20:47:34 GMT -5
N Scale, right?
They look pretty dang good so far.
|
|
|
|
Post by justGO on Mar 18, 2015 1:54:03 GMT -5
Yep N scale, drives me a little crazy sometimes but I can manage the curve radius better for the space I have. I can have a much larger fleet in N.
|
|
|
|
Post by justGO on Mar 29, 2015 16:08:48 GMT -5
Here's another update on my GO fleet. I have done some more work on the GP40-2w. It's getting close to the decal phase, I have a bunch of small things to start to clean up, around grab irons, end of the steps etc. I think the yellow is a little bit too bright for GO so I am waiting to paint the F40ph details until I can mix a correct yellow. Still not sure if I ma going to weather these or not. Frankly I will just be glad to finish. I like the result of the scale coat paint, but I find it takes a while between colors to dry, which is really drawing this process out a bit time wise. Still I am doing my best to be patient. I would like to have replaced the plastic railings with metal ones but as my first custom engines I think am ok with the look of the plastic ones on this engine. Anyway I'' try to update more as I GO, thanks


|
|
Deleted
Deleted Member
Posts: 0
|
Post by Deleted on Mar 29, 2015 16:15:53 GMT -5
Looking good
|
|
|
|
Post by justGO on Apr 4, 2015 23:45:00 GMT -5
Another update:
Almost finished, I am waiting for my silver paint to come in to do small metallic details around the windows and headlamps. Then I need to drop a little bit of color to make the class light lenses. Does anyone have a good trick to make the paint look like lenses? I'm thinking a gloss red/green/white will do, but not sure if that will look right.
Dealing this thing was enough to make me reconsider the whole "N" scale thing, but I like the way they turned out. these were the first micro set/sol waterslide decals I have done. The logo on front and the numbers were Highball Graphics GP40 decals, and the flag and GOvt of Ontario Transit board decals were some custom ones I had done a while ago. I could use some advice on one of the final steps. On the front view you can see the exposed steps on the side of the engine by the back of the cab. I have the little piece that covers this, I a wondering if I should glue it in place and then glue the body permanently to the walkway. Right now what you see is made up of three pieces just like the Atlas N GP40-s, its the engine shell, walkway and steps with rails, and then outer support which holds it all together. Any thoughts on if I glue this all together? Or should I leave it separate? Thoughts are appreciated.


|
|
|
|
Post by Eccentric_Crank on Apr 5, 2015 3:28:52 GMT -5
A local dollar store had some "stained glass" paints that I've been experimenting with mostly for tinting LEDs.
Your question gives me an idea, if you paint the reflector with AlcladII chrome or similar then dab on some of the stained glass paint. Maybe try it on some scrap plastic first.
I've also had good luck with aluminum foil on light reflectors applied like gold leaf using contact cement for adhesive sizing. Burnish them with a toothpick.
Good luck,
Dan M.
|
|
|
|
Post by iomalley on Apr 5, 2015 8:02:53 GMT -5
I use Tamiya clear red and blue for two of the class lenses, painted over flat medium grey, and I've been experimenting with the clear lense without much luck so far. The red and green (blue) look awesome though.  I've resorted to flat white covered with clear yellow on the clear lense but I'm not happy with it. I'm going to try some of Tamiya's clear smoke over white. The real thing looks smoky when not lit. I don't like the look of MV products lenses as they are too 'shiny' and the green doesn't look right to me, and its impossible to turn all class lites on at the same time, which is what these depict. Plus, the real green looks blue when not lit. Oh, and the $15 you'll spend on lenses for CDN units, something I like to avoid!  On my widecabs, I just paint all of the class lites with gloss black, and with the end of a toothpick, just dab on silver at the 1 o'clock position to represent a lense flare reflection. 
This picture of Ronnie riding the point of 584 coupling on to its frame cars for St. Thomas shows the look that I'm trying to acheive. Subdued, with dark colours. I may have to paint a some bulb and reflector detail on the clear one just to make it look right. The red and blue are blended and darker. trainiax.net/photos/2010/2010-07-02-cn-cp/photo-cn4728-1-2010-07-02-cn.JPG |
|
|
|
Post by justGO on Apr 5, 2015 15:16:33 GMT -5
Thanks guys, this really helps. Originally I had bought some MV lenses to use even though their smallest lenses are not correct for N scale. I think painting is probably the way to go, I might try that stained glass paint, I just worry at the scale it might not thin out right. Perhaps with a tiny piece of foil I their, but we are talking pin head size. It's a shame if I jnew I would abandon the mv lenses I would have drilled smaller class lights but I am finding more and more that detailing is a learn as you go experience. It always seems the next engine will be better than the last.
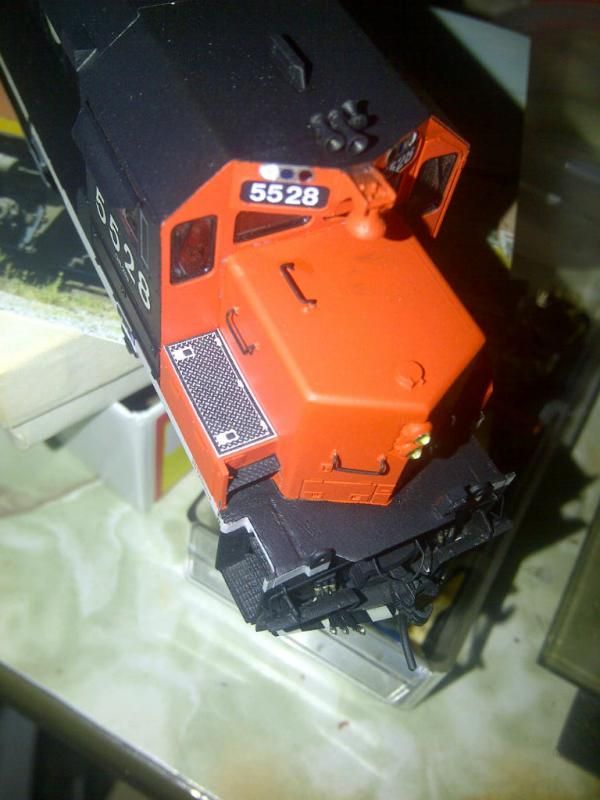
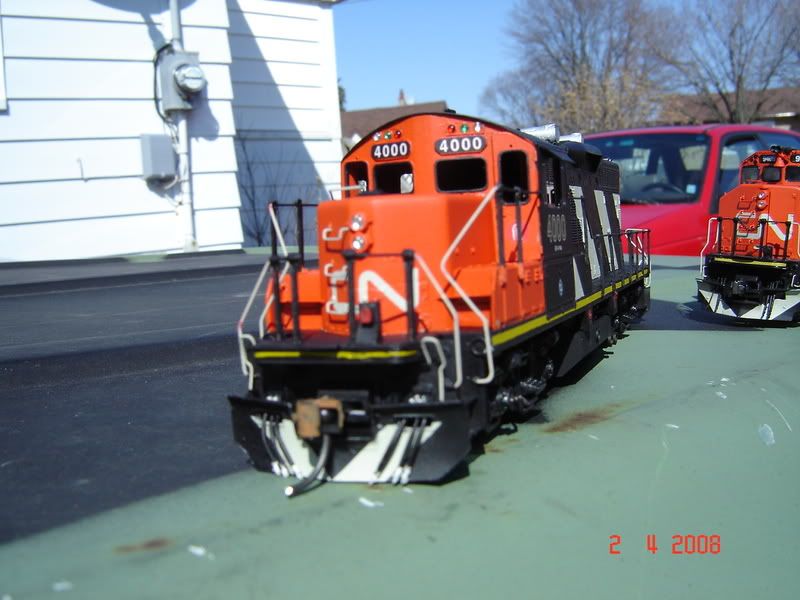
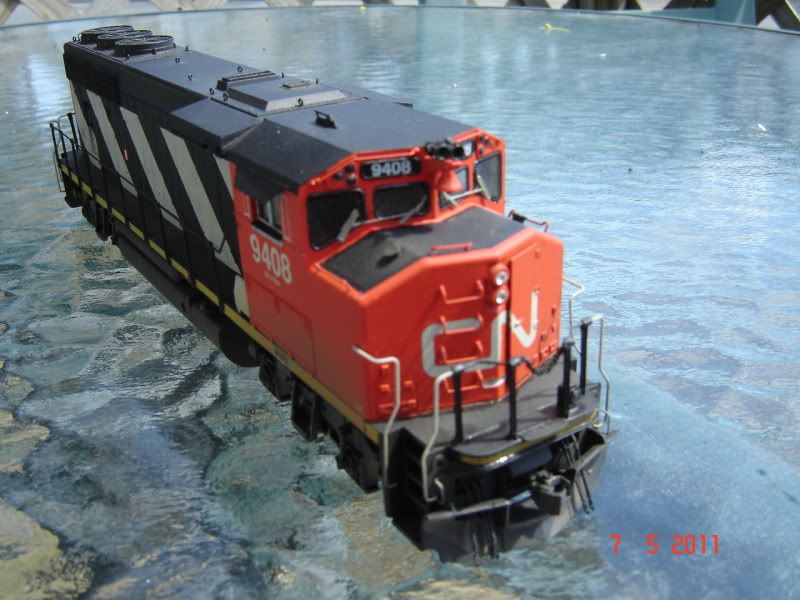
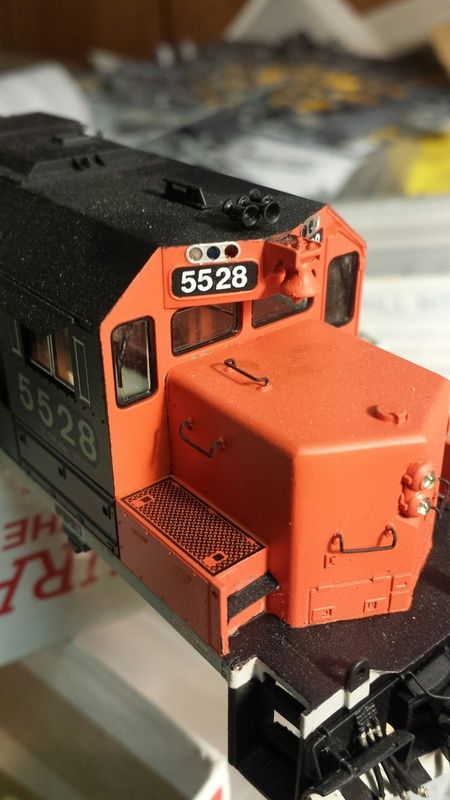
Were re the CN engines posted HO or N? They look great, I always like seeing examples of those engines, Canadian engines have such great paint schemes.
thanks guys.
|
|
|
|
Post by tankcarsrule on Apr 5, 2015 19:45:54 GMT -5
Wonderful craftsmanship!
Regards, Bobby
|
|
|
|
Post by iomalley on Apr 7, 2015 20:28:16 GMT -5
Mr GO, Don't mean to hijack your post, but I think I finally figured out how to paint non-lit class lights... Just picked up some Tamiya clear smoke today...  The Red and Green are Tamiya clear red and clear blue painted over UP Harbor grey. The clear lense is Tamiya smoke clear painted over CN grey (cuz the bottles open alot) white would work too. |
|
|
|
Post by justGO on Apr 10, 2015 23:12:14 GMT -5
tomalley thats some great advice! I'll try picking up some Tamiya paint and give it a shot! Thanks for posting your results helps to see the pics. When I get something on the engine I'll post the result.
thanks!
|
|
|
|
Post by justGO on May 7, 2015 3:23:33 GMT -5
Almost there... finally made the rest of the grabs for the F40PH's. I will be adding the decals to them soon and my project will almost be over. I was wondering if I could get some advice on the final steps. Once I have done the decals I want to put a clear on the engines. The paint I used is Scalecoat 1 and 2. The Green and White are scale coat 1, the yellow and black is scale coat 2. I have some scale coat clear gloss, and matte, I was thinking of mixing them and making a semigloss, however the gloss and flat I have are a little old and look yellowish in the bottle. Does scale coat clear yellow? I was wondering how well an off the shelf rattle can like Tamiya flat clear or satin clear would work? The Tamiya primer goes on nicely does it yellow? Anyway I guess I'm looking for some clear coat recommendations, and something that will go well over the scale coat? Any suggestions are appreciated. thanks


|
|
|
|
Post by iomalley on May 7, 2015 7:29:54 GMT -5
George's trains has a new line of acrylic paints, one of which is called Haze and it looks like a sheen. Might be what you are looking for.
Provided your paint is 100% cured, the acrylics won't hurt the finish.
Oh, I read your post again, you're looking for a rattle can alternative. I'd use Testors for dullcote or gloss. Their dullcote is the best IMHO, lots of talc that will knock down any shine and won't hurt decals. The gloss is not super shiny and is more like a semi. I'd test on another shell first though to see if its the desired effect.
|
|
|
|
Post by tjmfishing on May 7, 2015 16:50:28 GMT -5
I've had good luck with future furniture polish as a gloss. I spray it on, then decal, then spray another coat and finally dullcote it.
|
|
|
|
Post by justGO on May 10, 2015 19:16:09 GMT -5
My GO fleet is slowly growing. I got the decals on one of the F40PH units today. Still waiting for my aluminum paint to come in so I can finish the mall details. The class lights also need painted. Here are the four units I've been working on, I have one more F40ph and two kasha F59PH that still need some paint and details.
Closer look at the F40PH with my GP40-2w lurking in the BG, the F59PH in the pictures was a total kit bash of an Athearn F59PHI and an Atlas SD60w I think, I can't remember now. It came out ok, but it was my first ever build so the details are not as crisp as I would like. These are all my first attempts at detailing and kit bashing. The F40PH and GP40 are the first attempts at airbrushing. I think I went a little heavy on the coats but it still looks good I think.


|
|