|
|
Post by ironstef70 on Jan 20, 2015 20:17:20 GMT -5
It's been a couple weeks I got started with that project and seeing Artur's project, mine probably won't have the same amount of details under the frame due to the concept I opted for. My plan is to make prototype CN 274 using a brass shell, Athearn motor/trucks, custom built a solid steel frame that I will eventually insulate, and add a DCC decoder for the lights if I can find the room. Otherwise, I will simply wire it to it's mother: Proto 2000 #7257 that I am also currently rebuiding into CN GP9rm #7229. As you can see, my first plan was to use the readily available brass frame, but I hated the round edge and figured out that the stanchions were not looking good enough either. I found some from Details West and opted for redoing the frame entirely. Here are a few pictures of the progress: CN 274 ![]()  Getting started ![]()  [/img] ![]()  [/img]  [img src=" [img src="" style="max-width:100%;"] I don't have pictures available yet, but first assembly fit shows the motor being off the bottom of the frame by 3/16", whic I will likely try hiding with the air tank and pipe works, hopefully. Still, my goal was to have a decent detailing above the frame and being able to built a strong and heavy yard tool. But with little chance, maybe the bottom will also look OK, especially since it is all black. Maybe if I paint the base of the electric motor matte black and I weather and dust every other details of the frame it will be sufficient to hide it. Well, we'll see... Stephane |
|
|
|
Post by PVRR 2647 on Jan 21, 2015 20:03:18 GMT -5
Stephane~
I see this build and I am at a loss for words. I mean that I a good way though. The world of brass models is something that I am in awe of. Please share this build with us. I only have little experience with plastic models, and would love to see the process involved in making a brass model.
PVRR2647
|
|
|
|
Post by ironstef70 on Jan 21, 2015 20:57:28 GMT -5
I sure will. That hobby allows for so many possibilities given the time and patience you have. I am still in a learning phase with brass, so as to install lights and decoders but I am picking up.... I used to do lots of stuff with epoxy resin. Part of this project such as gluing the stanchions, electric motor and trucks supports to the steel frame will require epoxy. But yes, I do love brass and I am the happy owner of a couple of brass cars and a nice Overland Dash-8 CW. I intend to paint and convert it to DCC eventually, but for now, I rather want to make sure that I go higher in my learning curve with brass welding and elecrical jobs.
Thanks for the nice comment. I am new here, but the more I browwse on it, the more I figure out that forum is a must see for HO diesel fans.
S.
|
|
|
|
Post by PVRR 2647 on Feb 8, 2015 19:39:36 GMT -5
Stephane~
I am curious how are you making out on this build? I look forward to seeing any progress that you have made.
PVRR2647
|
|
|
|
Post by ironstef70 on Feb 8, 2015 20:31:44 GMT -5
I am moving slowly on this project, but I am also working on the home layout doing a grain elevator. Still, here are a few more pictures. The frame is made out of a piece of 1/8" Solid steel. Looks beaten on pic#1 but it had to be, as I had to bend the center part downwards where the motor will squeeze-in, then file it so it fits right in. It's been polished since. Two rubber pads will hold it in place so it is insulated, and I will eventually add a few epoxy drops once everything passes the test drive. Most other parts are made of brass or die cast metal but had to be modified to fit in the frame. I even had to grind the electric motor brass counterweights to a conic shape so they don't get in the way of the trucks. We are talking about limited space here... The paint is just a base layer applied with brushes so I can figure out defects that need to be re-polished, and also validate the color match on these different metal surfaces since I am doing the mixing of the colors myself. The final layer will be made using an airbrush, with oil based paint. I like scratch building as much as I can, kinda like grandma doing her meat pies  So far, everything fiits in the cab!!! But to the expense of seeing the motor by 1/8" below the bottom frame, as expected. It certainly won't look as sharp as Artur's project, which is a valuable inspiration to whoever is building a slug, in my opinion, but let's hope mine still looks professionnal is as functionnal as I want it to be. My apologies for the poor quality of my pictures. I will do better as the project progresses and take it at daylight. Next step will be finding those plastic universal joints (likely at my RR club) and add the decoder so I can make a test run before adding the handrails, rework the ends, add ditchlights, add details to the frame (air tank, pipes...) complete paint and add decals, and add some light weathering (more or less a few rusty spots on the cab, surface rust on the trucks and wheels, then road dust on trucks and frame. 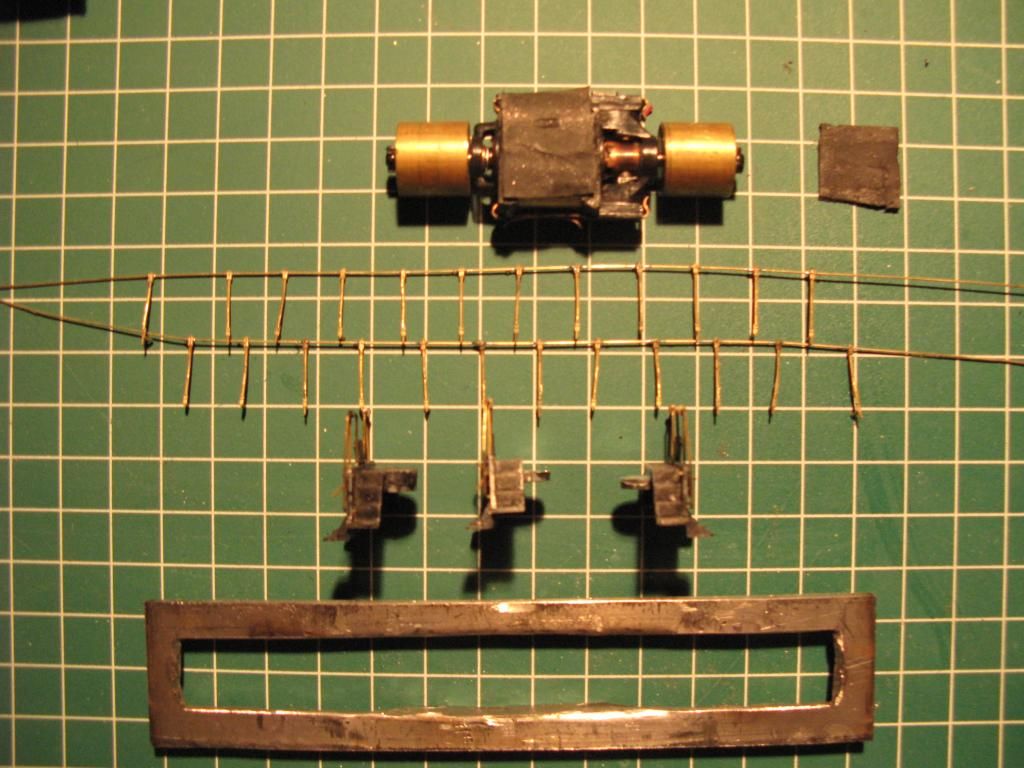 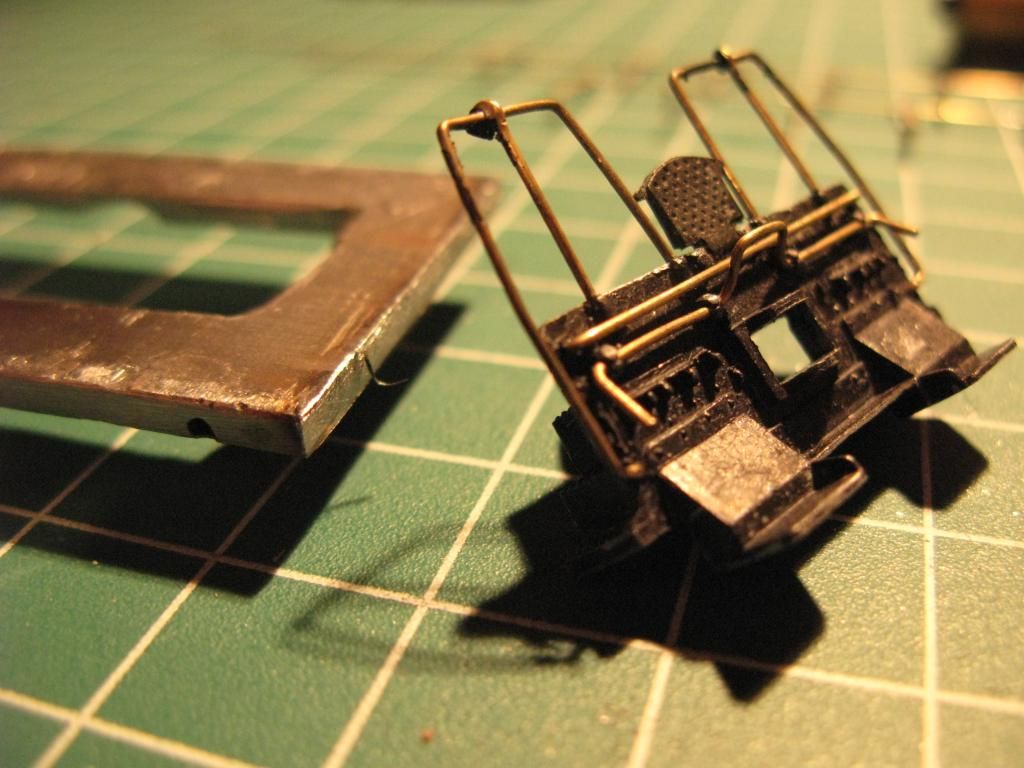 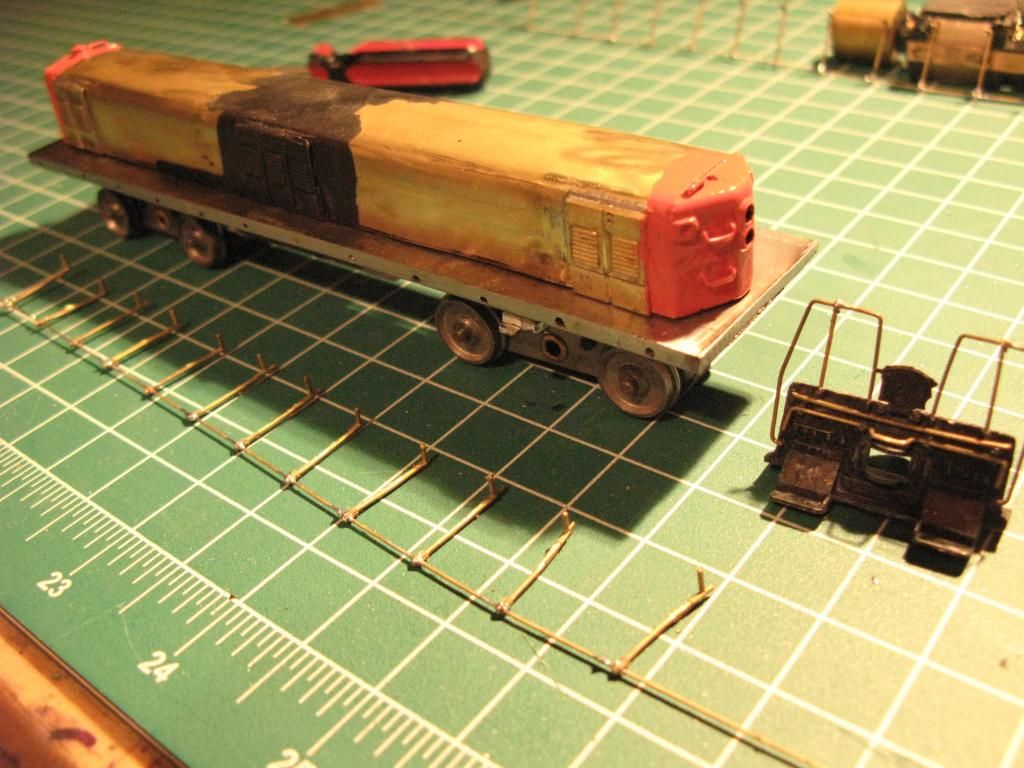 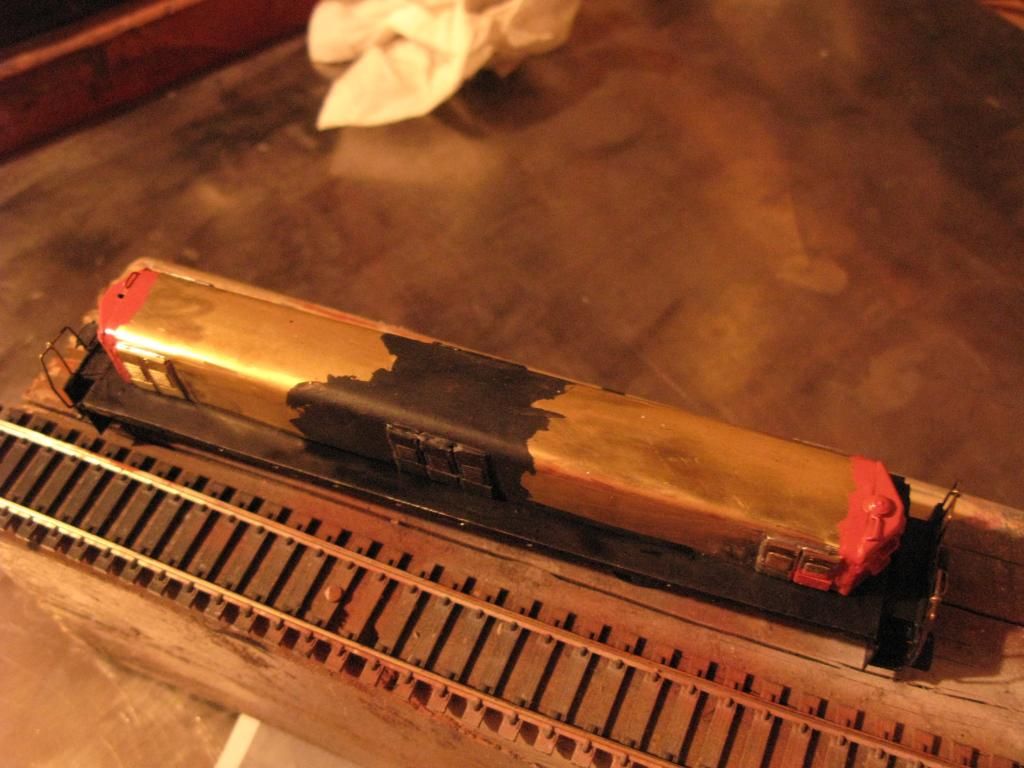 S. |
|
|
|
Post by PVRR 2647 on Feb 9, 2015 20:36:04 GMT -5
Stephane~
This is turning out to be quite an impressive build. I hope that your roadbed and track profile are up to handling the weight of this slug. I bet that it will pull very well too.
Regards,
PVRR2647
|
|
|
|
Post by ironstef70 on Feb 10, 2015 13:16:12 GMT -5
Stephane~ This is turning out to be quite an impressive build. I hope that your roadbed and track profile are up to handling the weight of this slug. I bet that it will pull very well too. Regards, PVRR2647 Weight reallyn isn`t a concern on my layout. I did not go by the conventional ways for building it, using sheets of foam and cork road bed as it usually is the norm.
My layout is made out of a 5/8" oak plywood over which I glued and stapled a 1/8" cork flooring underlayment. I then added cork roadbed as I "validated" the layout tracks and switches locations. I then soldered the tracks and switches by sections over the roadbeds so I can be sure that they are accurately positionned. Then, using two different types of sand, I made some grout with a mixing of approximately 70% carpenter white glue / 30% water (this allow for some flexibility and prevents cracks rather than using regular tile grout) that I laid over the cork bed. I then simply dip the soldered sections over it and leave it dry overnight. I used a very fine sand for that, and used the second type as ballast, both of them being the same color. I validated the ballast dimensions (approx 1.5mm in 1:87 scale) with three samples of ballasts found on different RR sections in province of Québec (ballast rocks were 2-3 inches in size). My work requires frequent travelling which allows me to make lots of railfanning observations too. Once I laid the rails over the grout, I level the roads using toothpicks or coffee sticks. Actually two large curved sections of my layout also have an inclination of about 5 degrees just like the real scale roads, which that grout technique allows for making. I sure had to make corrections once completed (the hard way: hammer and wood scissor) and it is a tougher way to make it but I could probably walk over it without any problem. I then lay the ballast over it by applying white glue wherever I want the ballast to bond, drop the ballast over the roads, then use a vaccuum cleaner the following day (with an empty bag so I can recuperate the sand). I must have used half of a 5 gallons pan for the whole layout. Then, whenever I add a building or scenic section (lake, field, forest patch or whatever), I build those over 3 ply 1/4" plywood sections and I remove the cork underlay (using a sharp tool around the edges of the plywood scenic sections). All these sections could be removed if I ever move the layout in another home one day or just sell it. Or then I could even make donations to my local RR club  . .
But yeah, I too hope it makes a great puller, along with one or two GP9RMs.
Stephane
|
|
|
|
Post by ironstef70 on Mar 7, 2015 20:28:32 GMT -5
I've been awaiy from my workshop for a while due to work, but back to the bench. I am currently waiting for driveshafts from Athearn (bluebox) that I will assemble and cut to size so they fit in my drivetrain. They should be in the mailbox late next week. Never mind the aligment; the motor is just supported by rubber pads. I am even unsure if it will ever be glued. The frame is stiff enough so that it can squeeze it in place without gluing. Track time will determine how it goes and if that is required. Since I've tapered the counterweights myself, I also want to figure out the vibrations and if it does require another one. I am in the process of doing the etched walkways (brass, will glue over steel frame with epoxy), then painting the cab and doing decals. Hoping to complete the project within the next 6 weeks or so. I've been putting components on the scale recently and the slug should weight sligthly below the 400 grams mark finished. Once paired to one or two 4 axels locos, it will give some good pulling power in the yard. Stephane 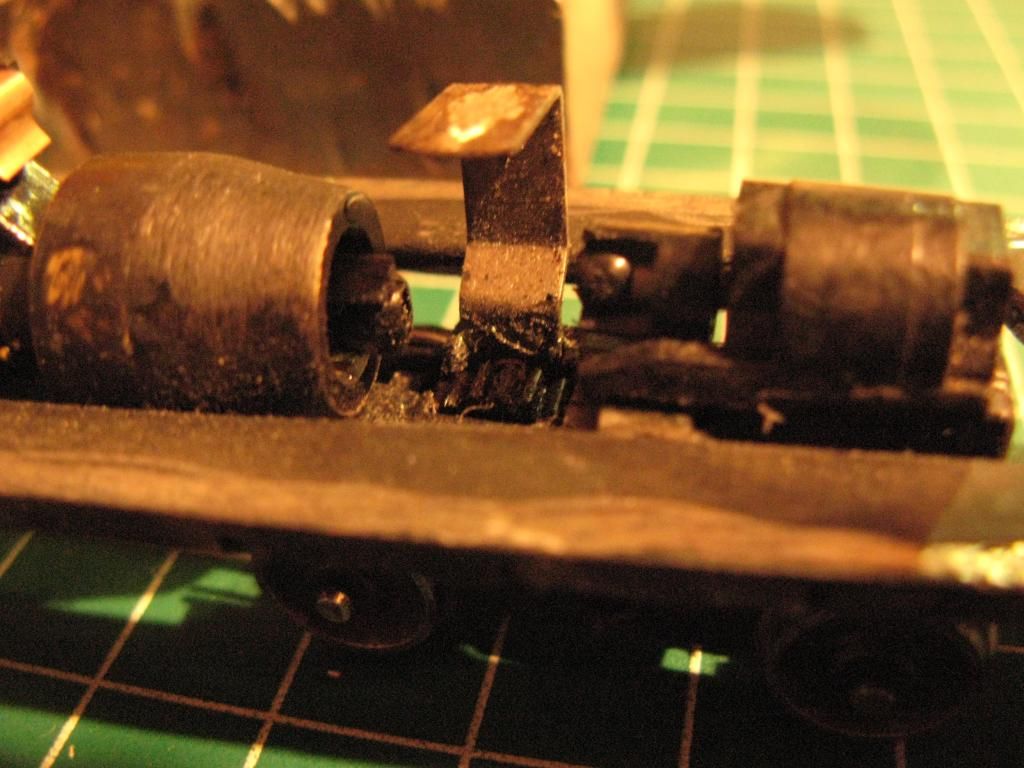 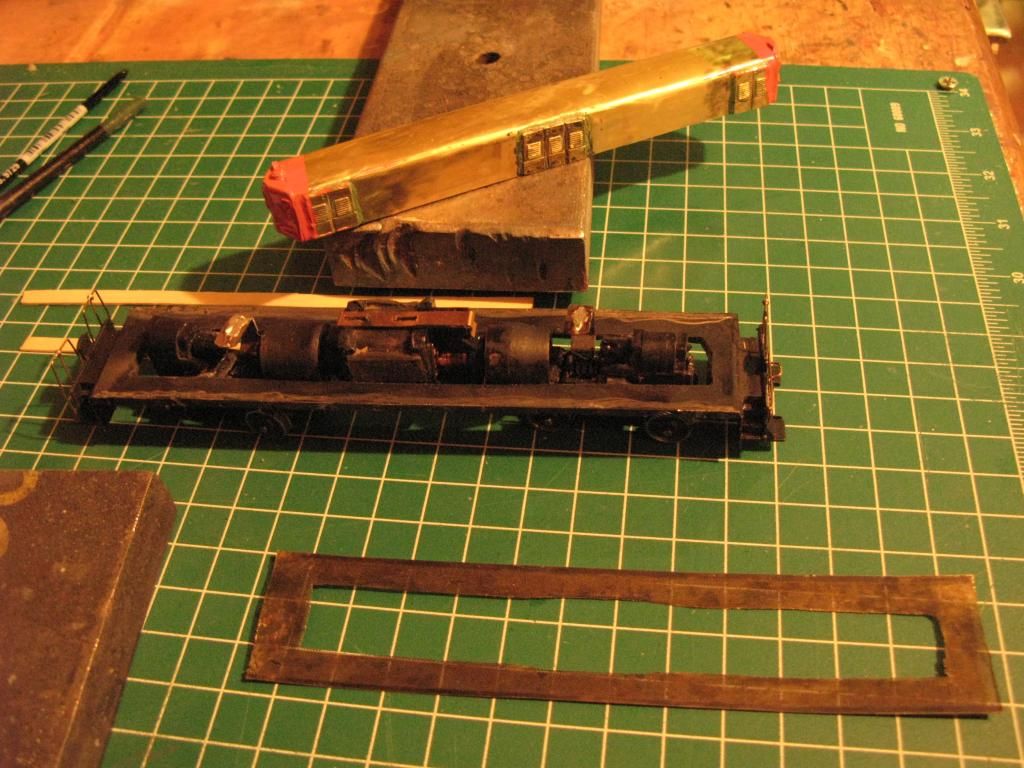 |
|
|
|
Post by PVRR 2647 on Mar 8, 2015 11:57:22 GMT -5
Stephane~
Looks like you are working at about the same pace that I am on my Rd Slug and Mother set. I just don't ever seem to have the time. I figure that I will get mine finished by late May if I'm lucky. Keep us posted on your progress.
PVRR2647
|
|
|
|
Post by ironstef70 on Mar 8, 2015 18:16:28 GMT -5
Today, I've done the walkways (sides; pilots floor will be made out of the remant piece pictured in pic#2). Fancy gluing setup here: 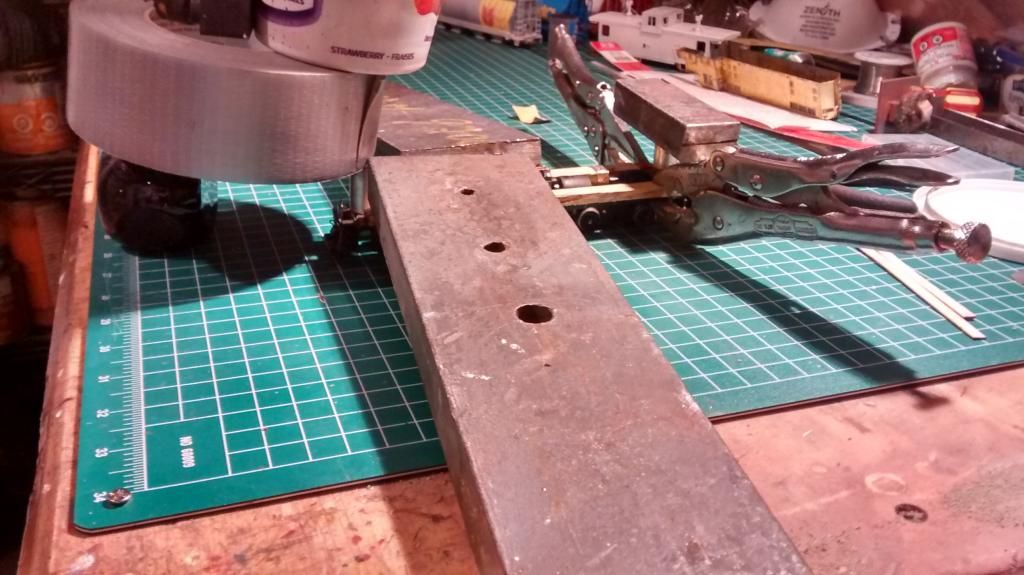 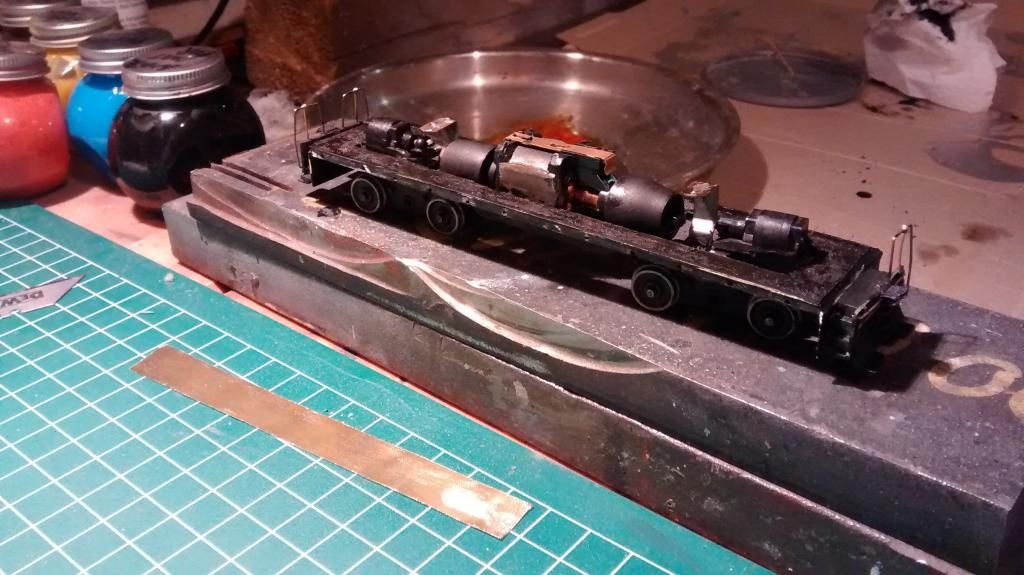 Green putty is of great help on this project. By the smell and texture, it reminds me Lepage's Plastic Wood. I wouldn't be surprised if it was the same composite, and I may eventually give it a try just for comparison... 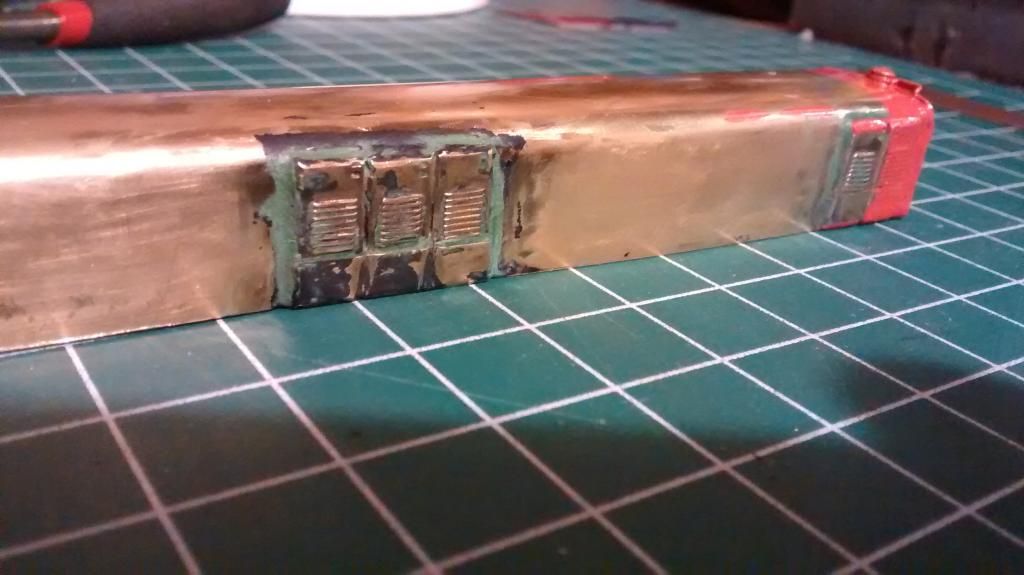 S. |
|
|
|
Post by Milwaukee Road 513 on Mar 9, 2015 6:09:26 GMT -5
Looking good mate!
|
|
|
|
Post by ironstef70 on Mar 15, 2015 19:25:00 GMT -5
This weekend's works consisted of gluing the pilot floor etched boards (I used 1/64 diamond brass sheets form K&S Engineering, shaped with Dremel cutting discs, gluded with thin layer of epoxy), and connecting the drive shafts, re-gluing back the fallen pilot handrail, and completing the detailing of the cab. I also painted the floors and handrails. I've just installed them in the frame's holes so I can see what they look like, but I will add decals to the frame before gluing them (using epoxy: brass to steel). 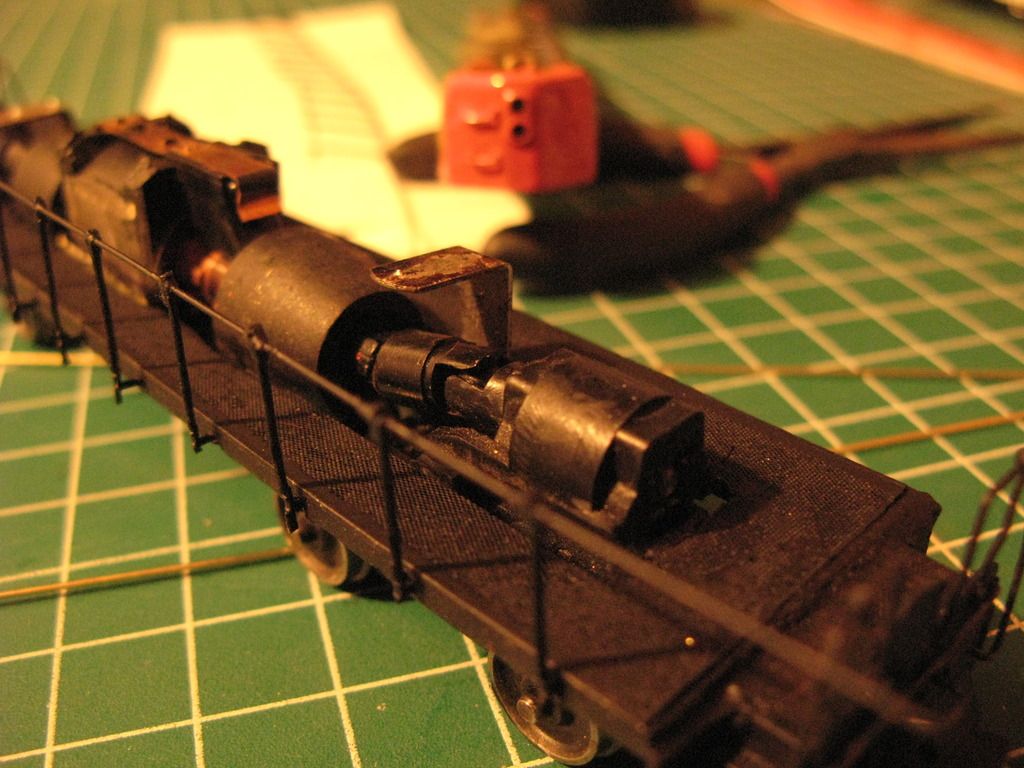 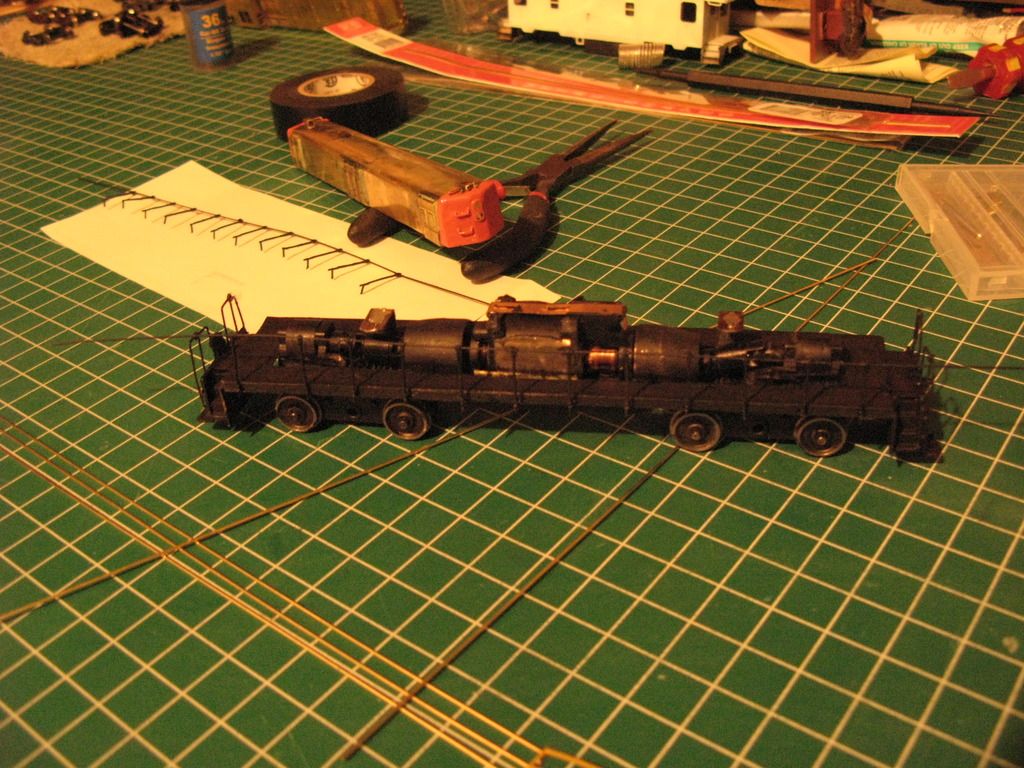 I'm satisfied with the driveshaft's angles, as it was one of the major concerns. Now I will build the pilot bumpers (by shaping epoxy), add ditch lights and decoder before I start doing the handrail job, and glue the motor in position. I must do a test ride first. Once this done, I will airbrush the cab, add decals, then clear coat. A connaisseur's eye will notice that the pilot's aligment should not have a step going to the frame floor. That was the downfall of using a steel frame and trying to fit in an Athean motor and drivetrain inside. I usually would not be satisfied with that setup (this is my very first scratch built project in HO scale, but I did several in 1:50 and I have no problem starting over 5-6 times a step of a given project to make it up to my expectations), but I opted for function over fashion. Still, I won't be cutting short on details whenever possible, no matter how long it takes, and I do intend to detail the air line and underframe. Stephane |
|
|
|
Post by ironstef70 on Mar 15, 2015 20:42:51 GMT -5
 Thanks. I do have competition on this forum for sure, and I am delighted by the professionalism and dedication shown here. It's mainly what motivated me to register as a member. Part of the hobby I like is the possibility of sharing techniques and learning about new tricks as well. Stephane
|
|
|
|
Post by c420highhood on Mar 22, 2015 8:17:34 GMT -5
this is an awesome thread, nice work!
|
|
|
|
Post by ironstef70 on Mar 27, 2015 19:03:42 GMT -5
Well I figured out that the trucks are not properly aligned so I am going backwards and ungluing them then rebuild. Good news is that the cab paint in on it's way; will post pictures later. In the meantime, I needed a break from this project since it is going slow, so I got started with some brass works. I like working on brass (and other metals actually) so much; it's like comfort food to me, but without the trans fats.  See Mammoet brass caboose in another tread in this section... Stephane |
|
|
|
Post by ironstef70 on Apr 3, 2015 19:15:38 GMT -5
OK, now moving on. Big weekend as I solved two issues: the red paint consistency and the trucks vertical aligment. I've rebuilt the trucks, re-assembled the motor and glued it. Then I painted the cab, did the decals job and applied clear coat. I finally glued the stanchions. 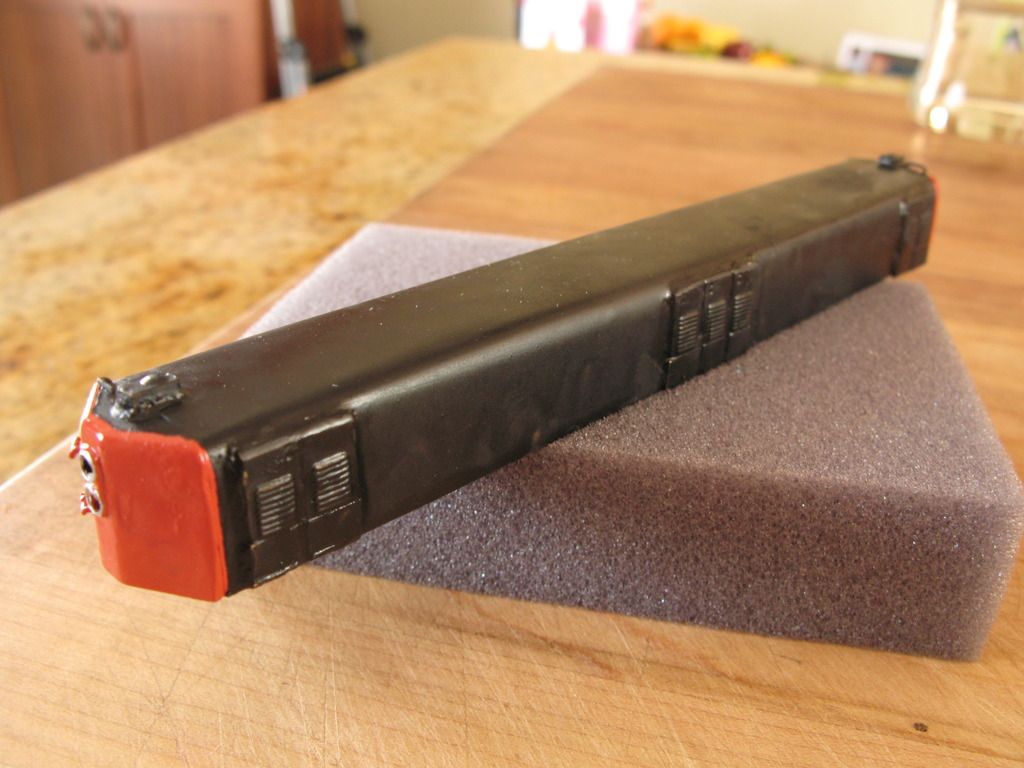 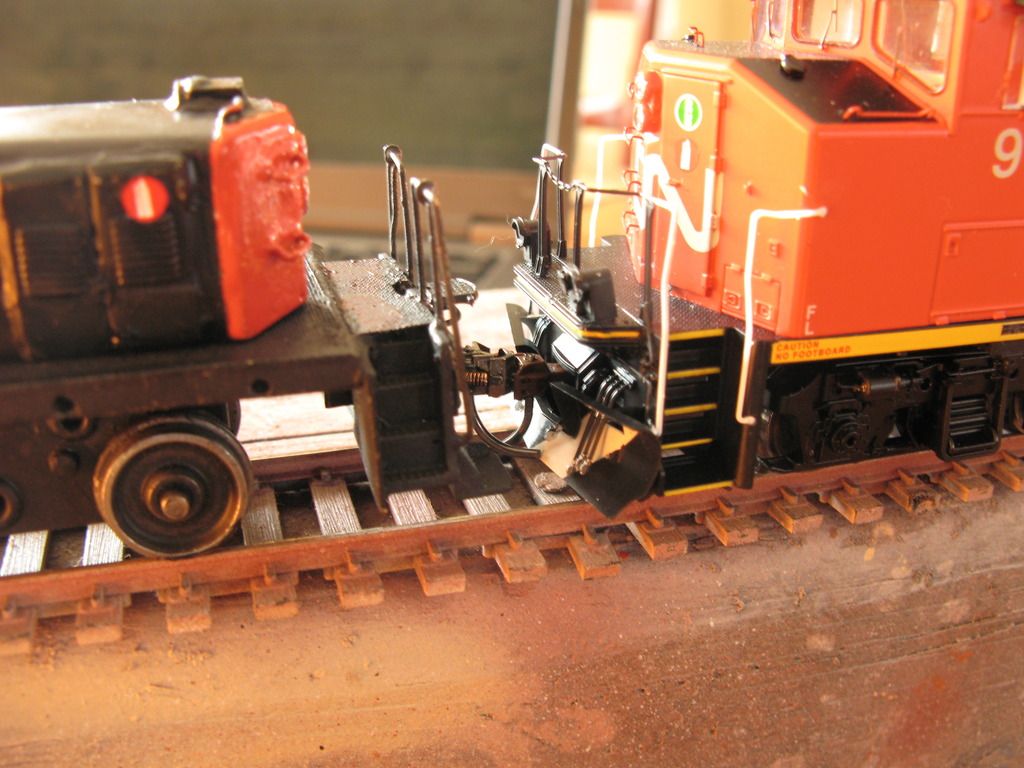 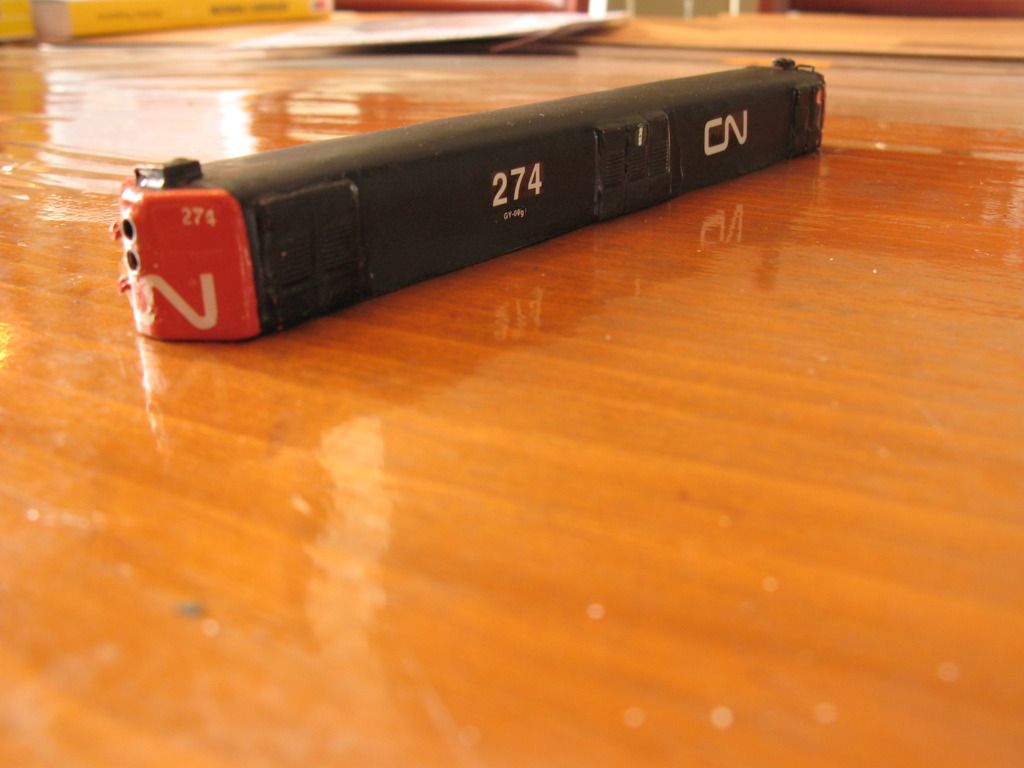 Gluing the stanchions. Other project of the weekend (while paint or glue is drying): weathering of GP40 #9675 as I witnessed it last summer. Will airbrush later... 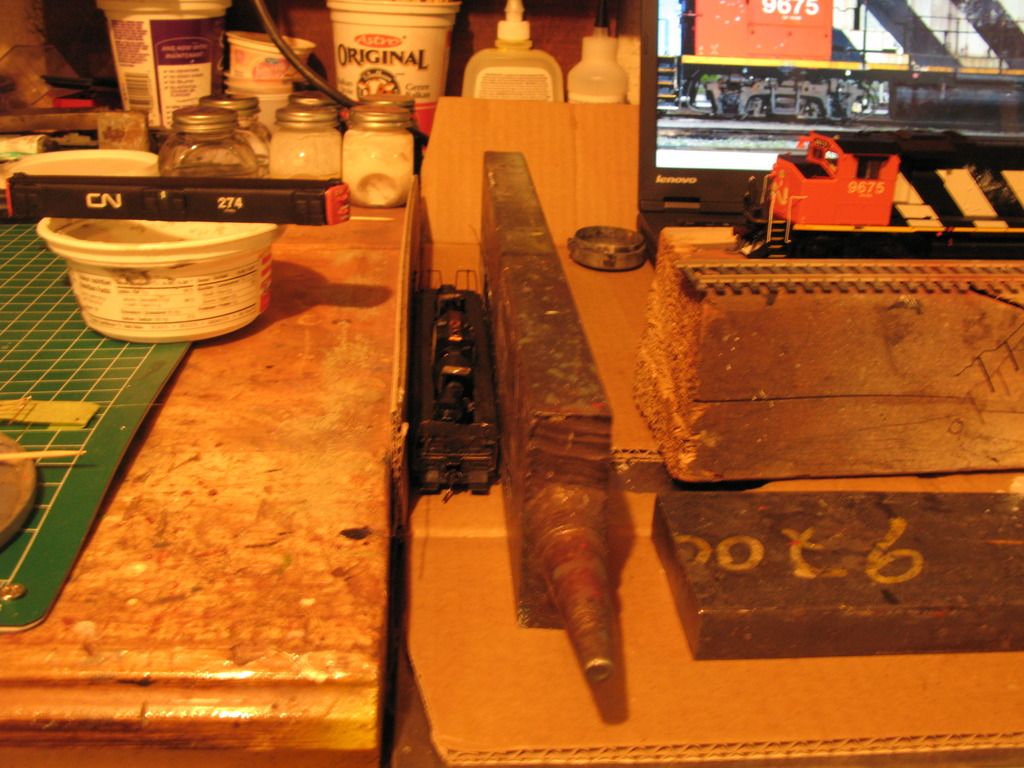 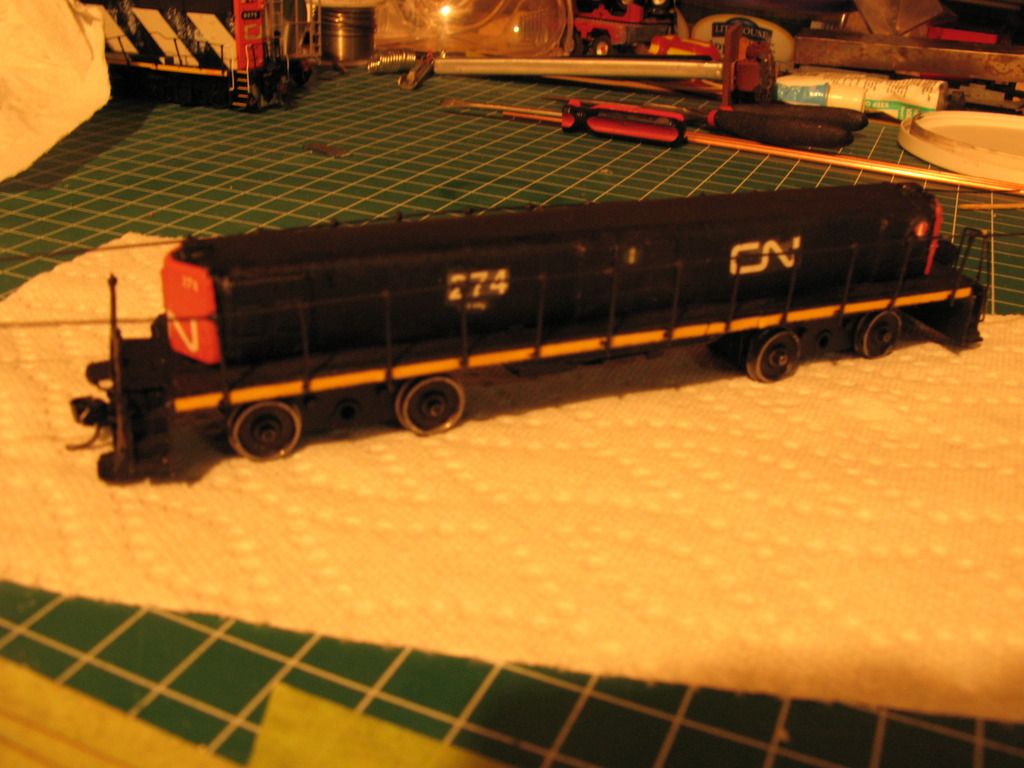 Next step will be doing the end details (I will try shaping epoxy aroung LED lights in a trumpet-like shape, just as the prototype, then paint it and route it in the frame and glue against the front stanchions). I also need to build the brake wheel and support unit, but I will need to order parts from Miniature from Eric or Details West first. In the meantime, I may add the decoder and/or bend & solder the handrails and do a track test. Stephane |
|
|
|
Post by PVRR 2647 on Apr 3, 2015 21:37:39 GMT -5
Stephane~
Your slug looks really good so far, keep up the good work. I am interested in seeing the ditch lights that you are going to build. I have tried (operative word tried) to scratch some myself and the results were pretty underwhelming, but I used them anyway.
Regards,
PVRR2647
|
|
|
|
Post by c420highhood on Apr 4, 2015 13:44:56 GMT -5
Stephane~ Your slug looks really good so far, keep up the good work. I am interested in seeing the ditch lights that you are going to build. I have tried (operative word tried) to scratch some myself and the results were pretty underwhelming, but I used them anyway. Regards, PVRR2647 i am glad that i dont have to put ditch lights on my diesels, it seems like a tedious task... |
|
|
|
Post by PVRR 2647 on Apr 4, 2015 17:23:30 GMT -5
Stephane~ Your slug looks really good so far, keep up the good work. I am interested in seeing the ditch lights that you are going to build. I have tried (operative word tried) to scratch some myself and the results were pretty underwhelming, but I used them anyway. Regards, PVRR2647 i am glad that i dont have to put ditch lights on my diesels, it seems like a tedious task... Ditch lights, conspicuity stripes, ever changing rosters, RCE lights, and now PTC antennae. Just adds to the fun of trying to model current railroads.
PVRR2647
|
|
|
|
Post by c420highhood on Apr 5, 2015 14:18:37 GMT -5
i am glad that i dont have to put ditch lights on my diesels, it seems like a tedious task... Ditch lights, conspicuity stripes, ever changing rosters, RCE lights, and now PTC antennae. Just adds to the fun of trying to model current railroads.
PVRR2647
lol the only positive train control i have is when my thumb is on the throttle haha |
|