spike
Chairman
They say I can't be Spike anymore, so Mr. Burns it is!
Posts: 561
|
Post by spike on Apr 5, 2015 21:45:34 GMT -5
Was that first prototype photo taken under the Autoroute 20 overpass, by Kraft Foods in Montreal? I walk by there to catch the 202 bus to Dorval, on the way to Hobby Junction Express.
|
|
|
|
Post by ironstef70 on Apr 6, 2015 18:09:41 GMT -5
Was that first prototype photo taken under the Autoroute 20 overpass, by Kraft Foods in Montreal? I walk by there to catch the 202 bus to Dorval, on the way to Hobby Junction Express. No, it's downtown Quebec City near White Birch Papers and the Bunge's grain elevators. It's a great place to watch yard activity and there's a very busy cycling path going under the Dufferin-Montmorency Highway where I like to ride with my son. That's where that picture was taken. We both take a break and do some railfanning in summer time around there. As matter of fact, the rolling stock that I am modeling is that I witnessed there last summer with him: CN GP40 #9675, slug #274 (here) and eventually, CN GP9rm # 7233 and #7031, then C44-9W #2626 The idea is to have this small collection to give to him as a legacy as he grows older (but to run on our layout too!). It'll be souvenir of the good ol' times. S. |
|
|
|
Post by PVRR 2647 on Apr 8, 2015 19:25:32 GMT -5
C420HighHood~
The only REAL PTC on my Model Railroad are the Hayes bumping post that I installed. The Buda wheel stops were leaving marks in the pilots of too many locomotives!!!
PVRR2647
|
|
|
|
Post by c420highhood on Apr 9, 2015 10:21:33 GMT -5
hey i have seen a few banged up pilots before, its proto lol
|
|
|
|
Post by ironstef70 on Apr 12, 2015 18:54:51 GMT -5
This weekend, I completed the handrails (white paint is drying now: oil paint; I will glue them to the frame later), drilled holes for routing the ditch lights, completed the ditch lights casting in epoxy, then machined (all shaped out of solid steel block: must add as much weight as I can !!!) frame details. I need to complete the other end using a sheet of brass. Then I will clear coat the cab this week along with other jobs (two brass hoppers). Next steps will be adding the ditch lights and other end of the frame, plus more details such as MU hoses. Then I will connect the decoder and lights before getting started with the undeframe details. Hopefully I may have this project completed by the end of the month, but I never put myself deadlines  Sorry for the picture quality: cell phone. 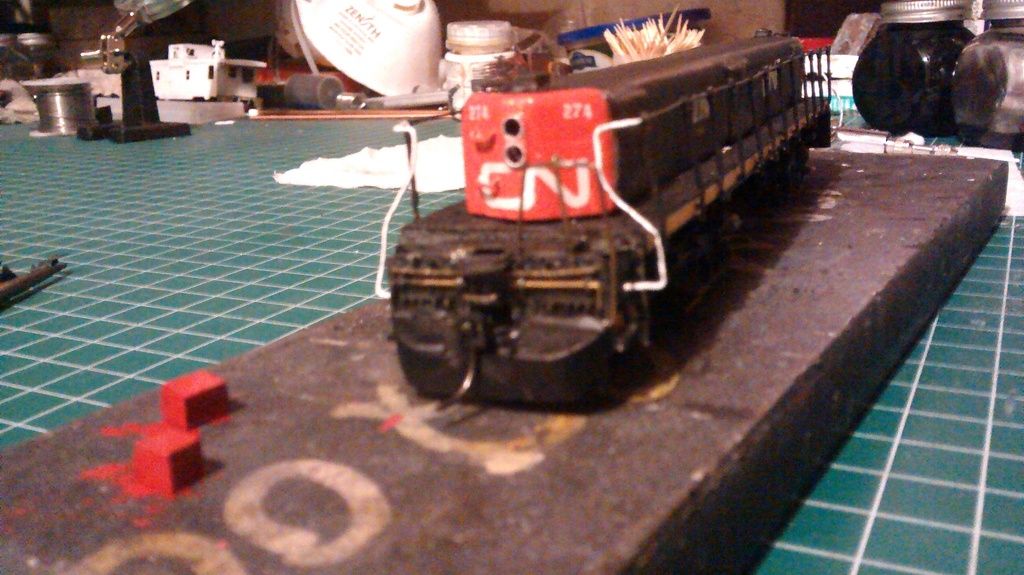 S. |
|
|
|
Post by c420highhood on Apr 14, 2015 8:34:32 GMT -5
moving along nicely! do you jut buy universal handrails? i have an rs2 that had plastic handrails and they are all broken and i wanted to redo them in metal, is that possible?
|
|
|
|
Post by ironstef70 on Apr 14, 2015 21:04:36 GMT -5
moving along nicely! do you jut buy universal handrails? i have an rs2 that had plastic handrails and they are all broken and i wanted to redo them in metal, is that possible? In this case, I bought the stanchions on e-bay (Details West I believe) and handrails were made out of .020" brass rods. I like that material because it's easy to bend using long nose pliers (last step, of course). I then measured the distances between each stanchions as they must be on the frame, then soldered them to the handrails so that they remain in place. It is much easier to install on the frame after; just make sure they are perfectly perpendicular when soldering. Then, unless your frame is in brass (which I would suggest solder, of course), you will need to use an appropriate glue. I personnaly like epoxy, my adhesive of choice for 90% of my projects. Otherwise, you still can buy aftermarket handrail kits, just hunt around on e-bay. Chances are they may be available in a different color than what you are looking for, but it's easy to repaint using tiny brushes. I bought a set 2 months ago for a C44 and paid around 15US$ for the whole handrails kit. S. |
|
|
|
Post by c420highhood on Apr 15, 2015 14:18:30 GMT -5
thanks for the help!
|
|
|
|
Post by ironstef70 on Apr 17, 2015 20:53:19 GMT -5
Artur, I received your parts today. Thank you so much. I went to my RR club this week and tested the motor with a DC power supply. I figured out two issues: 1) Due to the aggressive angle in the universal shafts, the motor cannot accelerate from inertia properly, but still runs once pushed (and will likely do once coupled to it's cow); 2) one of the two flyweels that I machined was not properly balanced. So I took the decision to remove the shaky flywheel, shorten the motor shaft by 5mm and use a longer universal shaft for connecting the second truck witn a less aggressive angle. I dismounted both trucks, oiled them well, then rebuilt the transmission. In the meantime, I also added LED lightning to the cab and now ready to connect to the decoder one I have completed another test. Due to the nature of my project, I will complete the detailing of the ends and underframe once I am totally sure that the slug has been track tested. Can't wait to see it rollling ...  I'm weathering boxcars in the meantime. Stephane |
|
|
|
Post by ironstef70 on Jun 26, 2015 19:38:05 GMT -5
Well I haven't gave up with that project, but after I toasted a cheap decoder, then replaced a vibrating motor, slug 274 has been manipulated much, so the handrails and frame paint suffered the abuse. Hence, I decided to repaint all in the meantime as I ordered a Digitrax decoder, mastered the art of installing nano LEDs in ditch lights, and made other projects. Among these projects, I practiced under frame detailing as I built these gondolas. The reference model for the pipe layout was an Athearn RTR, but not being satisfied of the accuracy of the model compared to CN prototypes, I opted for enhancing some cheap Walthers smooth side gons with brass details. In the process, I even figured out that the Athearn has been missing one brake line (fourth pic, upper right). Mines will definitely hold stronger, thanks to the .010" and .020" brass rods. I use the .020" near the tanks where lots of bending and melting is required, but .010" for the brake lines makes for a more realistic look. The technique I use is "plastic soldering" as I heat the brass parts so they hold in the melting resin body. I do that holding the brass parts with thin pliers, and heating them up with a soldering pen: 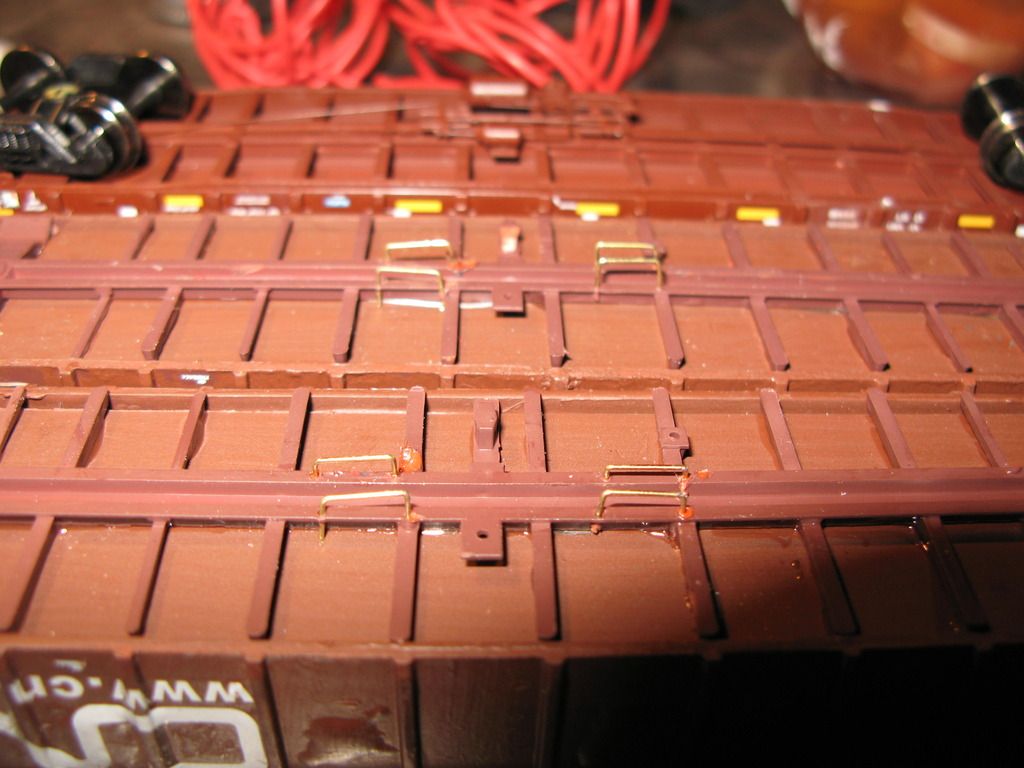 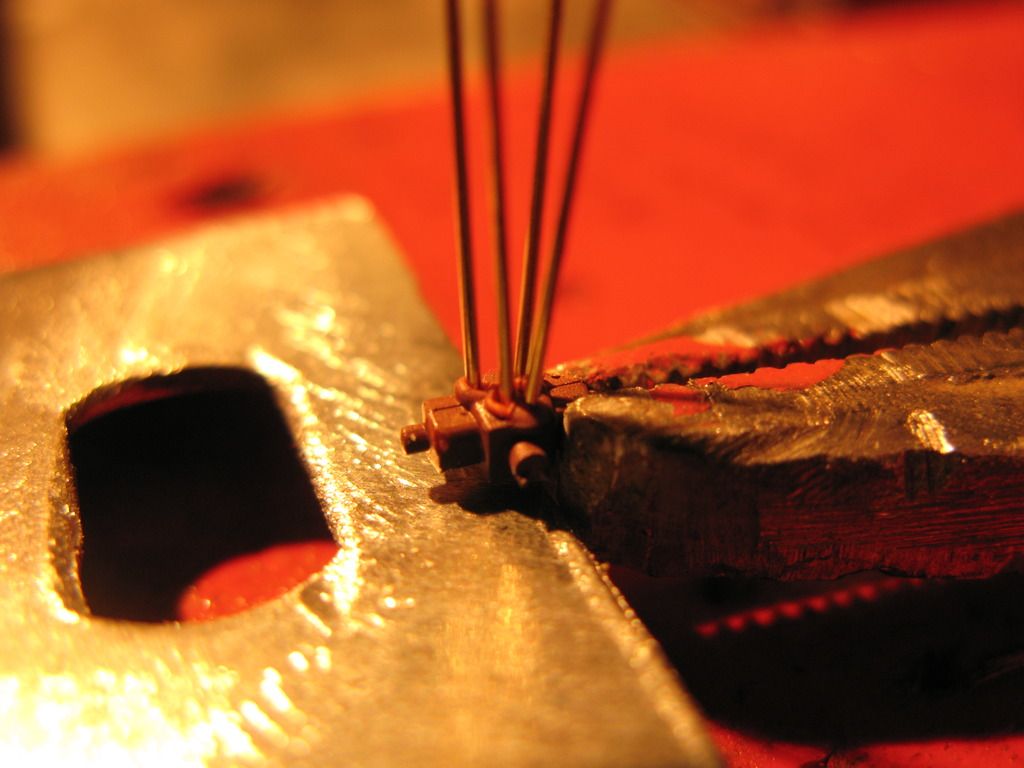 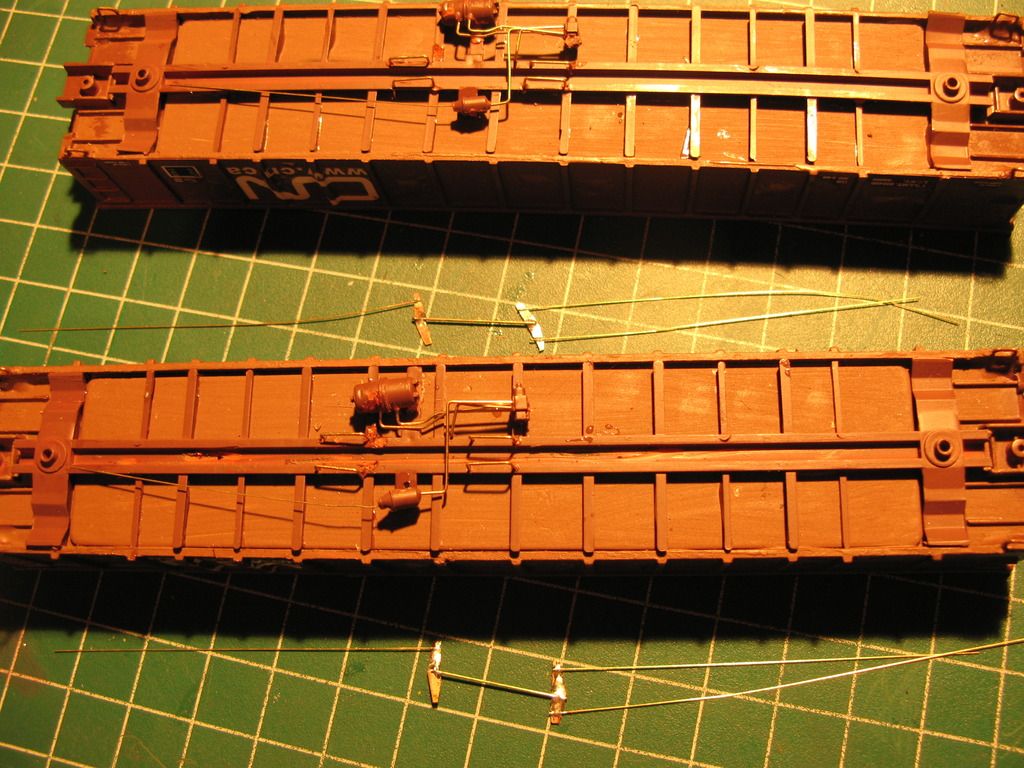 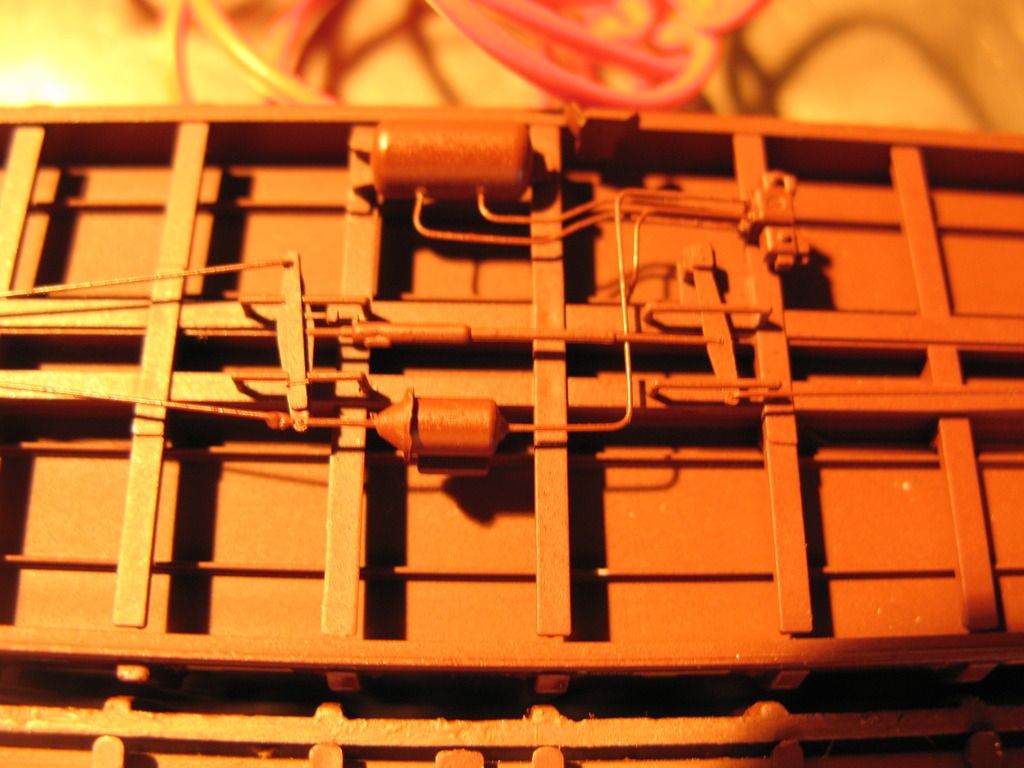 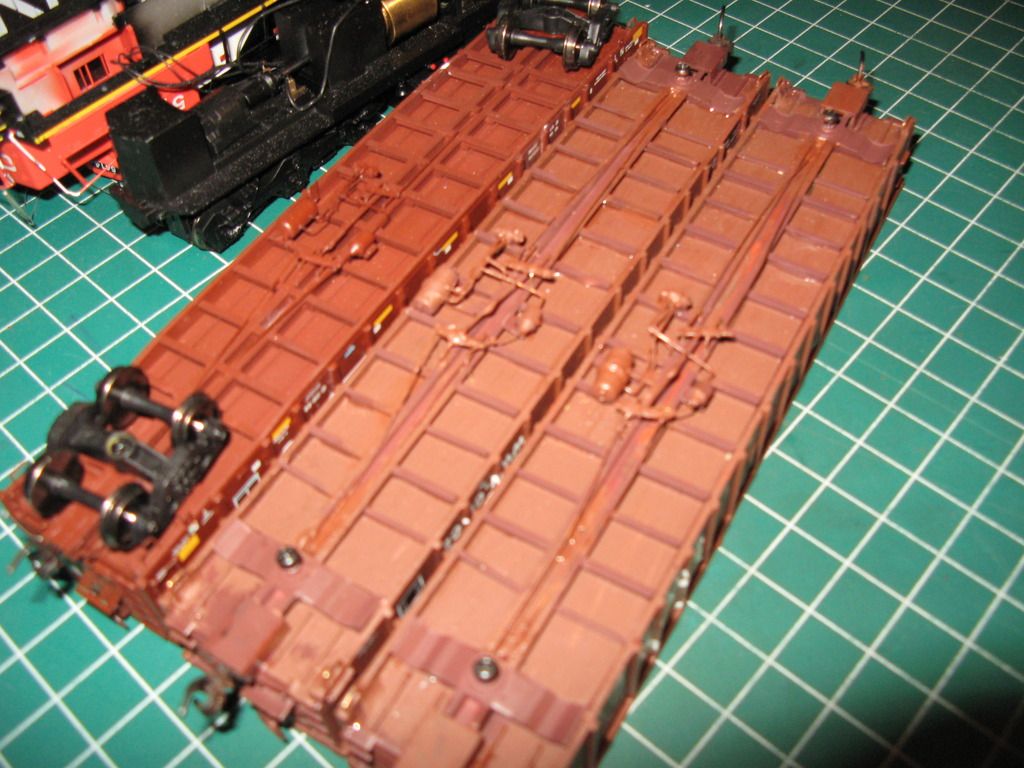 I'll post pics of the repainted Slug soon. Stephane |
|
|
|
Post by PVRR 2647 on Jun 30, 2015 19:17:27 GMT -5
Stephane~
Very innovative method for attaching brass parts to resin cars and parts. I'm gonna have to give this a try, I can think of at least half a dozen or more cars that need to have their stirrups replaced and this may be just the ticket.
Sincerely,
PVRR2647
|
|
|
|
Post by ironstef70 on Sept 21, 2015 19:45:14 GMT -5
|
|
|
|
Post by ironstef70 on Sept 21, 2015 19:53:46 GMT -5
Oh, and here is one of the above tree minerals gondolas once completed. For those curious about more weathring fun I had that same afternoon, just click on the picture an you'll be able to browse my Flick'r album: 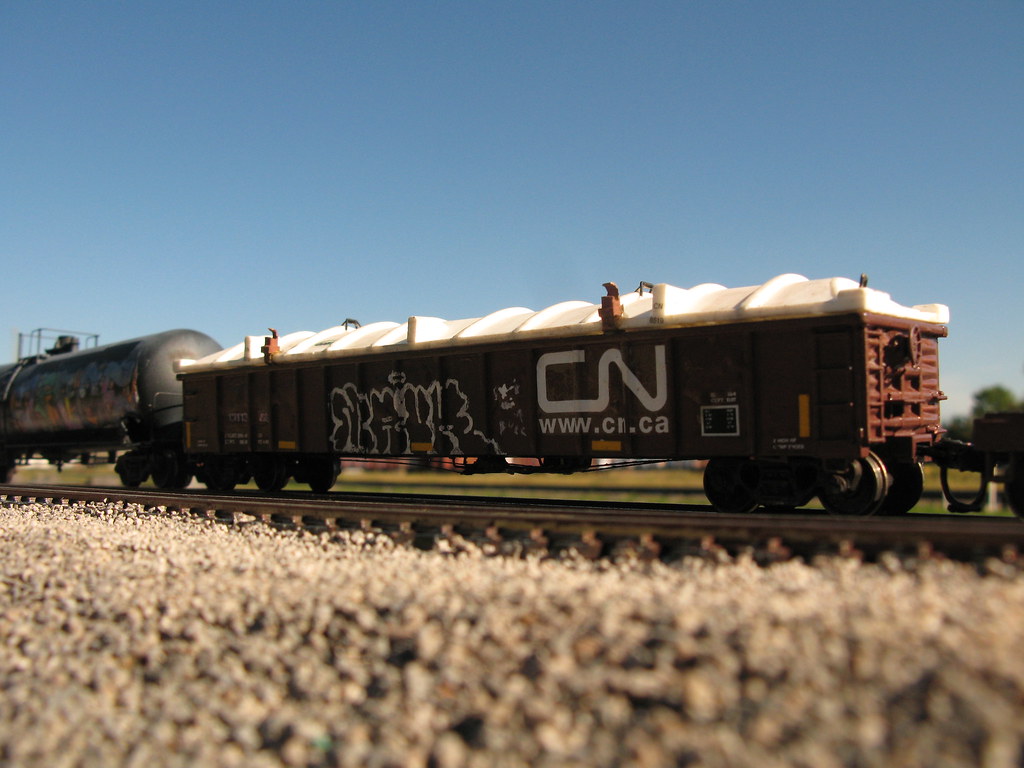 IMG_7731 IMG_7731 by Ironstef, sur Flickr 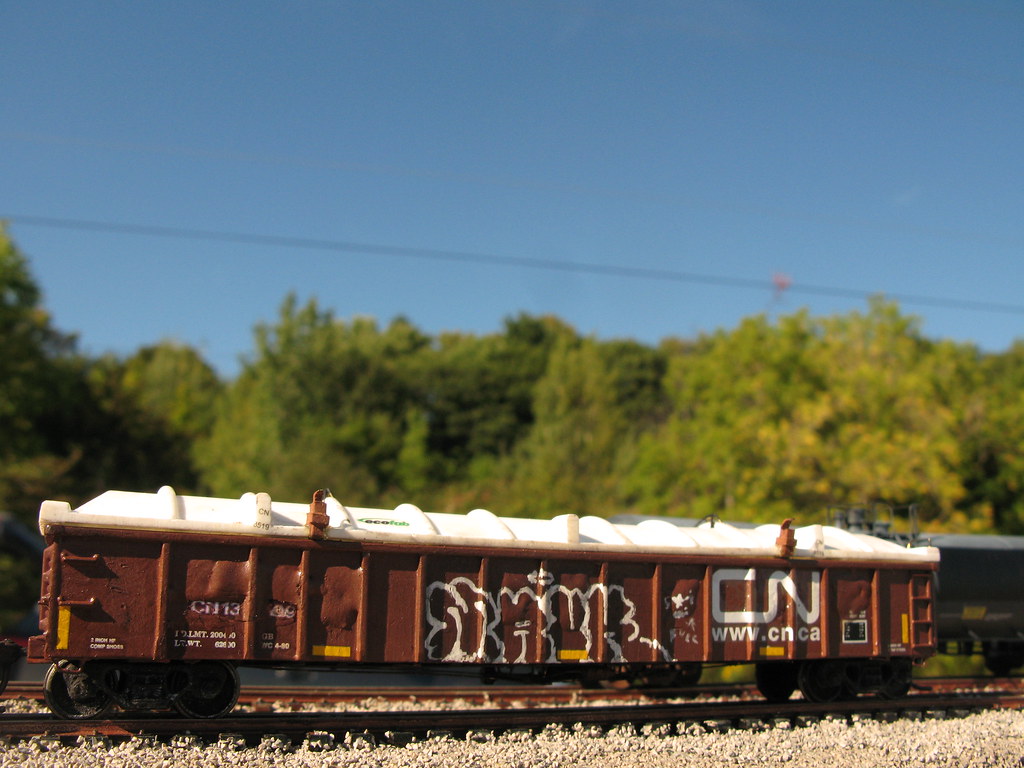 IMG_7736 IMG_7736 by Ironstef, sur Flickr 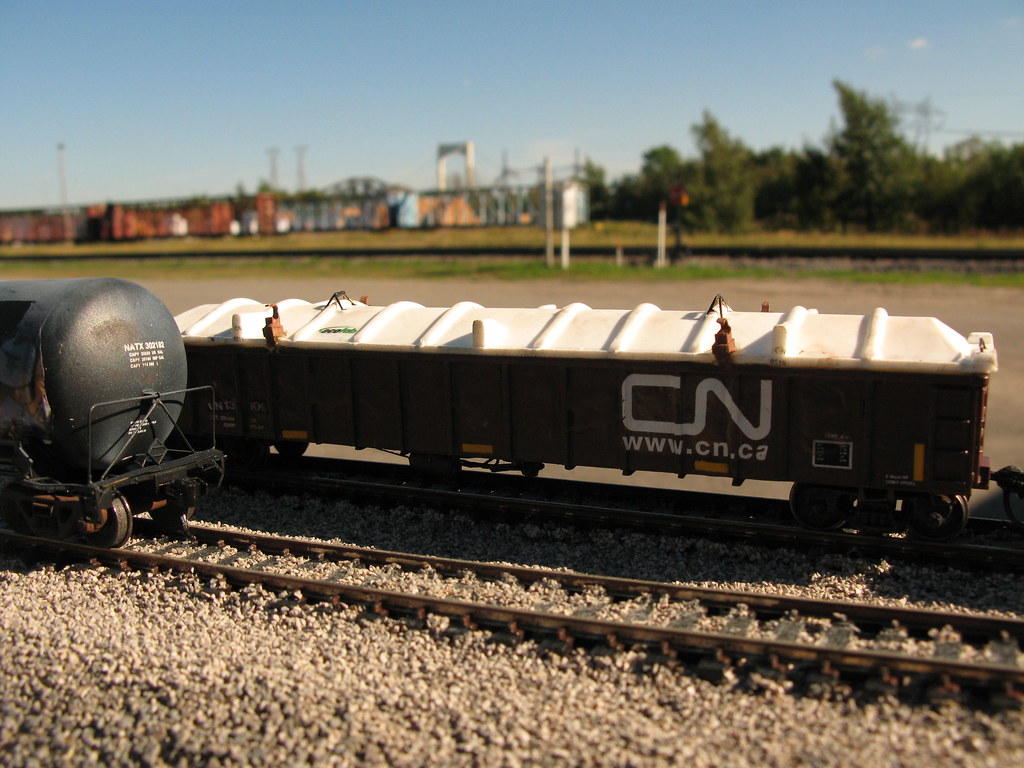 IMG_7741 IMG_7741 by Ironstef, sur Flickr Stephane |
|
|
|
Post by lajmdlr on Sept 22, 2015 0:10:26 GMT -5
Oh, and here is one of the above tree minerals gondolas once completed. For those curious about more weathring fun I had that same afternoon, just click on the picture an you'll be able to browse my Flick'r album:  IMG_7731 IMG_7731 by Ironstef, sur Flickr  IMG_7736 IMG_7736 by Ironstef, sur Flickr  IMG_7741 IMG_7741 by Ironstef, sur Flickr Stephane |
|
|
|
Post by lajmdlr on Sept 22, 2015 0:13:26 GMT -5
What are "tree materials gondolas"? They look like covered gondolas for steel coils.
|
|
|
|
Post by ironstef70 on Sept 22, 2015 7:37:29 GMT -5
What are "tree materials gondolas"? They look like covered gondolas for steel coils. Typo: I meant " three." Oly one is pictured above. They are used for hauling mineral aggregates. I believe they are used to carry nickel to the port of Quebec City. Here are more details about the covers: Ecofab coversStephane |
|
|
|
Post by lajmdlr on Sept 23, 2015 12:08:41 GMT -5
Even spell check won't find those kind of typos because the word is spelled right just used in wrong context. I've done that more times than I can count! >) More used to seeing covered gondolas used for hauling steel coils.
|
|
|
|
Post by Frédéric Bégin on Sept 23, 2015 18:25:21 GMT -5
They looks great. I've got the two covert variant from Model by Dave. To bad that they dont't supply the bracket. Frederic Oh, and here is one of the above tree minerals gondolas once completed. For those curious about more weathring fun I had that same afternoon, just click on the picture an you'll be able to browse my Flick'r album:  IMG_7731 IMG_7731 by Ironstef, sur Flickr Stephane |
|
|
|
Post by ironstef70 on Sept 27, 2015 18:12:22 GMT -5
So after several months, I finally completed this project. To be honest, I don't think she's the sexiest around as I saw some sharper ones on this forum. Still, she's running strong, thanks to that Athean motor to which I had to remove one flywheel due to limited space under the cab. It sure will be a good asset to my yard fleet. Now all it's missing is a few hand paint details and eventually some weathering. Then I will make better pictures, hopefully outside in daylight, and be able to show it paired with the GP9rms that I am working on too. Custom underframe details: air tanks were machined out of 3/8" steel rod. The rest is almost all brass, except for some pipe junctions courteously supplied to me by Artur: 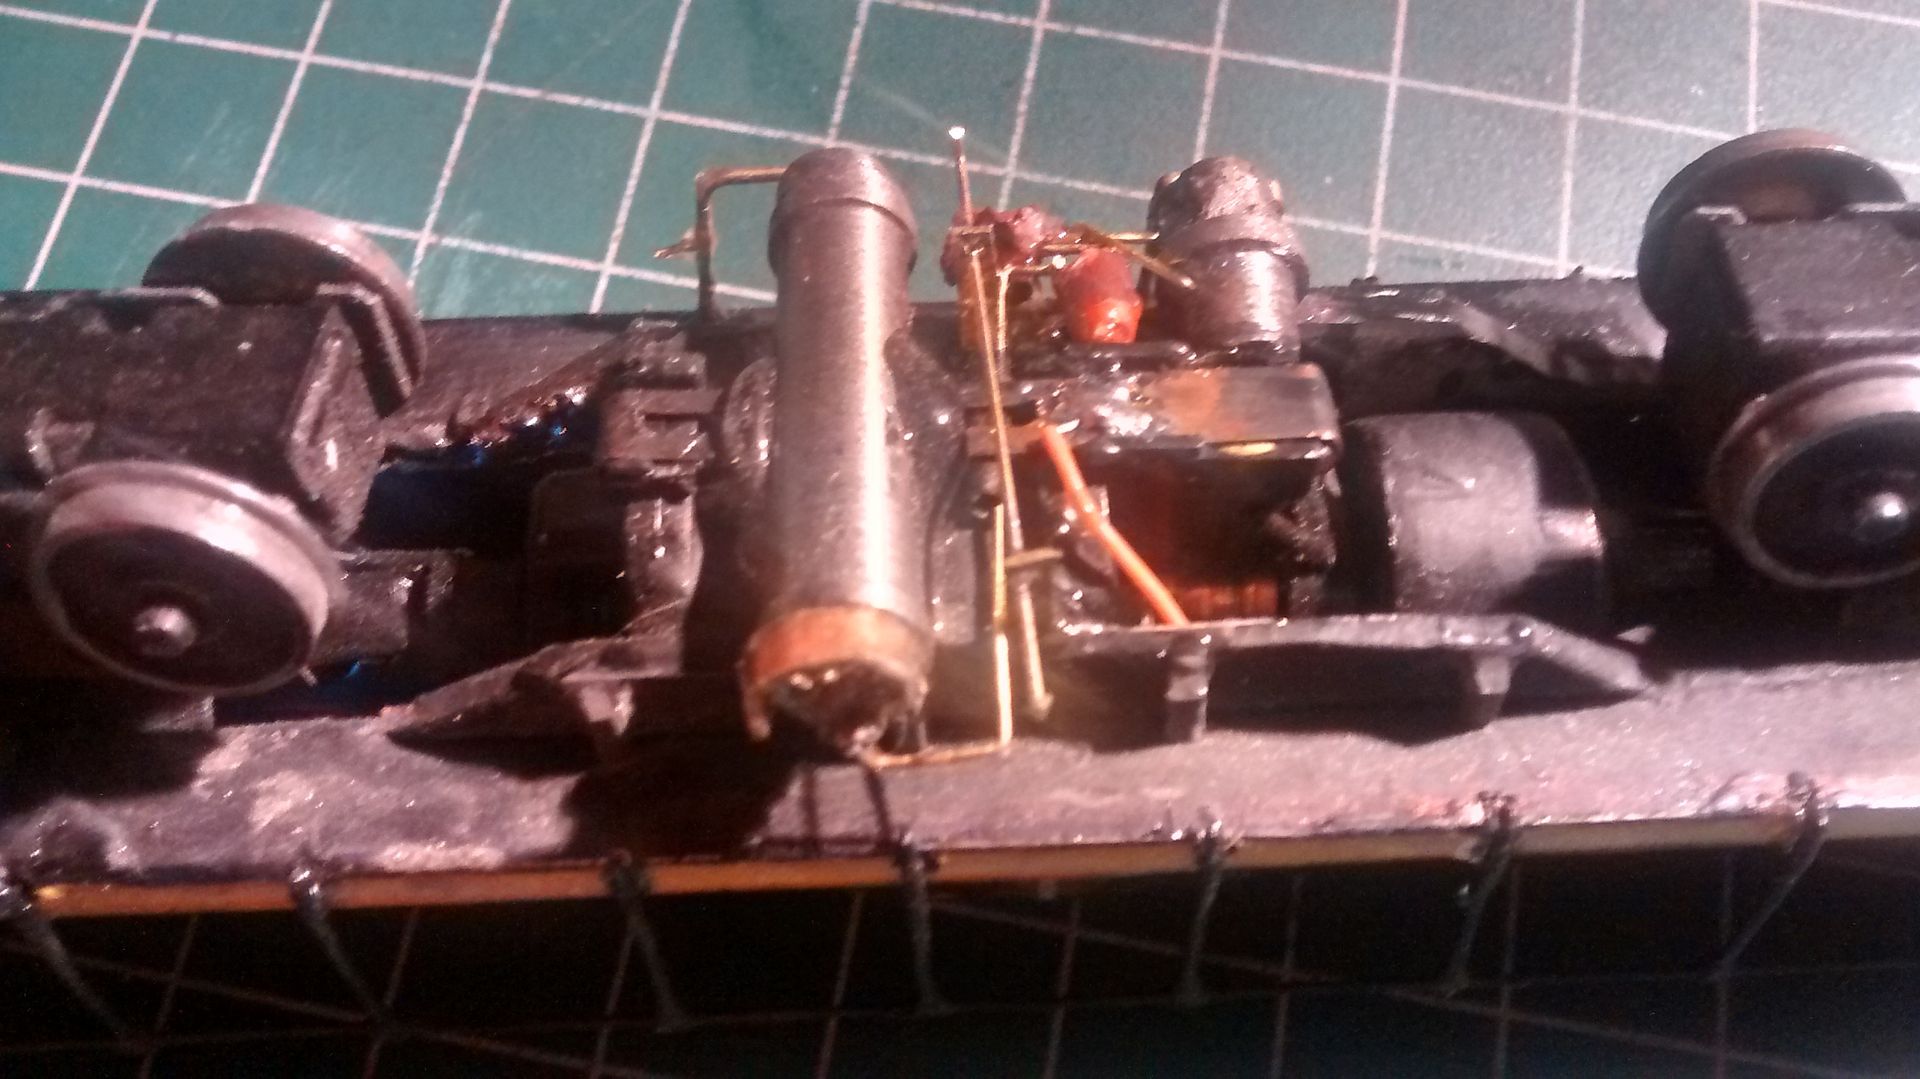 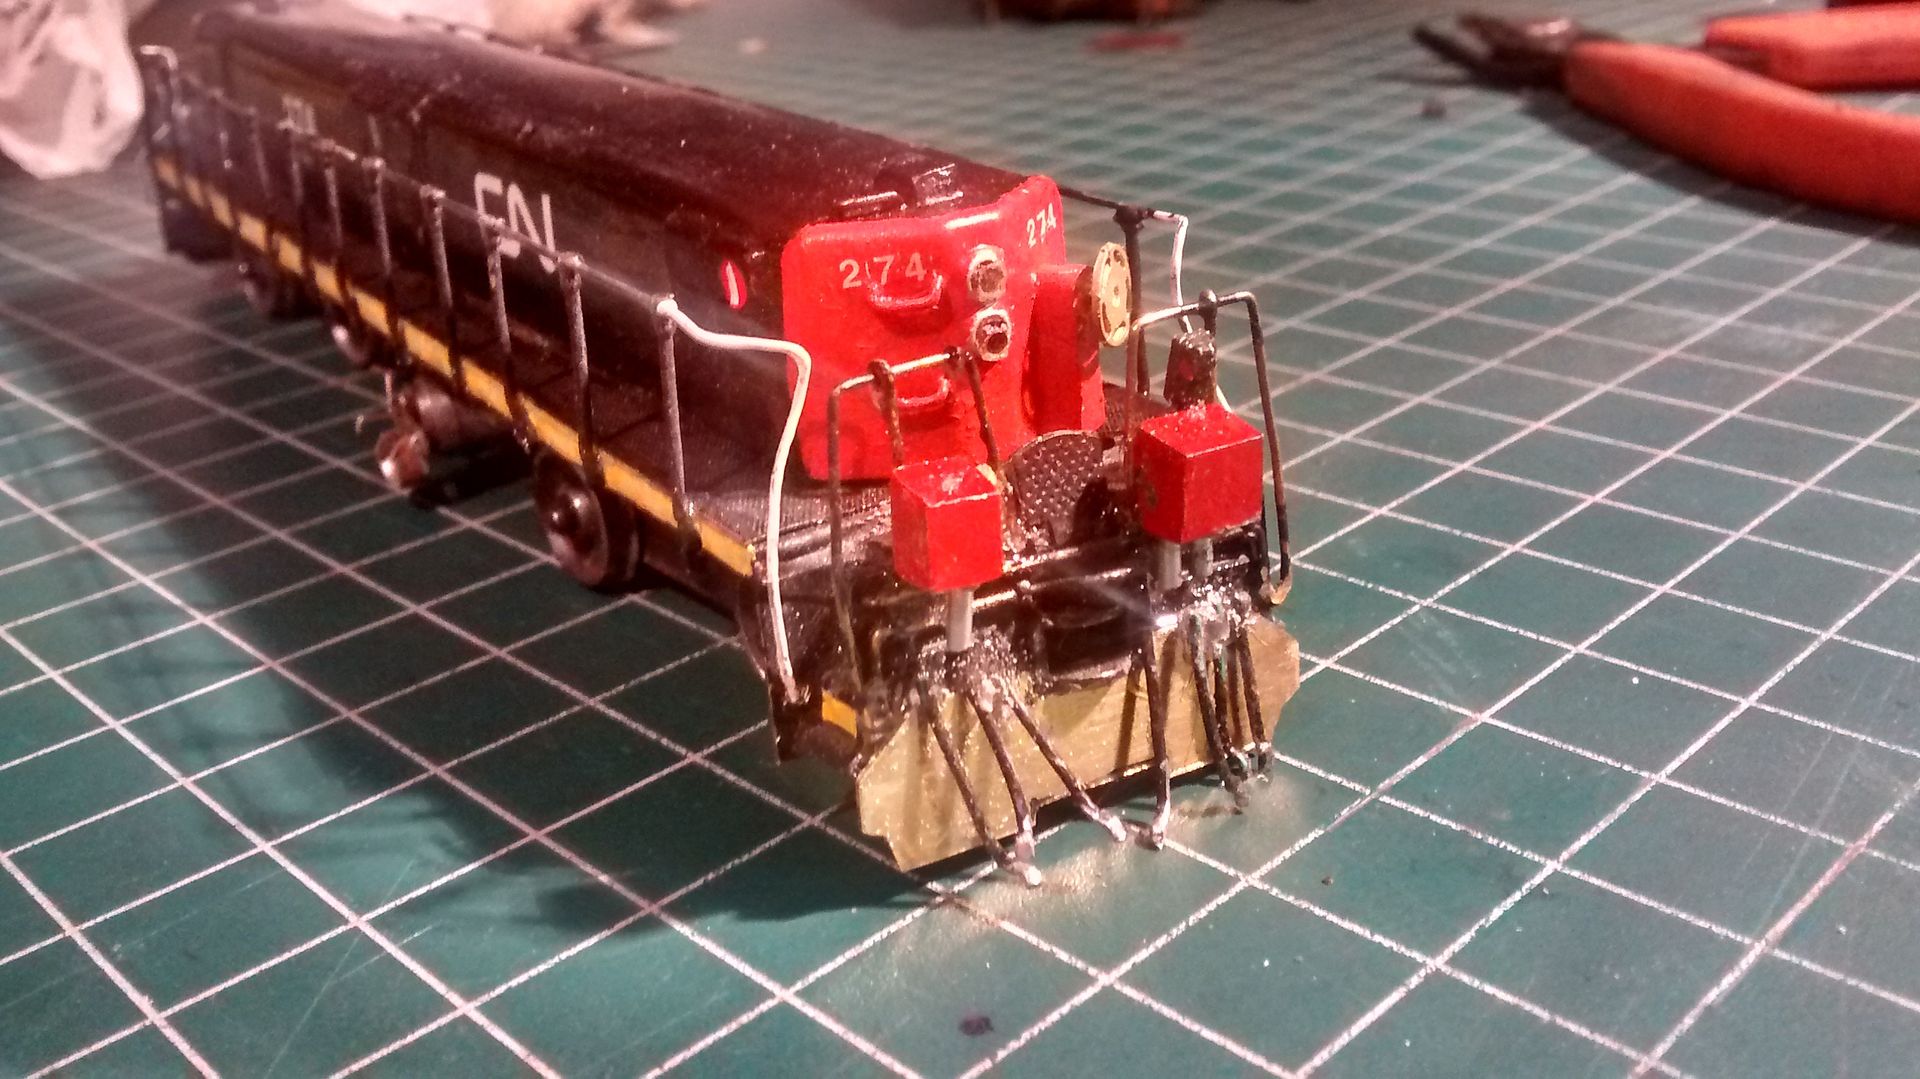 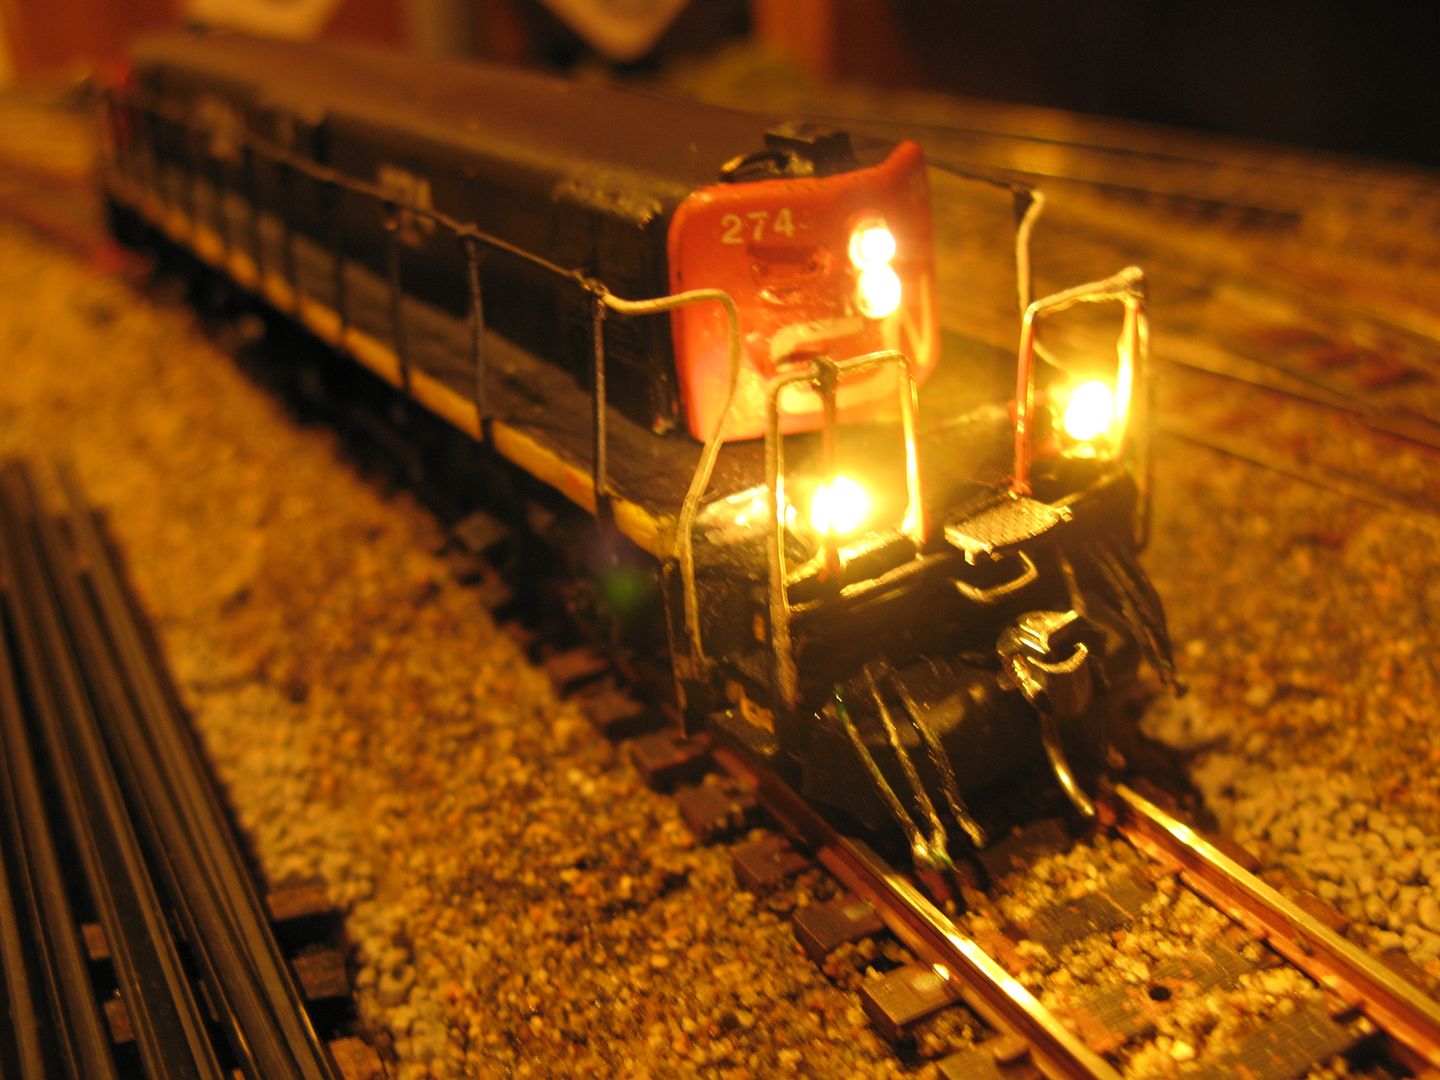 The electric motor and electrode are not showing much once details added to the frame: 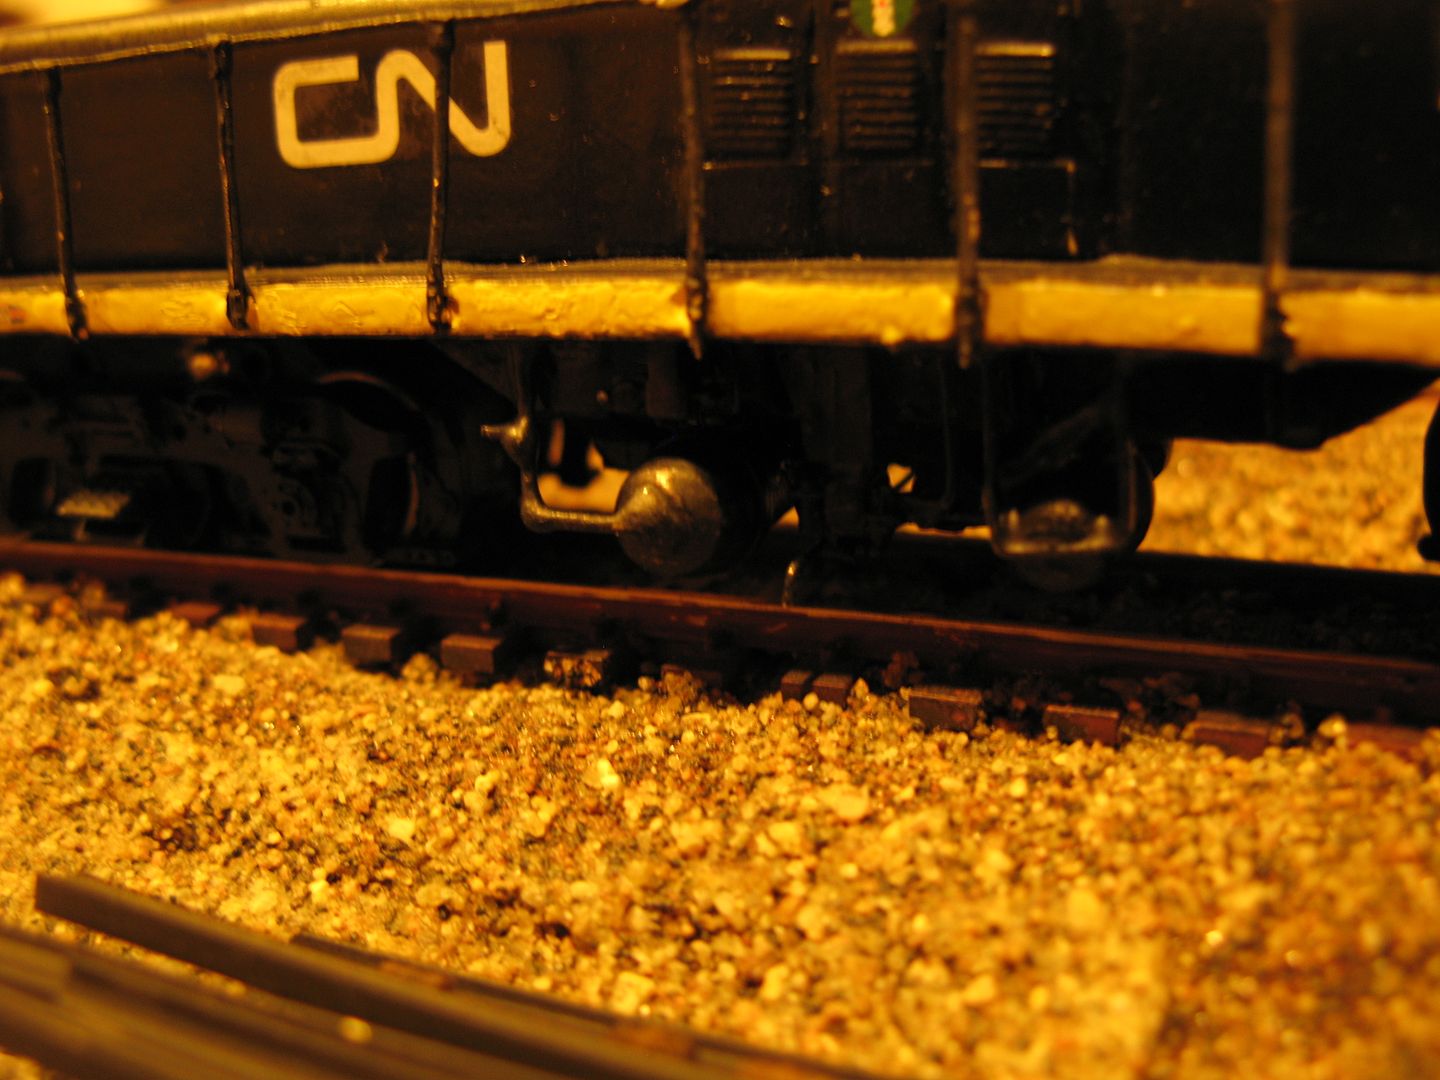 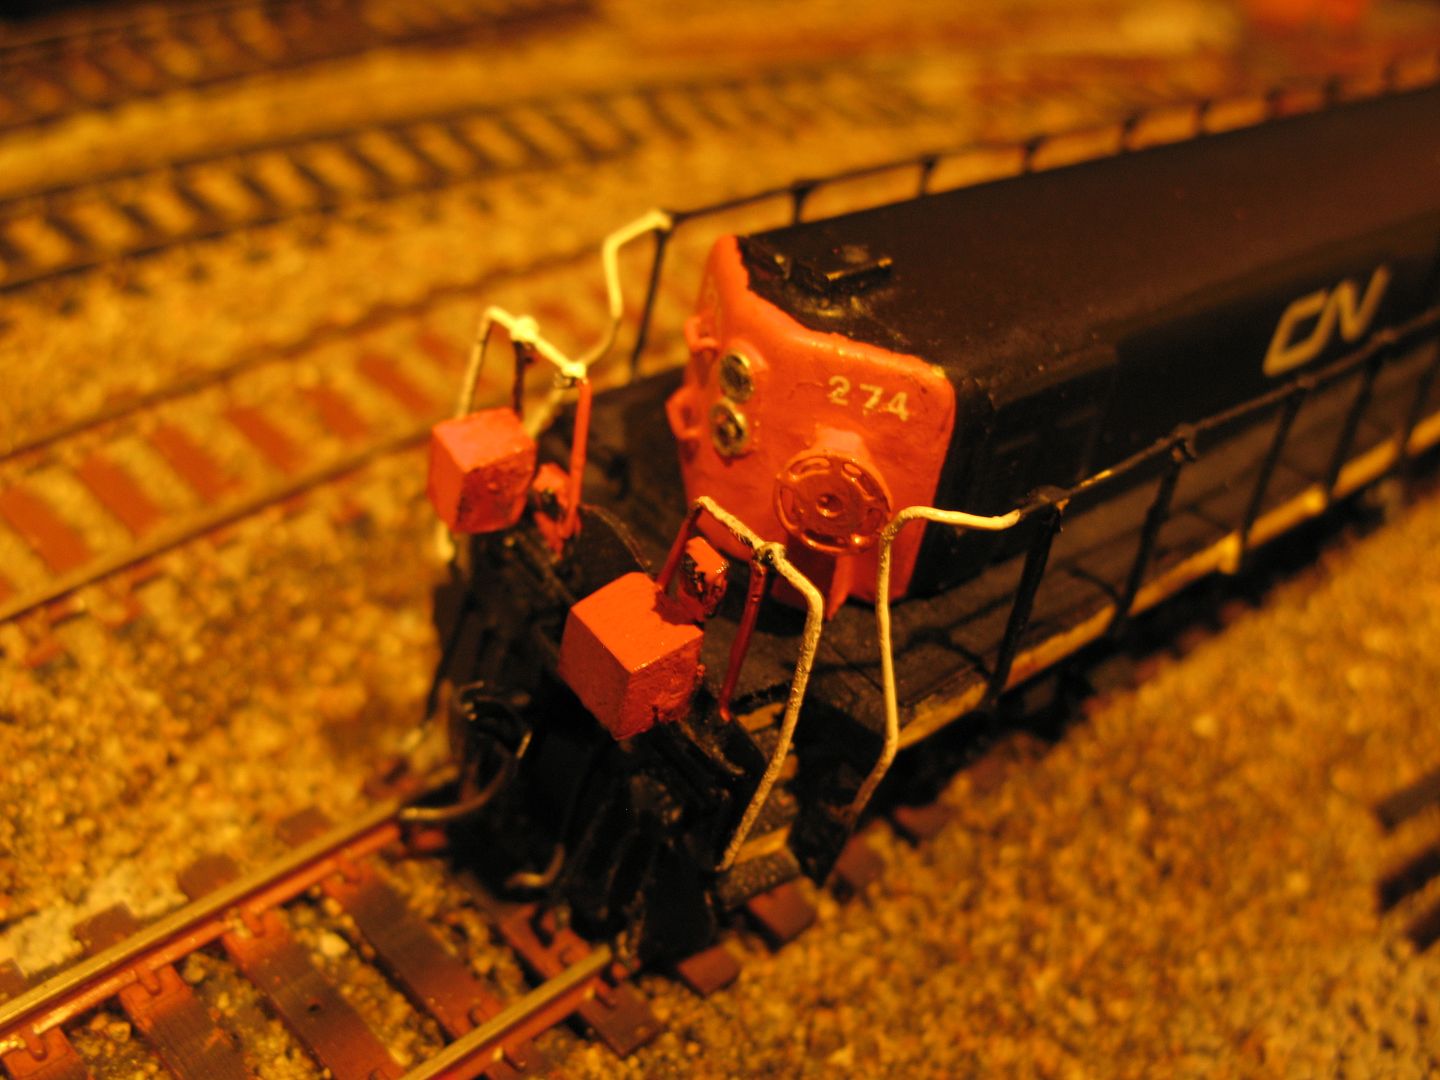 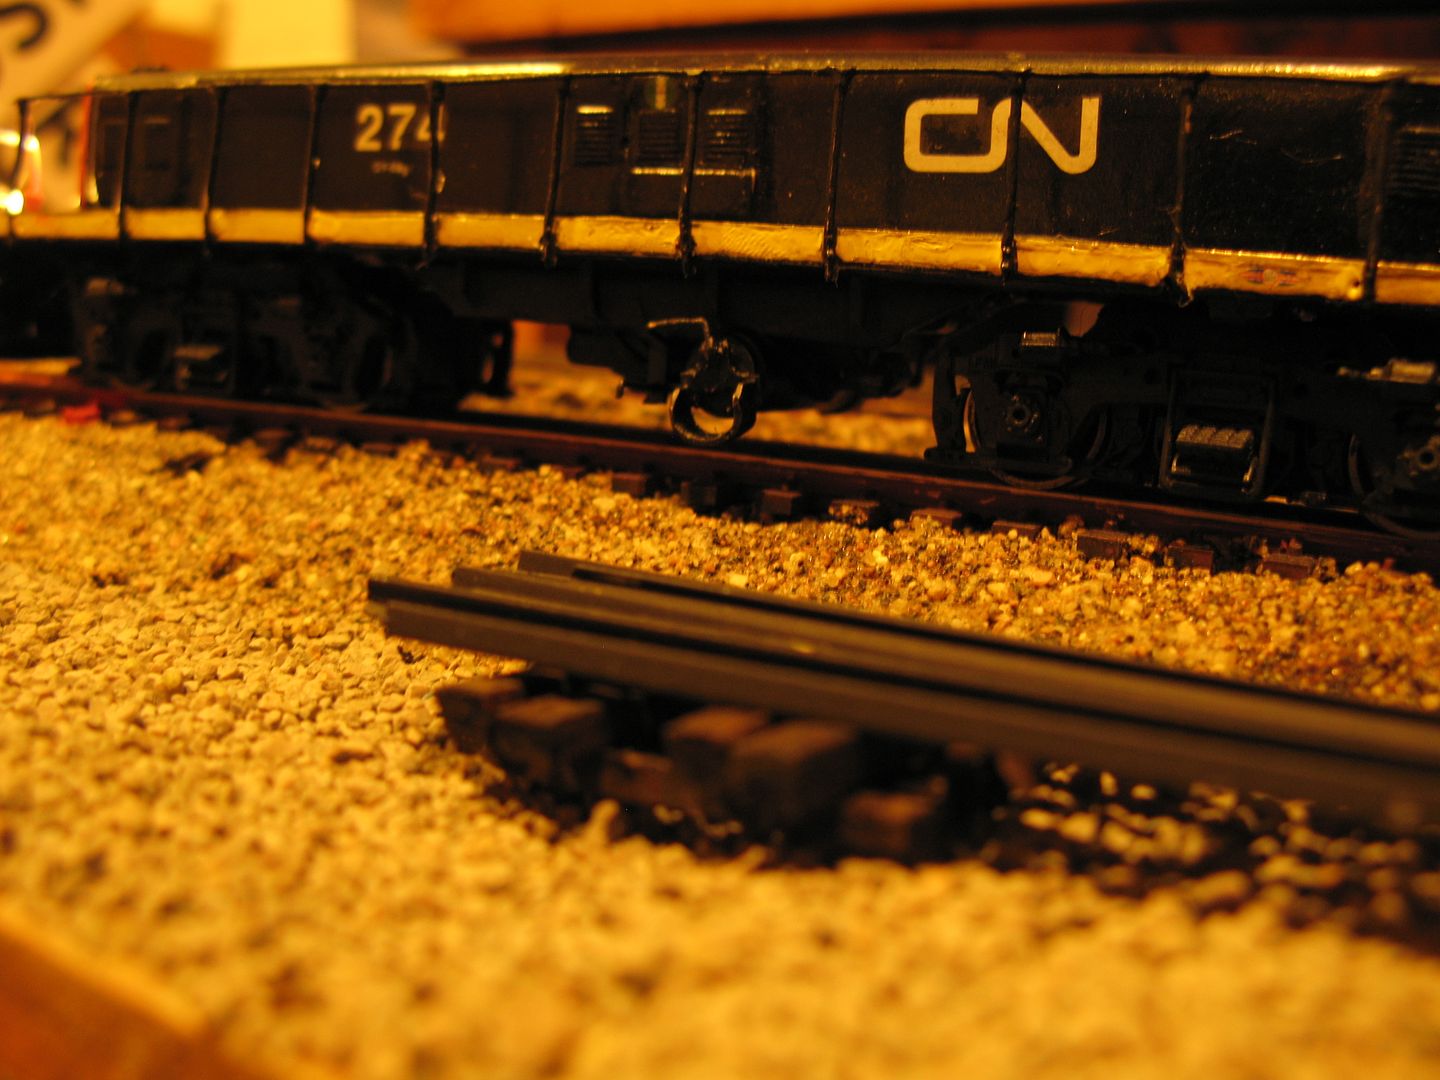  Again, sorry for the picture quality: basement light pictures. Stephane |
|
pacbelt
Chairman
Building Layout #11!! ;)
Posts: 682 
|
Post by pacbelt on Oct 14, 2015 13:15:30 GMT -5
Stephane, "Basement lights" aside... that looks magnificent!! Your attention to detail shows. That should be quite a puller as well. I have always been fascinated with "slugs". Your build has been inspiring for me!!  I've been considering an Espee TEBU (ALCo C-628 slug), and you have just showed me how to power it! Thank you! I also enjoyed the "Tree Gondolas" LOL!! LOVED the underframe details and plumbing, and will use them for my rolling stock as well. |
|