|
|
Post by analogbeatmaker on Feb 2, 2013 15:38:49 GMT -5
|
|
|
|
Post by e86900 on Feb 2, 2013 15:54:32 GMT -5
Nick, I couldn't see any pictures of your build.
|
|
|
|
Post by analogbeatmaker on Feb 2, 2013 16:11:28 GMT -5
Nick, I couldn't see any pictures of your build. Sorry. I had to re-name the folder on Photobucket which caused me to have to edit the thread. They should all show up now. |
|
|
|
Post by NS91 on Feb 2, 2013 17:16:08 GMT -5
Looks great. I've got to order a new kit. I've lost mine some where.  |
|
|
|
Post by tjmfishing on Feb 2, 2013 18:13:20 GMT -5
Man, that interior is ridiculous. Great job
|
|
|
|
Post by bdhicks on Feb 2, 2013 18:20:06 GMT -5
Did you paint the treads and the backs of wheels? It looks like it from the picture. You'll want to have the backs of the wheels free of paint for the electrical pickups and any paint on the treads will wear off and dirty your track.
|
|
|
|
Post by analogbeatmaker on Feb 2, 2013 18:32:47 GMT -5
Looks great. I've got to order a new kit. I've lost mine some where.  Thanks! Bummer on losing the kit. Hopefully it'll turn up soon. Man, that interior is ridiculous. Great job Thanks! Did you paint the treads and the backs of wheels? It looks like it from the picture. You'll want to have the backs of the wheels free of paint for the electrical pickups and any paint on the treads will wear off and dirty your track. You are correct. This is why I masked the tread and the area of pickup on the rear of the wheel with a liquid masking solution before I painted. I think it's much easier to do this and peel off the mask/paint than try to scrub it off later. Also, once I peel the mask off part of the rear of the wheel it will be shiny. Therefore I am going to chemically blacken the remaining shiny areas blending it with the rest of the wheel but remaining electrically conductive...I just hope that all works. lol |
|
|
|
Post by upguy1981 on Feb 2, 2013 19:42:25 GMT -5
That looks like a lot of weight
|
|
|
|
Post by analogbeatmaker on Feb 2, 2013 19:50:10 GMT -5
That looks like a lot of weight It does. However, when I added the weights I looked up the formula on the NMRA website. It is only three ounces stuck to the roof...which is about right. Actually, since I ground away metal to make room for the decoder and removed metal to not block the door view, it is actually slightly underweight. If you look close you can see that each square is 1/4th ounce. |
|
|
|
Post by hotshot3305 on Feb 2, 2013 20:02:37 GMT -5
Man, that interior is ridiculous. Great job Nick, that looks to be a lot of weight placed in the roof of your cab. I hope being top heavy doesn't make it wobble when running. Your interior looks great, but the sad part about all that work is you won't be able to see any of it when the cab is closed up. I installed the interior in my first WrightTrak cab, couldn't see it so on my last five or six I left it out and instead cemented the weights down low on the floor in place of the interior. |
|
|
|
Post by analogbeatmaker on Feb 2, 2013 20:35:53 GMT -5
Man, that interior is ridiculous. Great job Nick, that looks to be a lot of weight placed in the roof of your cab. I hope being top heavy doesn't make it wobble when running. Your interior looks great, but the sad part about all that work is you won't be able to see any of it when the cab is closed up. I installed the interior in my first WrightTrak cab, couldn't see it so on my last five or six I left it out and instead cemented the weights down low on the floor in place of the interior. I hope it runs ok too. I really didn't have a choice though. Since I want to see the interior it's the only place I could think of. I also thought of not being able to see the interior at all because I can hardly see the loco interiors in my engines. However, since I'm installing interior lighting (along with the roof end lights) and one of the doors will be glued in an open position, I'm thinking it'll be somewhat visible. Would've been nice had the undercarriage been cast metal for weight. |
|
|
|
Post by hotshot3305 on Feb 2, 2013 22:28:45 GMT -5
Nick, that looks to be a lot of weight placed in the roof of your cab. I hope being top heavy doesn't make it wobble when running. Your interior looks great, but the sad part about all that work is you won't be able to see any of it when the cab is closed up. I installed the interior in my first WrightTrak cab, couldn't see it so on my last five or six I left it out and instead cemented the weights down low on the floor in place of the interior. I hope it runs ok too. I really didn't have a choice though. Since I want to see the interior it's the only place I could think of. I also thought of not being able to see the interior at all because I can hardly see the loco interiors in my engines. However, since I'm installing interior lighting (along with the roof end lights) and one of the doors will be glued in an open position, I'm thinking it'll be somewhat visible. Would've been nice had the undercarriage been cast metal for weight. I'd be curious to see the interior with with good lighting. Maybe not a bad idea afterall. Keep us informed with your progress. Thanks. |
|
|
|
Post by nssd70m on Feb 3, 2013 0:58:04 GMT -5
I ordered this caboose from Wright Trak. I haven't had time to put it together yet. I'm looking forward to your progress. Earl is out...
|
|
|
|
Post by nssd70m on Feb 3, 2013 21:09:43 GMT -5
What are the demensions of the two end pieces you made for the specific ends? Earl is out...
|
|
|
|
Post by analogbeatmaker on Feb 4, 2013 1:42:58 GMT -5
The base piece is .015 thick sheet styrene. The top of the base piece is 29mm. From one of the top corners down to the first corner is 3mm. From that corner to the bottom corner is 9mm. From that bottom corner to the other bottom corner is 11mm. There is another piece that is slightly smaller on top of the base piece. It is the same dimensions as the base piece except roughly 1mm off each dimension around and is .007 or .008 thick. That one is glued on top of the other one to create a "ridge" detail you'll notice in the proto pics. The bracing behind this base piece is square 2mm styrene "rod". Cut to form a solid brace around the edge of the base piece...btw, I glued the base piece on first and built the support to the caboose/base piece. Although these measurements are very close I would still cut by using the "wrong" piece from the Wrightrack model. That is what I did and it fit perfectly. I was even able to salvage the bolt detail where the grabs go. I sliced them off the resin end pieces and glued them to my styrene ends. I look forward to seeing a build thread from you!
|
|
|
|
Post by analogbeatmaker on Feb 9, 2013 11:58:28 GMT -5
|
|
|
|
Post by analogbeatmaker on Feb 22, 2013 12:50:57 GMT -5
More progress... 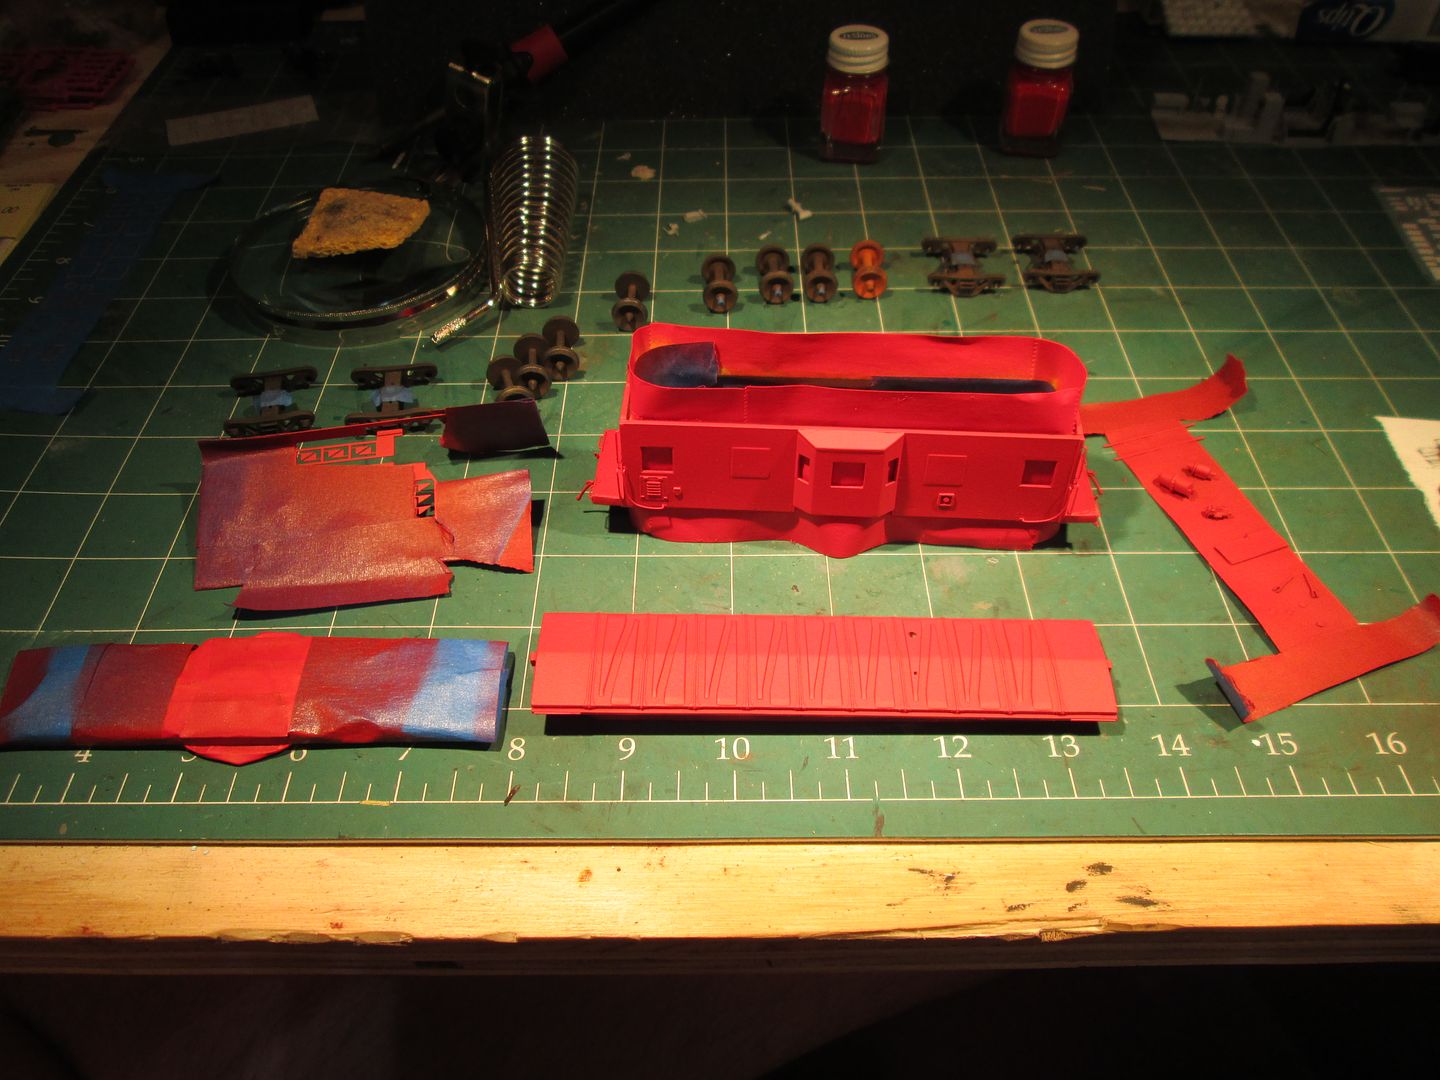 Handrails. 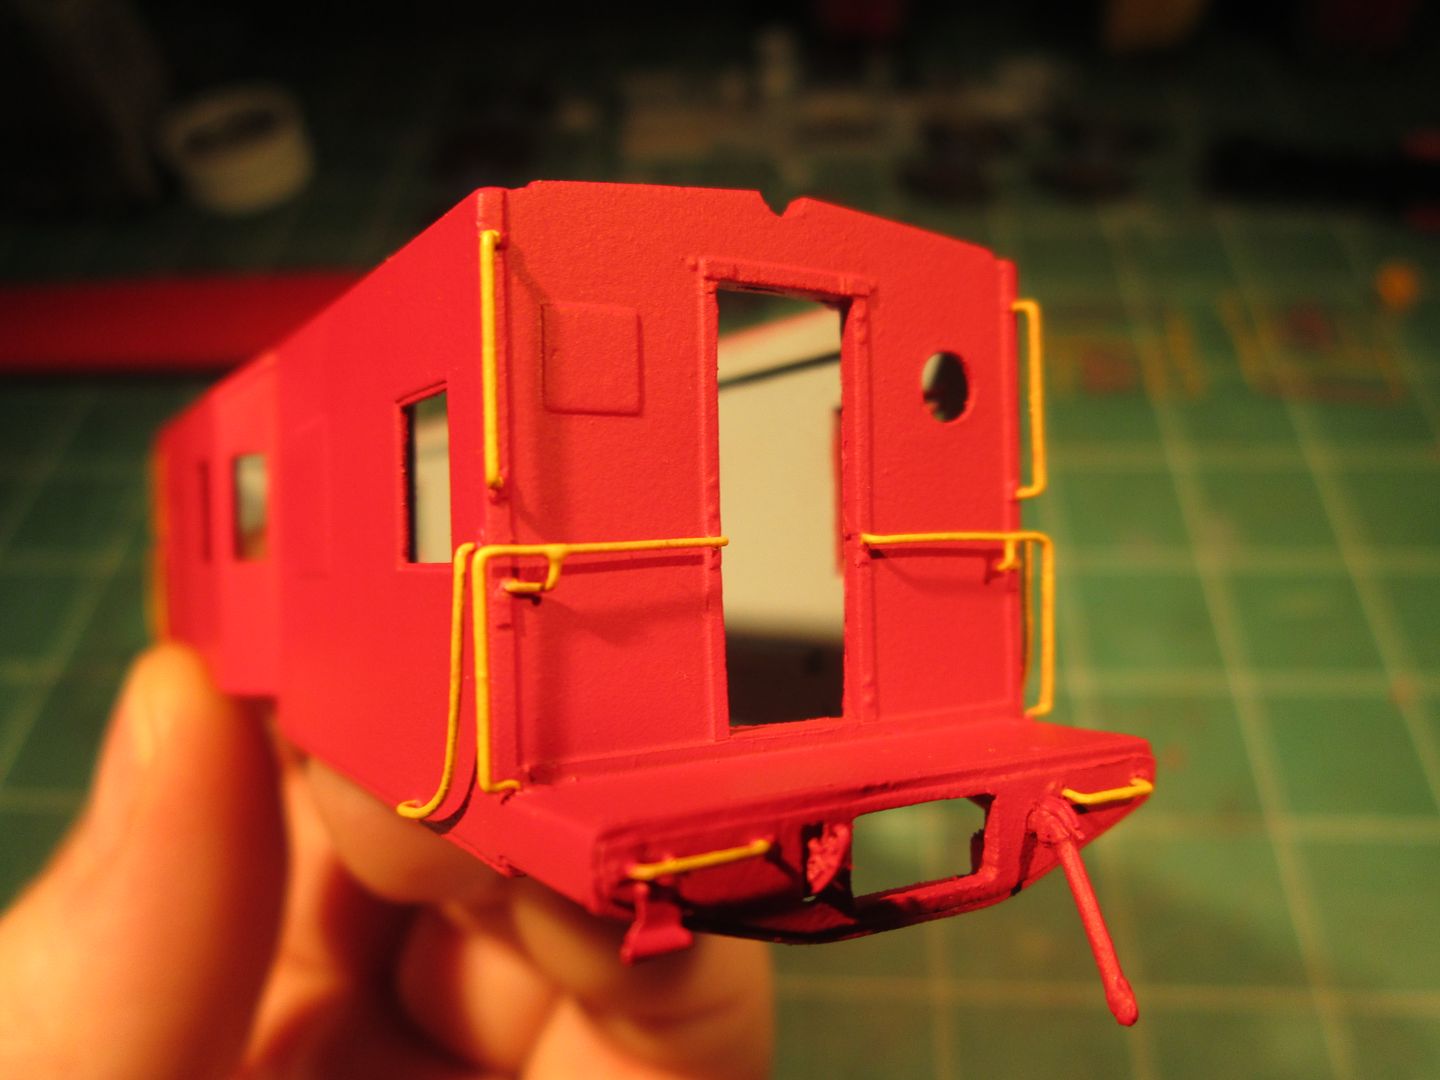 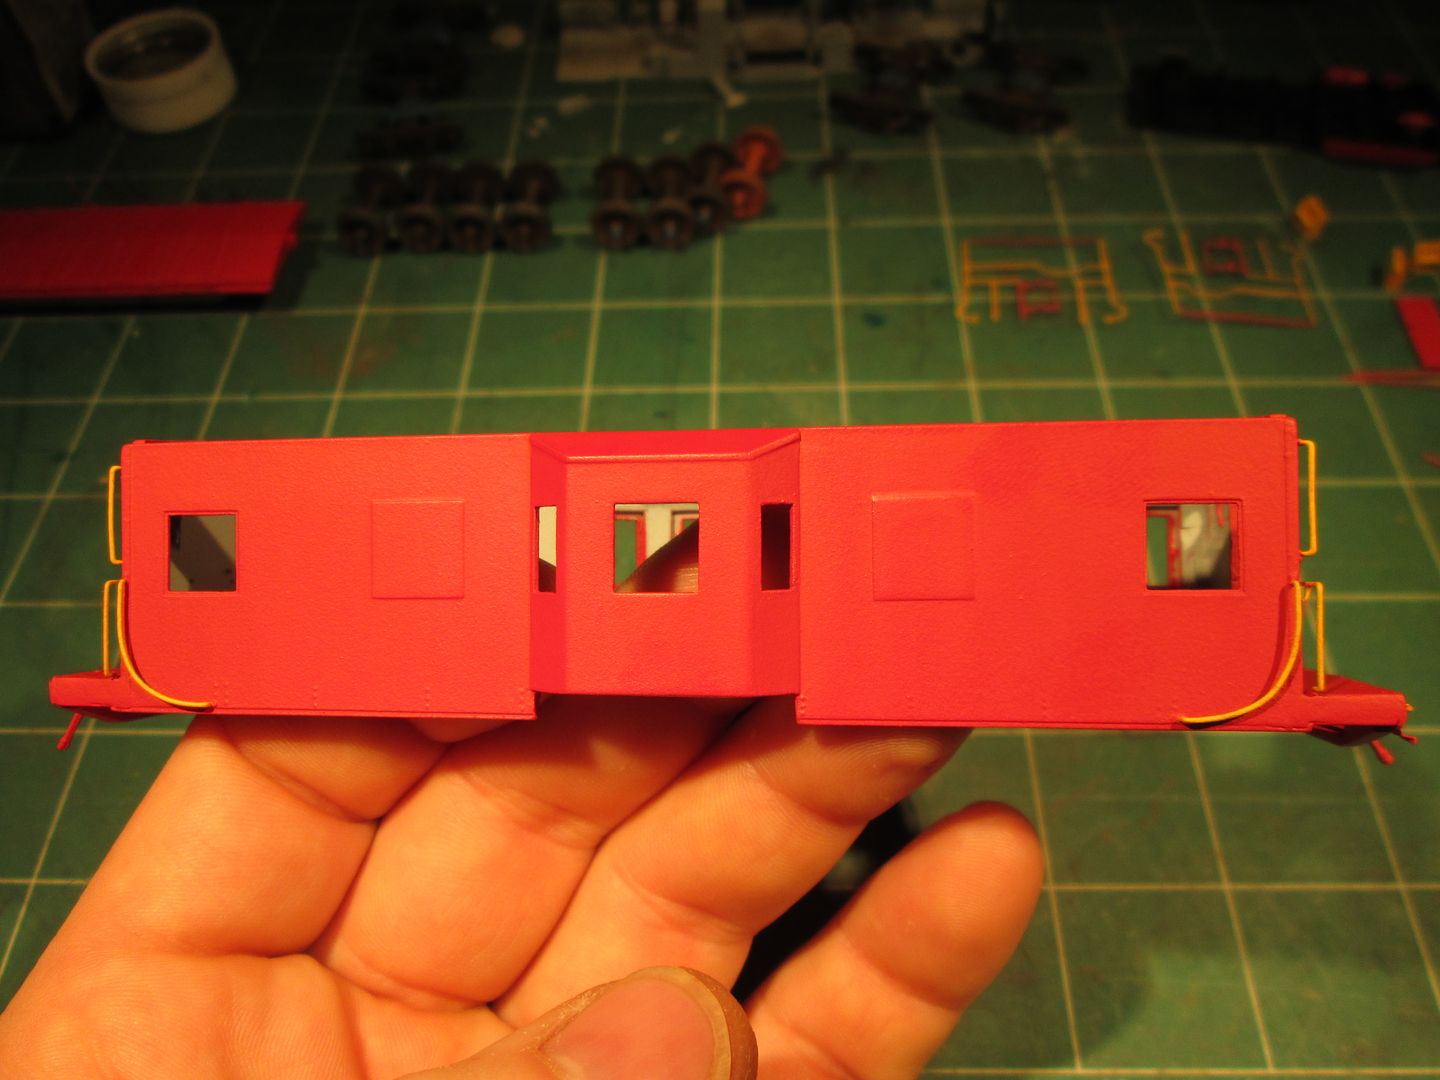 Roof "rust" layer. 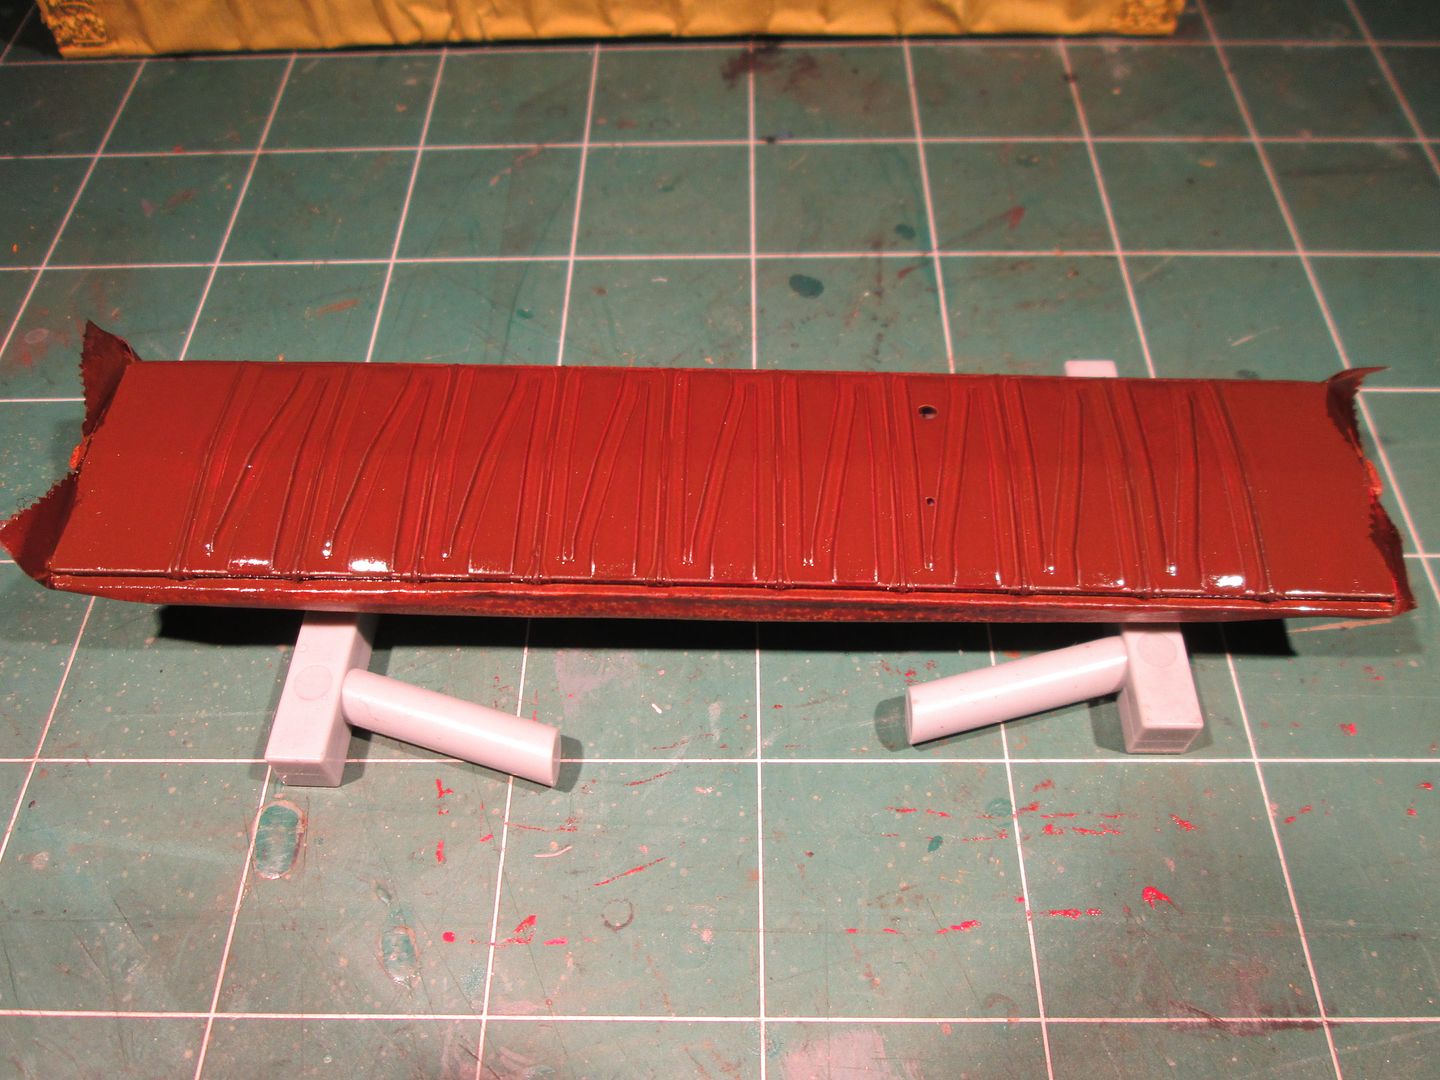 Gettin salty. 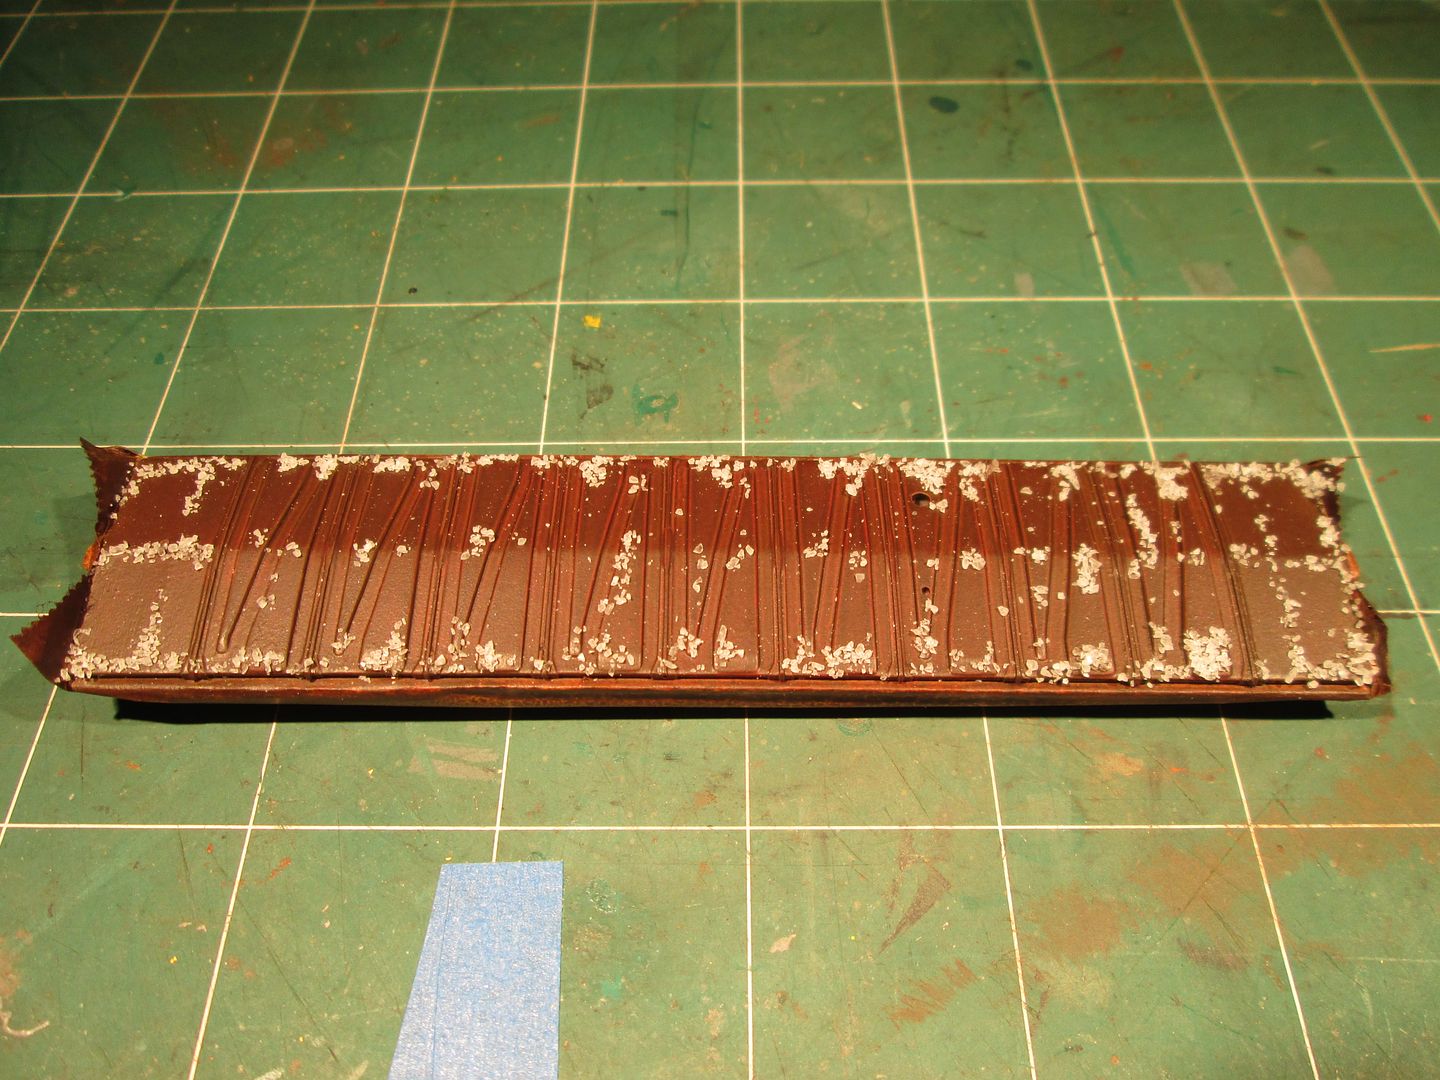 Roof color coat. 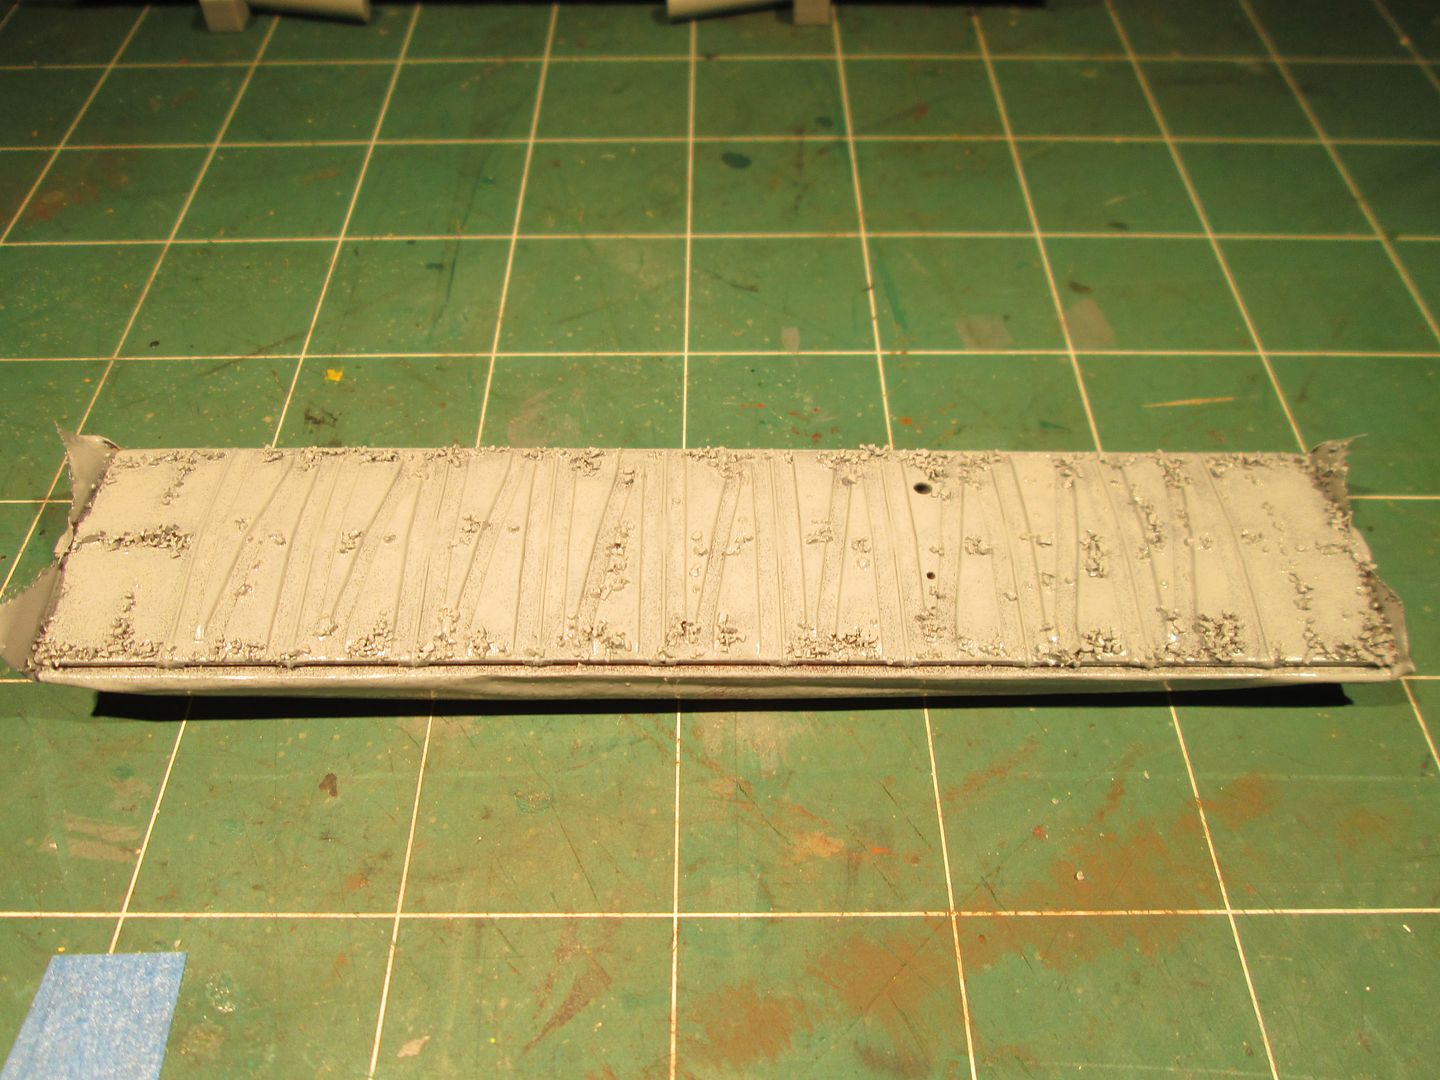 The result... 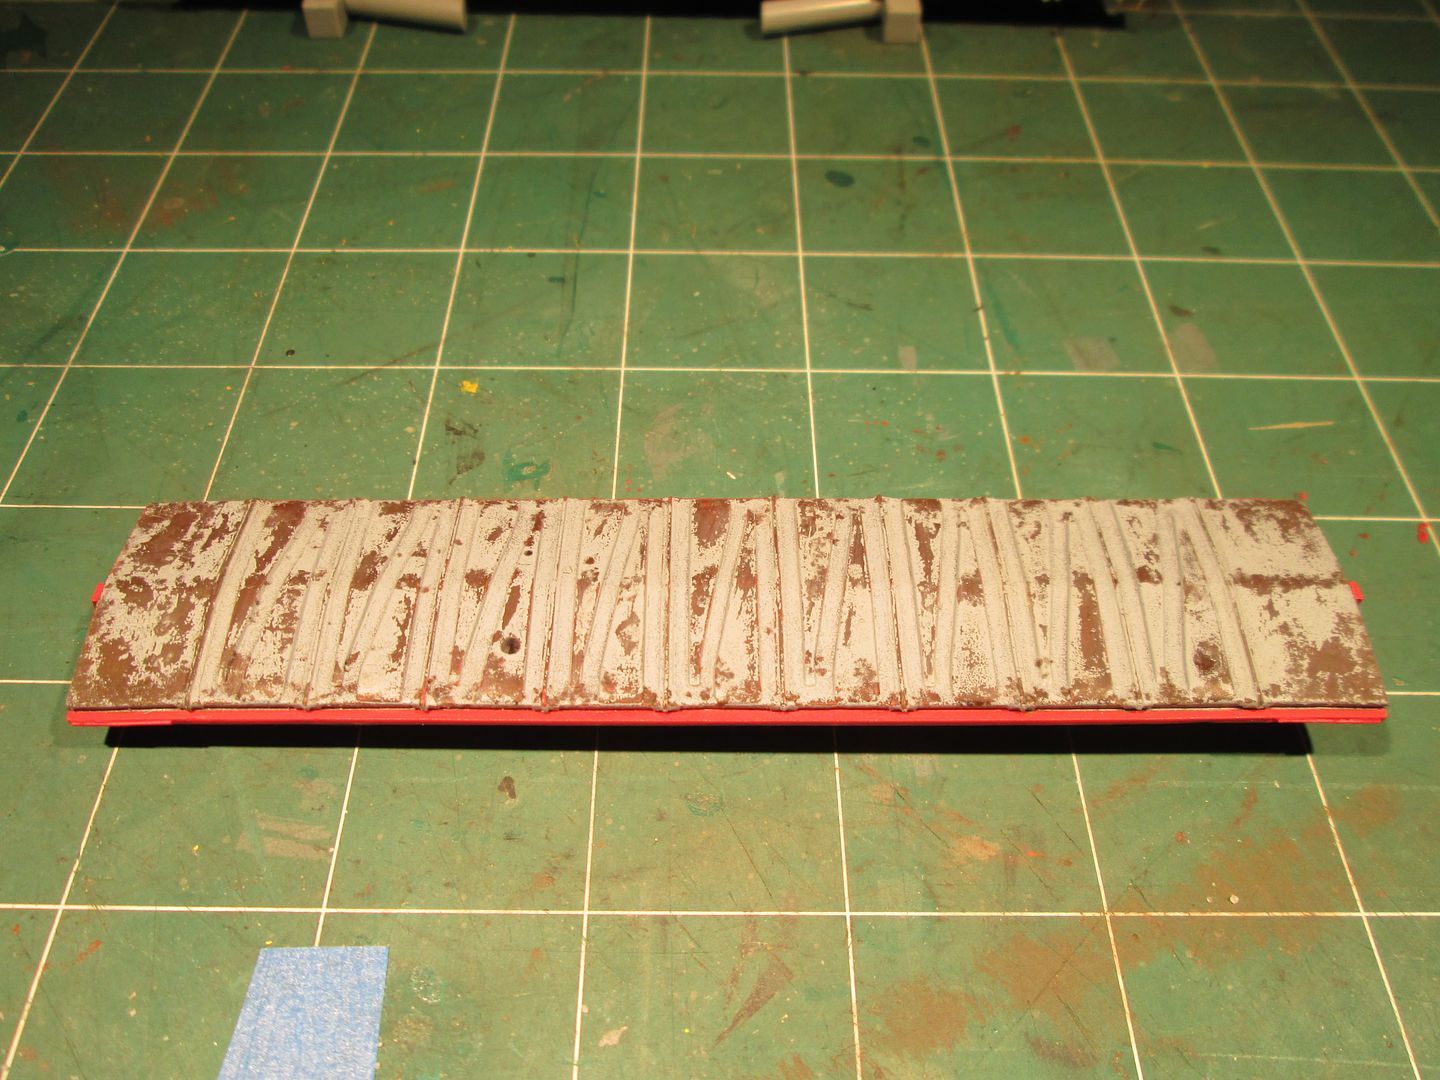 Completed trucks. 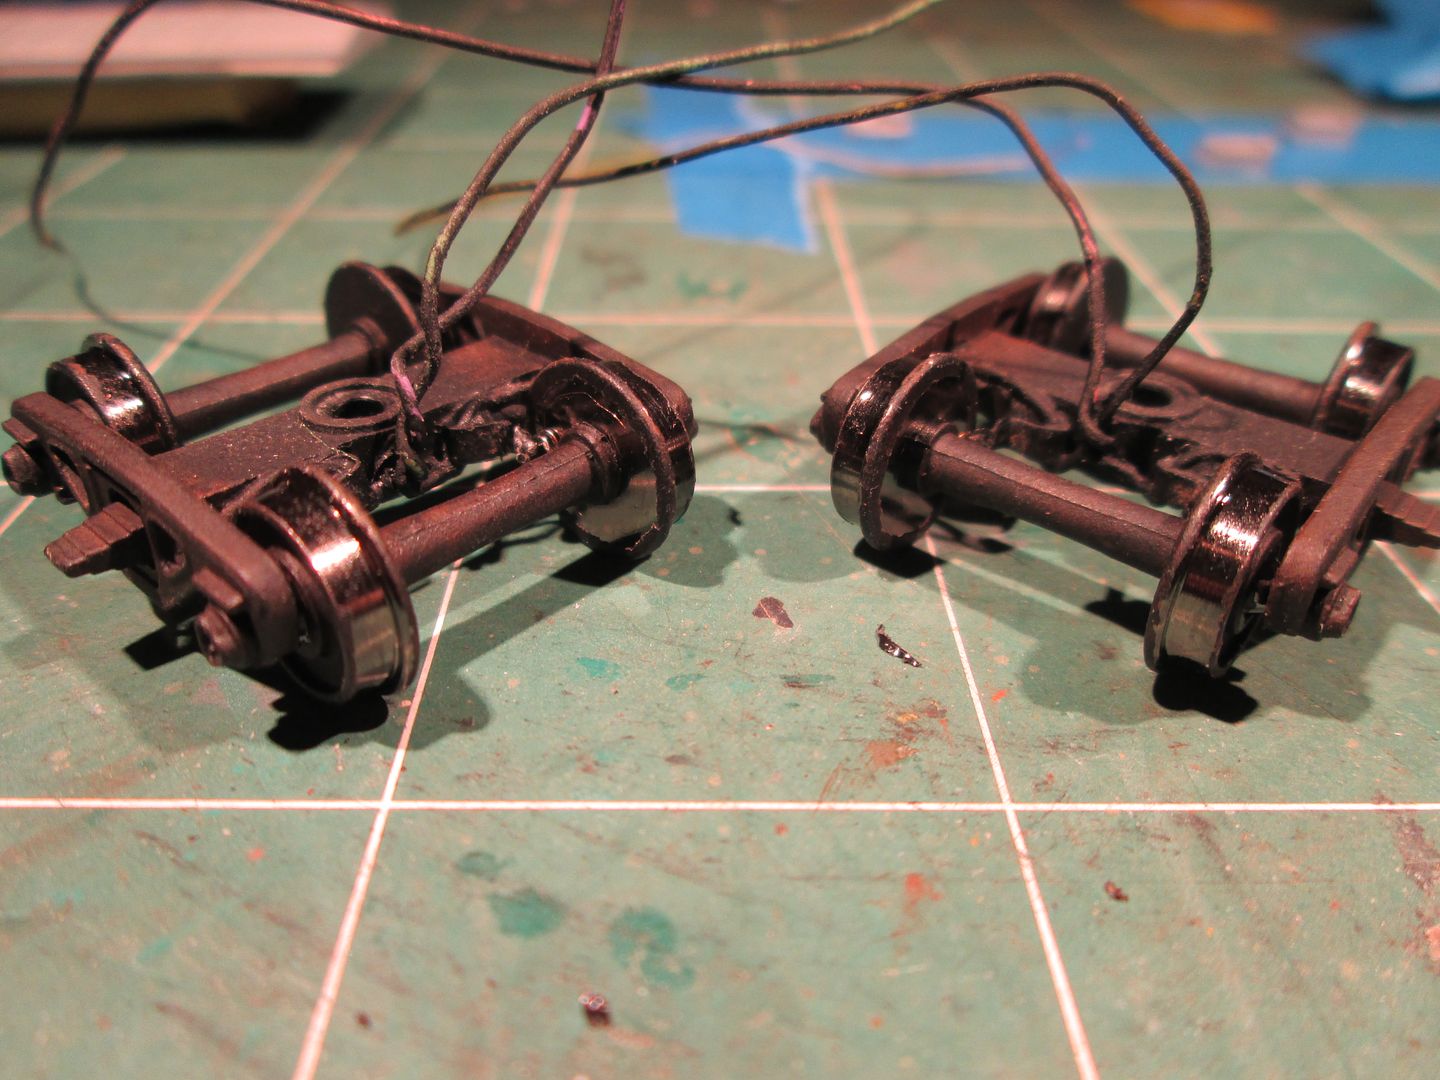 Trucks installed. 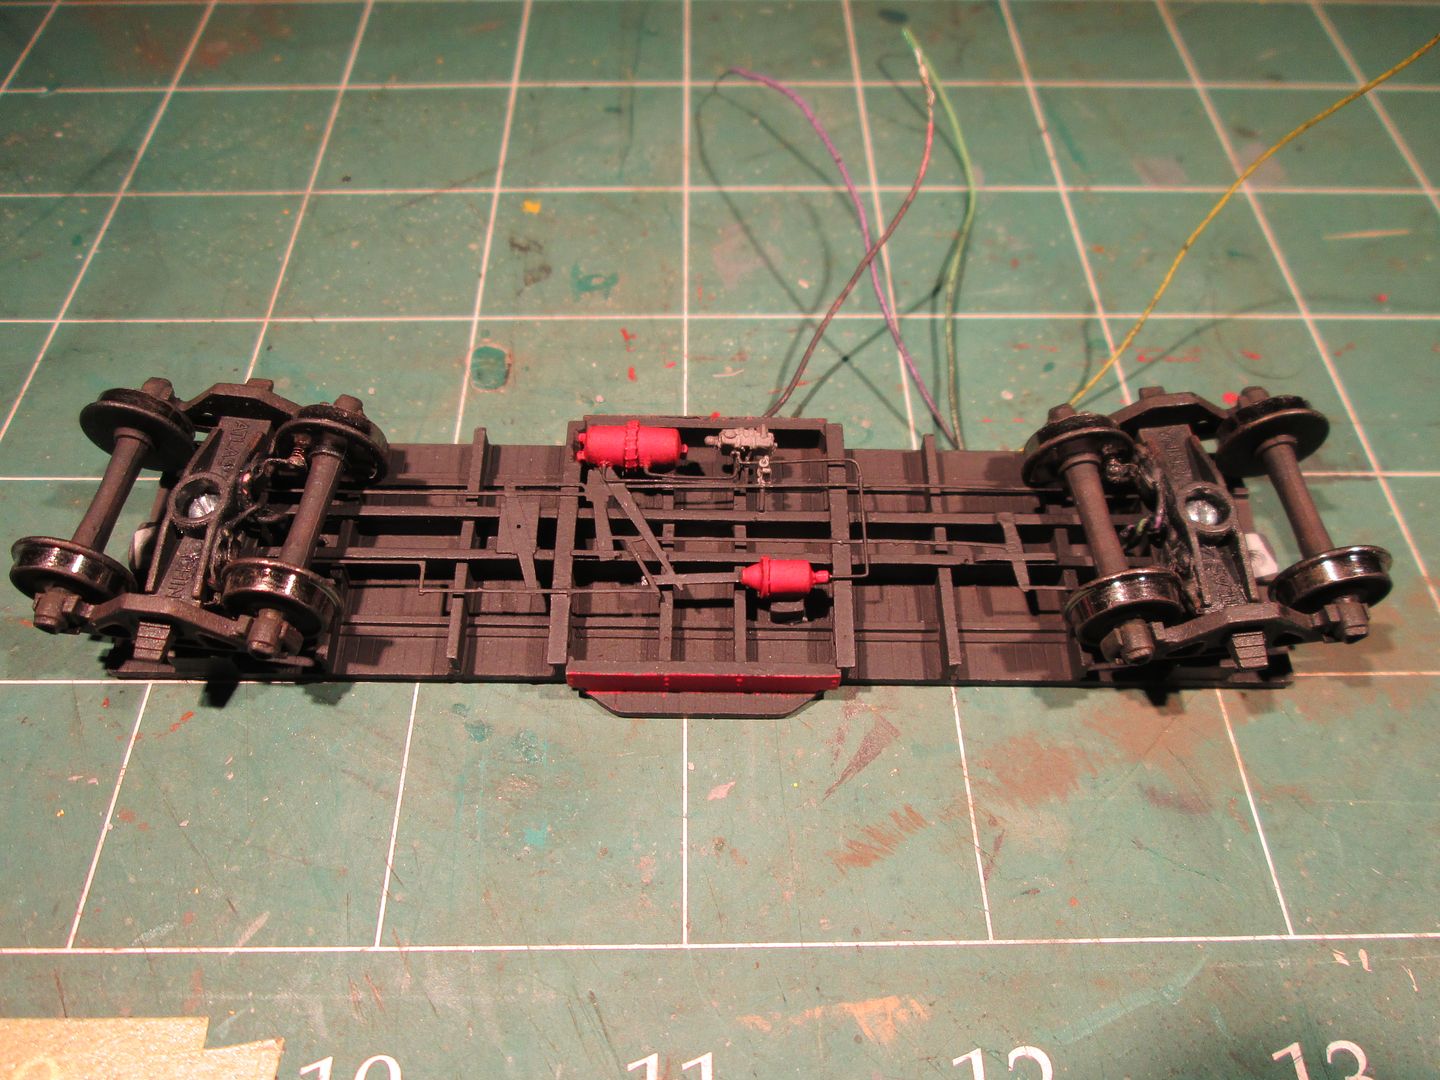 Wiring for the lighting. 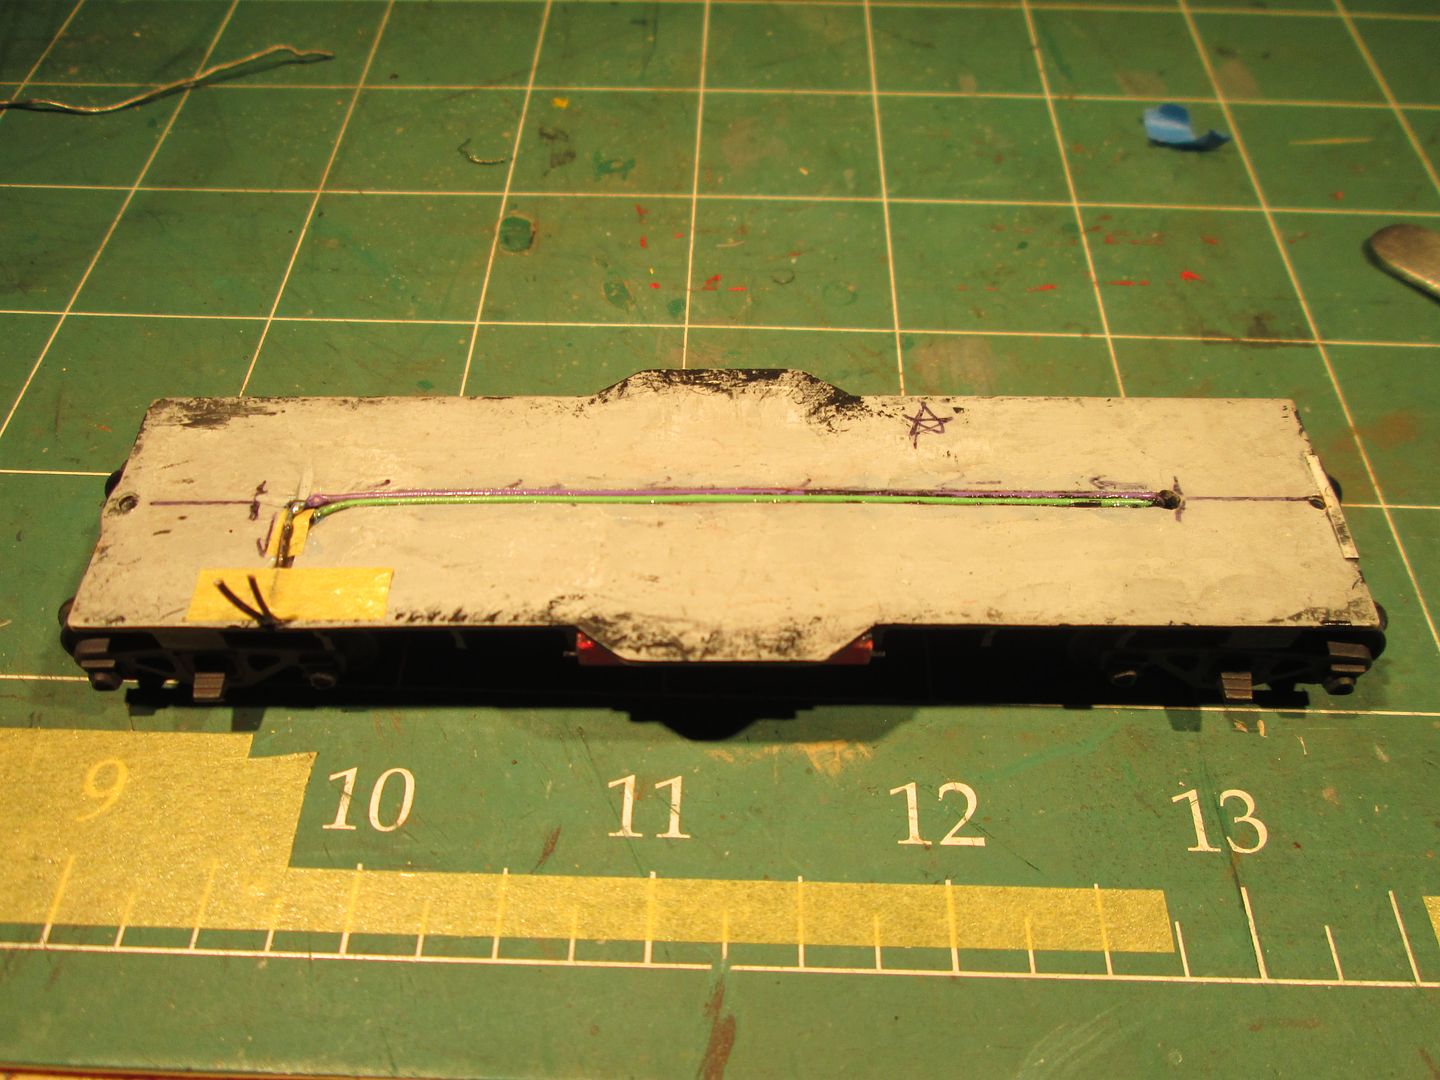 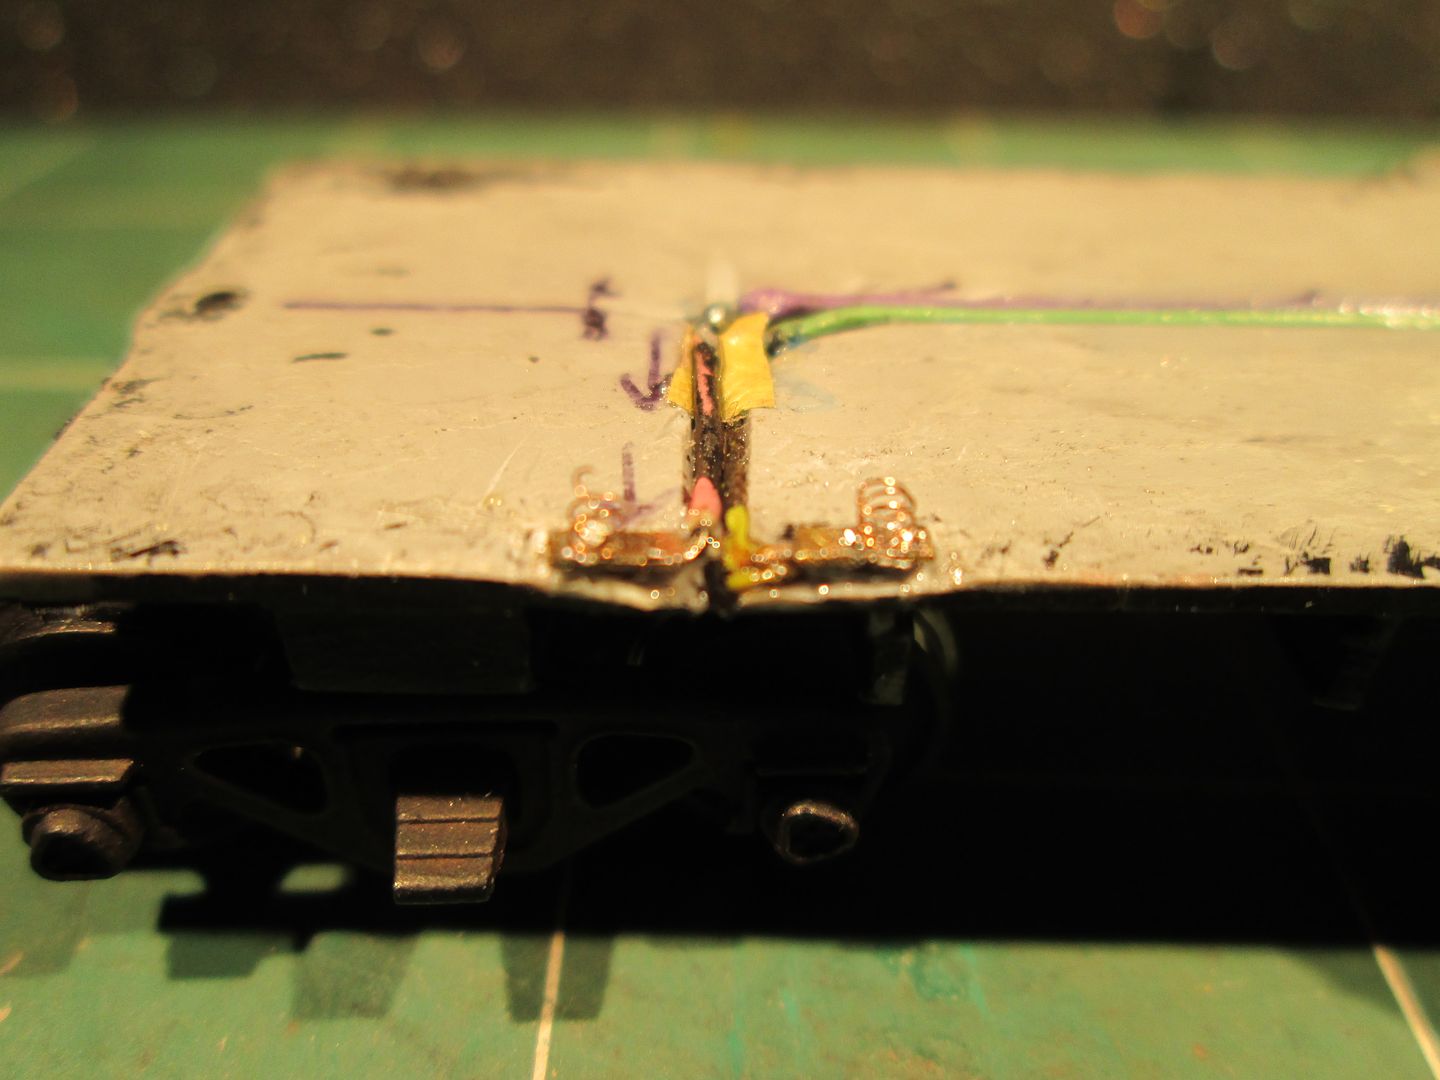 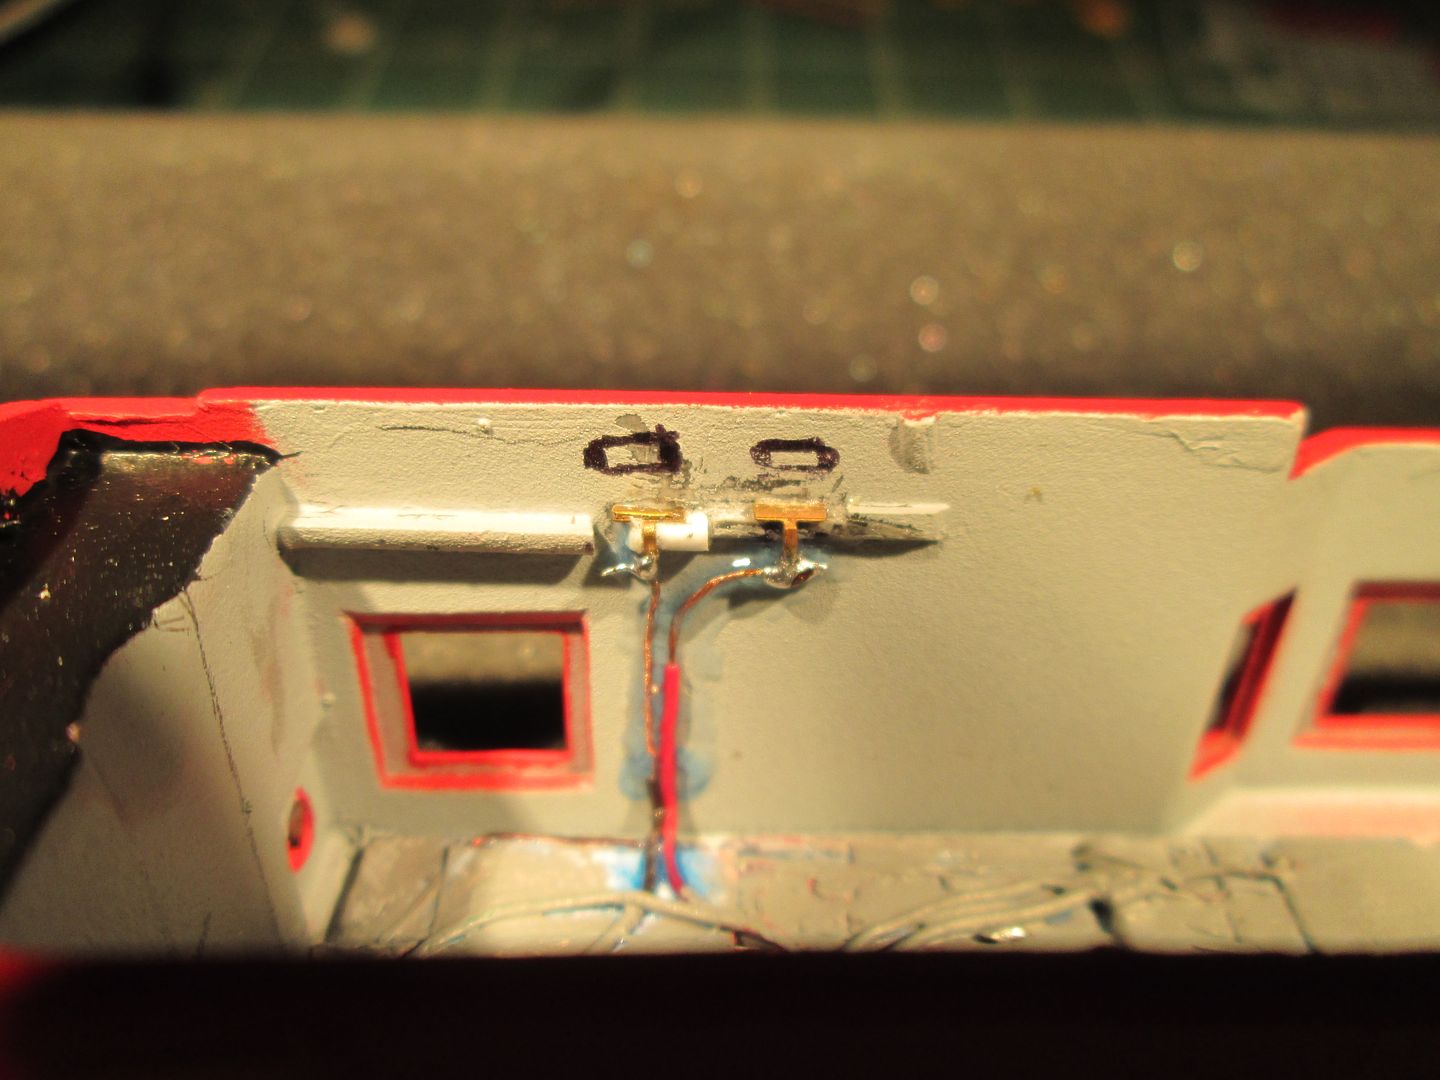 Roof glued on. 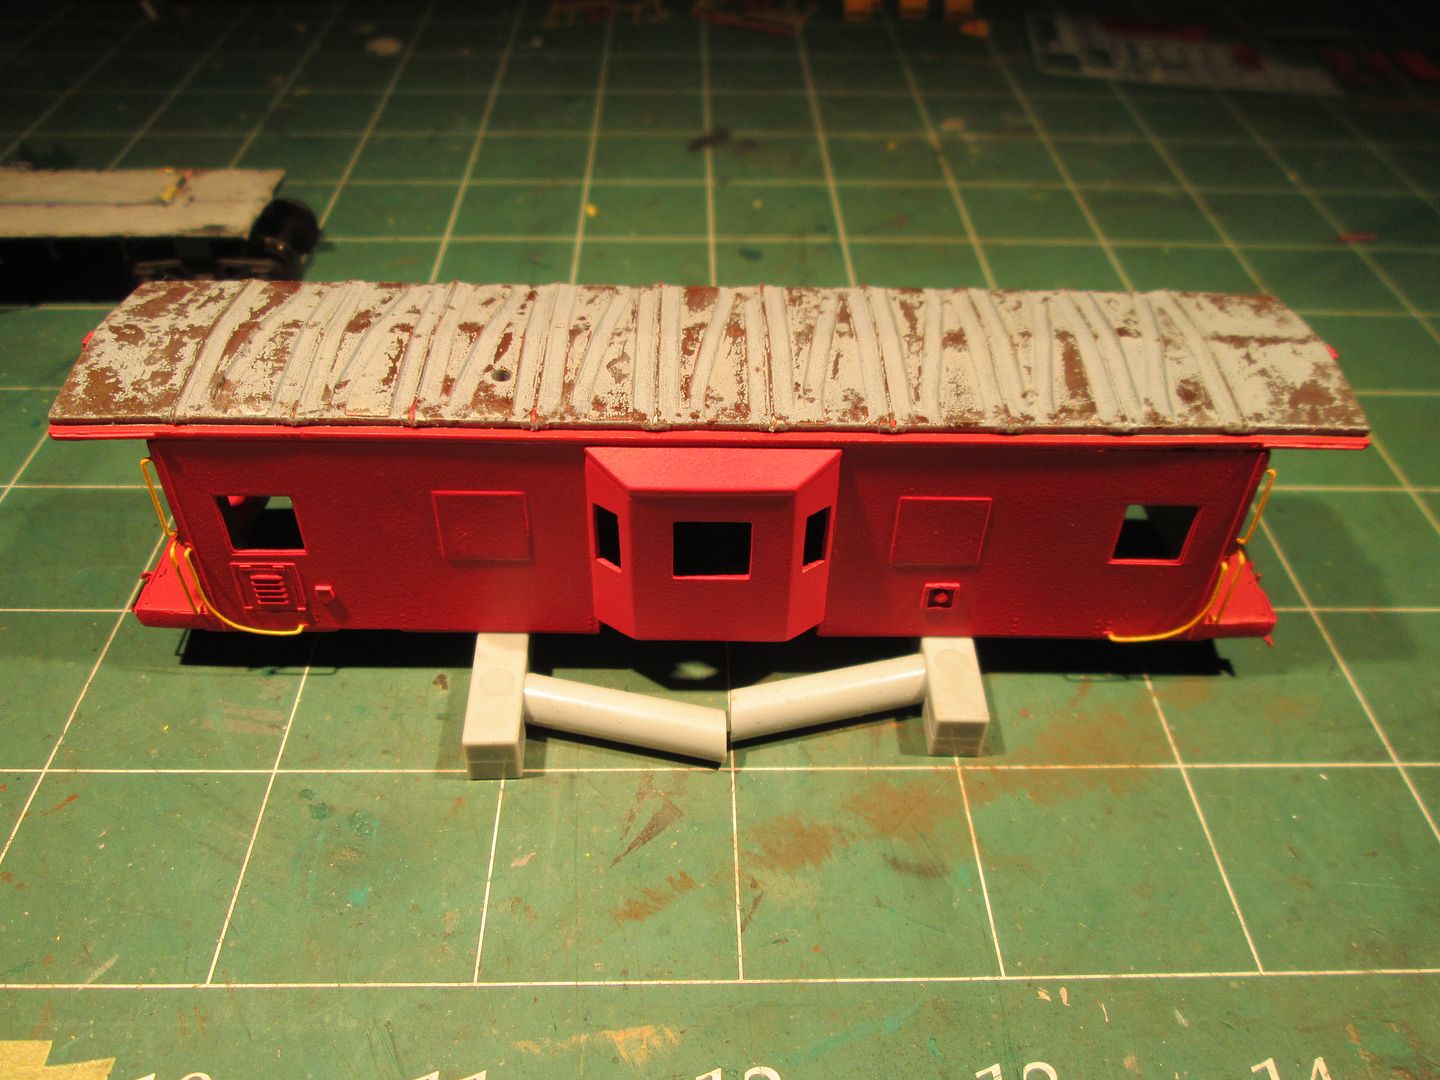  |
|
|
|
Post by icghogger on Feb 22, 2013 13:54:31 GMT -5
That roof is Da Bomb!!
|
|
|
|
Post by sd45longhoodfoward on Feb 22, 2013 19:15:33 GMT -5
EXCELLENT !!job but go slow around curves she will lean out! what paint did you use for the red paint body and the yellow for the hand rails they look pretty close to the prototypical paint
and the technique you used on the roof please tell us how you did it
Thanks Nick
Terry
|
|
|
|
Post by analogbeatmaker on Feb 22, 2013 20:02:30 GMT -5
It IS looking right! Not finished yet but definitely a good start. Thanks! EXCELLENT !!job but go slow around curves she will lean out! what paint did you use for the red paint body and the yellow for the hand rails they look pretty close to the prototypical paint and the technique you used on the roof please tell us how you did it Thanks Nick Terry lol Yeah...I'm a little worried about putting the weight in the roof but I had no choice. I'll be going proto speeds which on my small, tight curved layout is not very fast. Hopefully there won't be any problems. The colors I used were, oddly enough, a couple of those small bottles of Testors enamel. Flat Red and Flat Yellow. I thought I was going to have to buy paint but those looked identical to the pics I have of the proto so I forged onwards. The roof was done as the photos show. After I primed the roof the first color on it was burnt umber to simulate rust. Once dry I used a small brush and dabbed water in various places where I wanted the "rust" to show through the cars paint. Once water was dabbed I then sprinkled the salt onto the water (this is the pic with salt all over the roof). Once that dried I sprayed the roof gray (next pic where the salt is gray). When that was dry I used an old toothbrush and scrubbed (lightly) the salt off. The result is the next pic showing a very textured look of rust and gray paint. Thanks! |
|