|
|
Post by sd45longhoodfoward on Feb 22, 2013 21:53:51 GMT -5
II hope it runs ok too. I really didn't have a choice though. Since I want to see the interior it's the only place I could think of. I also thought of not being able to see the interior at all because I can hardly see the loco interiors in my engines. However, since I'm installing interior lighting (along with the roof end lights) and one of the doors will be glued in an open position, I'm thinking it'll be somewhat visible. Would've been nice had the undercarriage been cast metal for weight. I'd be curious to see the interior with with good lighting. Maybe not a bad idea afterall. Keep us informed with your progress. Thanks. I think as a static model the lighting an interior would look fantastic |
|
|
|
Post by sd45longhoodfoward on Feb 22, 2013 22:00:30 GMT -5
wow simple inexpensive and very effective Great techniqe Nick!!!
Terry
|
|
|
|
Post by sd45longhoodfoward on Feb 22, 2013 22:38:14 GMT -5
wow simple inexpensive and very effective Great techniqe Nick!!!
Terry
|
|
|
|
Post by sd45longhoodfoward on Feb 22, 2013 22:55:42 GMT -5
We are talking about using acrylic paints arent we? thanks!
|
|
|
|
Post by hotshot3305 on Feb 22, 2013 23:18:03 GMT -5
Nick,
Your progress looks impressive as do your ideas, but I have one question and then one helpful comment.
Question: if your roof is going to look so weathered and abused, what are you going to do to make the body and roof match each other as there is no way one can appear so rough and unkept and then have one look so well kept??
Helpful comment: From past experience, as I have built a dozen of the WrightTrak Southern cabs, I suggest that you temporarily install the floor into the body and look at the horizontal gap that will exist when you install the outside red area under the bay window. I suggest that you remove the rivets from this area and cement a .030" or .040" strip to fill that gap then repaint. Whatcha think??
|
|
|
|
Post by sd45longhoodfoward on Feb 22, 2013 23:18:36 GMT -5
Oh by the way nice job on the Generator kit bashing it !!!! could you also Give Us a BOM on the build ?If I remember Right last time I saw a Southern Baywindow caboose oh say circa 1976-78 it had a belt driven Generator i would like to find some images of that style of generator also
Thanks Nick
you should apply for the Southern Modelers Group in Yahoo its a great bunch of guys in the Group Led by Bob Harpe
with other Nationaly noted Modelers It the place to be For a Southern Modeler. between Diesel Detailer and Bobs group when it comes to modeling there is no better
Terry
|
|
|
|
Post by analogbeatmaker on Feb 23, 2013 3:30:45 GMT -5
II'd be curious to see the interior with with good lighting. Maybe not a bad idea afterall. Keep us informed with your progress. Thanks. I think as a static model the lighting an interior would look fantastic I'll keep posting as it progresses...and thanks for the interest! Just yesterday I was able to put the shell and chassis (with the interior) together and put on the track for the first real lighting/roll test. It does look great static. The two LED's for interior lights are controlled independently of one another and that looks cool. The lights flicker a bit when rolling but it wasn't as bad as I thought it would be...and it didn't seem to affect the EOT lights which are more important to me. wow simple inexpensive and very effective Great techniqe Nick!!! We are talking about using acrylic paints aren't we?
Terry Thanks! It really is as easy as it sounds. Wish I could take credit for developing it.  I did use acrylics on the roof but this would work with enamel/oil based paints as well. Nick, Your progress looks impressive as do your ideas, but I have one question and then one helpful comment. Question: if your roof is going to look so weathered and abused, what are you going to do to make the body and roof match each other as there is no way one can appear so rough and unkept and then have one look so well kept?? Helpful comment: From past experience, as I have built a dozen of the WrightTrak Southern cabs, I suggest that you temporarily install the floor into the body and look at the horizontal gap that will exist when you install the outside red area under the bay window. I suggest that you remove the rivets from this area and cement a .030" or .040" strip to fill that gap then repaint. Whatcha think?? To answer the weathering question, I have spent a lot of time searching for photos of this type of caboose...and by no means do I have all the pics. However, of all the ones I could find, I couldn't find enough pics of one in particular to model well. So, I'm modeling from 3 or 4 main pics that I like. At first I was going to approach this as a model of a caboose in a historical museum type of setting, freshly painted and all. As I progressed I decided to go to a working era caboose. One pic I like a lot has a silver/gray roof with major rust areas similar to the effect I achieved. The sides of this caboose are fairly clean. There is wheel splatter on the ends and it's grimy underneath/backs of steps but none of it looks as trashed as the roof...weird. Anyway, I liked the contrast of this and decided to model that appearance. Thanks you for pointing out the issue of fit. I hadn't noticed it and will check that once I have it back together. I don't mind doing the work but if it isn't too bad I may leave it...then again, if I start to obsess over it......... Oh by the way nice job on the Generator kit bashing it !!!! could you also Give Us a BOM on the build ?If I remember Right last time I saw a Southern Baywindow caboose oh say circa 1976-78 it had a belt driven Generator i would like to find some images of that style of generator also Thanks Nick you should apply for the Southern Modelers Group in Yahoo its a great bunch of guys in the Group Led by Bob Harpe with other Nationaly noted Modelers It the place to be For a Southern Modeler. between Diesel Detailer and Bobs group when it comes to modeling there is no better Terry Thanks Terry! I must say that in order to answer the question, "could you also Give Us a BOM on the build?"...I need to know what a "BOM" is. lol I'm sure I won't mind. haha Yeah, a belt drive would've been cool but none of the pictures I have show that. I will check out that Yahoo group when I get a chance, thanks for the heads-up! |
|
|
|
Post by analogbeatmaker on Feb 24, 2013 1:36:57 GMT -5
Helpful comment: From past experience, as I have built a dozen of the WrightTrak Southern cabs, I suggest that you temporarily install the floor into the body and look at the horizontal gap that will exist when you install the outside red area under the bay window. I suggest that you remove the rivets from this area and cement a .030" or .040" strip to fill that gap then repaint. Whatcha think?? Thank you for pointing out the issue of fit. I hadn't noticed it and will check that once I have it back together. I don't mind doing the work but if it isn't too bad I may leave it...then again, if I start to obsess over it......... ......obsessed....... lol So now I'm letting the glue cure on the trim pieces to level that gap out. Thanks again for bringing that to my attention. |
|
|
|
Post by analogbeatmaker on Mar 4, 2013 11:48:20 GMT -5
|
|
|
|
Post by antlorch on Mar 4, 2013 12:47:18 GMT -5
Very nice. This is turning out awesome looking. Great job and can't wait to see it completed.
|
|
|
|
Post by analogbeatmaker on Mar 4, 2013 15:44:44 GMT -5
Very nice. This is turning out awesome looking. Great job and can't wait to see it completed. Thanks! I can't wait to finish it either. I partially assembled it yesterday and put it on the track for a roll/lighting test...looks good. Now all I have to do is weather it, dullcote it and completely assemble it and it's finished. |
|
|
|
Post by analogbeatmaker on Mar 7, 2013 17:32:35 GMT -5
Here are a few more pics. First, the bracing under the bay window. I had to modify these because they were too big after I added the styrene mod. 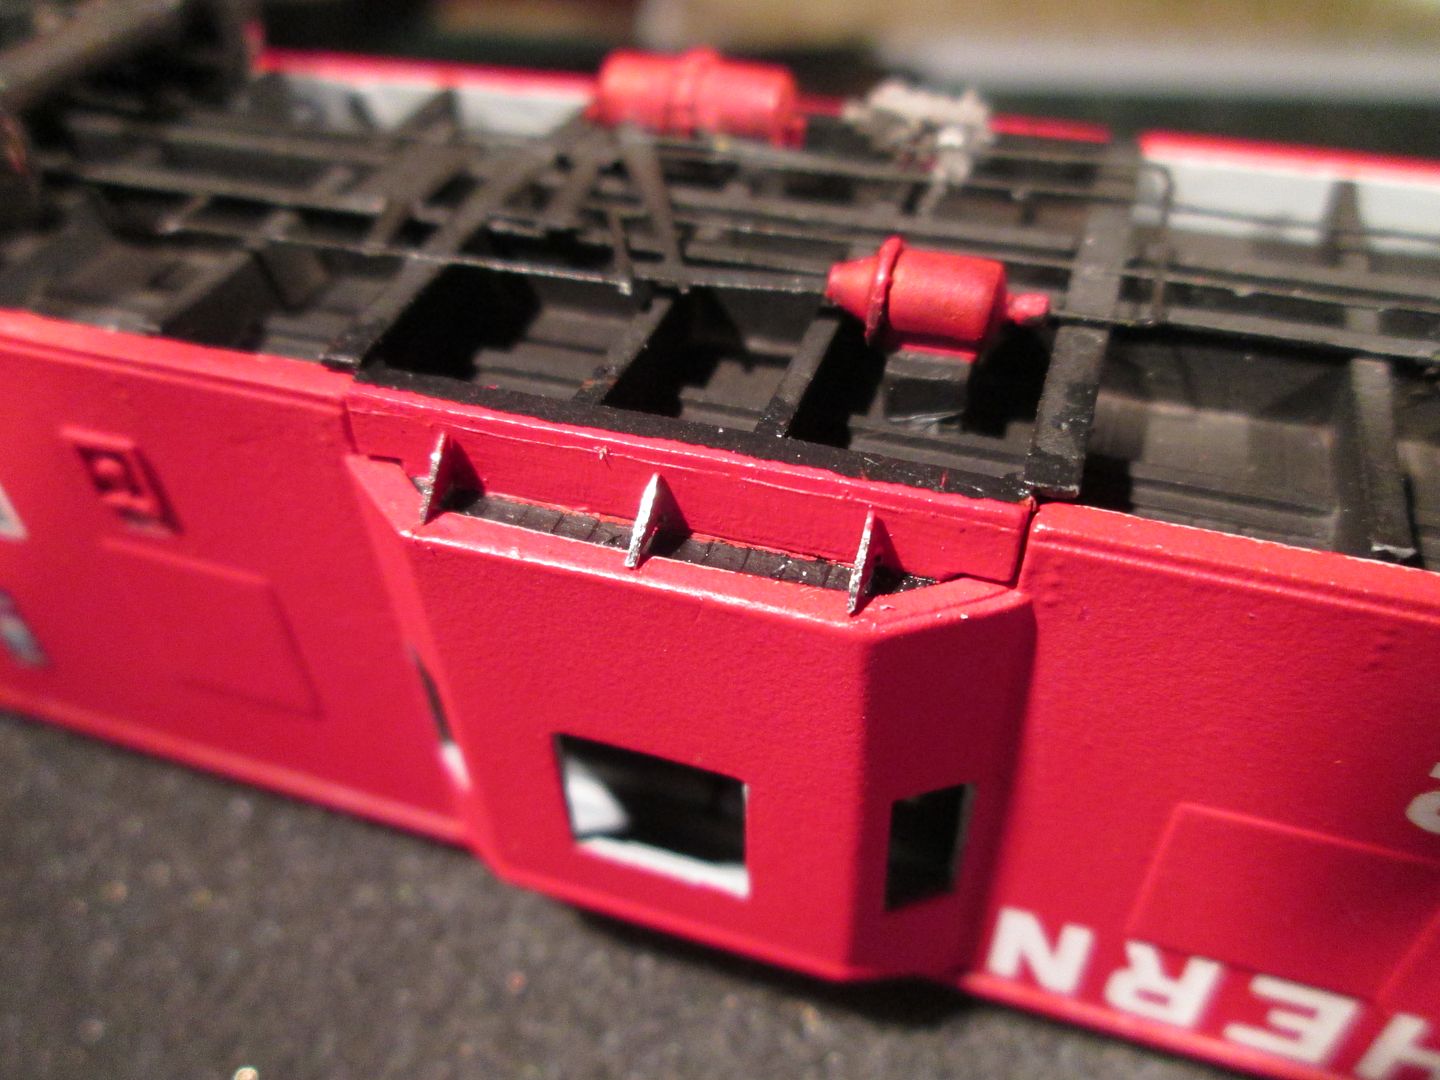 Bending cut levers. 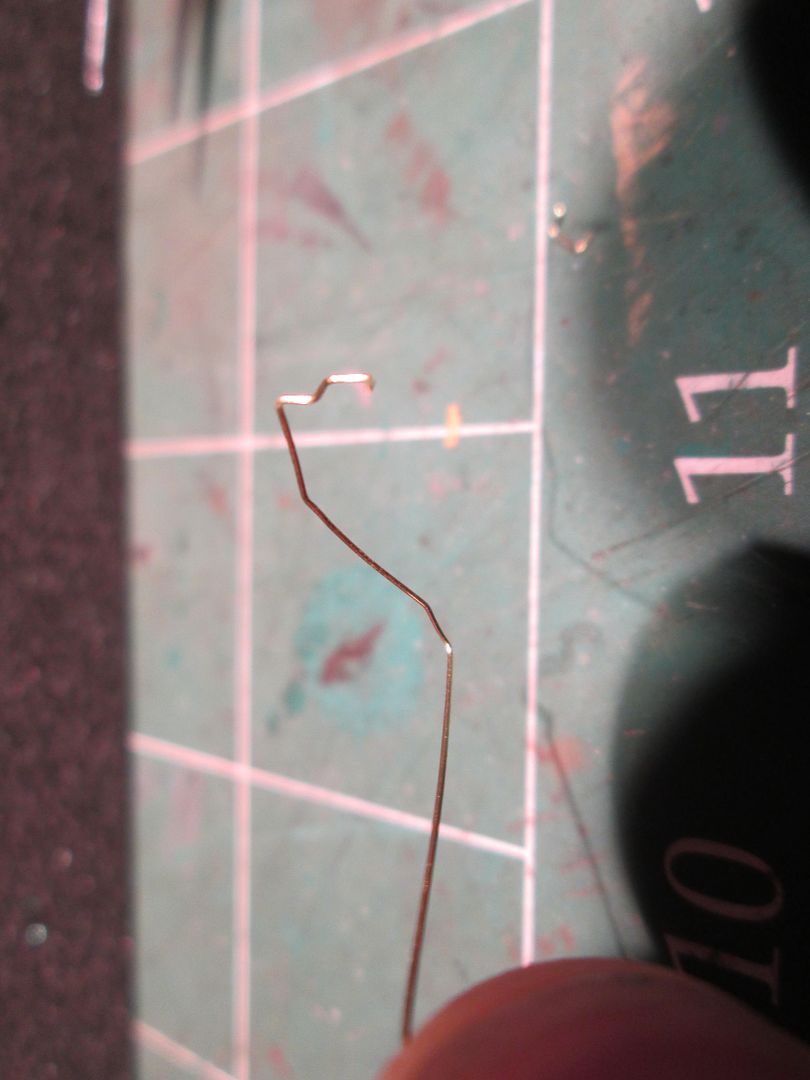 Installed. 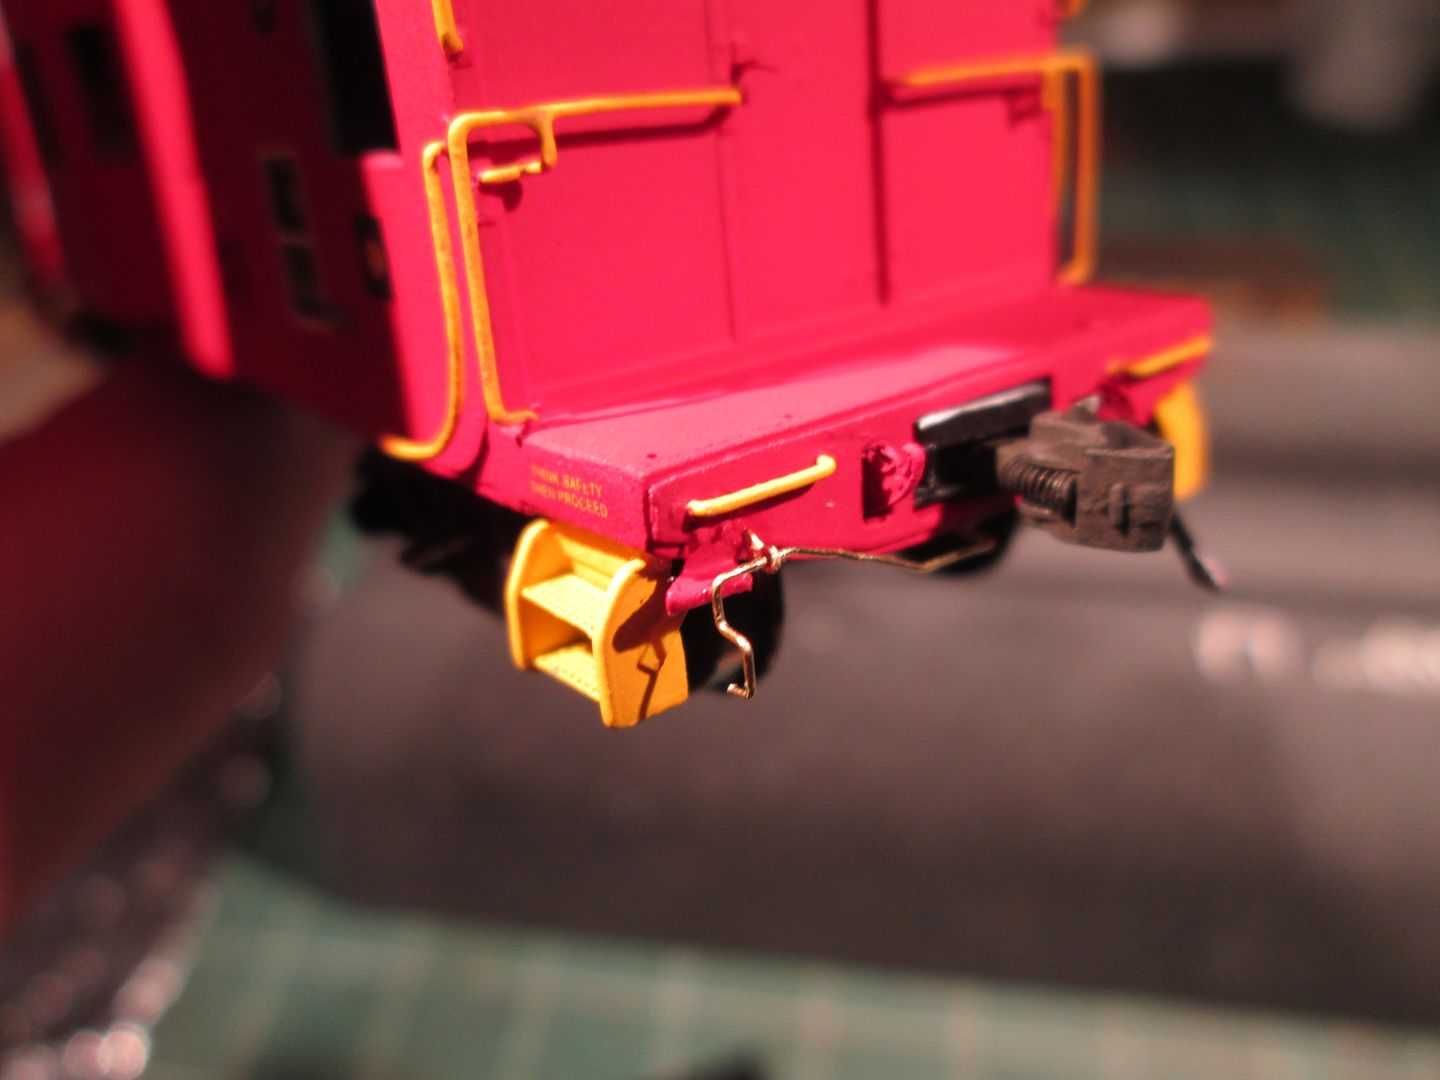 Here's the platform railings and brakewheel detail. I still have to glue the chains from the brakewheel to the connecting rod. Also, since the protos I am modeling and the model railings were different I had to make a compromise. I added a vertical post (is to the right of the coupler) and just to it's left a small pipe. The compromise was locating these two details in a location that isn't exactly where the real ones are. I hope it still looks passable. 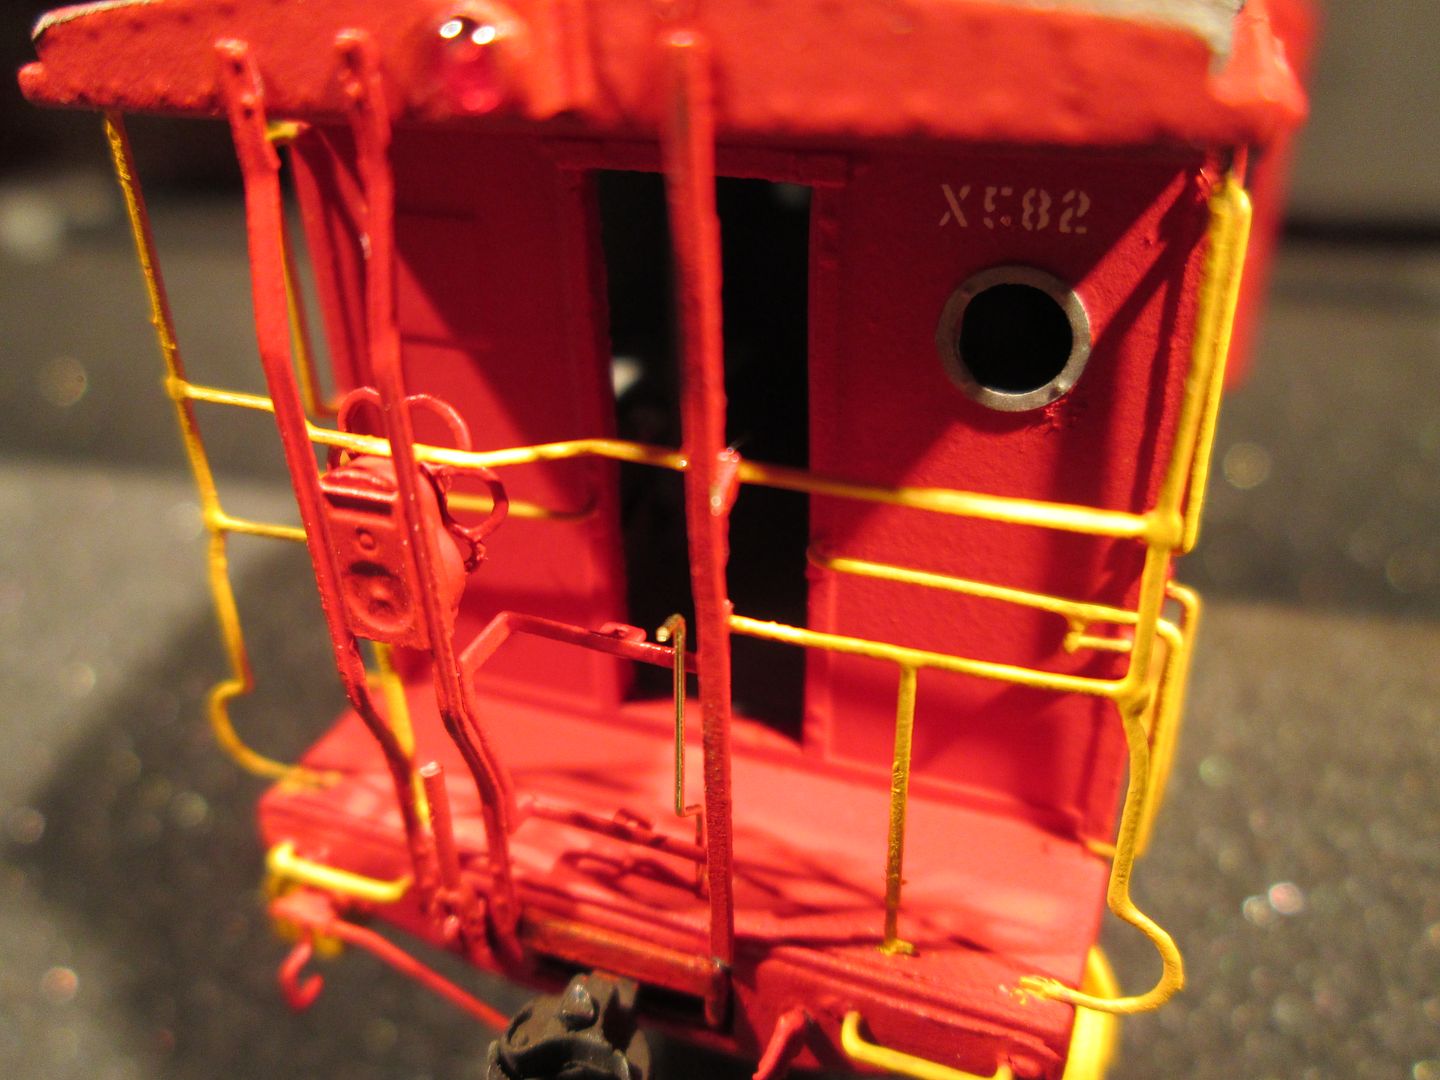 Here are a few pics of it on the layout with the lights on! 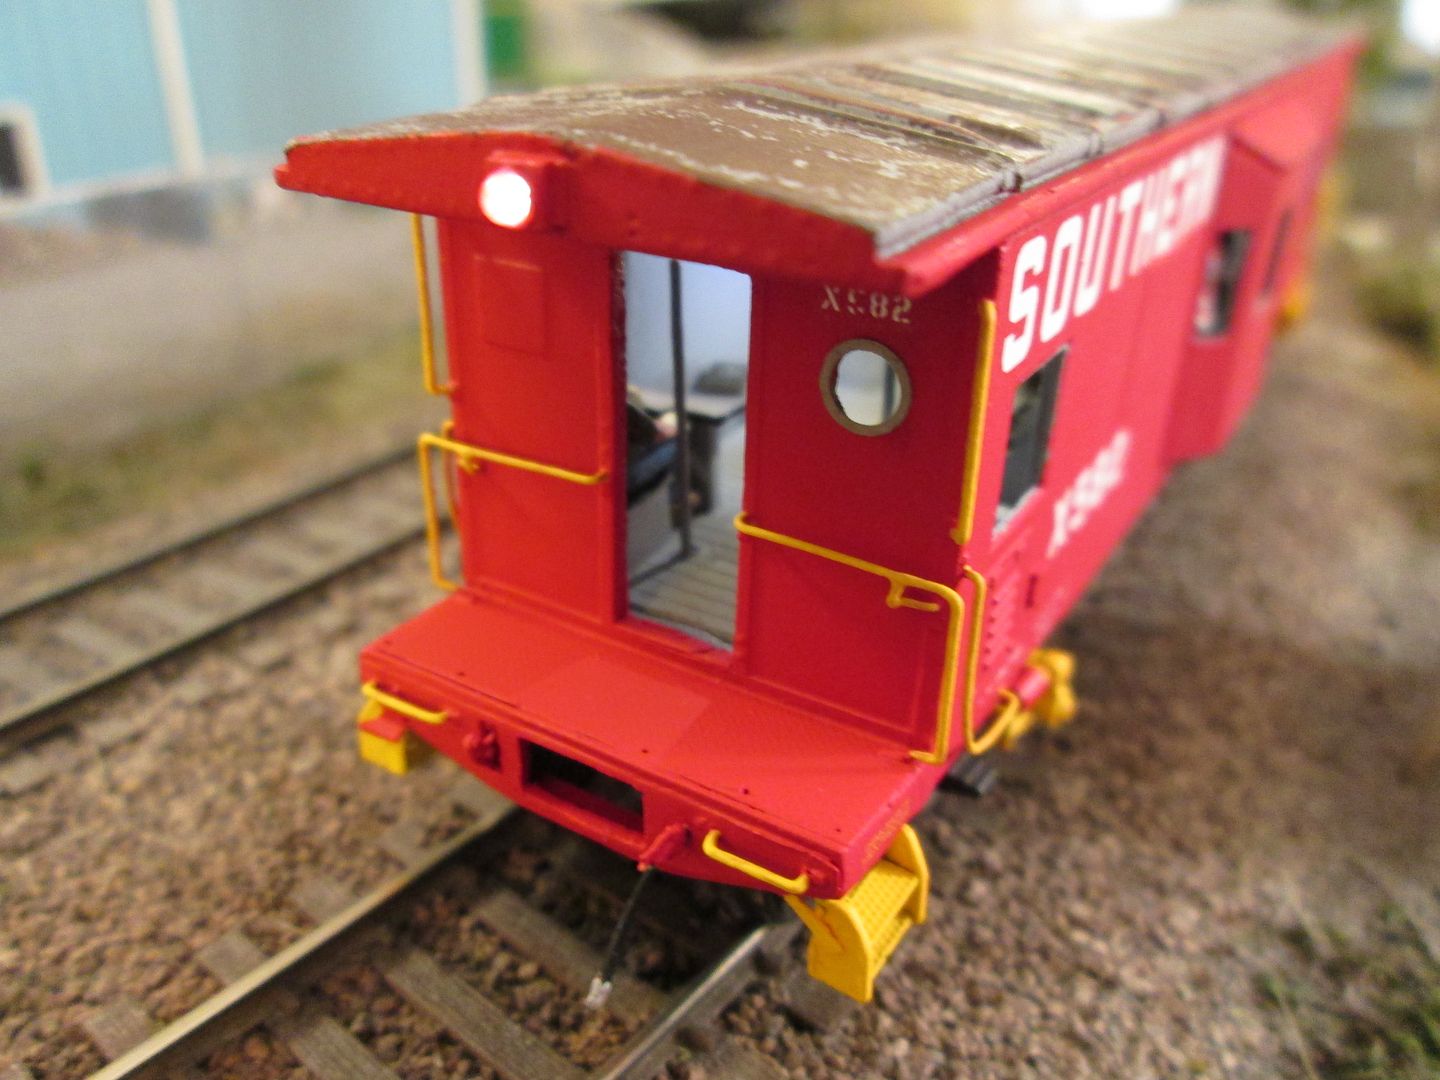 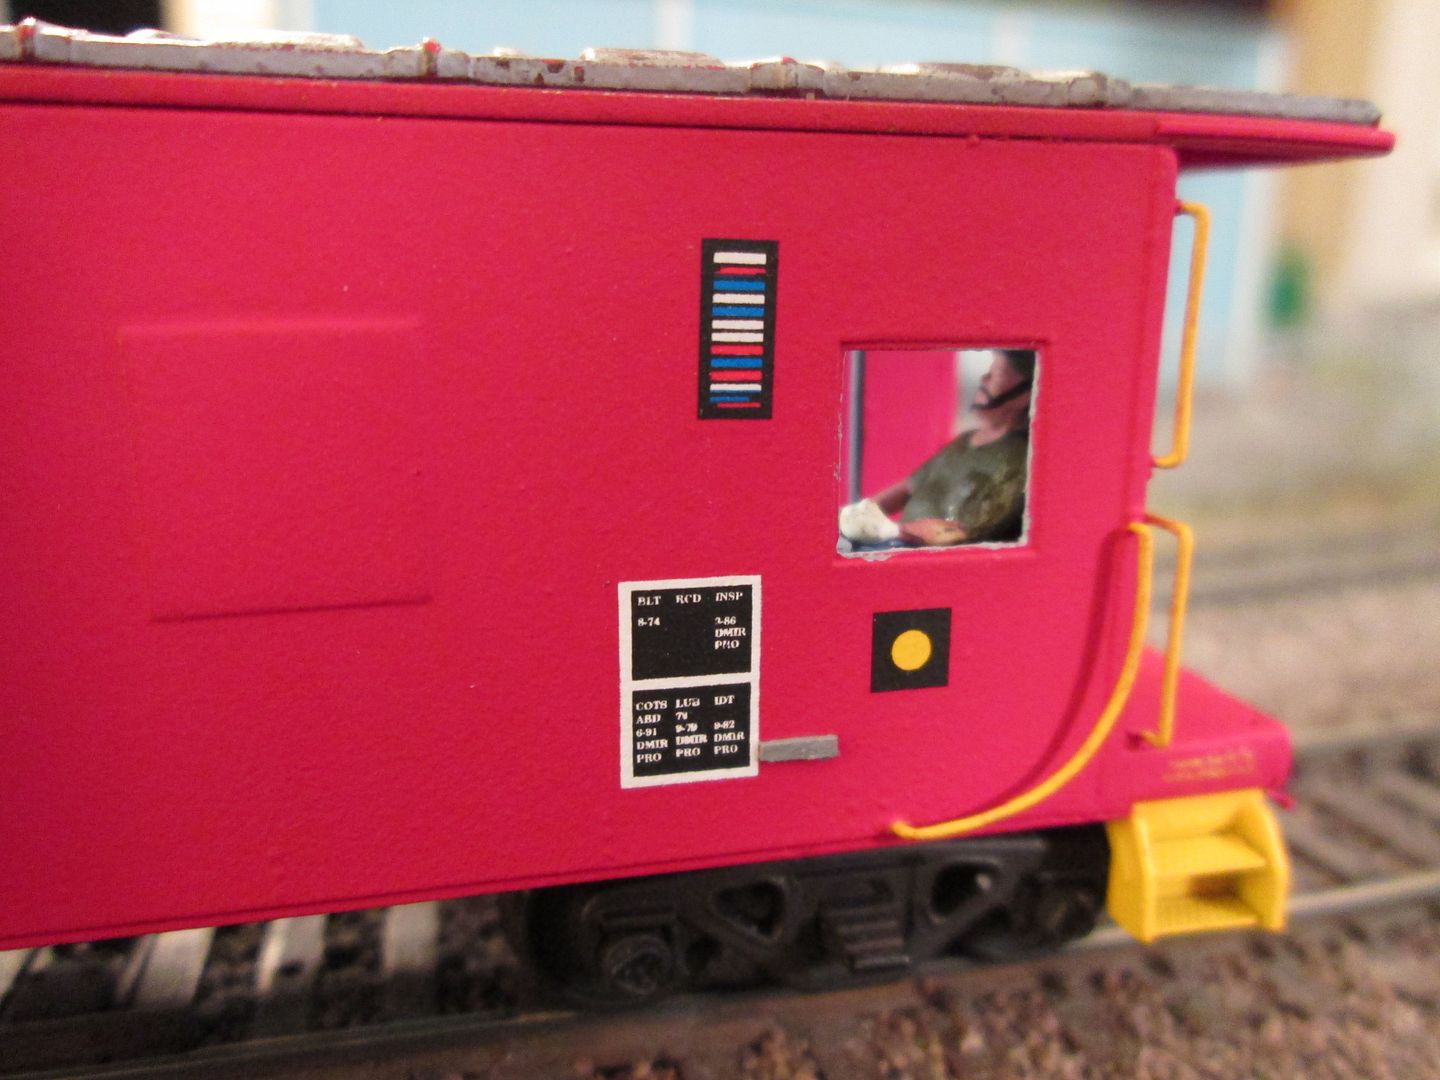  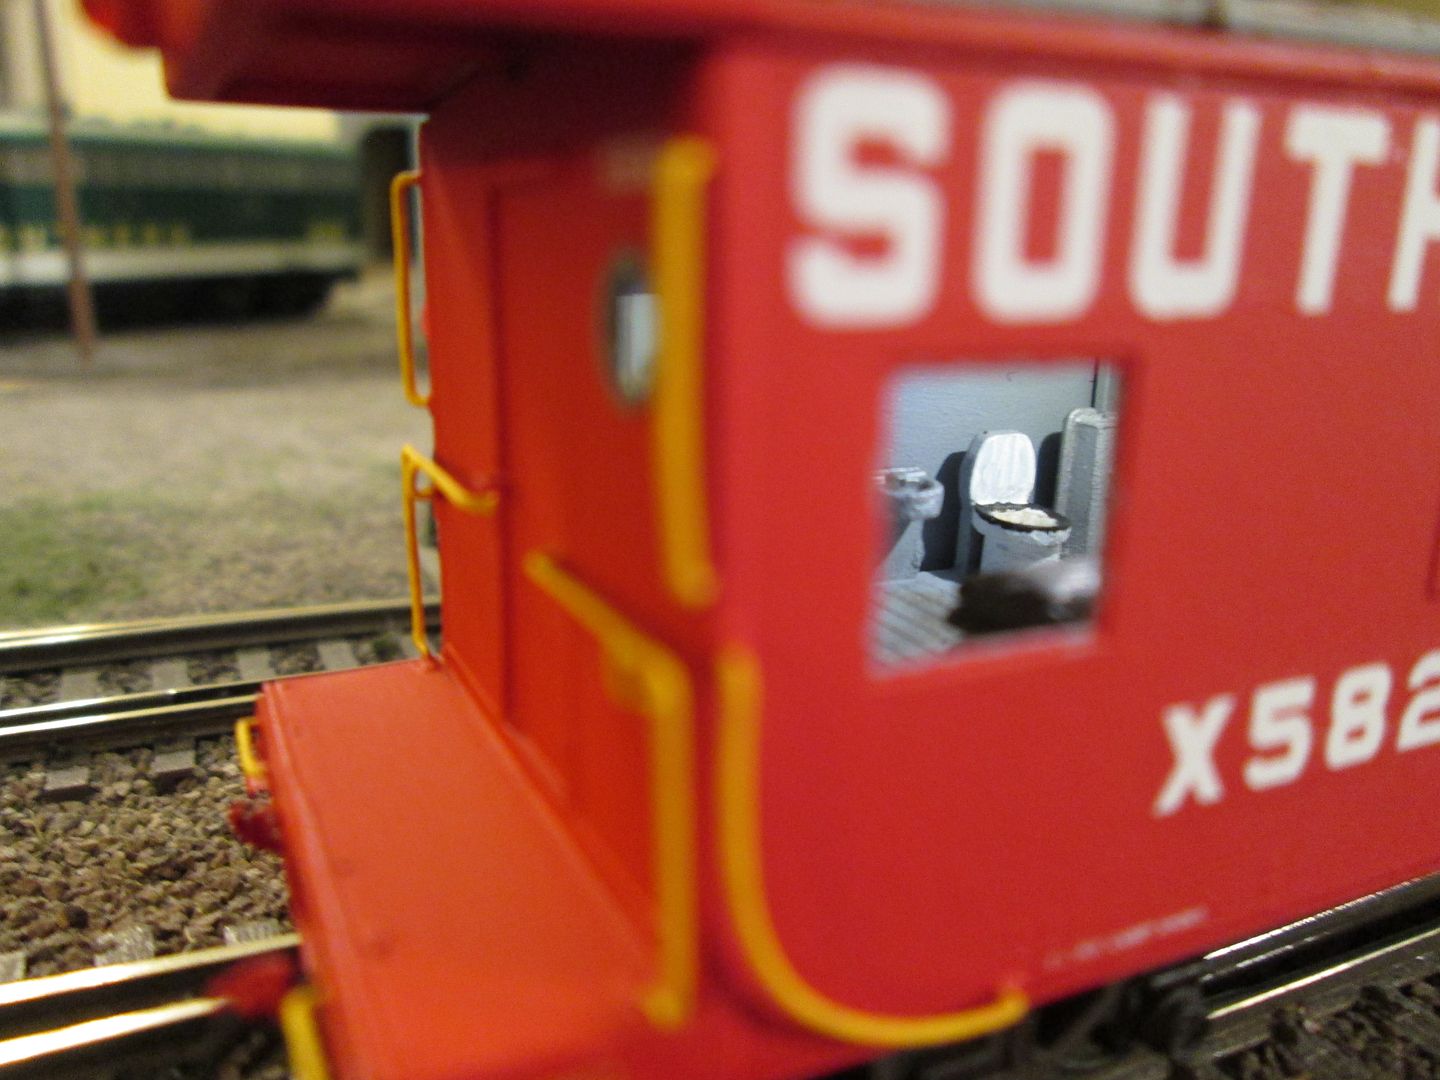 So, now to weather it, install the windows and post a few finished pics! |
|
dale
Superintendent
Posts: 157
|
Post by dale on Mar 8, 2013 22:36:39 GMT -5
Awesome! I've got one of those at home and 1 from overland, I need to bring my kit on the road with me and do the same detailing on the interior and roof like you did. We're all a little nutty in this hobby and yes the interior maybe a little hard to see but I know military modeler who will detail the inside of a tank then chuck the turret on top and never see the inside again. It's just good to know the details are there.
|
|
|
|
Post by analogbeatmaker on Mar 8, 2013 23:37:11 GMT -5
Awesome! I've got one of those at home and 1 from overland, I need to bring my kit on the road with me and do the same detailing on the interior and roof like you did. We're all a little nutty in this hobby and yes the interior maybe a little hard to see but I know military modeler who will detail the inside of a tank then chuck the turret on top and never see the inside again. It's just good to know the details are there. Thanks Dale! I saw one from Overland at a train show once but the $250 price was far too much for me. I sure wanted it though! Is your Wrightrack cab built or something you're going to build? Yeah, it is difficult to see with the lights off but when they're on it looks great. I just had to do a decent interior because it was going to be lit. |
|
dale
Superintendent
Posts: 157
|
Post by dale on Mar 9, 2013 20:33:14 GMT -5
I believe my Wright trak caboose has all of the holes drilled and underbody finished but I need bend all of the end pieces and figure out which doors I'm going to use but I haven't looked at it in about 5 years, gonna dig it up when I get home.
|
|
|
|
Post by analogbeatmaker on Mar 14, 2013 17:08:11 GMT -5
I believe my Wright trak caboose has all of the holes drilled and underbody finished but I need bend all of the end pieces and figure out which doors I'm going to use but I haven't looked at it in about 5 years, gonna dig it up when I get home. Did you find it? If so, are you building on it again? |
|
dale
Superintendent
Posts: 157
|
Post by dale on Mar 14, 2013 19:30:50 GMT -5
Hi Nick, just got home from the road yesterday so hopefully I can dig up that caboose this weekend I believe it's at my mothers house. Hopefully I'll get back to work on it soon, I also have 3 Wright Trak Central Of Georgia cabeese to put together.
|
|
|
|
Post by analogbeatmaker on Mar 31, 2013 13:48:25 GMT -5
So, I'm at the point of starting to weather this cab proper. Since I have a lot of fear that I am about to ruin it and have to re-paint/decal, I took a few "almost finished" pics on the dio...for posterity. This way after I ruin it I can still look at the pics and think of what almost was! lol All that is left is obviously the weathering and windows. 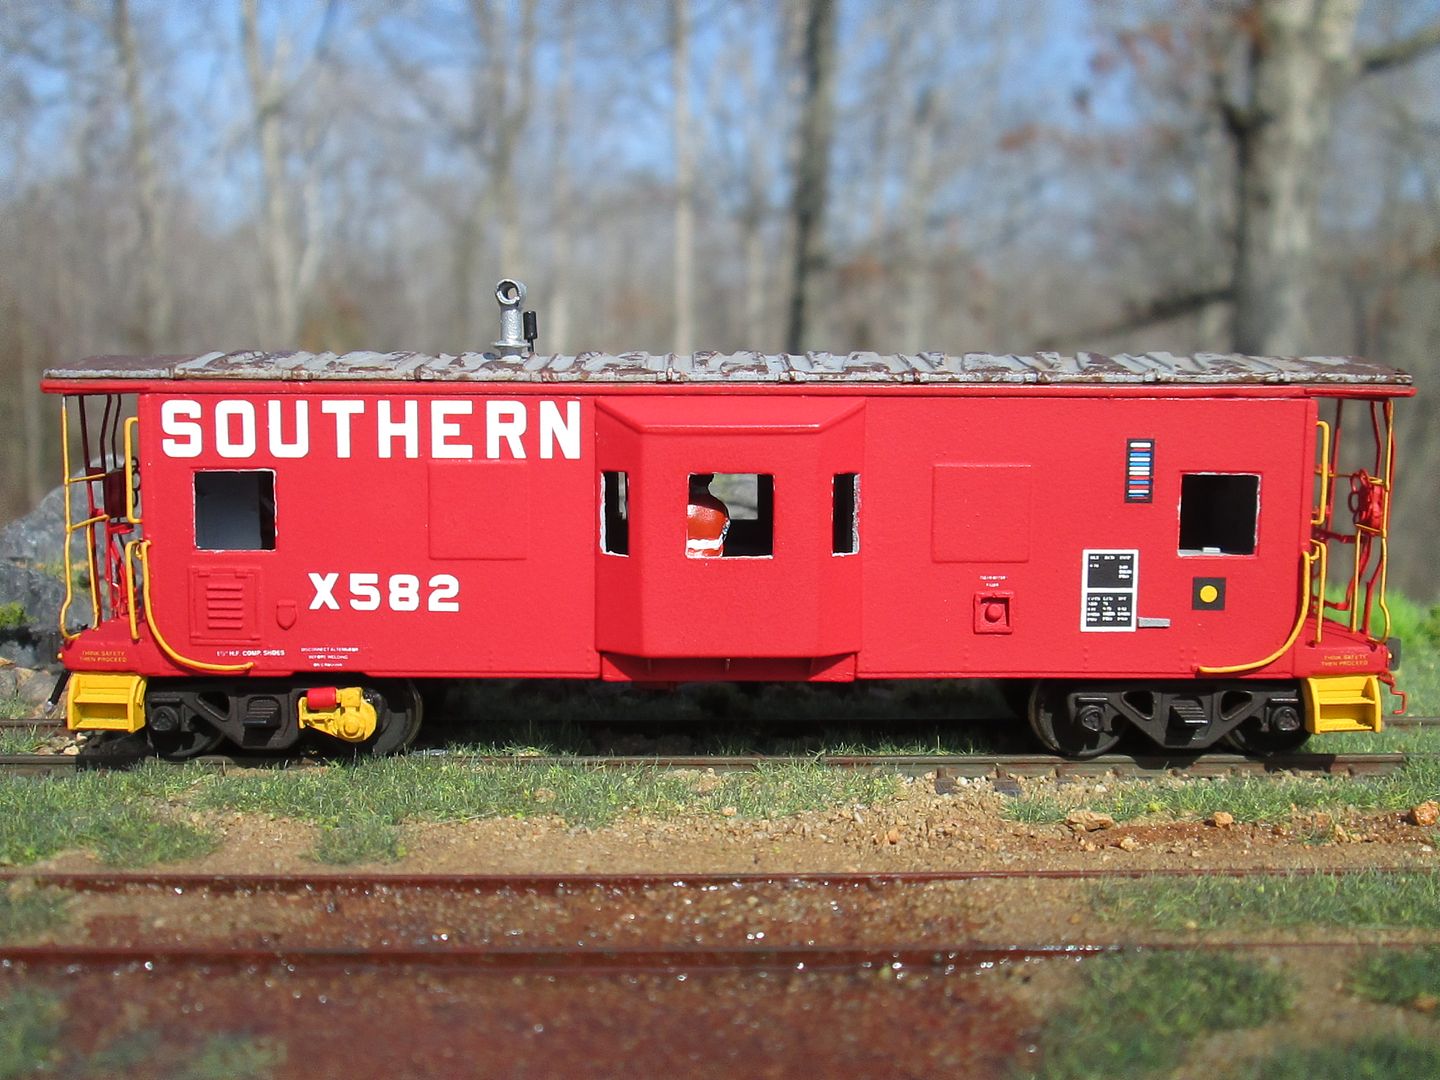 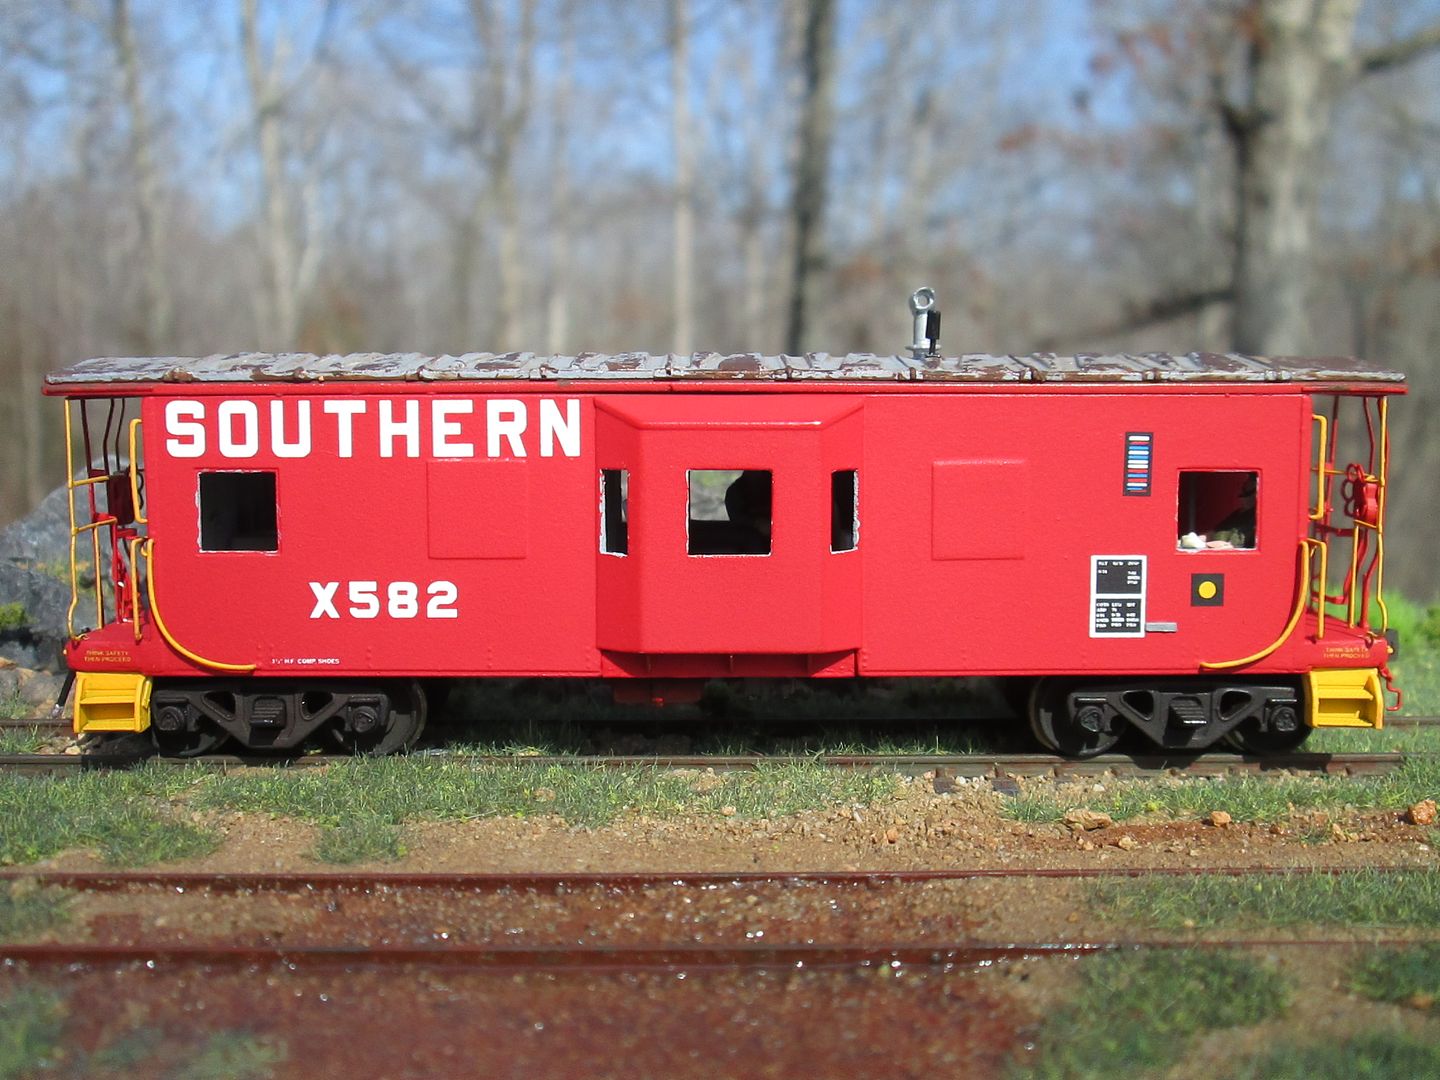 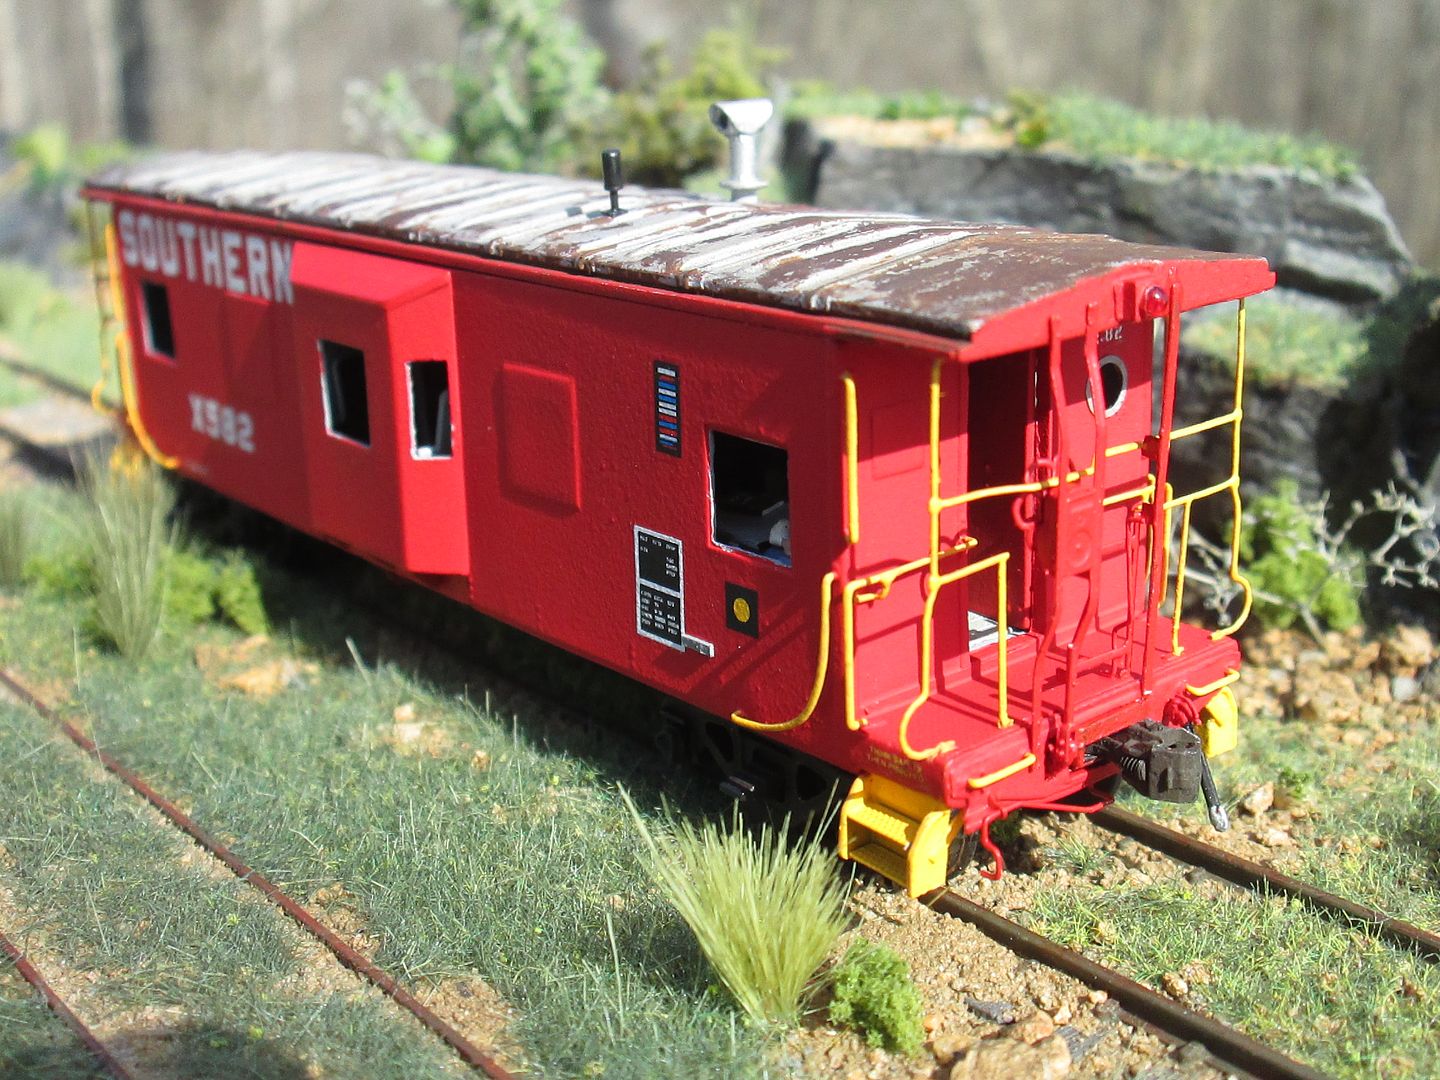 First, a wash of white for the fade. 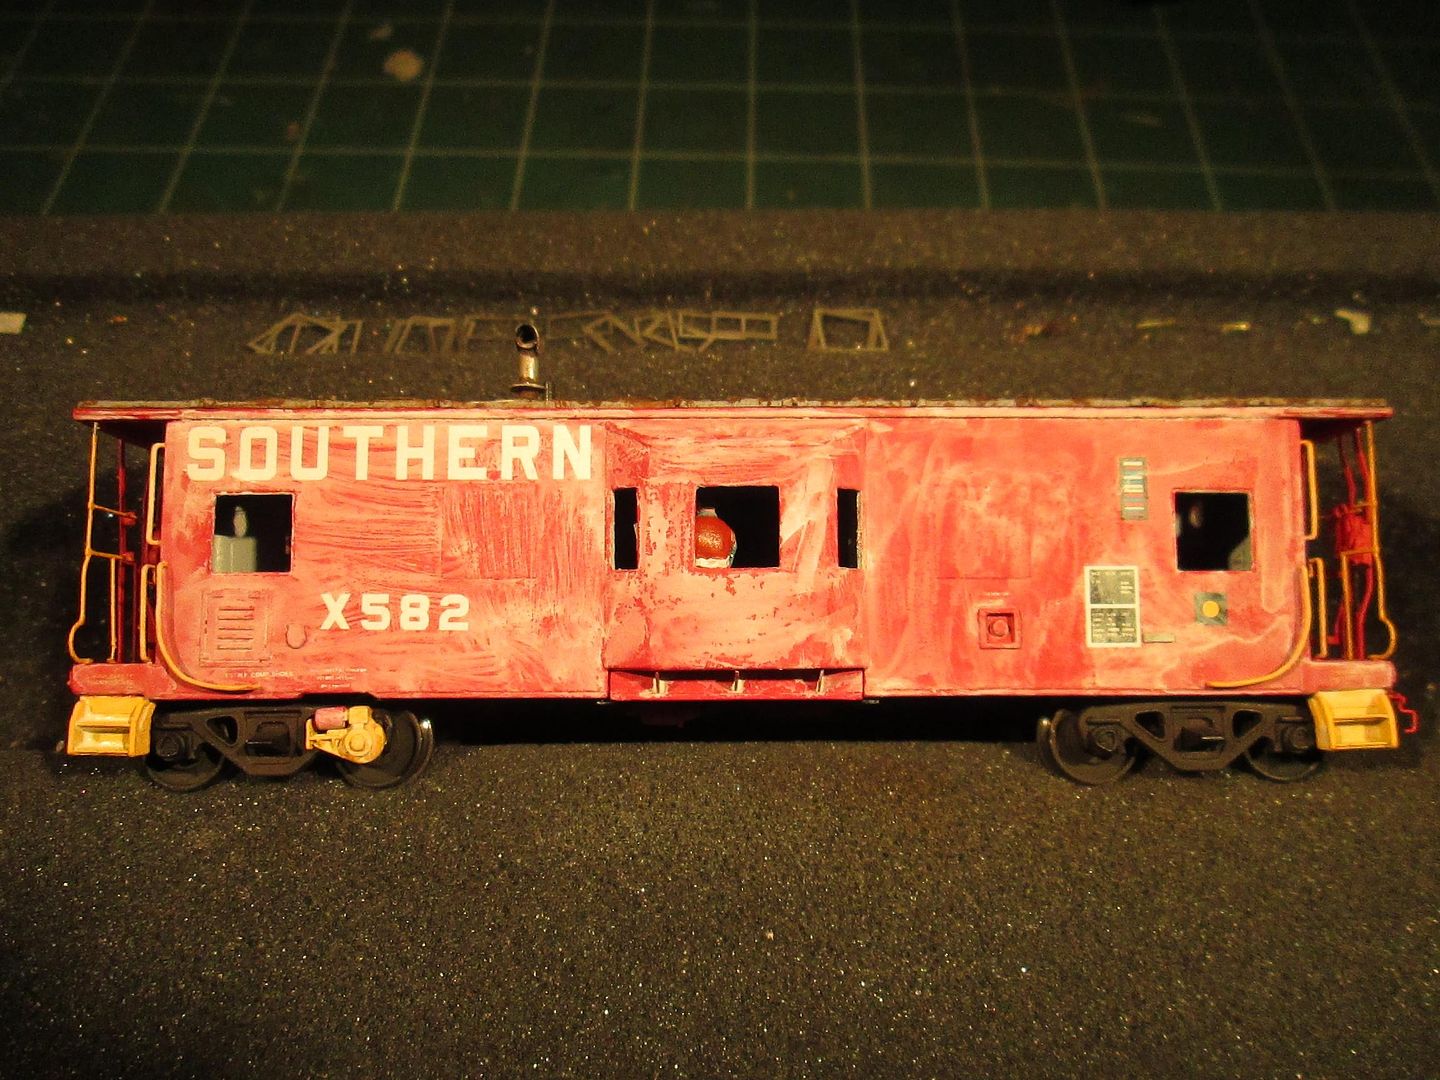 Second, a wash of brown for the dirt. 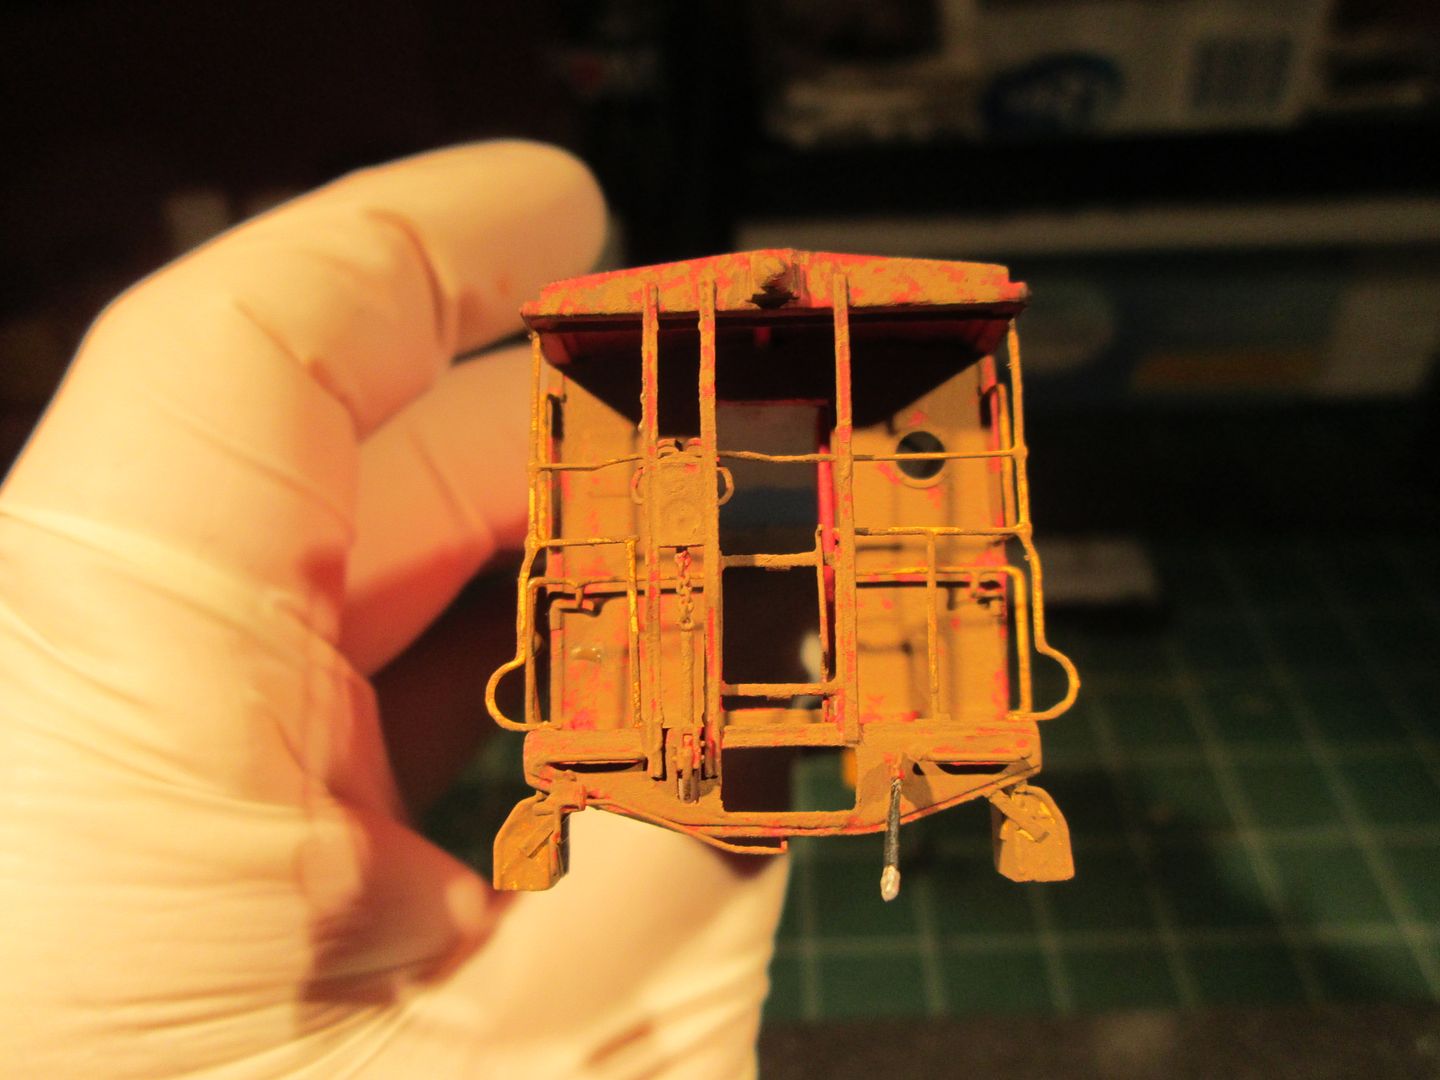 Hopefully the next pics will be of a completed caboose!! |
|
|
|
Post by analogbeatmaker on Apr 17, 2013 22:52:54 GMT -5
A few pics of the final stages. These first couple are after the initial washes and the start of a third, darker wash. 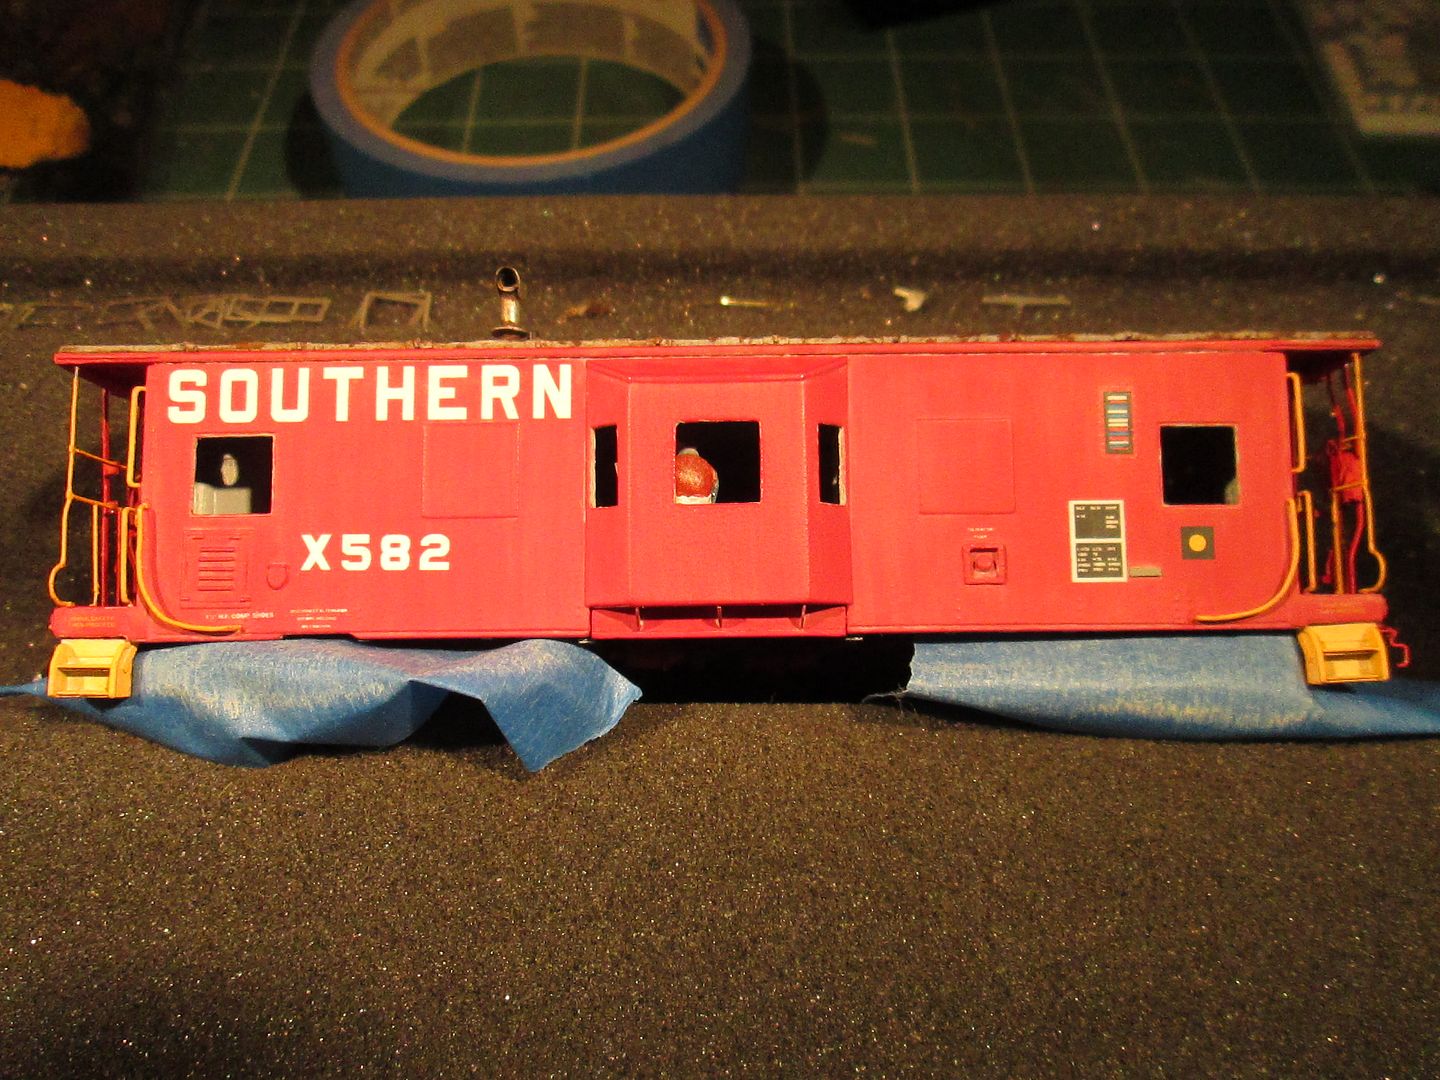 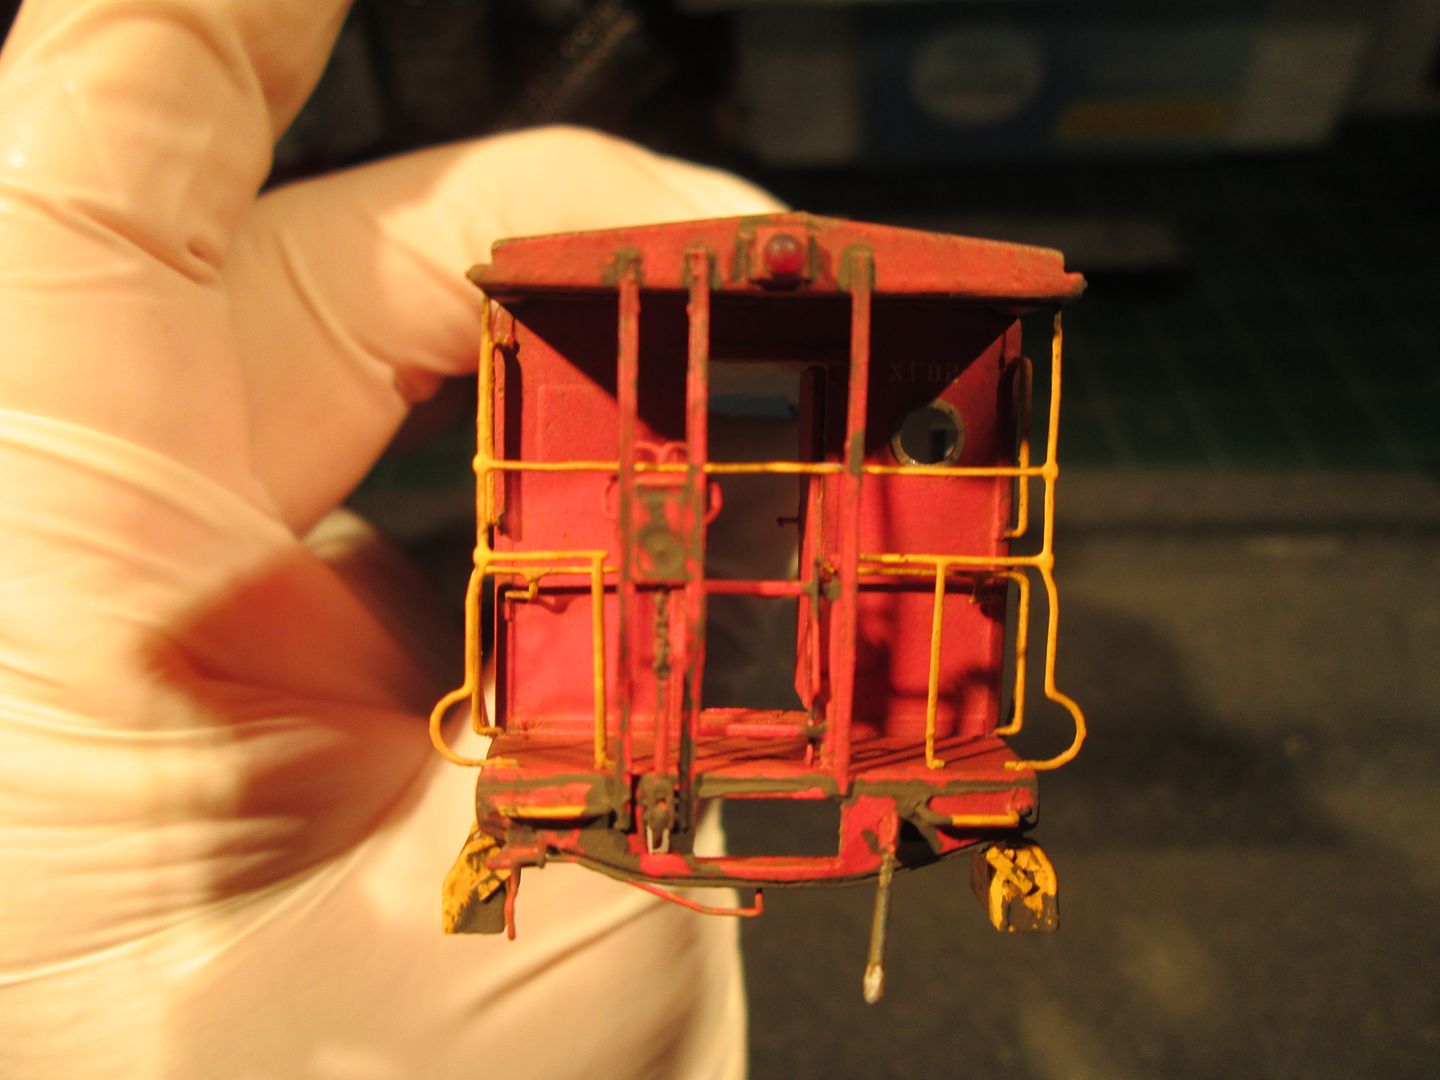 Here I am installing windows. First I "painted" Micro Kristal Klear around the window to hold the "glass". 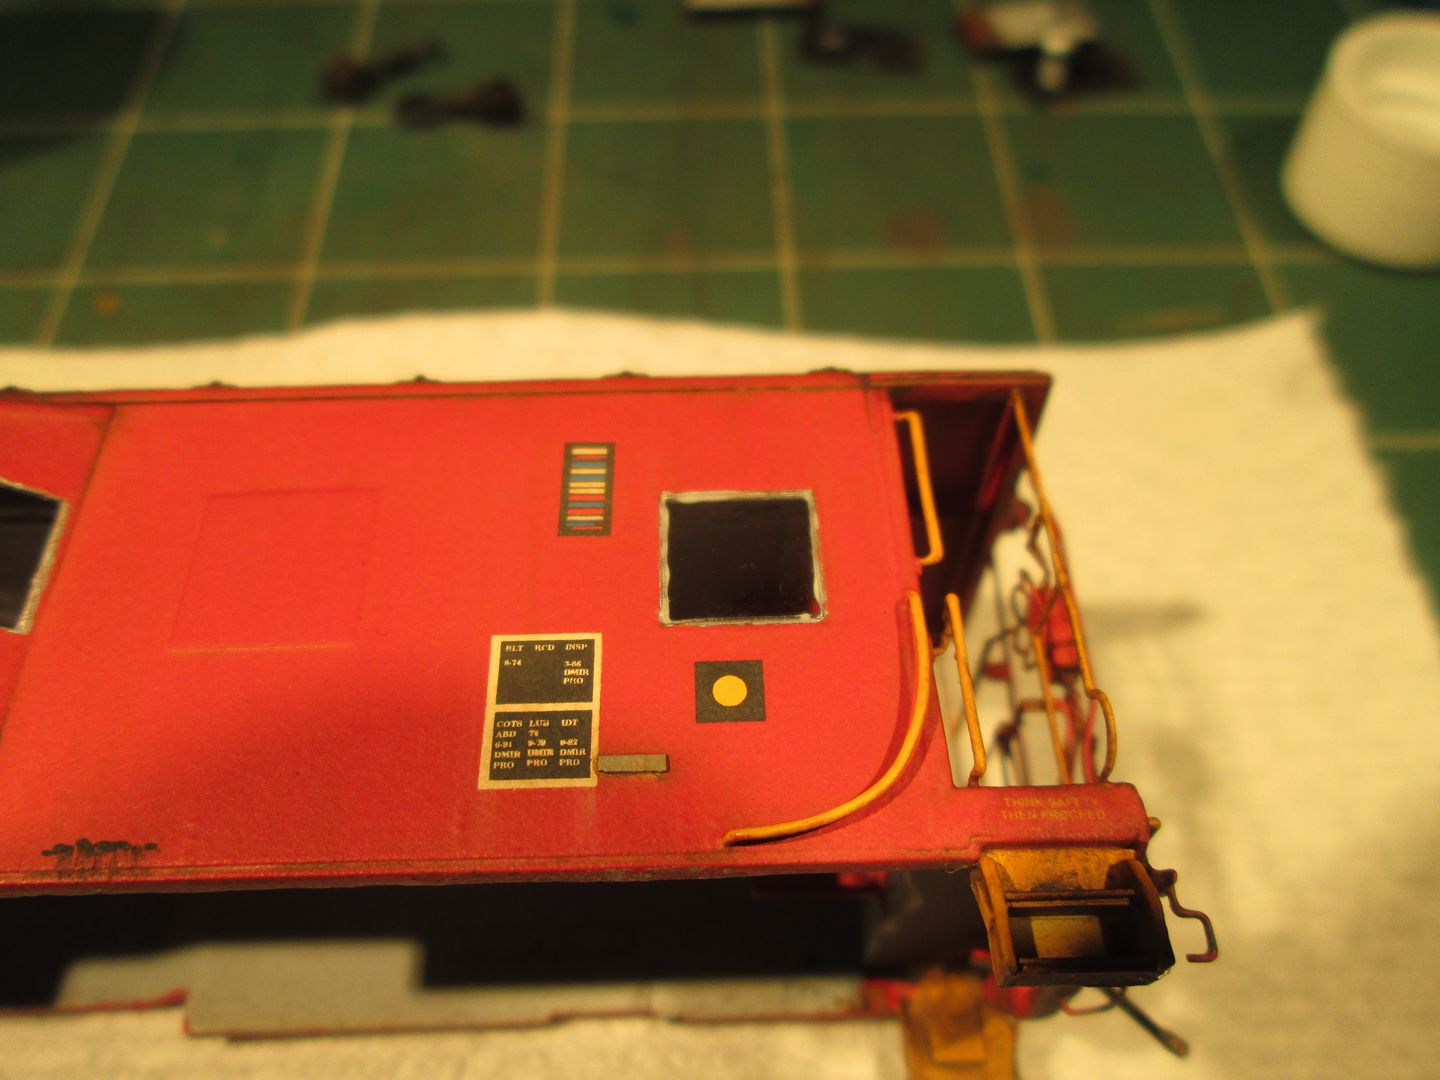 Then I put the "glass" in. After that I placed the window frame and taped it into position. 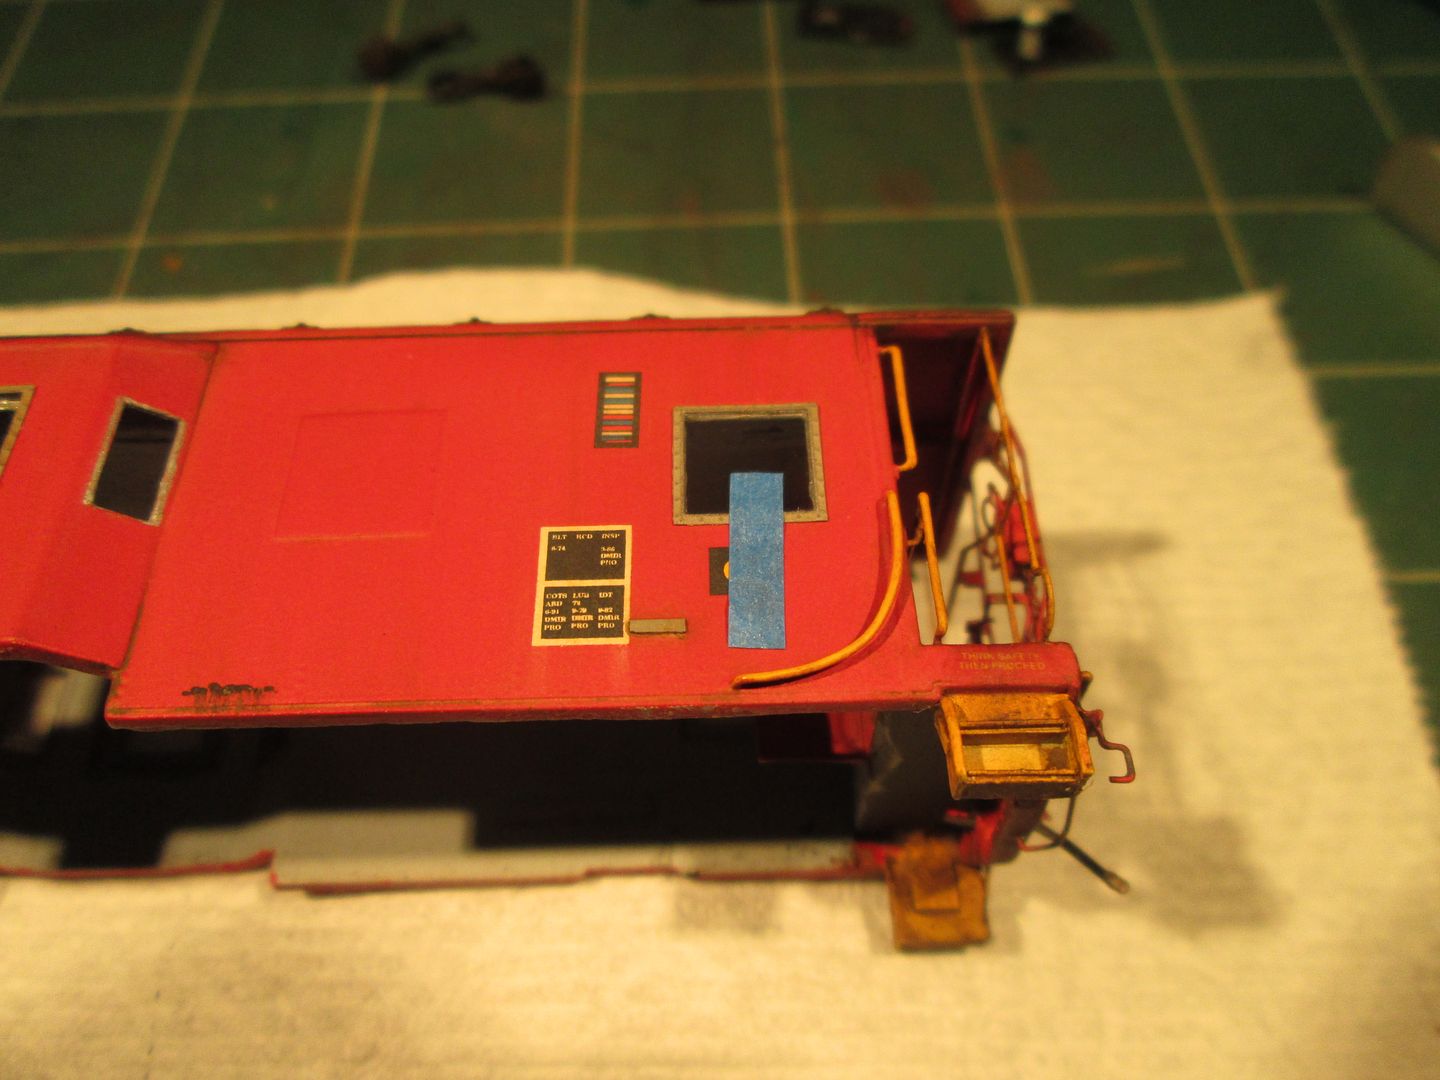 After that I bent it away from the window opening and coated the back of the frame with glue. Then very carefully laid back onto the window opening. 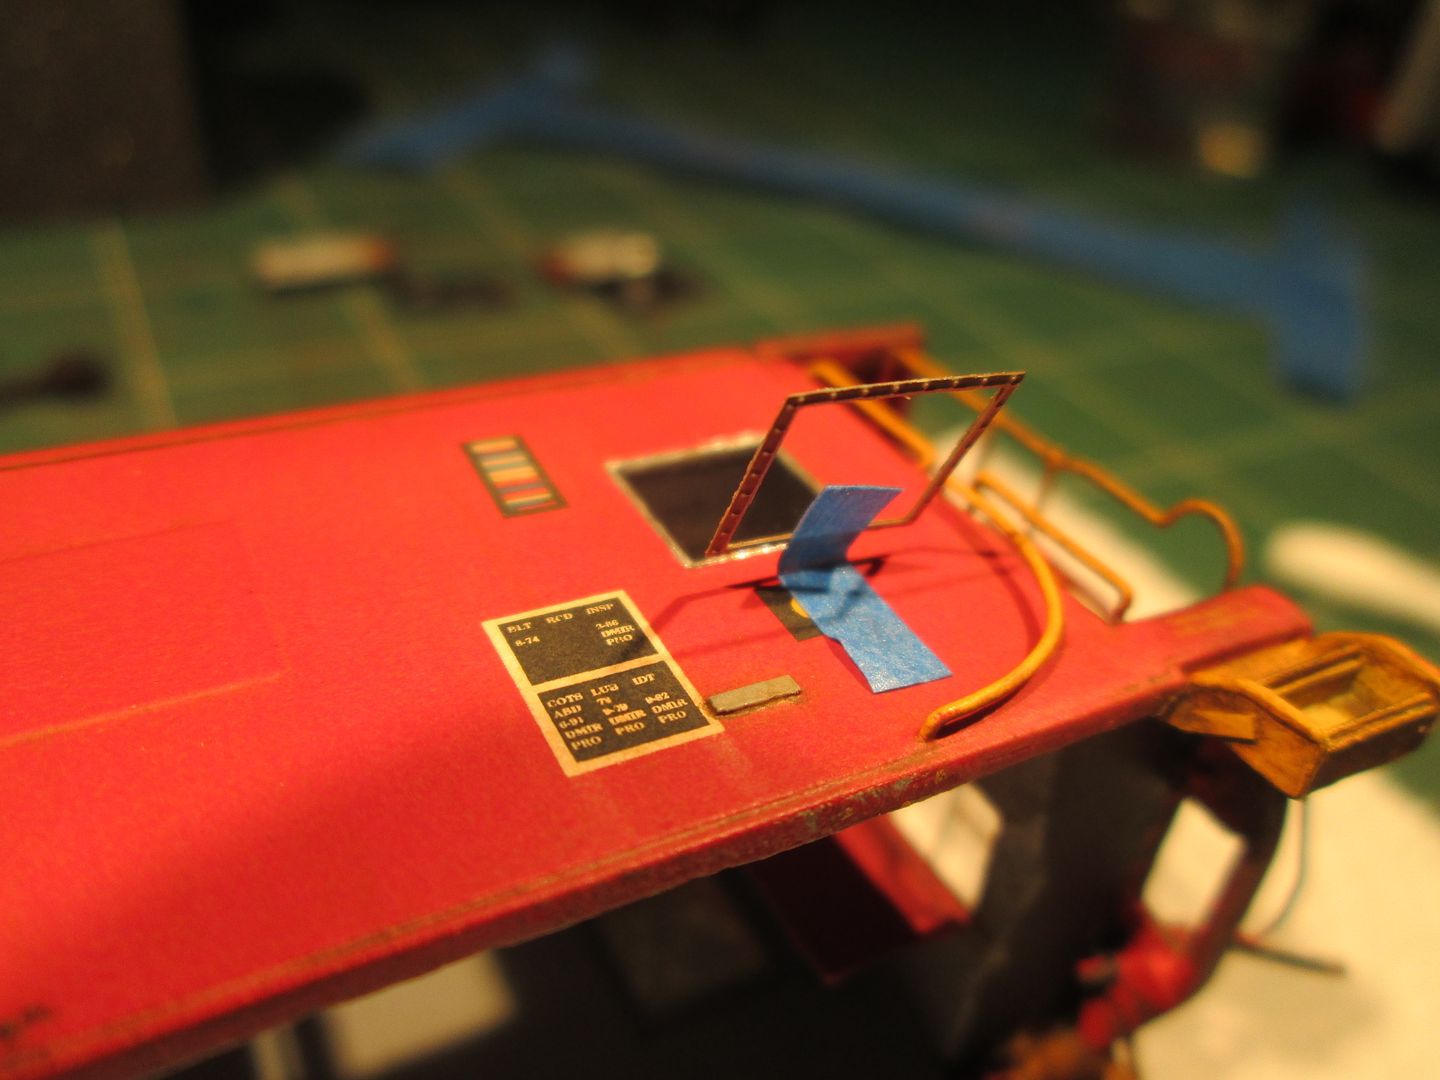 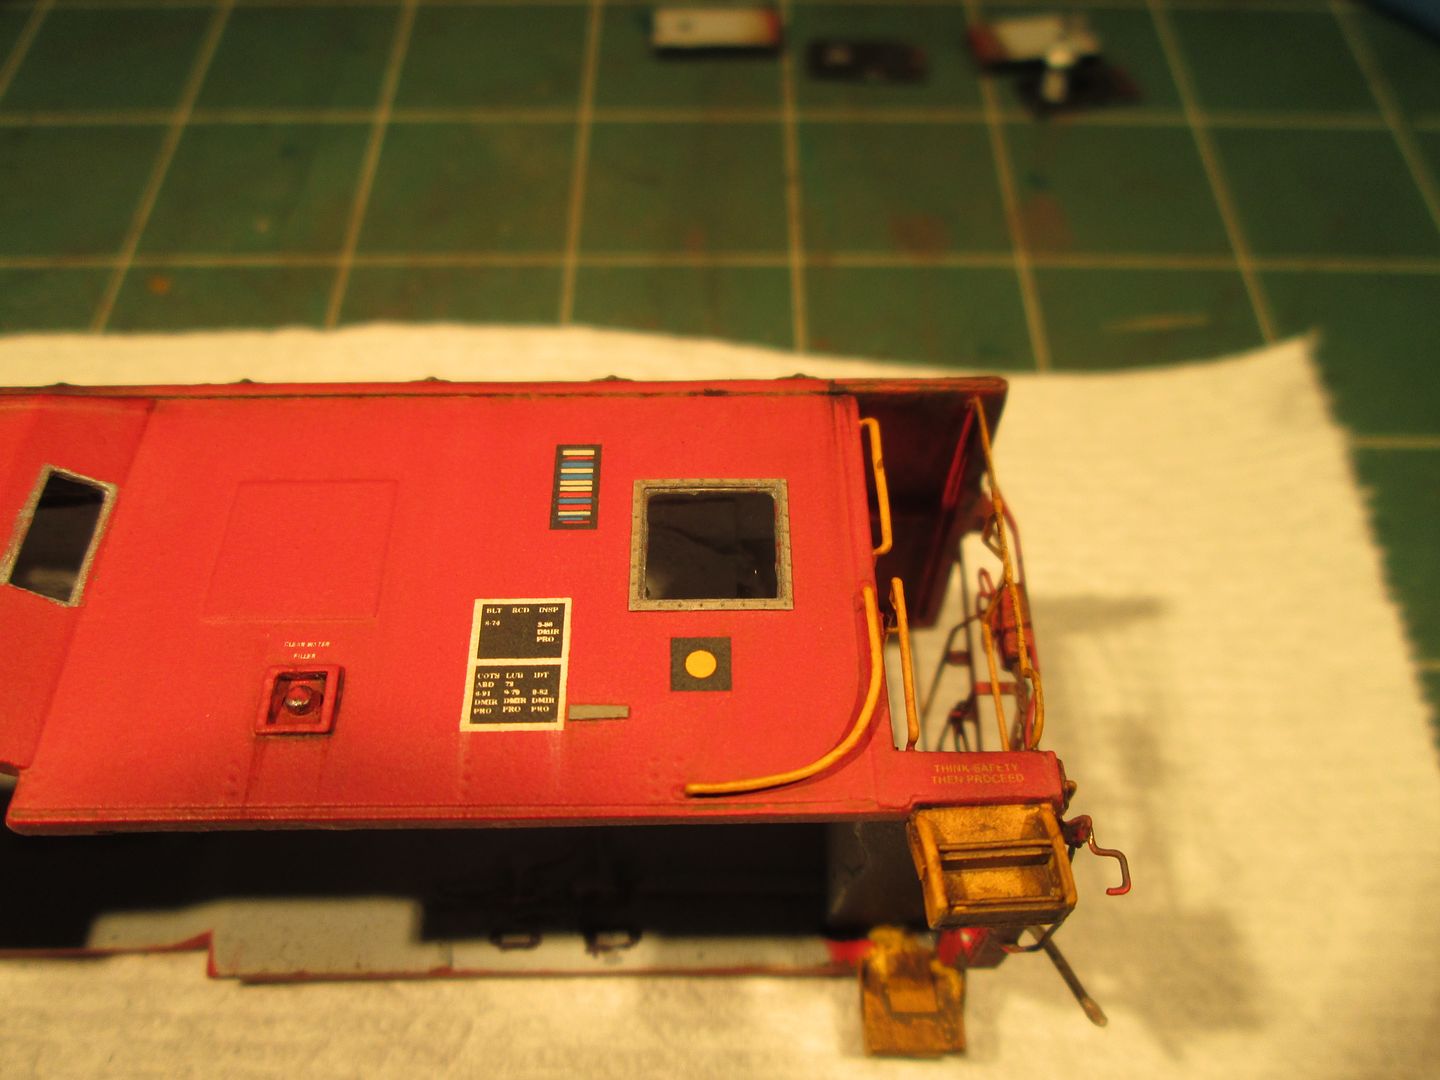 Here are the frames and glazing for the narrow windows on the bay. The frames were two piece and a piece of glazing. There weren't clear instructions (really, any instructions) on how to build these and the glazing didn't appear to be cut right for them. So, I cut my own "glass" for these. The second metal frame had a groove in it and I again used Micro Krystal Klear to "glue" the glazing onto the subframe. Then gued on the actual window frame on top of that. 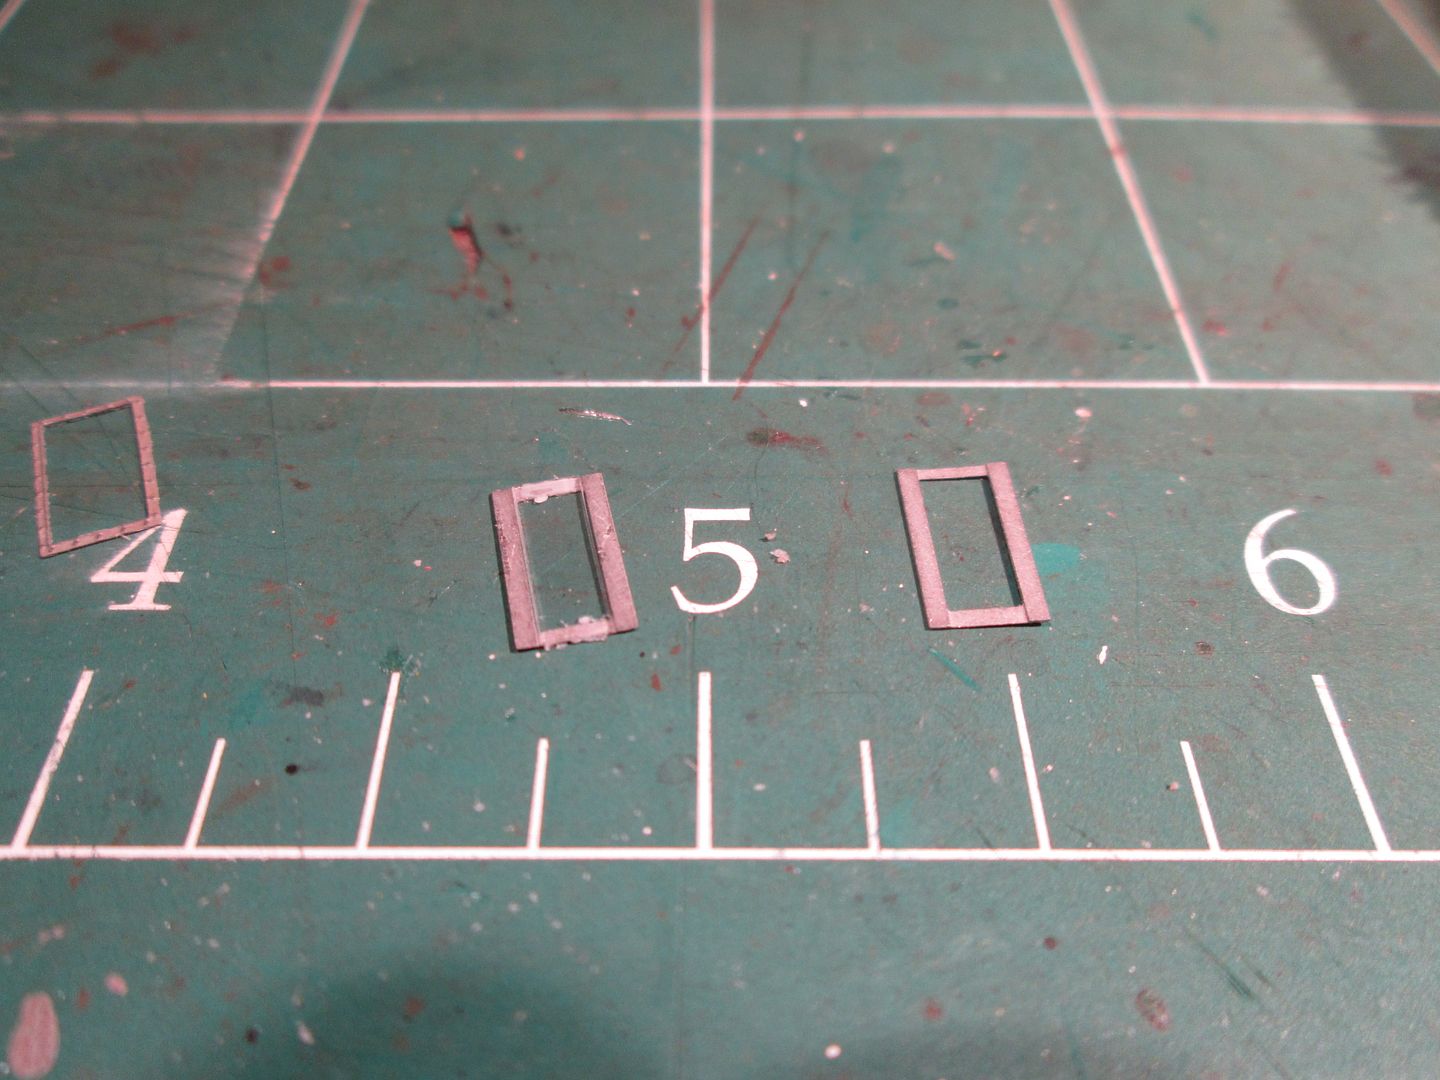 Finally, here is an issue I had...and have had before on another model. The masking tape can sometimes pull up completely sealed decals...much to my dismay. 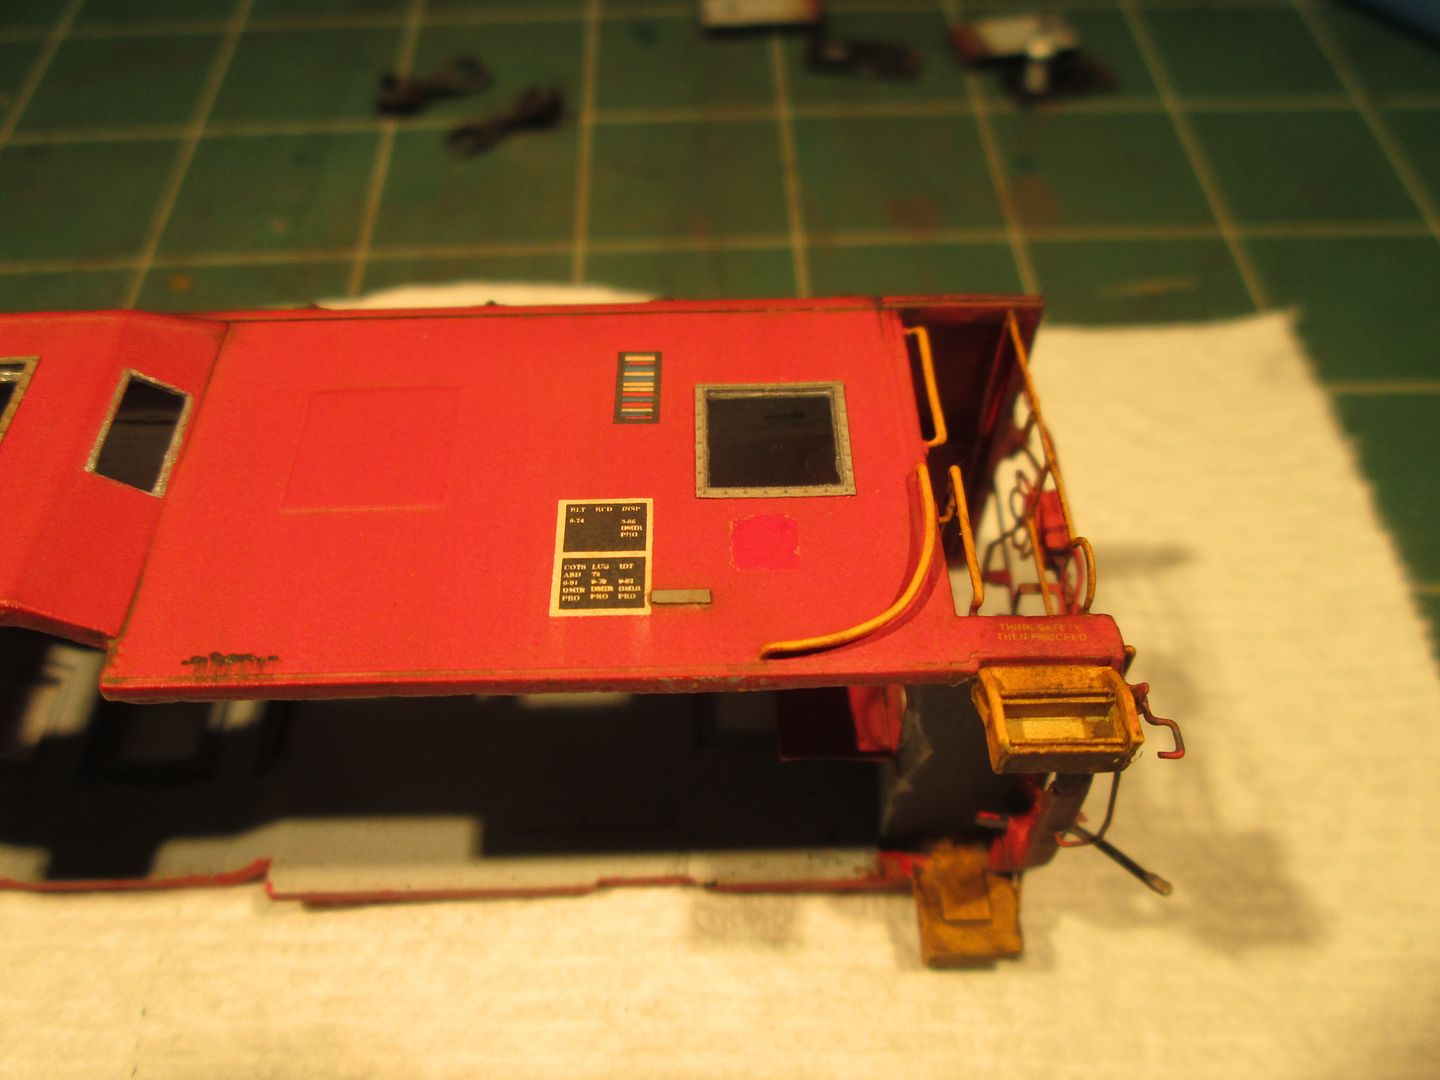 Starting to re-weather that one stinkin decal...  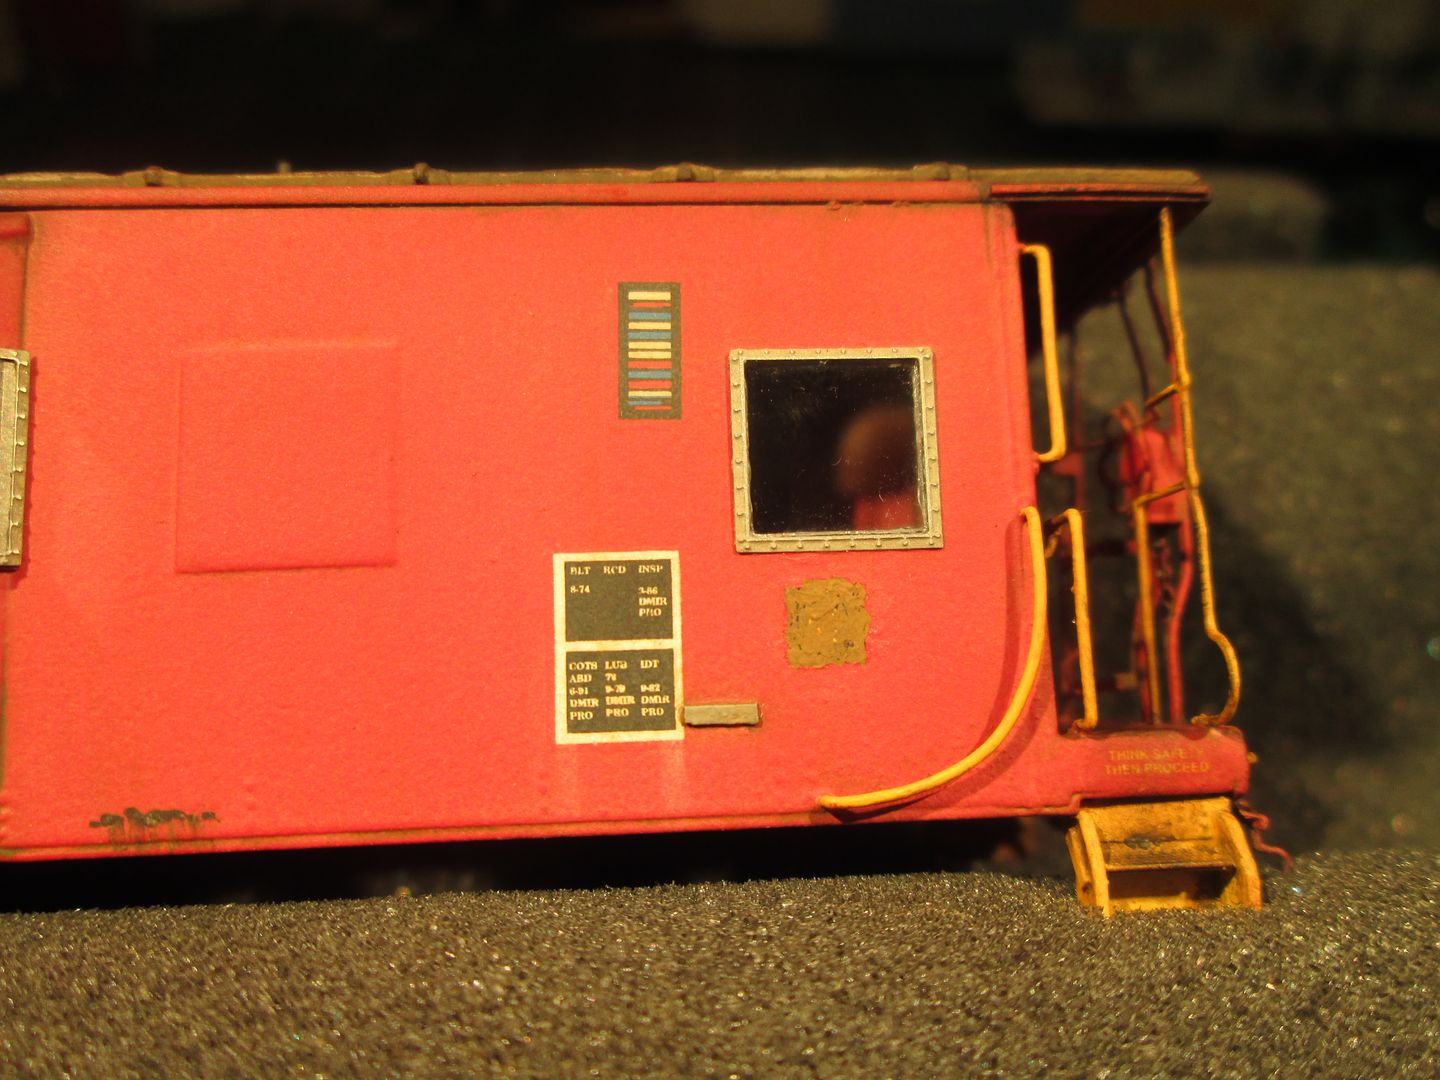 After this was done...DONE!! Now go looky looky at the finished thread my friends.  |
|
|
|
Post by m a y o r 79 on Apr 18, 2013 7:42:23 GMT -5
Wow absolutely outstanding work! The weathering job is unbelievable, could pass that off as the real thing.
|
|