Post by TJ on Dec 24, 2011 5:23:22 GMT -5
I have always loved Conrail's SD38/MT6 slug sets and decided I was going to attempt to build one a few months back. Here is where I am at...

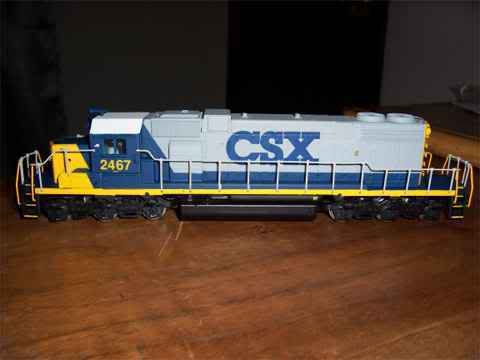
SD38

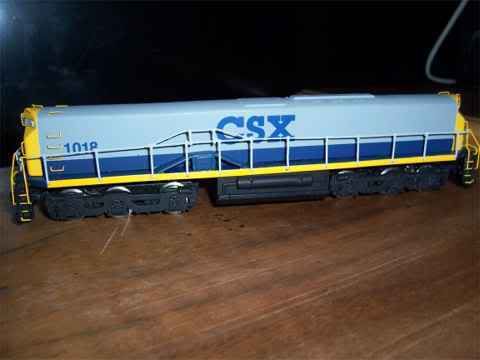
MT6
For the SD38, I began with the frame and drive. I started with a complete power chassis from a Proto 2000 SD45 and made several modifications.

I ground down the top of each end of the frame to accommodate the small porches of the SD38.

I also had to grind down the bolster and add a pin so its new shoes would fit. Conrail's SD38's were equip with Flexicoil trucks with the clasp style brakes and three high mounted cylinders, these were swiped from a Proto SD7. Part of the frame also had to be removed between the bolster and draft gear area to allow the new trucks to swing freely in all directions.

Finally, the frame was narrowed to a more appropriate width around the fuel tank. This will make room for the traction motor cables to fit between the frame and the air tanks.

I then covered the rough surface of the frame that would be visible from the sides with styrene and filled in the empty space on top of the fuel tank with styrene as well.

With the frame modifications finished, I began working on the traction motor cables. Brian Banna's article on traction motor cable routing was of great help for this part. Too impatient to order the Railflyer pillow blocks, I made my own from styrene and fed lengths of solder through them. .022" solder was the smallest I could find locally, and in hindsight I should have probably order some .015" (as well as those pillow blocks) but it is what it is, now I know for next time.

I think the TM cables turned out well for my first attempt. I did however have to make a compromise on the rear cables. There should be 6 cables running to the rear on each side in a 2X3 block, but due to space restrictions I was only able to fit 4 cables in a 2x2 block. I think I probably could have fit the 2x3 block of cables if I would have used the .015" solder and the etched pillow blocks, but it will have to do as is.

The completed chassis with modified weight.
More to come!

SD38

MT6
For the SD38, I began with the frame and drive. I started with a complete power chassis from a Proto 2000 SD45 and made several modifications.

I ground down the top of each end of the frame to accommodate the small porches of the SD38.

I also had to grind down the bolster and add a pin so its new shoes would fit. Conrail's SD38's were equip with Flexicoil trucks with the clasp style brakes and three high mounted cylinders, these were swiped from a Proto SD7. Part of the frame also had to be removed between the bolster and draft gear area to allow the new trucks to swing freely in all directions.

Finally, the frame was narrowed to a more appropriate width around the fuel tank. This will make room for the traction motor cables to fit between the frame and the air tanks.

I then covered the rough surface of the frame that would be visible from the sides with styrene and filled in the empty space on top of the fuel tank with styrene as well.

With the frame modifications finished, I began working on the traction motor cables. Brian Banna's article on traction motor cable routing was of great help for this part. Too impatient to order the Railflyer pillow blocks, I made my own from styrene and fed lengths of solder through them. .022" solder was the smallest I could find locally, and in hindsight I should have probably order some .015" (as well as those pillow blocks) but it is what it is, now I know for next time.

I think the TM cables turned out well for my first attempt. I did however have to make a compromise on the rear cables. There should be 6 cables running to the rear on each side in a 2X3 block, but due to space restrictions I was only able to fit 4 cables in a 2x2 block. I think I probably could have fit the 2x3 block of cables if I would have used the .015" solder and the etched pillow blocks, but it will have to do as is.

The completed chassis with modified weight.
More to come!


