|
|
Post by Packer on Jun 14, 2011 17:21:11 GMT -5
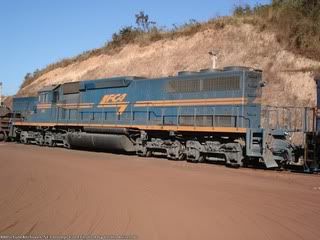
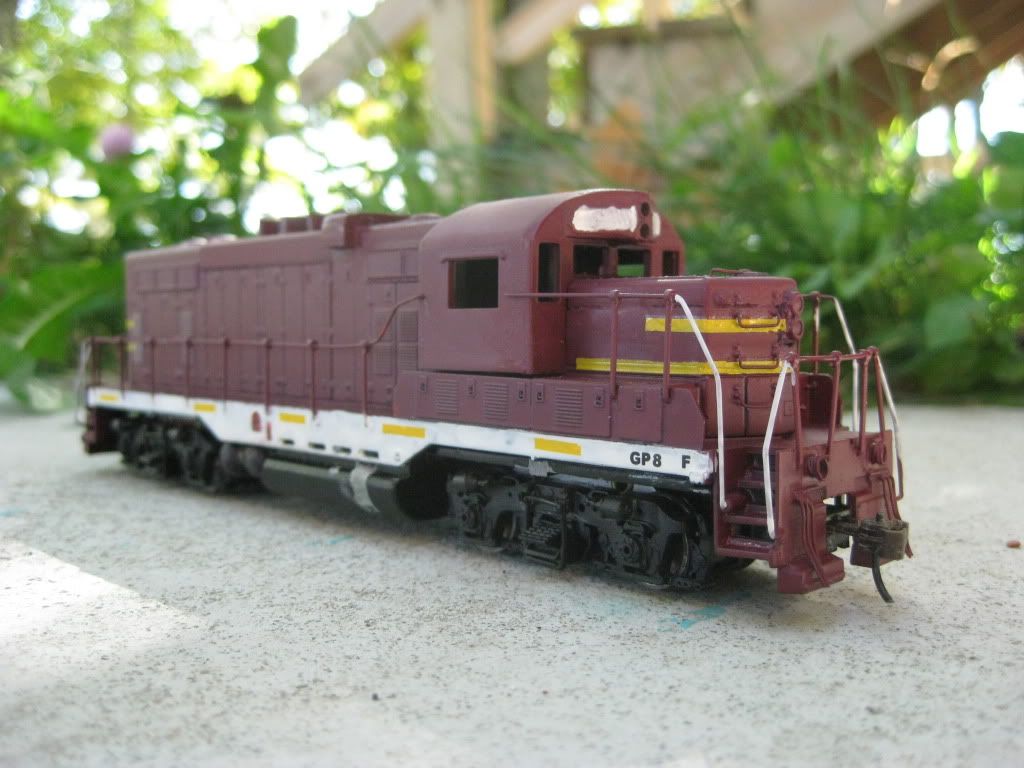
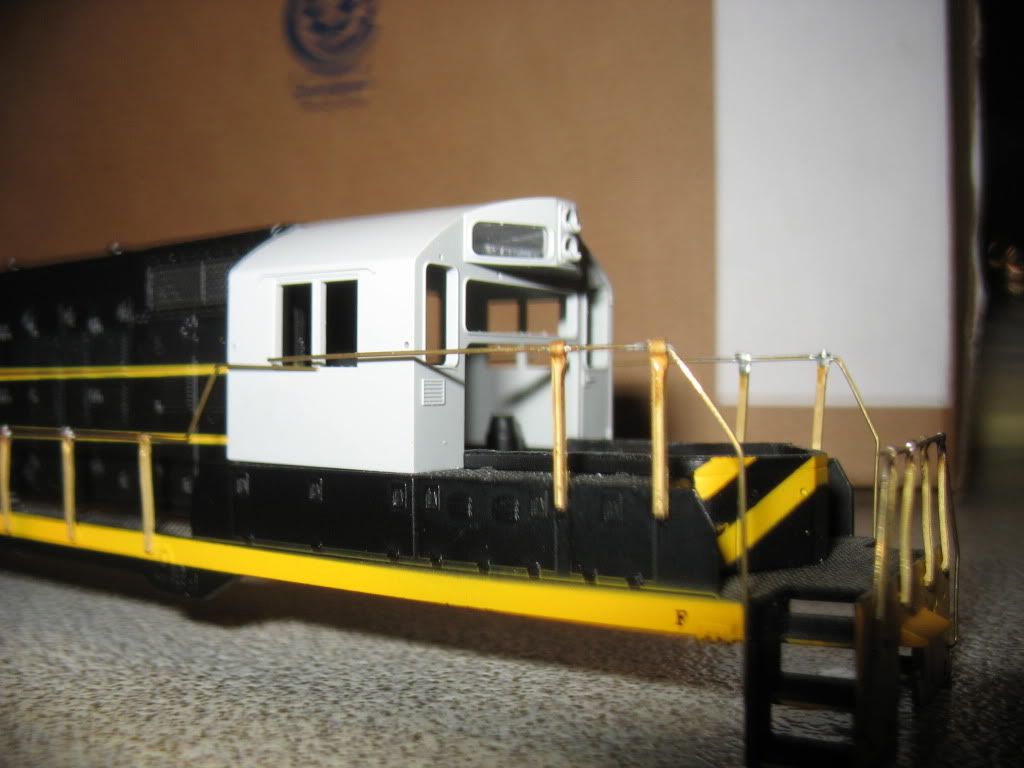
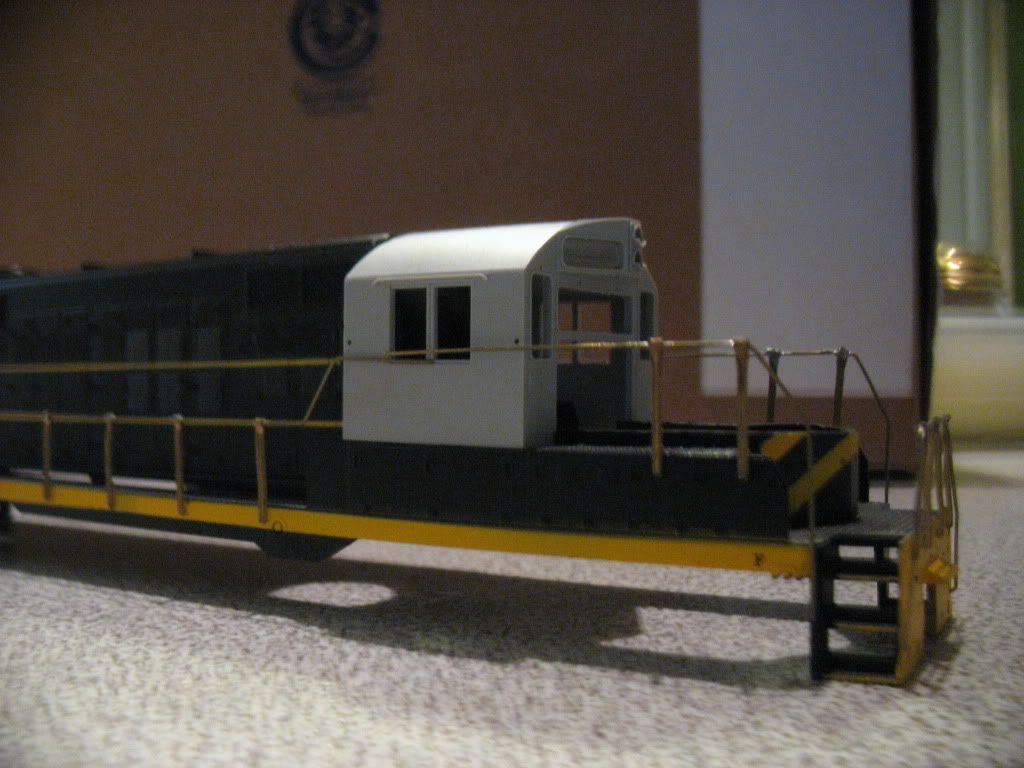
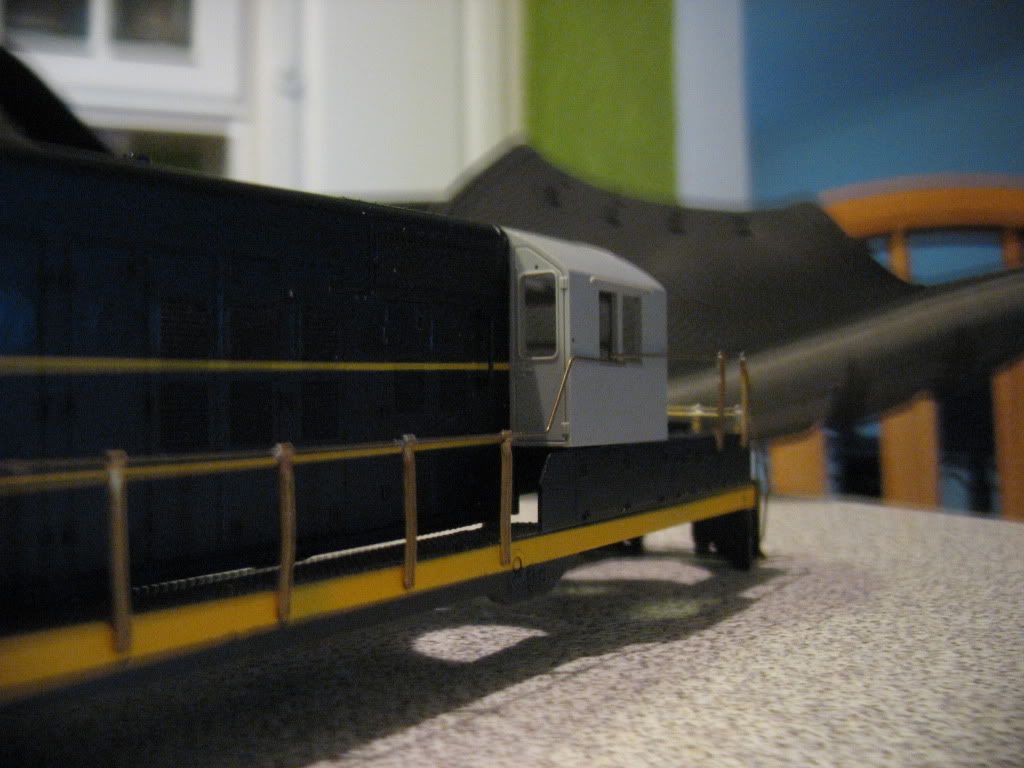
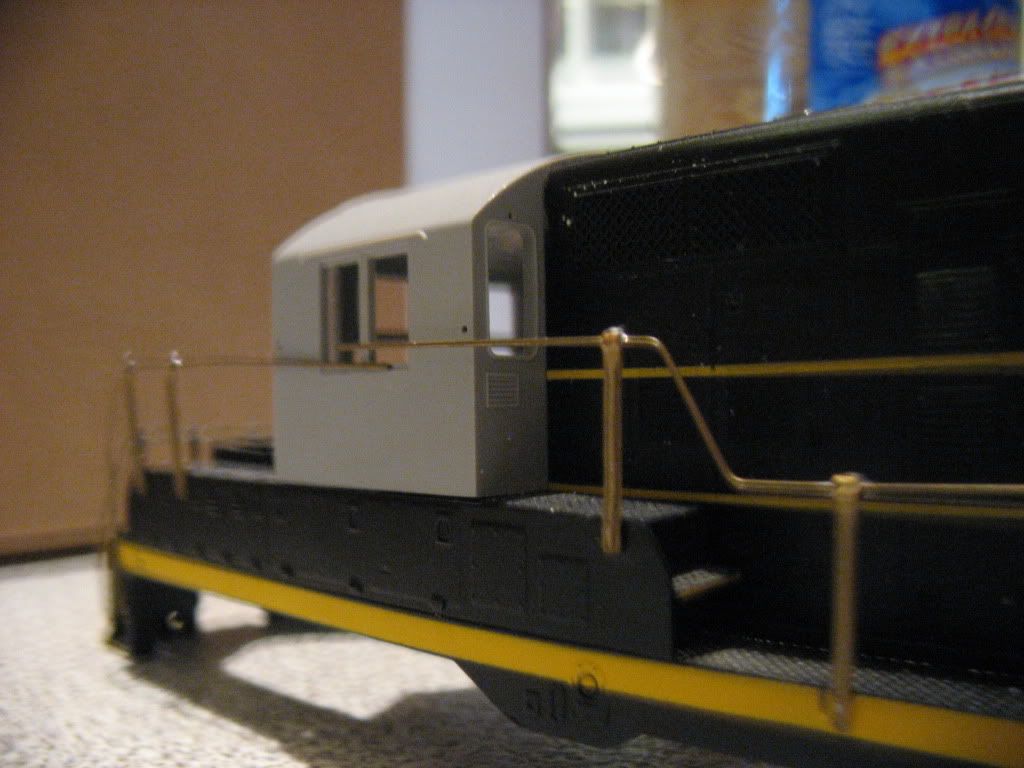
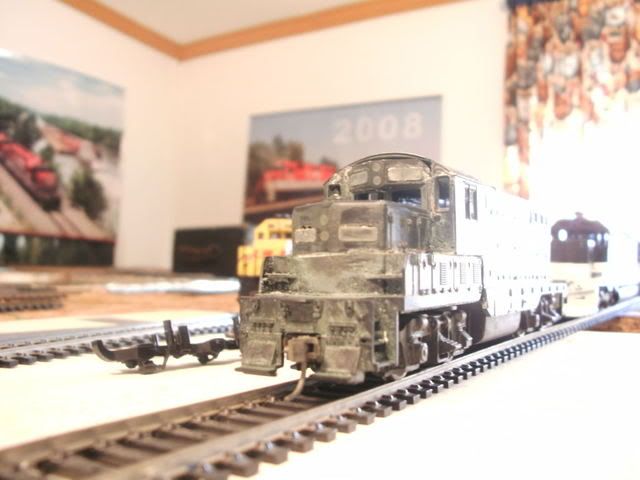
With the recent acquisition of several P2K Gp18s and a Ph3 GP9, I've decided to go ahead and start on one locomotive using what parts I have now. I elected to do BN GP5 1365 as my prototype for this build, using the GP9 I got. www.rrpicturearchives.net/Locopicture.aspx?id=44549I like 1365 because it's a chop-nose, and seems fairly straight foward to do. Just a phase 3 Gp9 shell with a chop nose and some detail changes (have done those before). So far I am at this state: 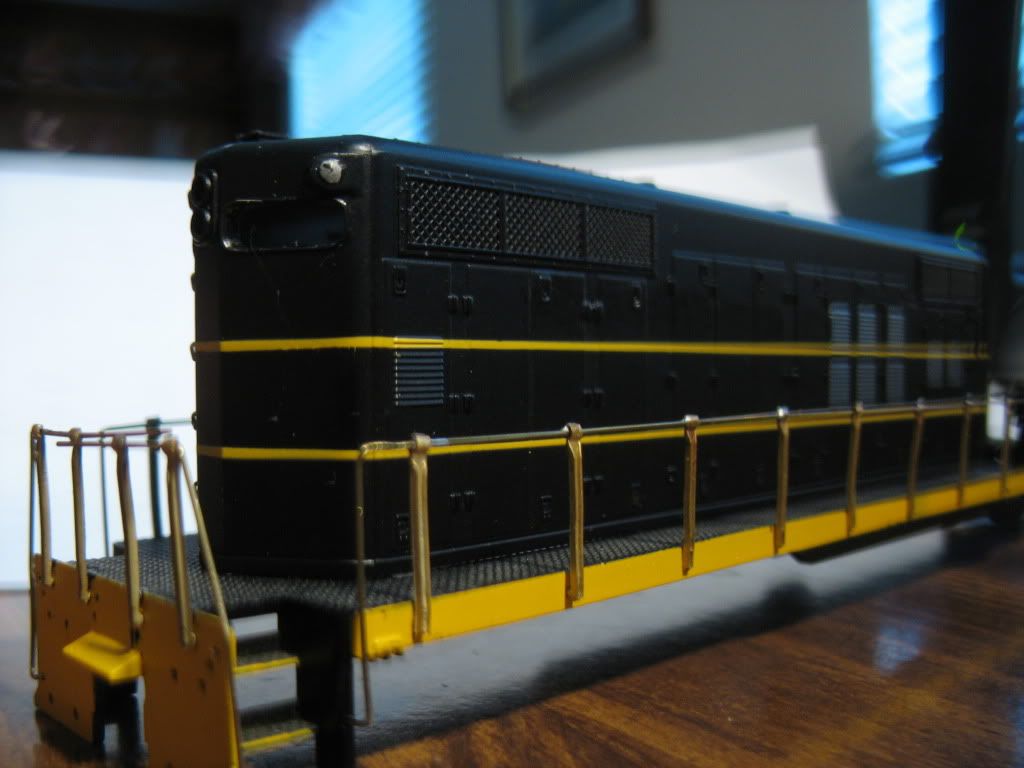 Just replacing the plastic grabs and handrails with metal. Grabs are DA 17", and the handrails are from an SV GP9B kit. First time doing the latter This project will likey be a slow one because I have yet to order some parts, and other are unavailable at the moment. I intend to use an Atlas SD26 cab, and would like to have all the parts on the loco before I paint it. |
|
|
|
Post by carlmarsico on Jun 14, 2011 22:14:06 GMT -5
I wouldn't have mentioned using a GP18 for a GP5 had I known you had the Phase 3 GP9 on hand.
Going back to your original post re:swapping long hoods, keep in mind that the sill on the Phase 3 GP9/GP18 is noticeably different from the GP7 and earlier GP9's (e.g. battery boxes, location of the fuel filler and shape of the sill near the fuel tank) where simply swapping long hoods may not work. Of course, there are exceptions to the rule, such as wreck-rebuilds, Phase 3 GP9's built with 36" fans (e.g. Phase 2 GP9 long hood), etc. where pictures are better than words.
Conversely, a GP20 long hood may work with the GP18 sill to get you an ex-GN GP20
cjm
CJM
|
|
|
|
Post by Packer on Jun 14, 2011 22:58:35 GMT -5
I have 3 Gp18 shells to modify at a later time. As far as the SD26 cab is concerned; they have them now, just no glazing. I'll call them tomorrow and ask them what's up with that. I wanted an HH GP20 sill because they have the 4 steps molded into them, like the real one does. IDK if I can do the same with Cannon Gp9 steps, but I'd rather railflyer did a 4-step stairwell for GP7-20 units I managed to get some time to work on this unit between work and the train club. I took the damaged GP18 nose and chopped it. 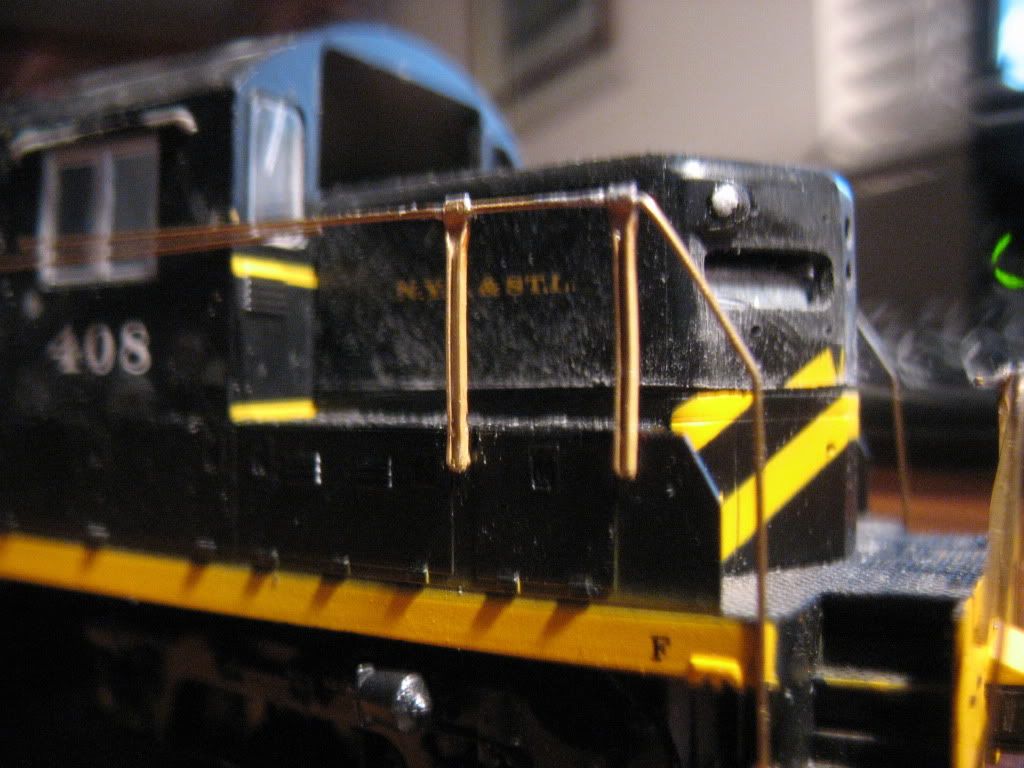 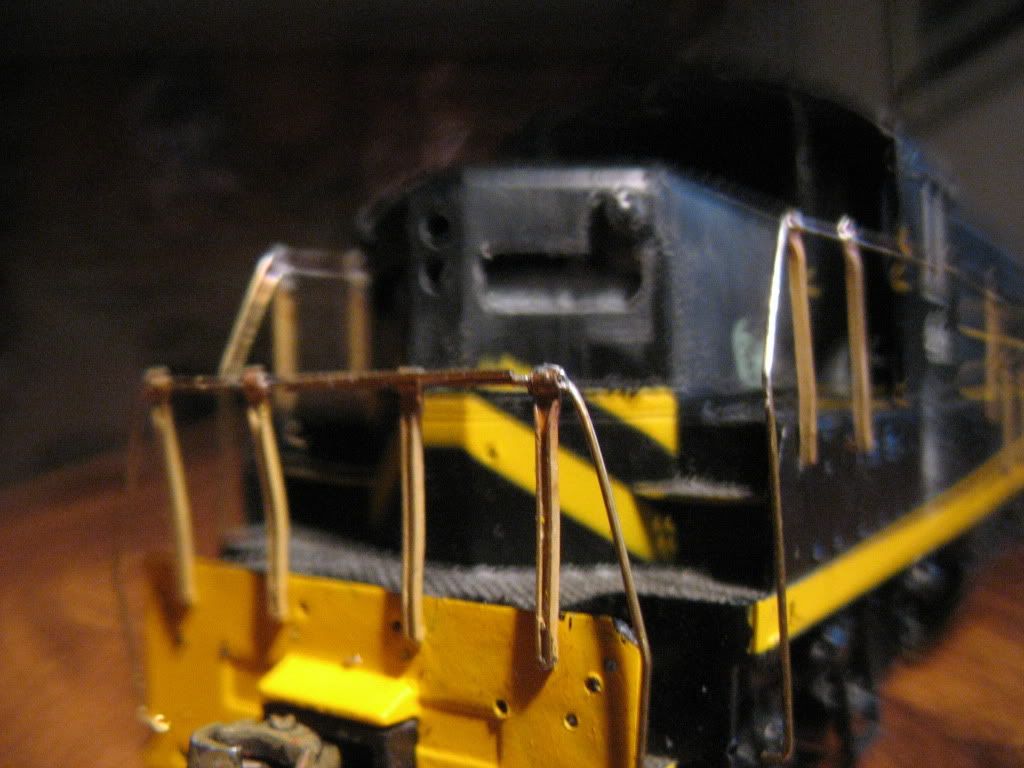 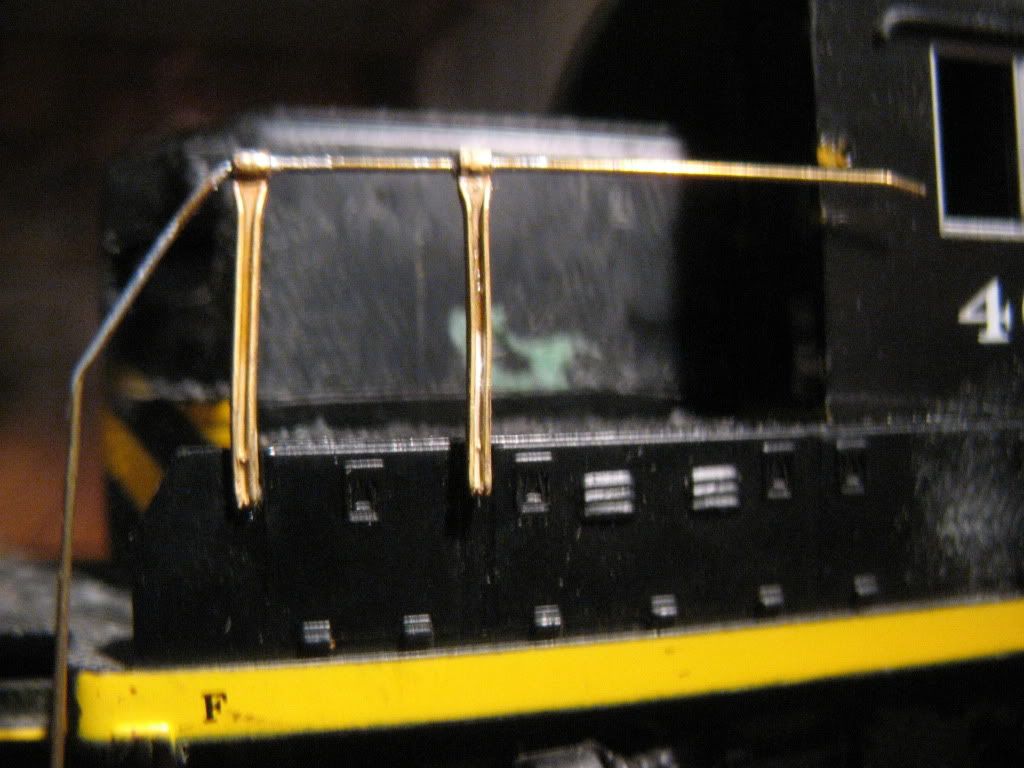 That was my first chop, and I think it came out pretty good. I'll have to get the atlas SD26 cab to make the final adjustments. |
|
|
|
Post by diesel on Jun 22, 2011 23:05:23 GMT -5
that's a nice pick. are you going to attempt more oddities in the future?
|
|
|
|
Post by icghogger on Jun 23, 2011 8:30:13 GMT -5
Nice State, Packer, keep us posted on your progress!!
|
|
deez
Chairman
Midland Belt Railway
Posts: 949
|
Post by deez on Jun 23, 2011 15:32:22 GMT -5
Nice chop! That's going to be a cool unit for sure!
|
|
|
|
Post by slowfreight on Jun 27, 2011 21:52:11 GMT -5
Any word on the glazing? I ordered 4 cabs back in the fall and they said that mid-year the glazing should be back in stock. I asked the parts rep if they ever thought of offering the cab/glazing package regularly as a chop-nose kit for those of us who wanted just the pieces, and the response was something akin to "Huh? I don't understand."  |
|
|
|
Post by Packer on Apr 22, 2012 18:11:39 GMT -5
Unfortunately no progress has been made on this loco since I put the pictures up. The atlas SD26 cabs are gone (heck the SD24 cabs are gone) so IDK what I'm gonna do for a cab.
|
|
rf*geep
Trainmaster
EWMM lake turn in the snow
Posts: 114
|
Post by rf*geep on Apr 23, 2012 18:51:28 GMT -5
|
|
|
|
Post by Packer on Apr 24, 2012 11:08:14 GMT -5
That could work. What does it look like when it's finished?
I looked again, and atlas isn't out of SD24 cabs. just the glazing and numberboard insert. I could use that cab, and the Des Plaines split windshield insert to get the split windshield.
If I went that route, I'd probably use clear plastic glued behind the windows. AMB does make windows for SD24s, but IDK if the DPH part has glazing or not.
|
|
|
|
Post by danielsokyrail on Apr 24, 2012 13:01:17 GMT -5
When I made my gp16 I cut the front window and number board section off a newer square style cab and grafted it in, kinda a pain but was built out of free parts from the junk drawer.
|
|
rf*geep
Trainmaster
EWMM lake turn in the snow
Posts: 114
|
Post by rf*geep on Apr 25, 2012 20:12:35 GMT -5
|
|
|
|
Post by danielsokyrail on Apr 25, 2012 20:46:16 GMT -5
 This the cab of my gp16 while still under construction before the filler was added. |
|
|
|
Post by Packer on May 15, 2012 17:04:28 GMT -5
|
|
|
|
Post by tamaman on May 16, 2012 9:22:01 GMT -5
Nice start!
|
|
|
|
Post by Packer on May 22, 2012 16:56:56 GMT -5
I got the 2 of the Des Plaines Hobbies insert yesterday. I intended to do a similiar chop-nose unit, but I wound up messing up one of the inserts by filling too much off of the sides. It'll fit in the gap of the P2K cab, but I'm SOL on a numberboard if I used it. Using the second one, I spent a few hours filing the Atlas SD24 cab, the cut-down P2K nose, and the DPH insert to work together properly. For filling in the numberboards, I used the cut-off pieces of the DPH insert. 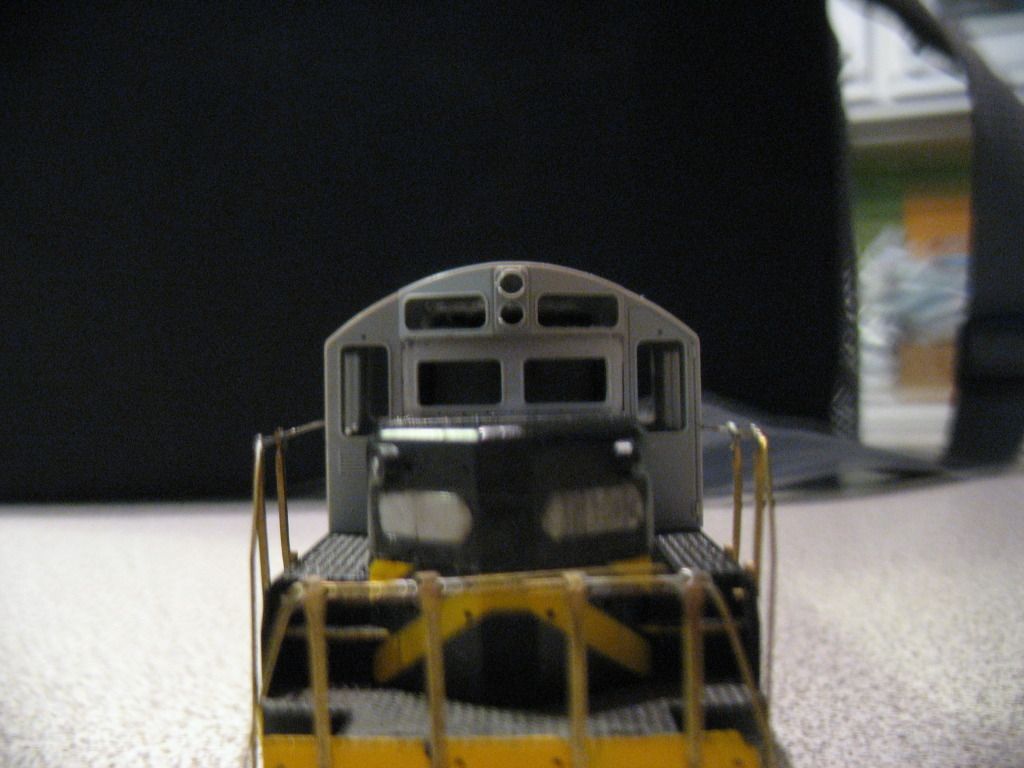 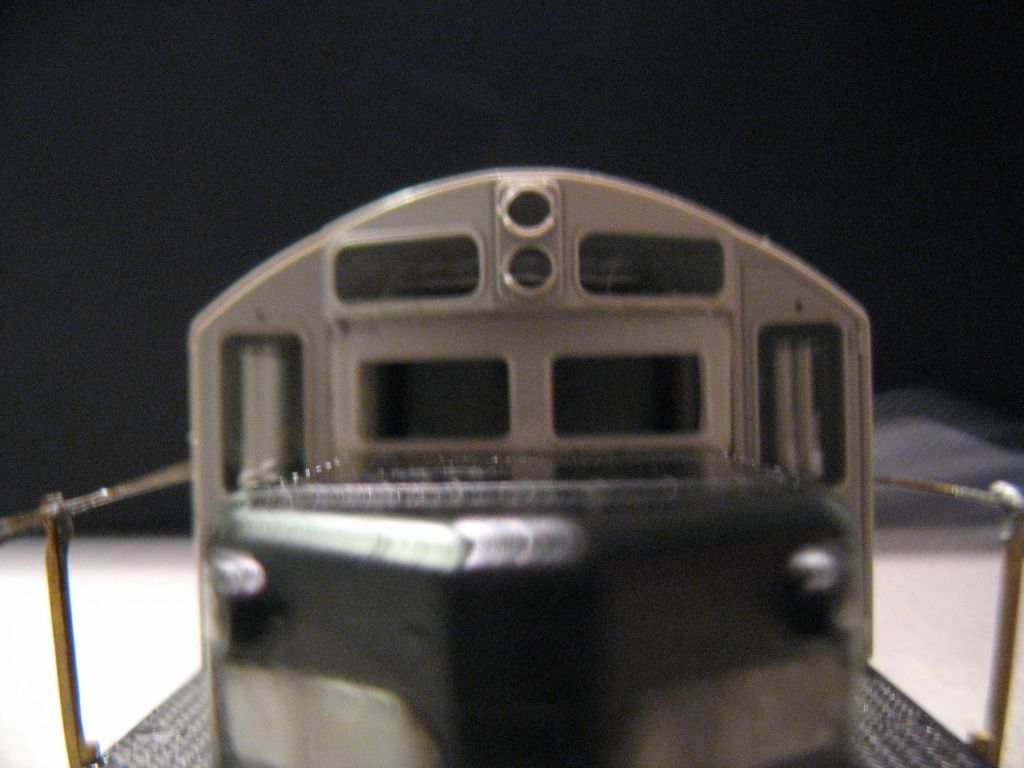 I was having issues with getting the chop to look level. I think I got it really close to level. What do you guys think? I'm finding an added bonus to using the Atlas Cab: 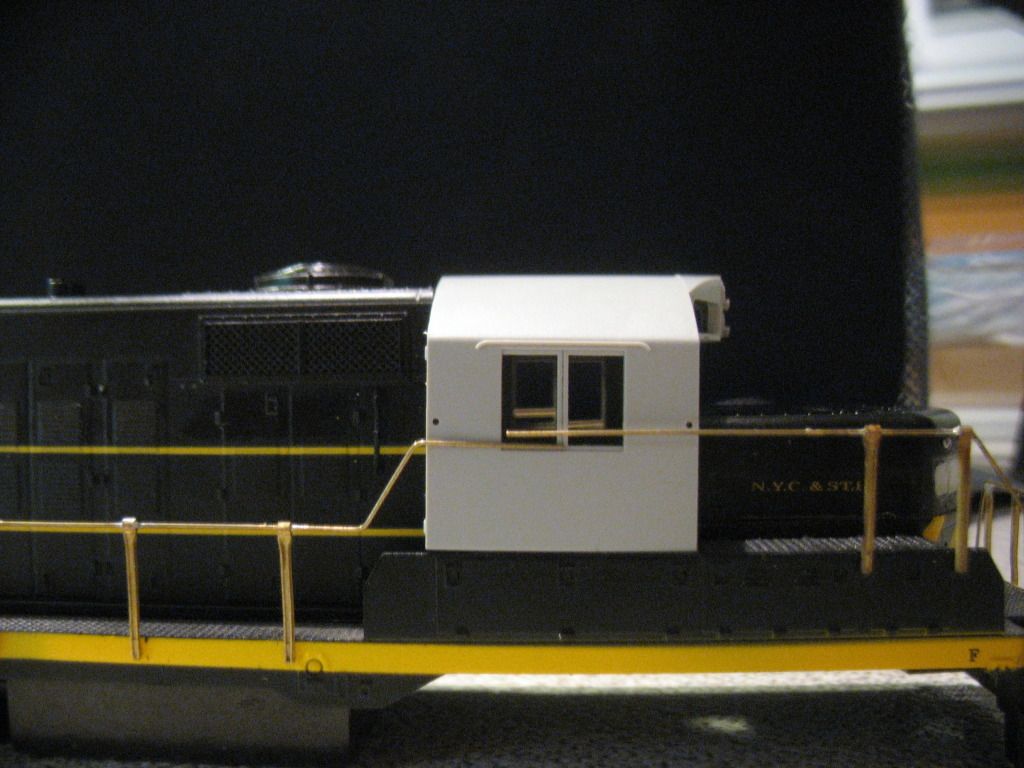 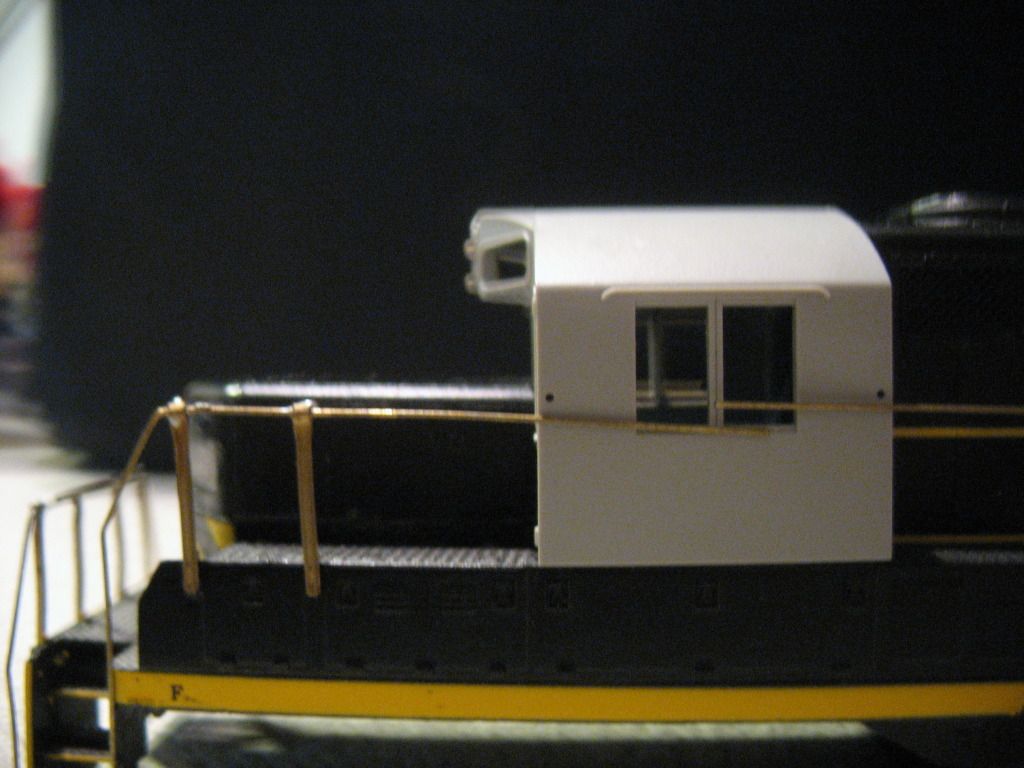 The Smokey valley handrails (they come from a kit to convert a front range GP9 to a B-unit) wind up really close to the holes in the atlas cab. This is really good for me as I don't have to buy a bit to attach the handrails to the cab. Now that the chop is done, it's on to the details. I'm going to be changing the steps, adding wire grabs, eye rings, lift bars, MU and air hoses, beacon, horn, antenna bell and the winterization hatch. As for glazing, I bought 2 of the AMB window sets for the Atlas SD24 cab. I'm thinking of cutting the large single-pane window to fit into the DPH insert. |
|
|
|
Post by icghogger on May 22, 2012 18:44:05 GMT -5
While the hood looks level, I think the DPH insert is upside down, as the prototype photos show the top of the center window frame is almost level with the top of the right and left front windows.
|
|
|
|
Post by Packer on May 22, 2012 22:48:07 GMT -5
Aw crap. Guess I should print out the photos next time. I don't know which end is up on those inserts, I cut a bit off of each end to get it in there. Anyways, I went and popped the DPH insert out and did some filing on it after reading the suggestion: 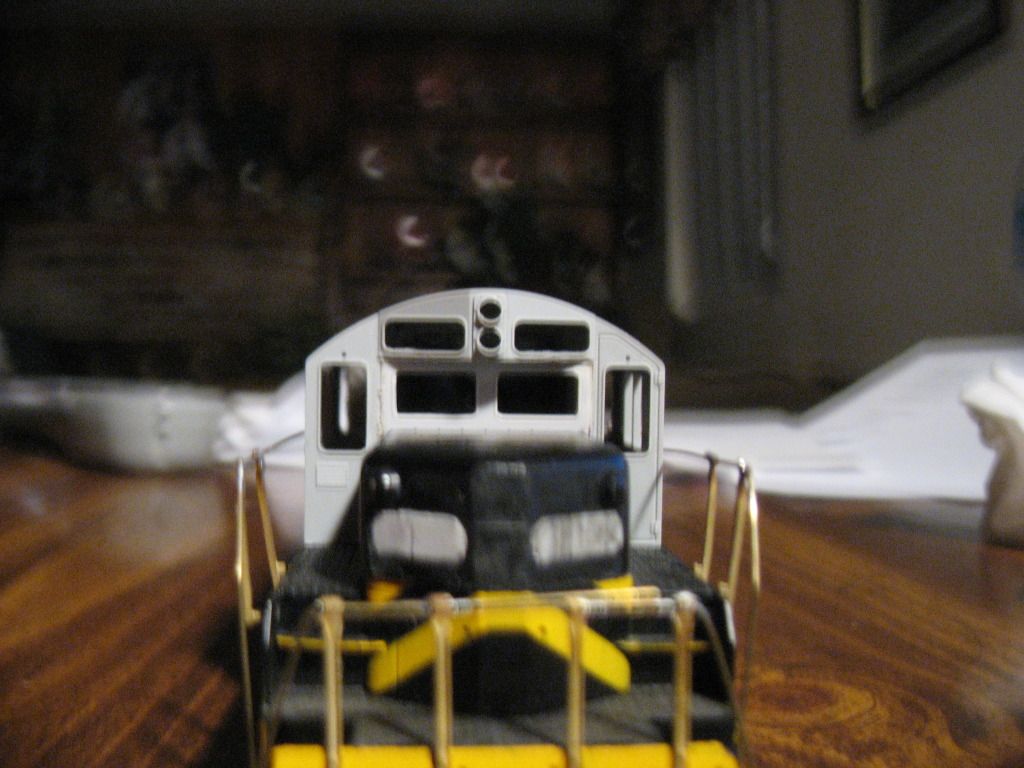 I think it's closer to the prototype now, but I'm afraid I may have taken too much out of the nose. I need to get some .06 styrene sheet to go in behind the nose (and for my F-units' door). I cut the back of the nose out to avoid having to file a rounded shape into the insert. The DPH insert just goes behind the nose, but the cab holds the nose in. |
|
|
|
Post by Packer on May 28, 2012 17:12:23 GMT -5
Well I tried to make a shim for the nose of my GP5 project out of .03 styrene. I cut the outside first, then the inside. Bad idea, if ended up breaking apart when trying to cut on the inside. Here's a picture with a plank piece of .03 styrene: 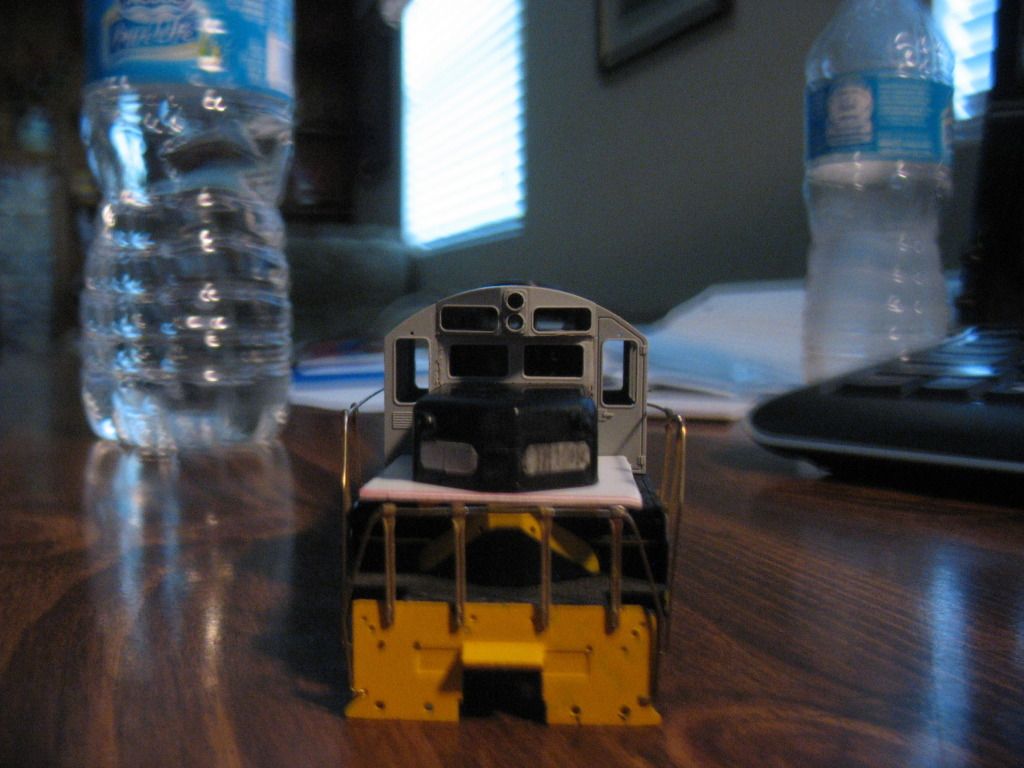 I'm gonna try cutting this from the inside (to clear the P2K weight) then cut the outside. If that doesn't work, I'm going to try to use .03 x .03 rods to raise the nose a touch.I don't really want to cut down another nose when I only have to raise it up by .03. I still need to make a filler piece for behind the cab on the right where the atlas SD24 doesn't have a step like the P2K GP9. I was going to add cannon steps anyways so this isn't really an issue. Does anyone think the height of the nose is now corrected compared to the prototype? |
|
|
|
Post by Packer on Jun 16, 2012 13:45:32 GMT -5
Looks like I haven't been keeping this thread up to date...
Since the last update, I've stripped the whole thing, shimmed up the nose, and started to apply body filler and primer. Pics when I get that all finished.
Really all that I need to order for this unit is some parts from atlas (windshield wipers, glazing, and a few other odds and ends), cannon steps, and coupler cut bars. I have everything else in my parts box.
|
|