Post by Rudy Garbely on Jul 2, 2010 14:19:59 GMT -5
So, as many of you probably already know, I work for the Morristown & Erie Railway in Morristown, NJ:
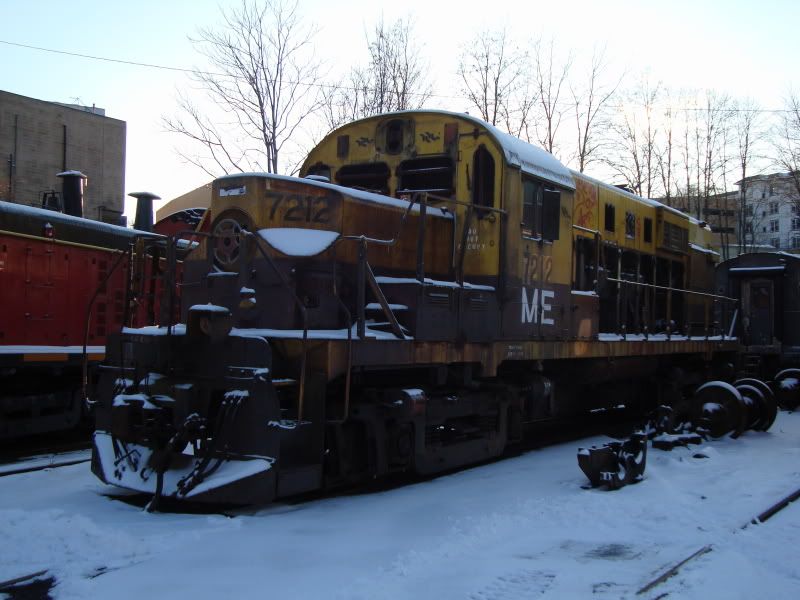
As we were cleaning out a container filled with stuff that we got from the Erie Mining Company when they went out of business in 2003, we came across a pile of headlight castings from the RS11's that we got, stripped, and scrapped a few months ago:
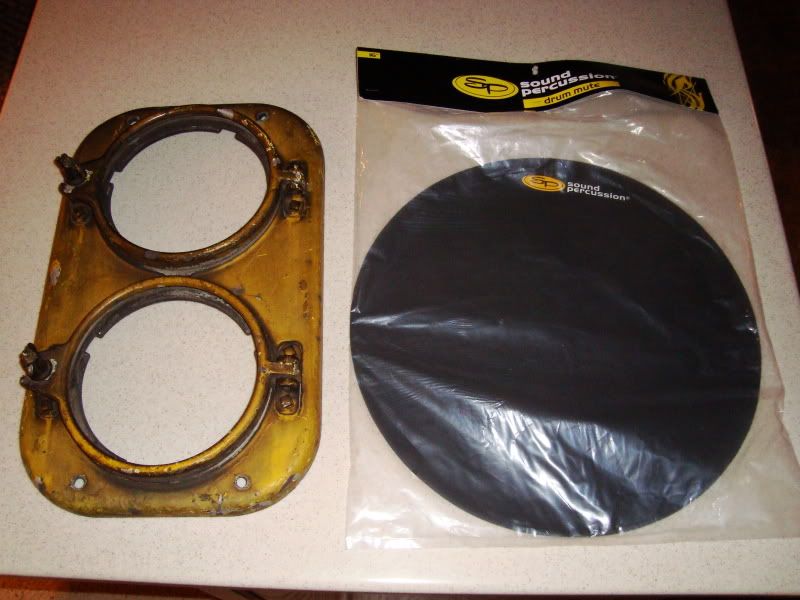
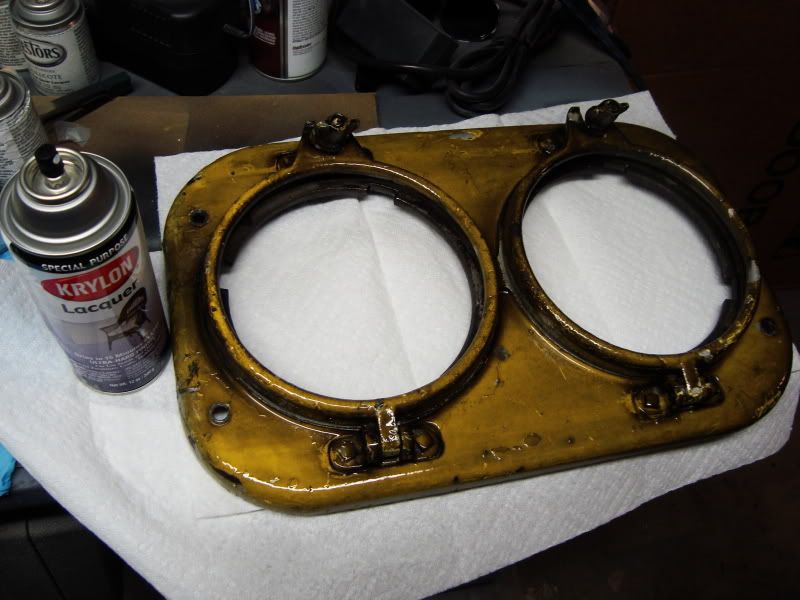
My boss said we were going to scrap the headlight castings. However, he offered me one as a souvenir, and any good employee doesn't want to argue with the boss when he's offered free pieces of railroadiana. So I picked out one that still had most of the original Erie Mining paint on it and had all of its working pieces (hinges and latches), cleaned it in the parts washer, and brought it home:

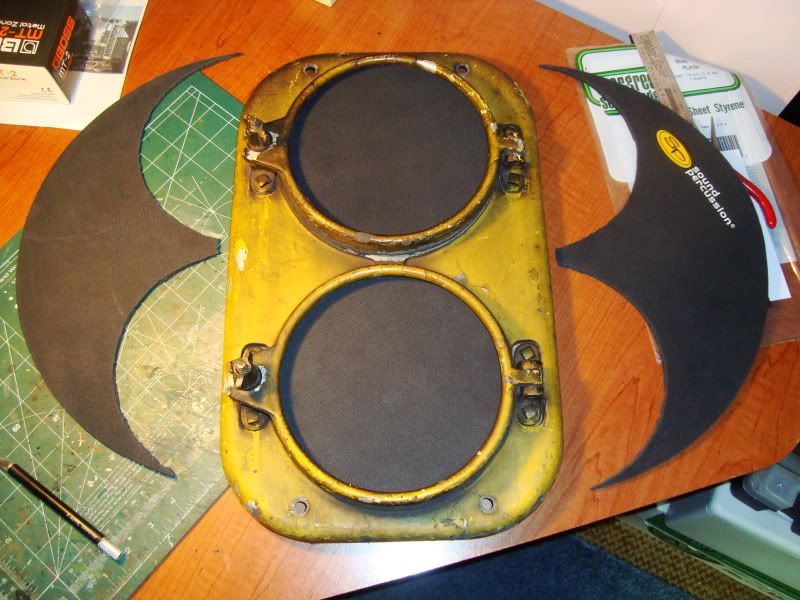
After staring at it and trying to figure out what to do with it, it finally hit me that it would make a fantastic front-loading picture frame. I started working on ideas of how to make the conversion. I noticed that the first thing I would have to do was fill the void where the rubber gaskets used to be and also provide a backing for the photographs to sit on. Ever-creative, I went out and bought a mute for a bass drum (like the big kick drum on a drum kit). It's essentially a ~1/4 inch thick rubber/foam pad that stops the drum from resonating and thereby mutes it. However, it's also the perfect thickness to replicate the gasket, strong enough to provide the backing for the pictures, and can be easily cut with a #11 knife blade:
The one 16" bass drum mute (which was only $10) has enough material to cover both 7 1/2" headlight rings. So I cut two circles out of the large mute:
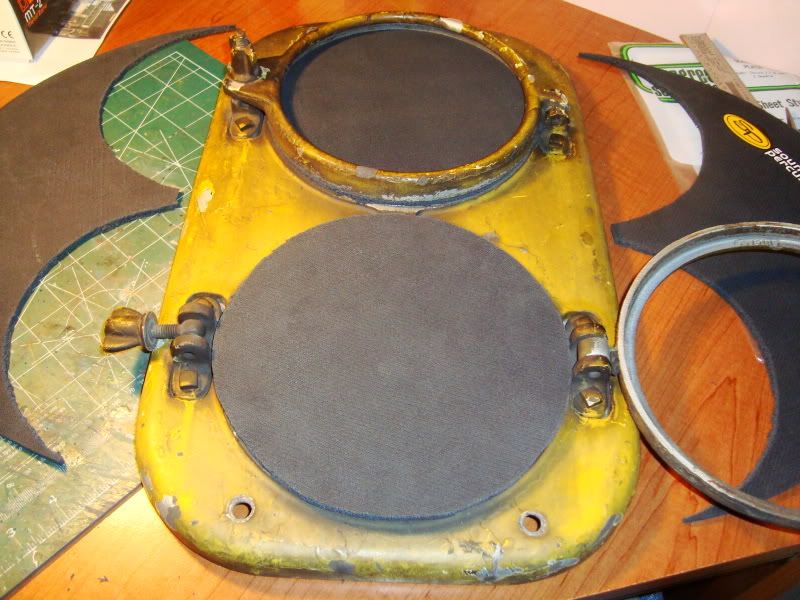
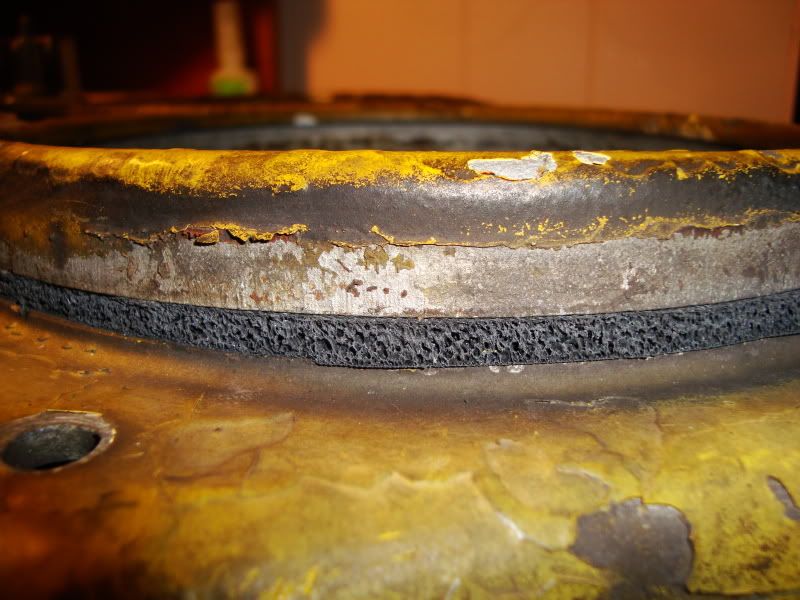
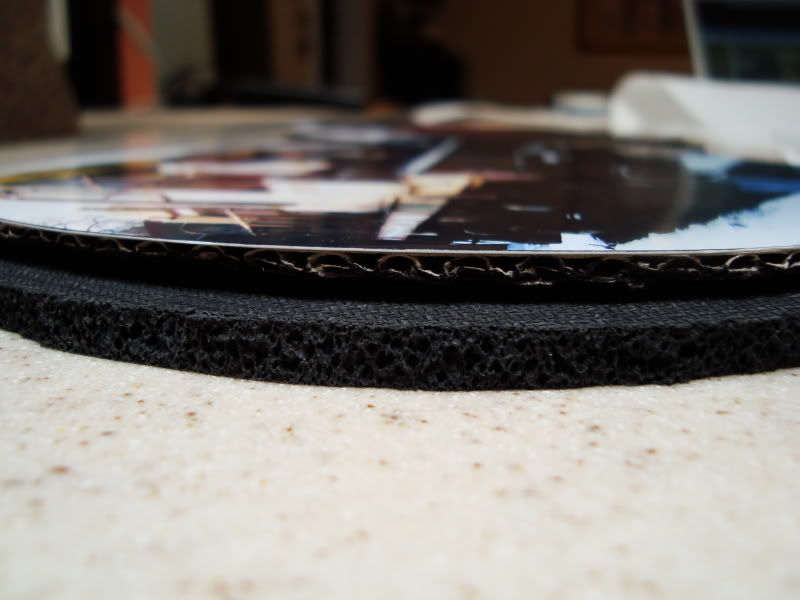
As you can see, it fills the gap nicely between the rings and the headlight casting:
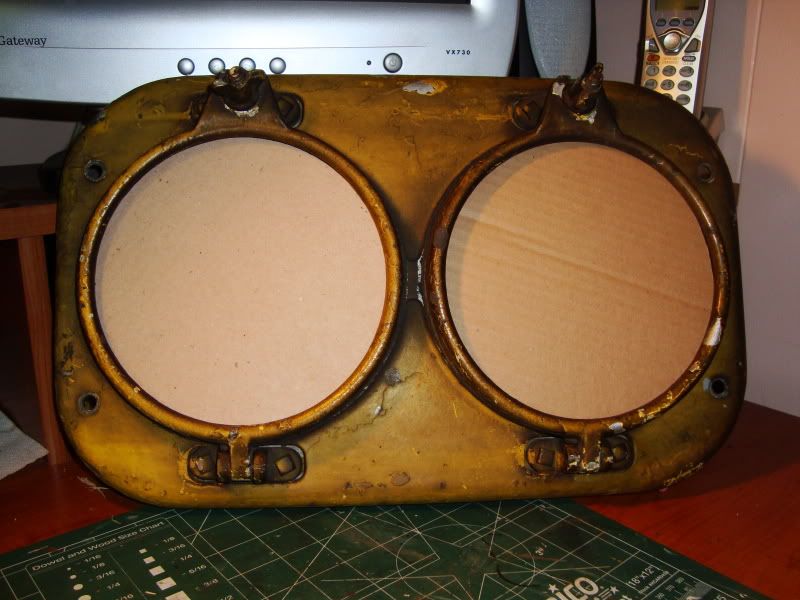
I then cut two circular pieces of cardboard to fit inside the ring and sit on top of the rubber mats:
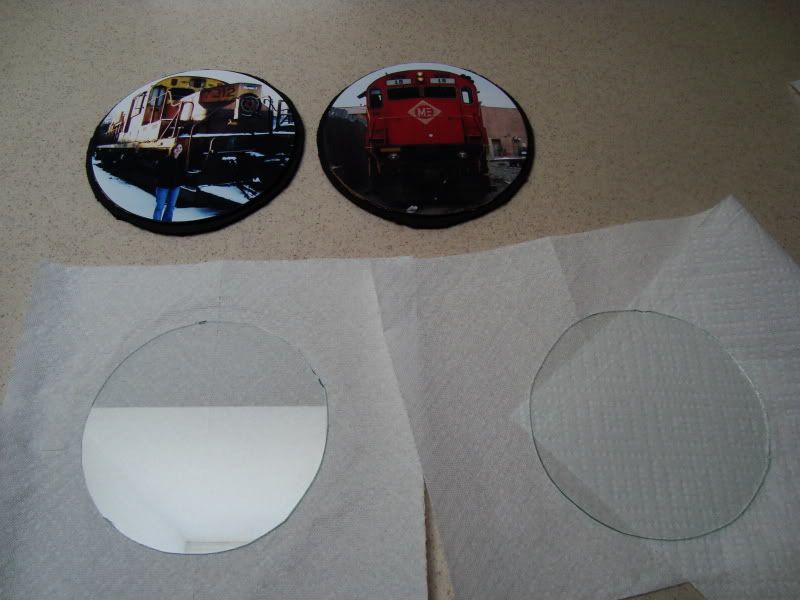
At this point, I decided on the two pictures I'd like to include in the final product and printed them low-quality on regular printer paper just to test fit them and see roughly how the final frame would look. The girl in the picture on the left is my fiance... I found out that I only had a handful of pictures of the RS11's before they were scrapped, and they were all from a trip that she took with me... so I decided to include her:
I then went to the local hardware store and got circular pieces of glass cut for the openings. The two of them cost only $6. They sit between the pictures and the lip on the headlight rings. I then printed out the two pictures on glossy photo paper at high resolution, as these will be the final images in the frame. I also cleaned the glass:
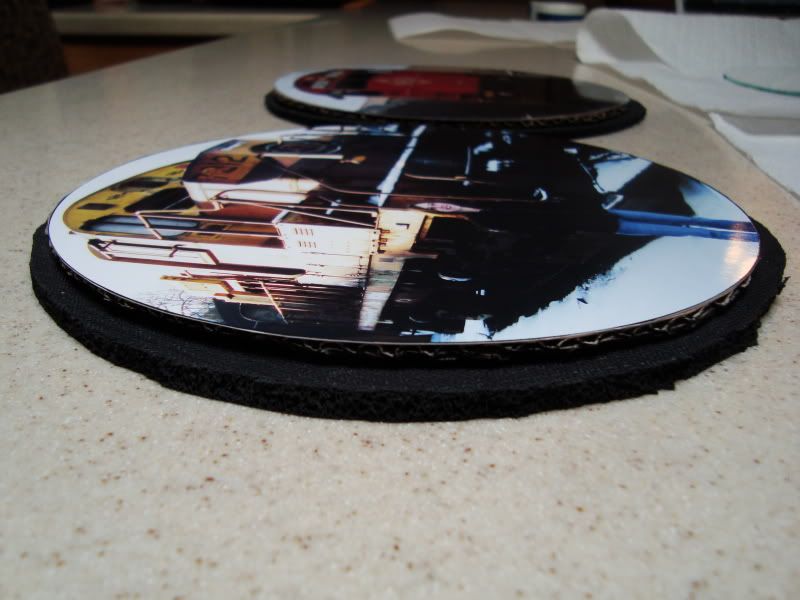
This is basically the final "assembly" that is going inside the headlight rings with the glass on top:
When I was at the hardware store, I also picked up a $7 can of heavy-duty gloss clearcoat that I then used on the headlight casting itself to protect the paint and weathering (yes, I am a TRUE model railroader at heart... I sealed my weathering when it was done).
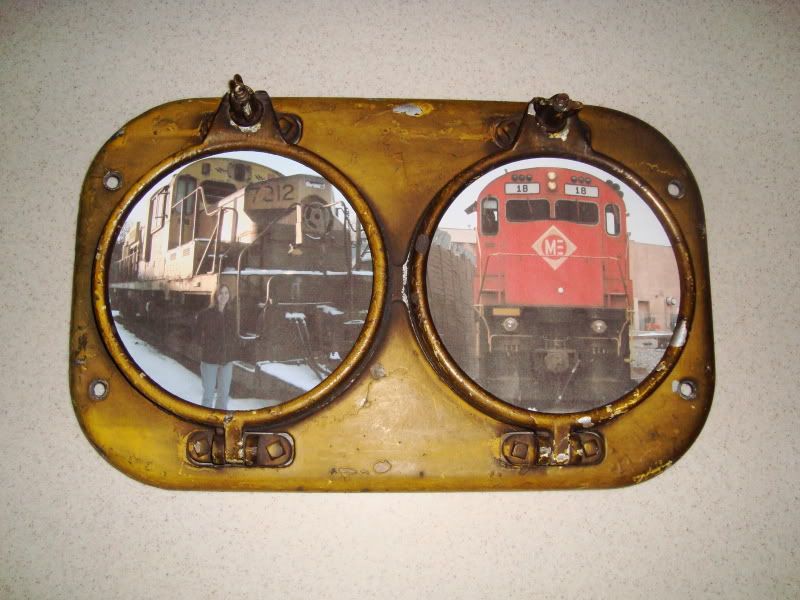
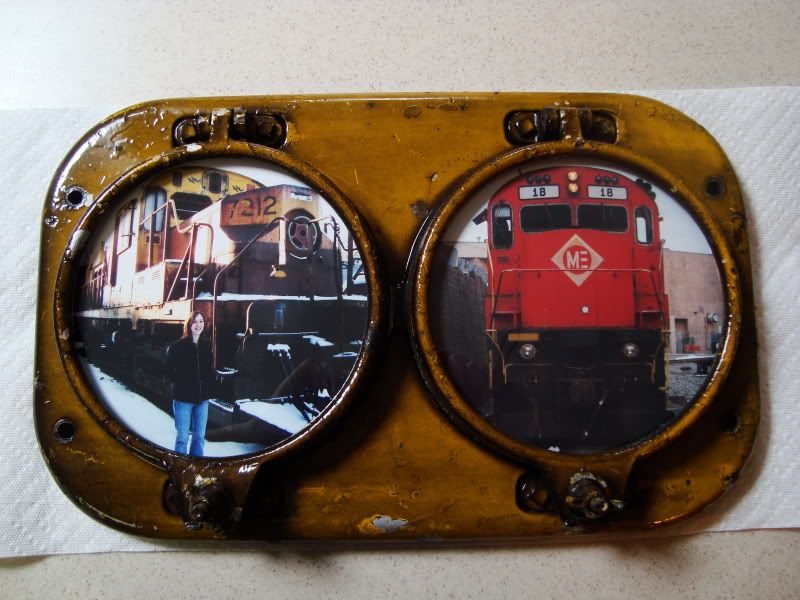
When the clearcoat was dry about 20 minutes later, all I had to do was assemble the final result (first picture with flash, second one without):
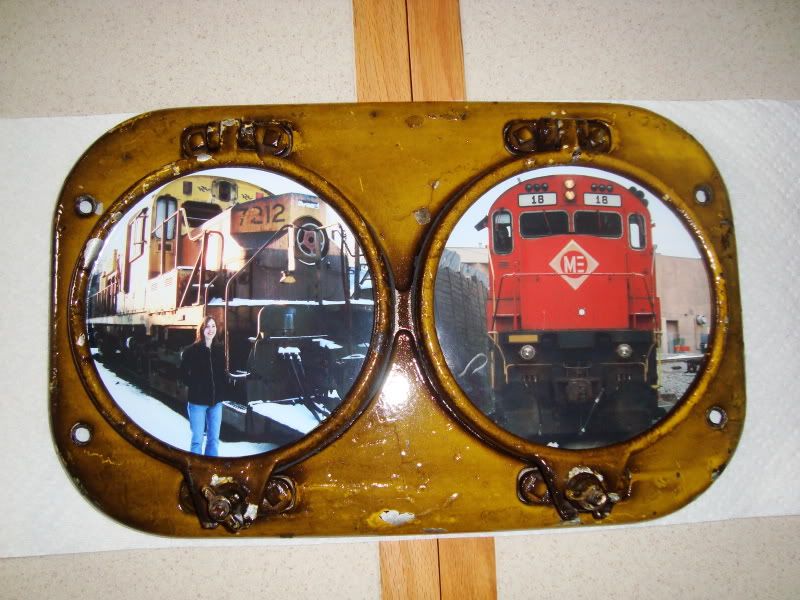
This whole project only cost me a whopping $23 out of pocket. And it was fun. And I have a bit of history to hang on my wall (or put on top of the bookshelf because it’s too heavy for the wall...). I may go back and add a stand for it using the four bolt holes as attachment points... but for now, the hard work is done!
As we were cleaning out a container filled with stuff that we got from the Erie Mining Company when they went out of business in 2003, we came across a pile of headlight castings from the RS11's that we got, stripped, and scrapped a few months ago:
My boss said we were going to scrap the headlight castings. However, he offered me one as a souvenir, and any good employee doesn't want to argue with the boss when he's offered free pieces of railroadiana. So I picked out one that still had most of the original Erie Mining paint on it and had all of its working pieces (hinges and latches), cleaned it in the parts washer, and brought it home:
After staring at it and trying to figure out what to do with it, it finally hit me that it would make a fantastic front-loading picture frame. I started working on ideas of how to make the conversion. I noticed that the first thing I would have to do was fill the void where the rubber gaskets used to be and also provide a backing for the photographs to sit on. Ever-creative, I went out and bought a mute for a bass drum (like the big kick drum on a drum kit). It's essentially a ~1/4 inch thick rubber/foam pad that stops the drum from resonating and thereby mutes it. However, it's also the perfect thickness to replicate the gasket, strong enough to provide the backing for the pictures, and can be easily cut with a #11 knife blade:
The one 16" bass drum mute (which was only $10) has enough material to cover both 7 1/2" headlight rings. So I cut two circles out of the large mute:
As you can see, it fills the gap nicely between the rings and the headlight casting:
I then cut two circular pieces of cardboard to fit inside the ring and sit on top of the rubber mats:
At this point, I decided on the two pictures I'd like to include in the final product and printed them low-quality on regular printer paper just to test fit them and see roughly how the final frame would look. The girl in the picture on the left is my fiance... I found out that I only had a handful of pictures of the RS11's before they were scrapped, and they were all from a trip that she took with me... so I decided to include her:
I then went to the local hardware store and got circular pieces of glass cut for the openings. The two of them cost only $6. They sit between the pictures and the lip on the headlight rings. I then printed out the two pictures on glossy photo paper at high resolution, as these will be the final images in the frame. I also cleaned the glass:
This is basically the final "assembly" that is going inside the headlight rings with the glass on top:
When I was at the hardware store, I also picked up a $7 can of heavy-duty gloss clearcoat that I then used on the headlight casting itself to protect the paint and weathering (yes, I am a TRUE model railroader at heart... I sealed my weathering when it was done).
When the clearcoat was dry about 20 minutes later, all I had to do was assemble the final result (first picture with flash, second one without):
This whole project only cost me a whopping $23 out of pocket. And it was fun. And I have a bit of history to hang on my wall (or put on top of the bookshelf because it’s too heavy for the wall...). I may go back and add a stand for it using the four bolt holes as attachment points... but for now, the hard work is done!


 Saw ya on FB.