Drilling holes for Cannon and Co fans
Jan 11, 2010 19:22:42 GMT -5
pacbelt and railfangreg69 like this
Post by digitalfreight on Jan 11, 2010 19:22:42 GMT -5
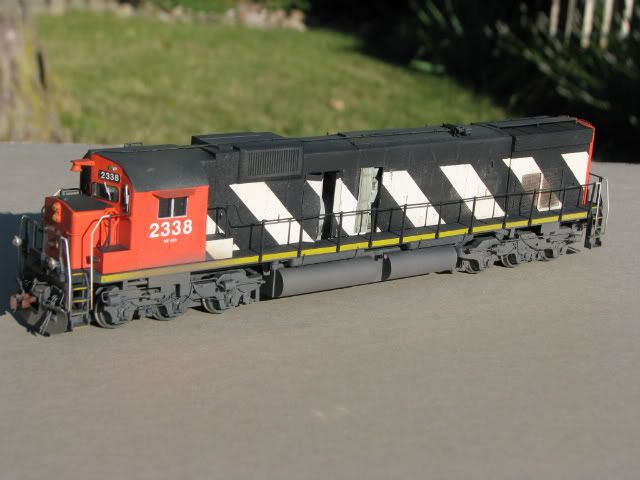
Pictured below is one of those projects I want to accomplish in a short time, with limited expense, but not be horrified when it rolls by on the layout. This is going to be a patch job CNW SD-45 that they purchased from Conrail. This particular unit (the 6535) was never painted into CNW colors.

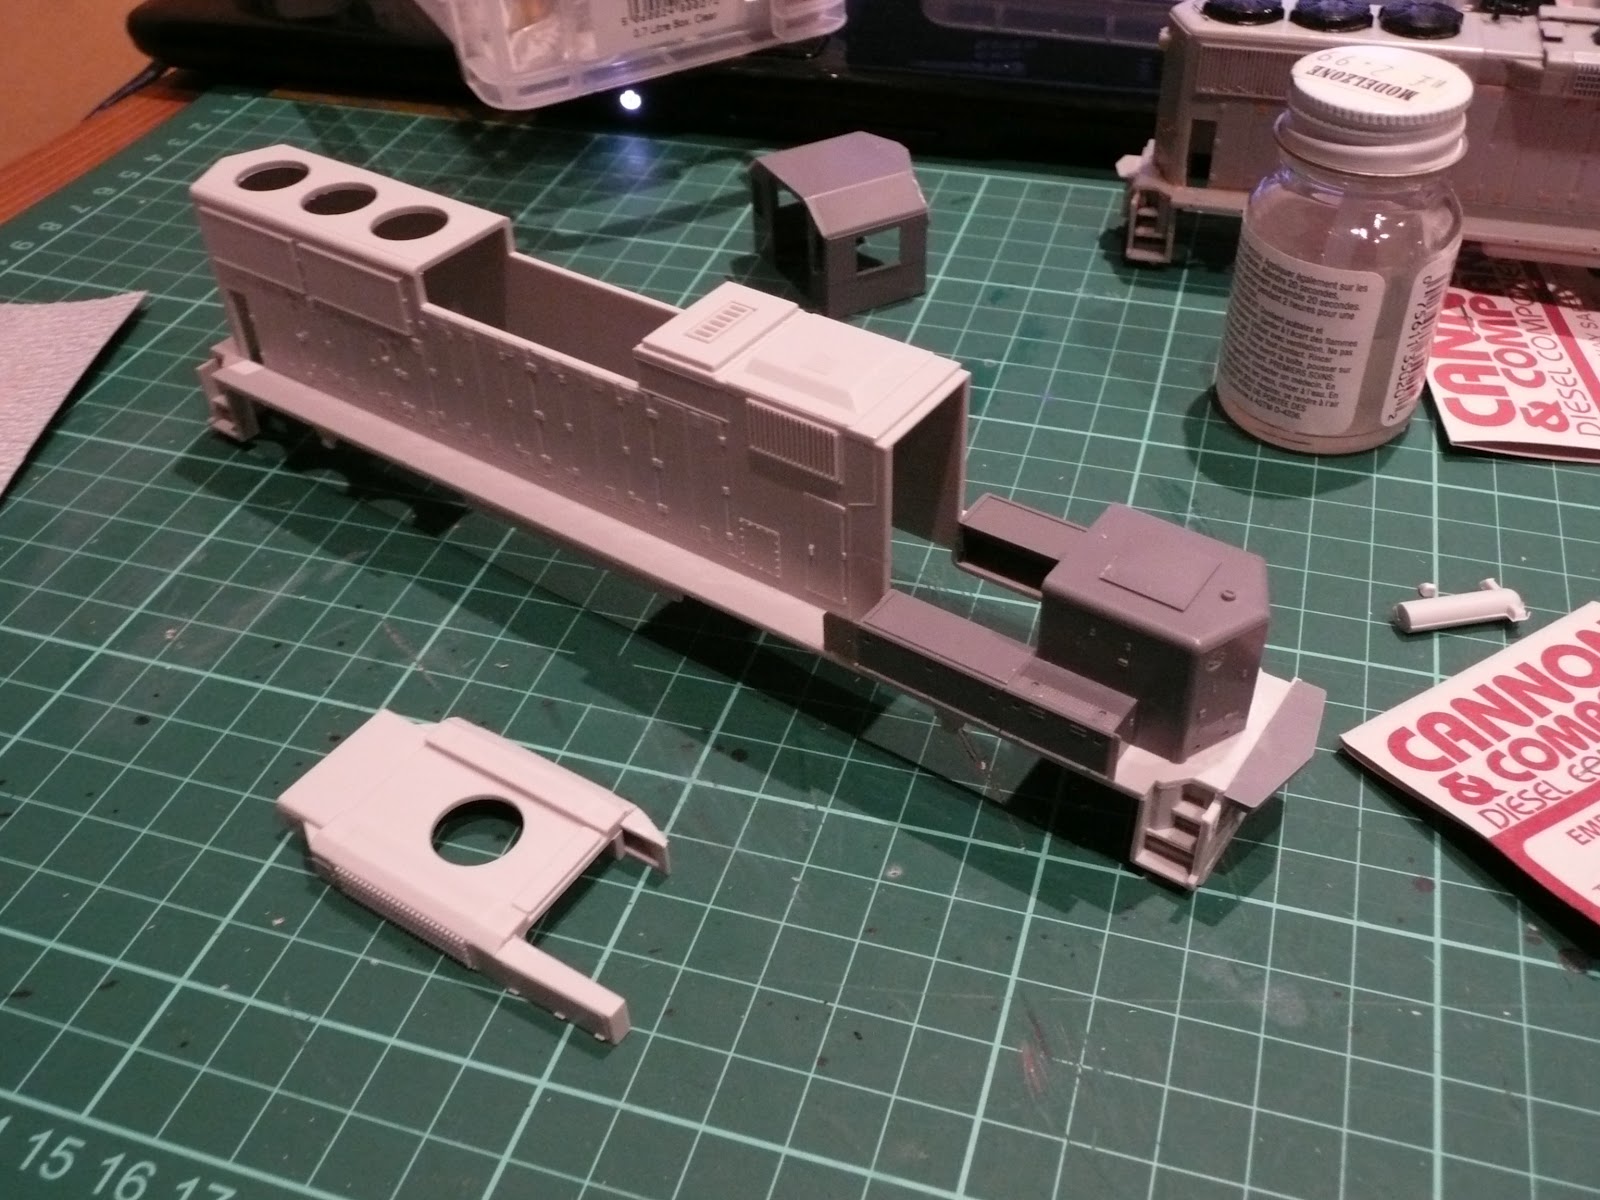
Going cheap, I picked up a Bachman SD45. At first I was only going to add a few details and then smudge up the paint. But, I could not stand the fans. I believe roof tops are the most important detailing aspect since from our perspective it's typically what we see. However, after purchasing the Cannon fans for replacement, another daunting challenge faced me. How could I accurately drill out the fan mount holes, particularly with their fan detail already in the way?
I paid close attention to Brian Banna's info (http://www.6axlepwr.com/HOOD_SIDES_7.html) on making accurate holes, but was afraid that my patience and skill would run out. Instead, I came up with the following: Cannon commends a .563" - .585" hole for gap free mounting of the fan base. This translates very nicely to a 9/16" hole (.563"), but the thought of running my 9/16" drill bit through the top of this fragile shell wasn't very appealing. Then I remembered my step drill. Purchased on sale for less than $5 at Harbor Freight (see www.harborfreight.com/cpi/ctaf/displayitem.taf?Itemnumber=44460). This item proved to be the ideal method for drilling very precise holes.

Ideally I would have had a variable speed drill press at my disposal. But, lacking that, I got out my cordless drill, put it on slow, and pressed on. In short, it worked amazing! The steps of the drill allow you to gradually increase the size of the hole, all the while checking for center. The second to last step gives you a great idea of how close you are to center, allowing you to adjust a bit side to side for the final cut. Each hole came out flawlessly.

The only minor drawback was that if you're working on some shell with pre-formed fans there will still be a slight ridge around the edge of your hole if they are not preformed to the proper size. In this case I had to take a little knife and sandpaper to the remaining edge to get a flush fit. The beauty of the process is that it maintained the integrity of the factory paint and form so that I can still get by without doing the full detailing works. Thanks Brian B. for motivating me to do a little more and making me think of ways to get it done! Mike
Going cheap, I picked up a Bachman SD45. At first I was only going to add a few details and then smudge up the paint. But, I could not stand the fans. I believe roof tops are the most important detailing aspect since from our perspective it's typically what we see. However, after purchasing the Cannon fans for replacement, another daunting challenge faced me. How could I accurately drill out the fan mount holes, particularly with their fan detail already in the way?
I paid close attention to Brian Banna's info (http://www.6axlepwr.com/HOOD_SIDES_7.html) on making accurate holes, but was afraid that my patience and skill would run out. Instead, I came up with the following: Cannon commends a .563" - .585" hole for gap free mounting of the fan base. This translates very nicely to a 9/16" hole (.563"), but the thought of running my 9/16" drill bit through the top of this fragile shell wasn't very appealing. Then I remembered my step drill. Purchased on sale for less than $5 at Harbor Freight (see www.harborfreight.com/cpi/ctaf/displayitem.taf?Itemnumber=44460). This item proved to be the ideal method for drilling very precise holes.
Ideally I would have had a variable speed drill press at my disposal. But, lacking that, I got out my cordless drill, put it on slow, and pressed on. In short, it worked amazing! The steps of the drill allow you to gradually increase the size of the hole, all the while checking for center. The second to last step gives you a great idea of how close you are to center, allowing you to adjust a bit side to side for the final cut. Each hole came out flawlessly.
The only minor drawback was that if you're working on some shell with pre-formed fans there will still be a slight ridge around the edge of your hole if they are not preformed to the proper size. In this case I had to take a little knife and sandpaper to the remaining edge to get a flush fit. The beauty of the process is that it maintained the integrity of the factory paint and form so that I can still get by without doing the full detailing works. Thanks Brian B. for motivating me to do a little more and making me think of ways to get it done! Mike