|
|
Post by mosteam3985 on Dec 1, 2009 3:36:12 GMT -5
|
|
|
|
Post by mosteam3985 on Dec 1, 2009 9:35:45 GMT -5
Can anyone tell me what the little box shaped thing is behind the conductors side of the cab?  |
|
|
|
Post by cyeargin on Dec 1, 2009 10:05:33 GMT -5
Can anyone tell me what the little box shaped thing is behind the conductors side of the cab? That would be a basket for holding spare coupler knuckles; Plano Models now has them in PE brass. What a coinkiedink that you started this topic today; I found it because I'm considering doing the same project, LOL |
|
|
|
Post by beentherecnthat on Dec 1, 2009 10:35:54 GMT -5
My brother is planning to do one of these and we did find one issue to keep in mind: if you look at a dash 8 and dash 9, you will notice the dash 9 has a lower walkway and thinner sidesill while the overall heights of the two types match. In order to use the standars cab/nose, you will need taller battery boxes and the nose will need to be heightened slightly as well. Do some quick measurements from walkway to roof on both shells and you will see what I mean.
|
|
|
|
Post by wvsecondary on Dec 1, 2009 15:17:43 GMT -5
Couple of other things to keep in mind. Front and rear handrails are different them almost anything out there. They will need to be made out of Smokey Valley Stanchions and wire. Rear Anticlimber is same size as front to that would need to be redone as well. RMC had an two part series on making these. It is a little outdated as you can make it with newer kits than what they use (RPP). You can make a fairly close representation with what you have though. Up to you how "complete" you want it.
|
|
|
|
Post by mosteam3985 on Dec 1, 2009 17:23:57 GMT -5
Thanks guys! I had a feeling that it was a knuckle basket but I wasn't for sure since there are spare knuckles hanging on the rear of this locomotive. I will have to pick up some smokey valley stanchions and take a look at the nose height. Hey cyeargin, do you know which one to buy? I looked at Plano and they have like 6 different baskets. Just not sure which one it is.
|
|
nssd70m2
Superintendent
Norfolk Southern Piedmont Division
Posts: 159
|
Post by nssd70m2 on Dec 1, 2009 17:42:24 GMT -5
Can't wait to see it to come together! I've made one of these and I'm working on my second
|
|
|
|
Post by mosteam3985 on Dec 2, 2009 3:41:08 GMT -5
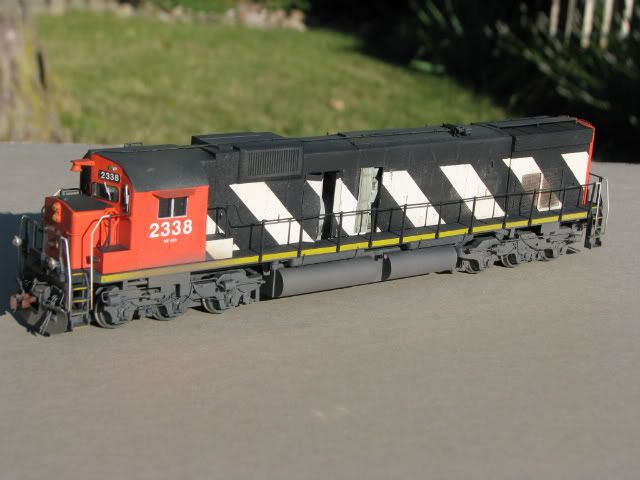
Well here we are. It's 2:30 in the morning and I'm finally about ready to go to bed but I had to post some pics first of the loco. First, I removed all the detail work off of the Atlas cab and hood and the Athearn body. Most of the details on the Athearn body were unwanted so I removed the horn, air conditioner, tool box, and also shaved off a couple of molded things that I don't like because they are too chunky. My next big step was the front pilot. I observed on the prototype that there were 4 steps with the fifth being the walkway. On the Athearn dash 9 there are 5 steps with the 6th being the walkway. This presented a problem as the front pilot was the same but the steps were different. There fore I did a little kitbashing and put the pilot/steps from the dash8 onto the dash 9 after removing Athearn's factory pilot/steps. I wasn't too worried on how the walkway on top would turn out gap wise because it will be getting a layer of tread material later. I have to remove the Atlas anticlimber and put the Athearn anticlimber back on as my next step. This front pilot is a mess!! The prototype is a conglomeration of a dash8 and dash9 pilot and I am having to make good use of my razor saw ALOT as a result....but that's the fun in modeling  Overall I think this part turned out ok but I now realize there was probably much easier ways to do this but hindsight is always 20/20. Now I have to shape the Atlas pilot like the Athearn pilot and put the Athearn anticlimber in place of the Atlas one. Sheesh! 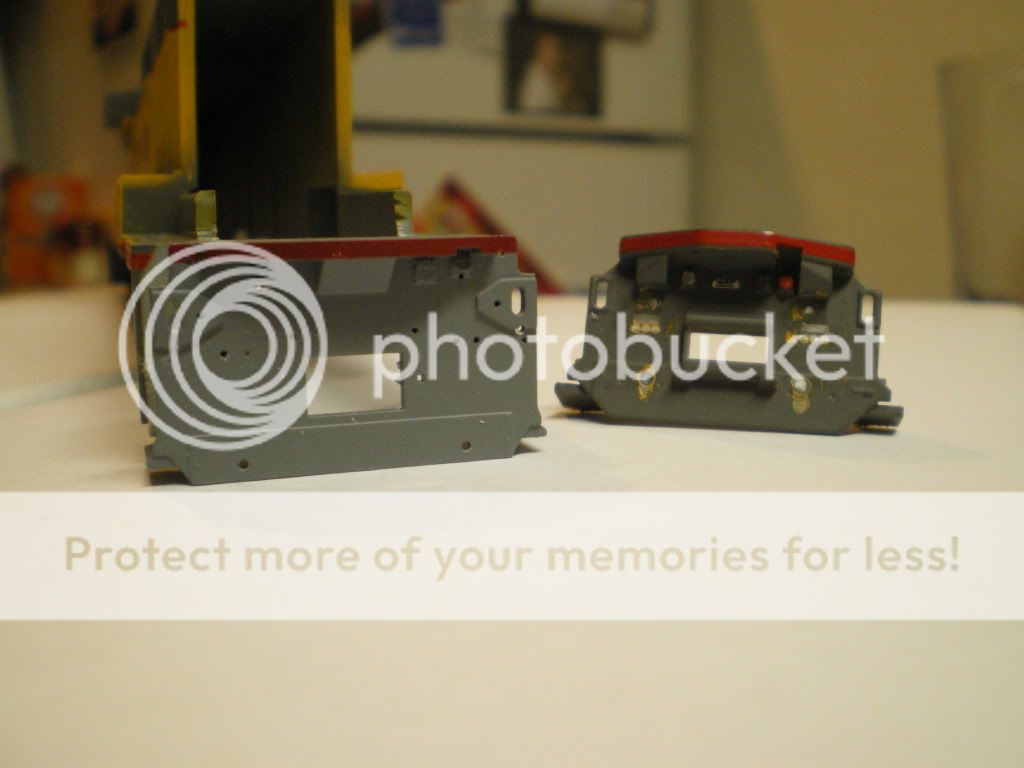 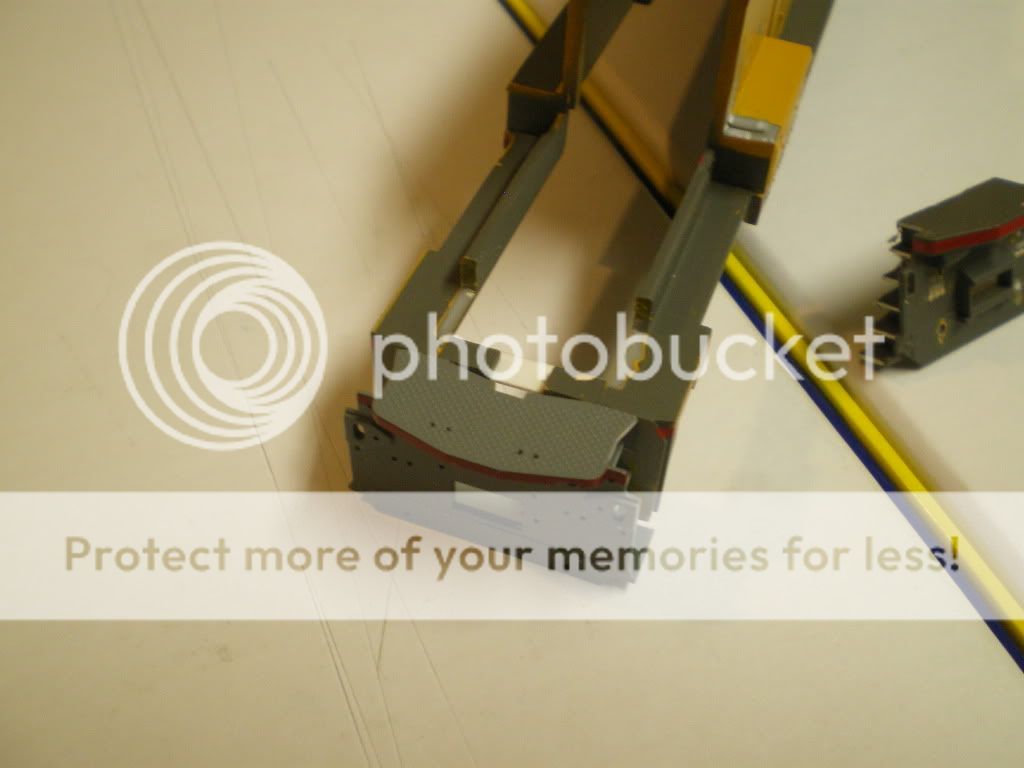 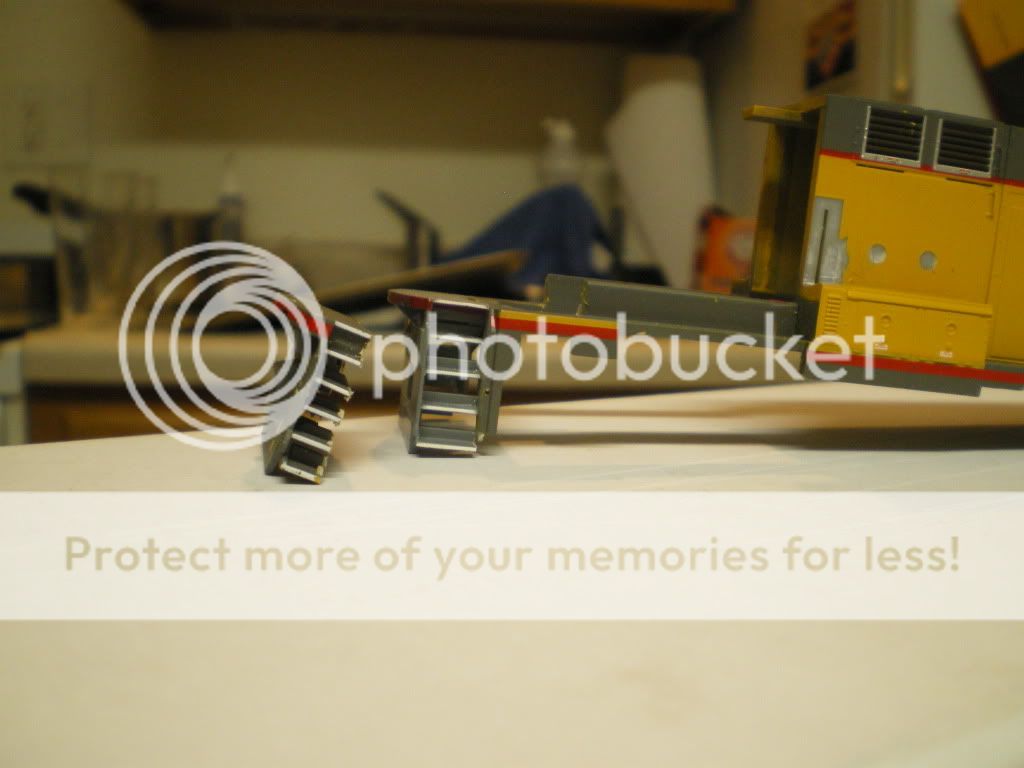 |
|
|
|
Post by mosteam3985 on Dec 3, 2009 0:24:56 GMT -5
Well I was able to make a little more progress tonight after work so I'm posting more photos. As most projects go I will probably do a whole lot here in the beginning and then let it drift to the edge of the workbench for a year or so ;D This first pic is of the removed Atlas anticlimber and the Athearn anticlimber that I pirated off of the old pilot before installation.  This next pic is of the Athearn dash9 with Atlas steps/pilot and Athearn anticlimber. 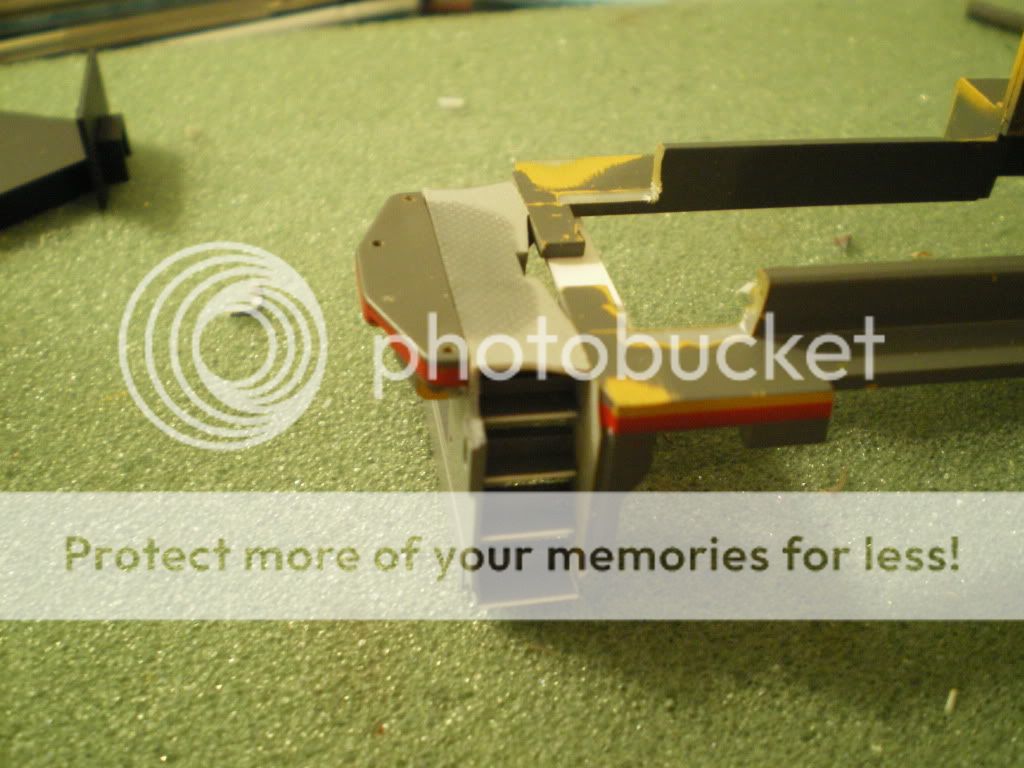 This pic is of the Atlas pilot with Athearn anticlimber installed. Note the Before/After on the Left/Right side of the pilot as to the mods on the pilot itself. 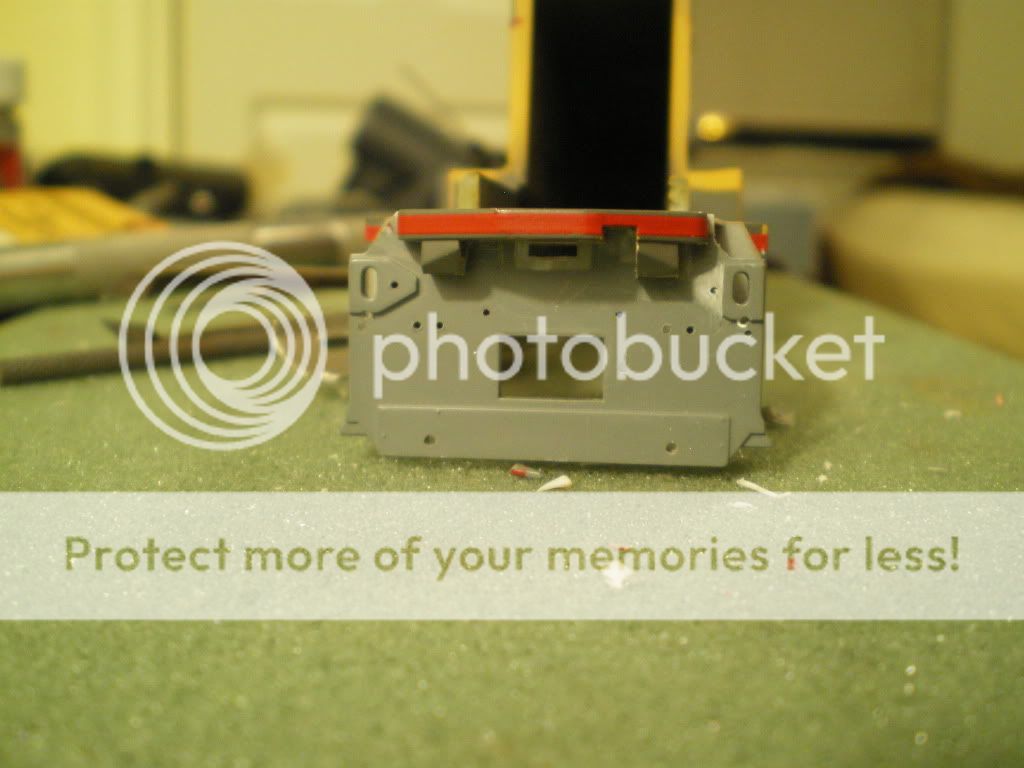 These last pics are of the before and after on the plow I'm using. It's a DW PL-180. It's not the correct plow so I had to modify it. I made it kind of rough in the end on purpose because the prototype plow is pretty beat up from road rash. 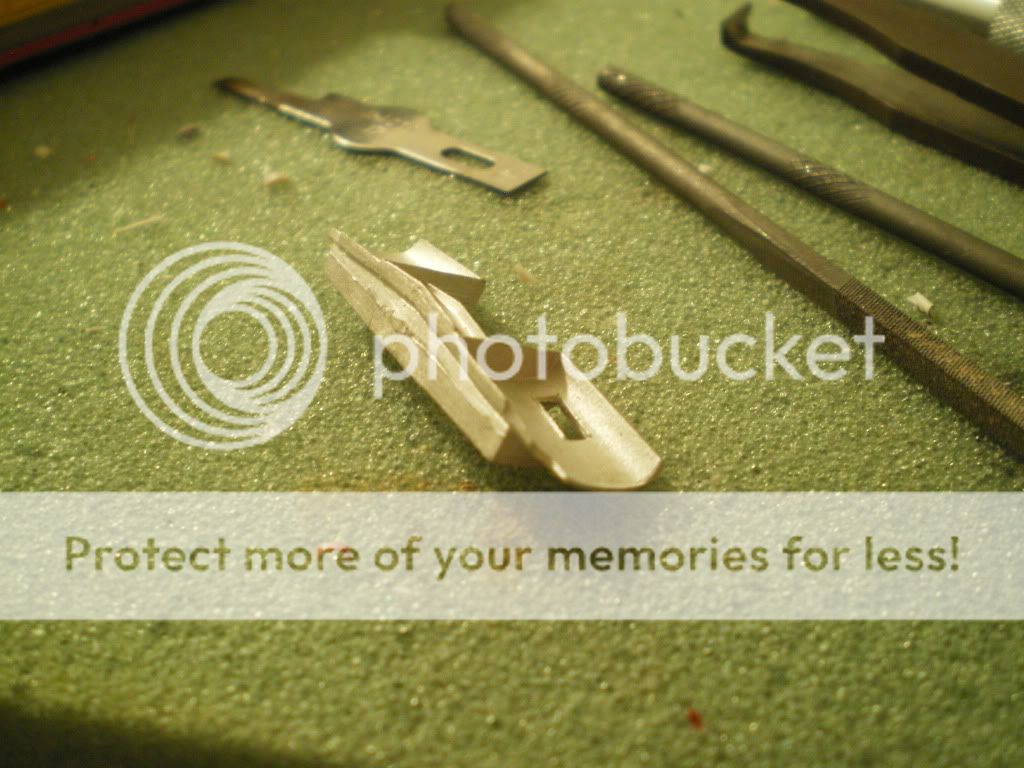 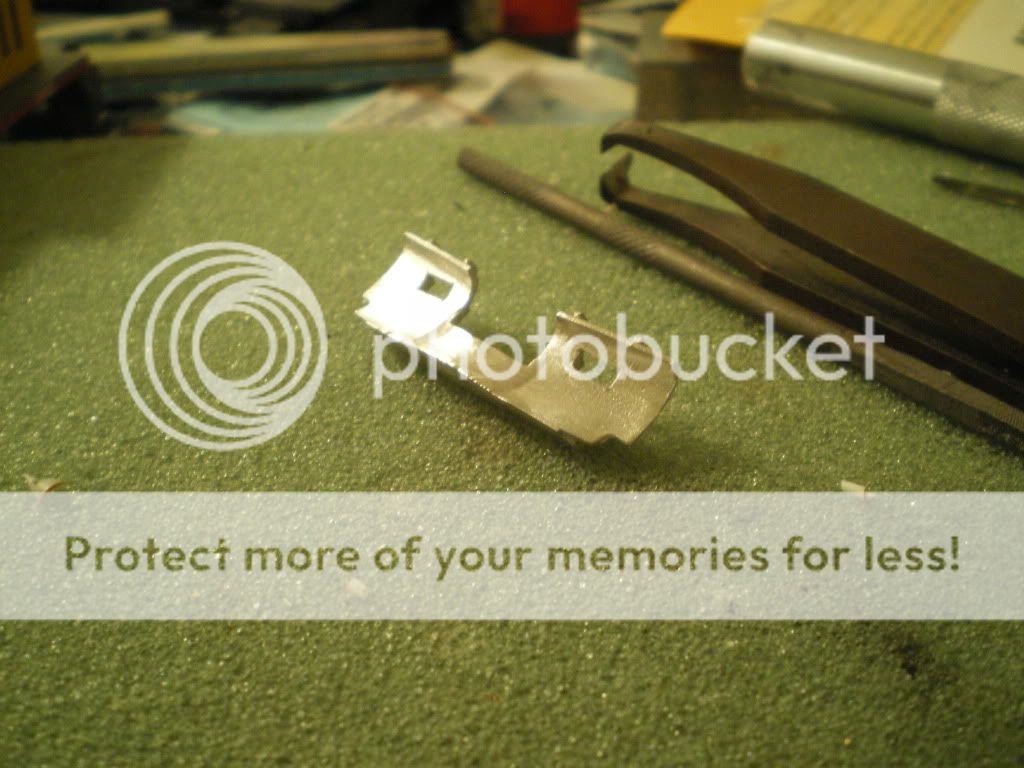 |
|
|
|
Post by icghogger on Dec 3, 2009 9:28:15 GMT -5
Excellent work! The pilot plate/step/anti-climber modifications are very well thought out and are worth the extra effort, IMHO.
|
|
|
|
Post by highroller on Dec 6, 2009 19:39:52 GMT -5
Yep, your steps are really well done and you have a very nice model !!!
|
|
|
|
Post by mosteam3985 on Dec 13, 2009 1:06:16 GMT -5
|
|
|
|
Post by rdg5310 on Dec 13, 2009 10:55:22 GMT -5
Mosteam, you got a nice build going on here, keep it coming. I do want to point out to you that you need to keep your pics to the 800 pixels please. Cropping your pics will help, then resize. Really, our head honcho is going to go nuts again. But, do keep it coming! Really nice work!  |
|
|
|
Post by mosteam3985 on Dec 13, 2009 23:22:41 GMT -5
|
|
|
|
Post by tankcarsrule on Dec 15, 2009 20:26:33 GMT -5
I hate to bring this up after all your great work, but you engine has the wrong radiator inlet
grills. They should be the long ones. May/June 1997 Diesel Era has a great article on this engine.
Bobby Pitts
|
|
|
|
Post by mosteam3985 on Dec 15, 2009 23:33:20 GMT -5
O crap...  |
|
|
|
Post by tankcarsrule on Dec 16, 2009 5:53:01 GMT -5
The Athearn AC4400 demo has the correct rad. compartment. You could splice it on with some
effort. With your skills, I'm sure you could do it. Don't feel bad, you are one of many that made
this same mistake.
Bobby Pitts
|
|
nssd70m2
Superintendent
Norfolk Southern Piedmont Division
Posts: 159
|
Post by nssd70m2 on Dec 16, 2009 6:58:47 GMT -5
Yes I was going to mention that...but like tankcarsrule said, all you need to do it splice it out of the C40-9 and splice the correct one out of an AC4400 and just glue it in place. I always try to start with NS catfish when doing these, as they already have the correct grills.
|
|
spike
Chairman
They say I can't be Spike anymore, so Mr. Burns it is!
Posts: 561
|
Post by spike on Dec 20, 2009 2:09:40 GMT -5
The engineer's front cab heater is flush with the front cab wall. Earlier units had them totally in the cab. I'm not saying that all of the C40-9s were like this, but most that I have been on. This means making a box below the windshield.
|
|
|
|
Post by mosteam3985 on Jan 7, 2010 0:06:19 GMT -5
Well I have put this on the edge of the workbench for now. I need to find some replacement grills and I think I am going to strip and repaint this. It didn't turn out quite like I planned. ANYWAY....I have moved on to a project for my father...(you know us modelers, it's never just ONE at once). I am taking the Atlas Extended vision caboose and pretty much changing EVERYTHING to make it into a CN steel caboose. My dad said "here take this and paint it for me." Well after giving it some thought I decided to not only paint it but actually model it correctly. I will post pics when I'm done as that should be fairly soon (HA HA). Sorry for the lag in this model. Just need to work up the motivation to pull her back out and redo those radiator grills.
|
|