Post by ironstef70 on Feb 7, 2017 23:09:41 GMT -5
Thanks gents, but it ain't finished yet 
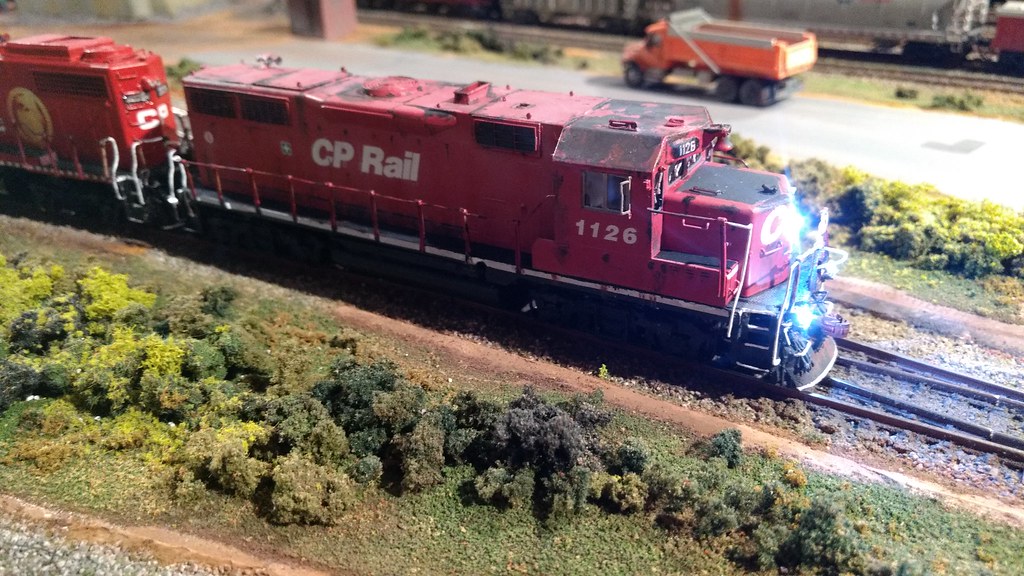
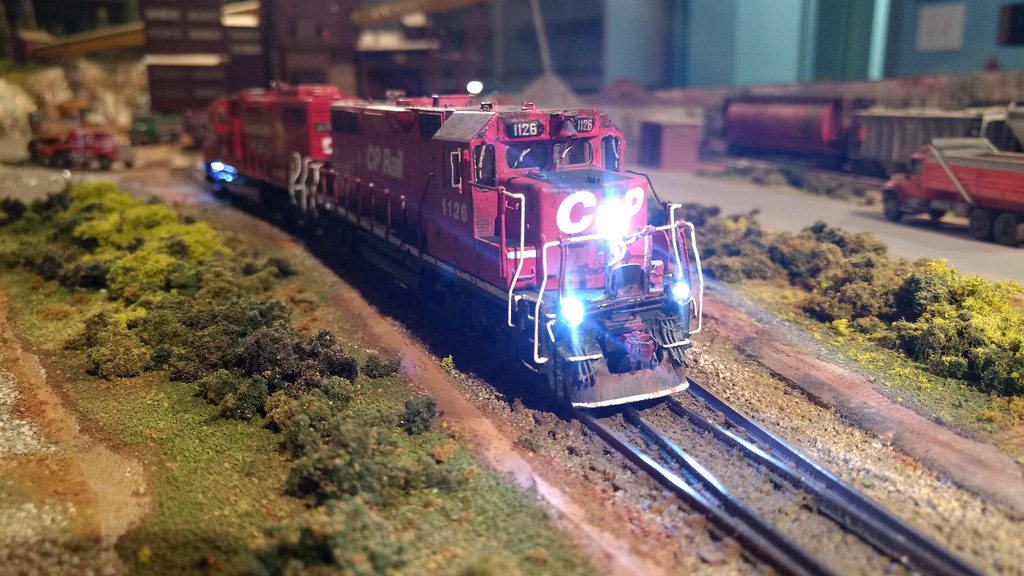
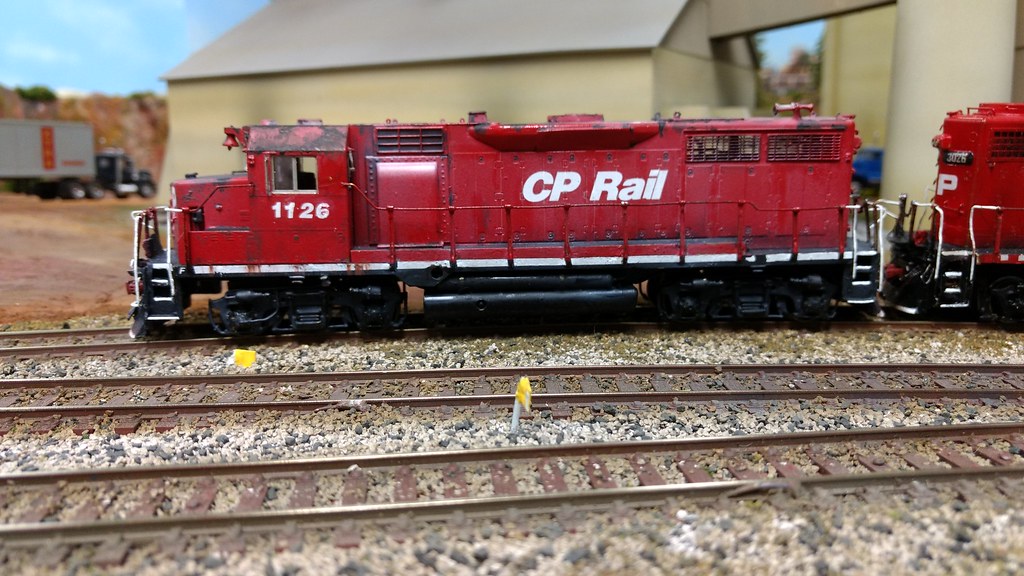
On the first picture, the loco was inclined towards right hand side. I figured out that one of the side air hose was stuck between the frame and the air tank, making a gap between the frame and shell on the left side. I had to re-solder the air line and reinstall the body in position. It is back to straight now.
In the process, I have replaced the original brass screws by steel ones with a more aggressive thread, and they hold everything much stronger now. That GP35 looks like an older design from AJIN, and they only have 4 screws for holding the frame (the fuel tank is unusually soldered to the frame), unlike most models which typically have 8 screws, including 4 holding the fuel tank-frame-cab assembly, a design evolution I suppose.
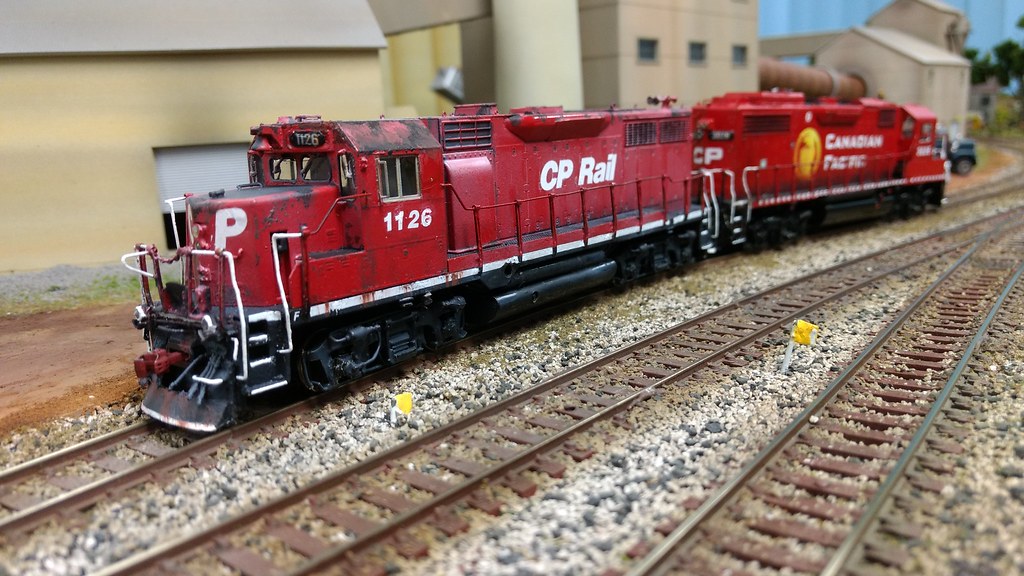
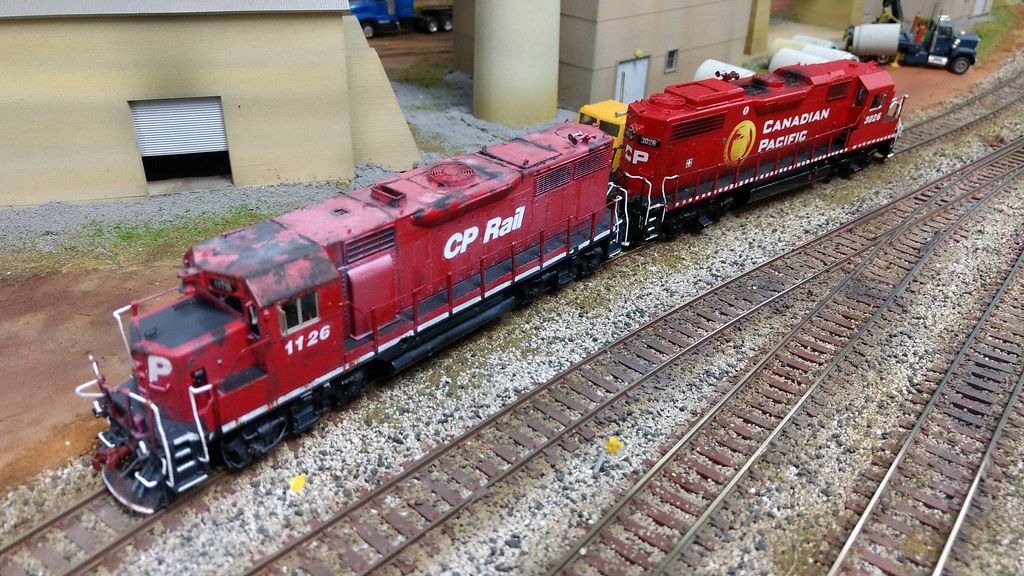
I then took it to the paint booth for another airbrush fading session; white oil paint, 6 to 1 thinner ratio as usual. I never mention what type of oil paint I use so not to be laughed at, but I do my own mix of colors starting from base ones, dull or gloss depending the desired finish, thinned or not for same matters. I exclusively use oil based paints, driving my wife crazy at times, but that's another story.
I tried it on my pocket layout and I am pretty satisfied by its operation. It is pretty smooth operator despite the cheap DT126 decoder. Thanks to the brushed flywheels and straight shafts I suppose. The Makima motors are proven smooth and dependable power.
The brass plows were dangerously "prototypely" close to the rails, so I slightly thinned the back of them and applied a layer of epoxy resin, pretty much as a thick varnish, so to prevent shorts.
My layout is a bumpy yard, making and excellent test drive track for project locos. If they run fine there, they will do anywhere.
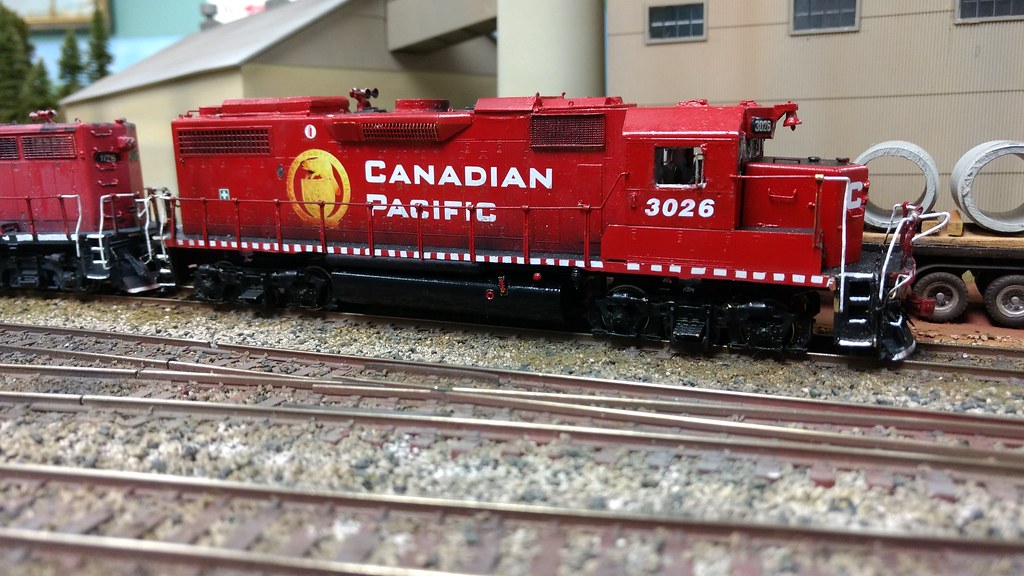
Now it needs a little more hand painting for the visible primer spots on the front end, then it will be ready for a few layout pictures, once I receive its brother in arms: CP3026.
S


