

Post by ironstef70 on May 26, 2015 20:25:29 GMT -5
I had this idea last summer as I needed to figure out a safe and cheap way to travel my locos and cars between home and our local club. A show case was not the idea, so we're not talking about velvet and mahogany here.
As I do have a home layout too, I want to be able to enjoy my fleet at both locations, but this device can also be safe fo longer trips as well, given you add some tape on the top of the box.
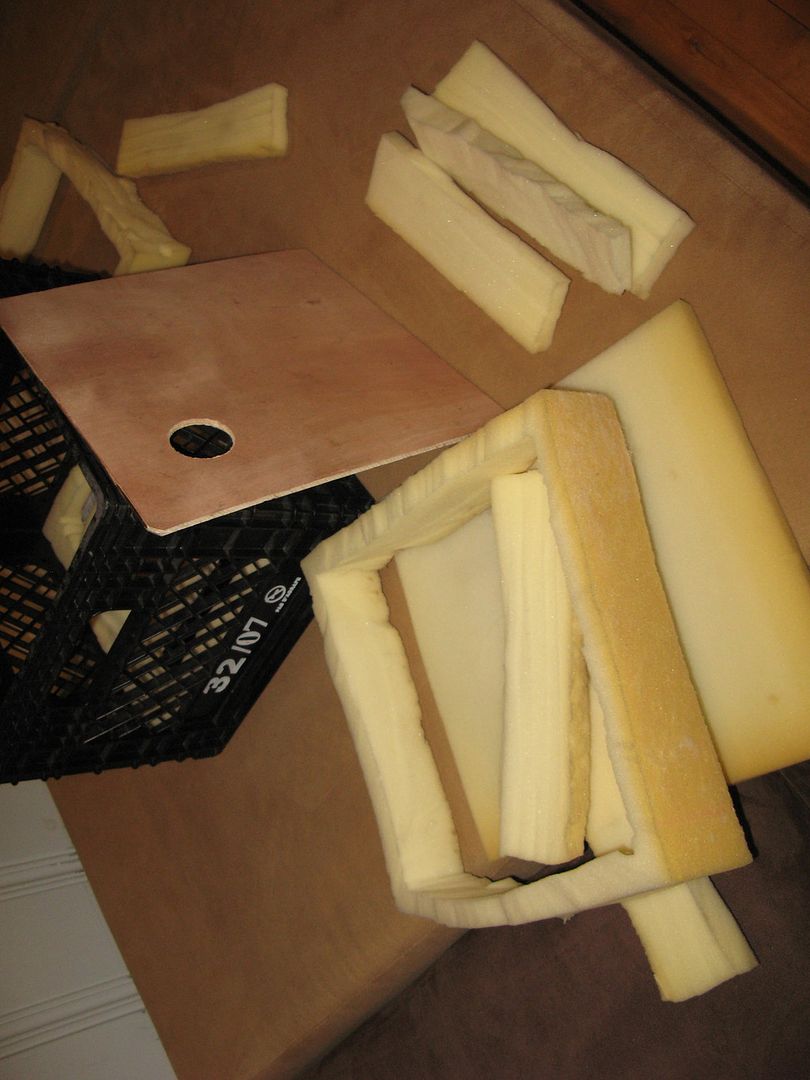
Basically that used to cost me 2$ years ago (back when I was a student as I bought several of those dairy containers for moving everything from books to CDs and all). Oh, then I may add the four 12" square veneer boards (20$ a 4x8' sheet, they will make the "floors" for each story of your case), but those were recuts from layout diorama underlayments.
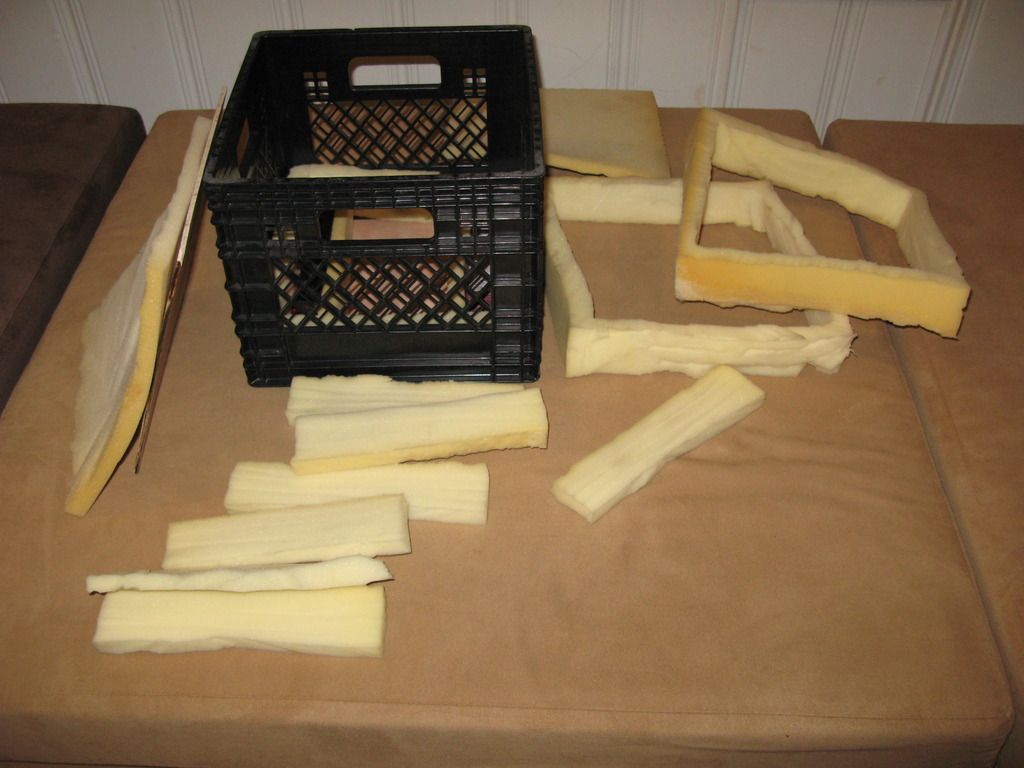
The foam comes from salvaged coach cushions found on the street. At this time of the year, students are moving, and it's very common to see dumped coachs waiting to be picked up by the heavy trashes dump truck. Since there's plenty of choice, you rather want to make your life easier and find square cushions to use.
Once I removed the covers, I started by cutting:
- 12" square pieces that I then re sliced to 1/2" for the "roofs";
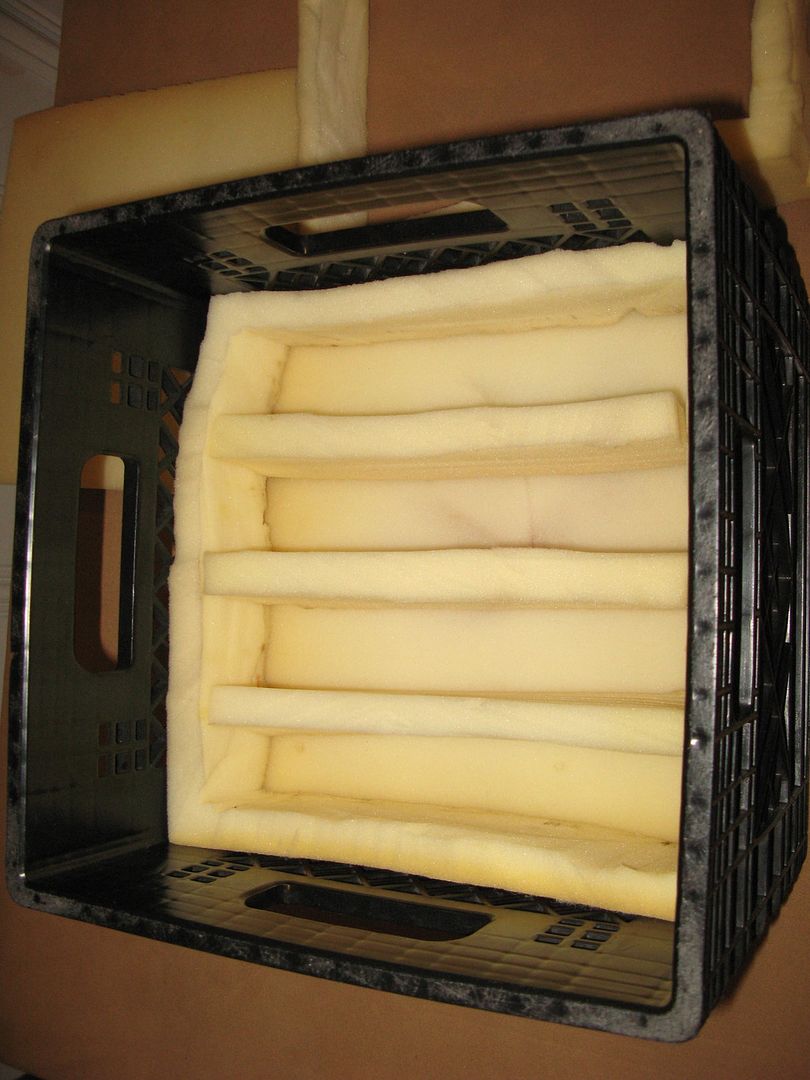
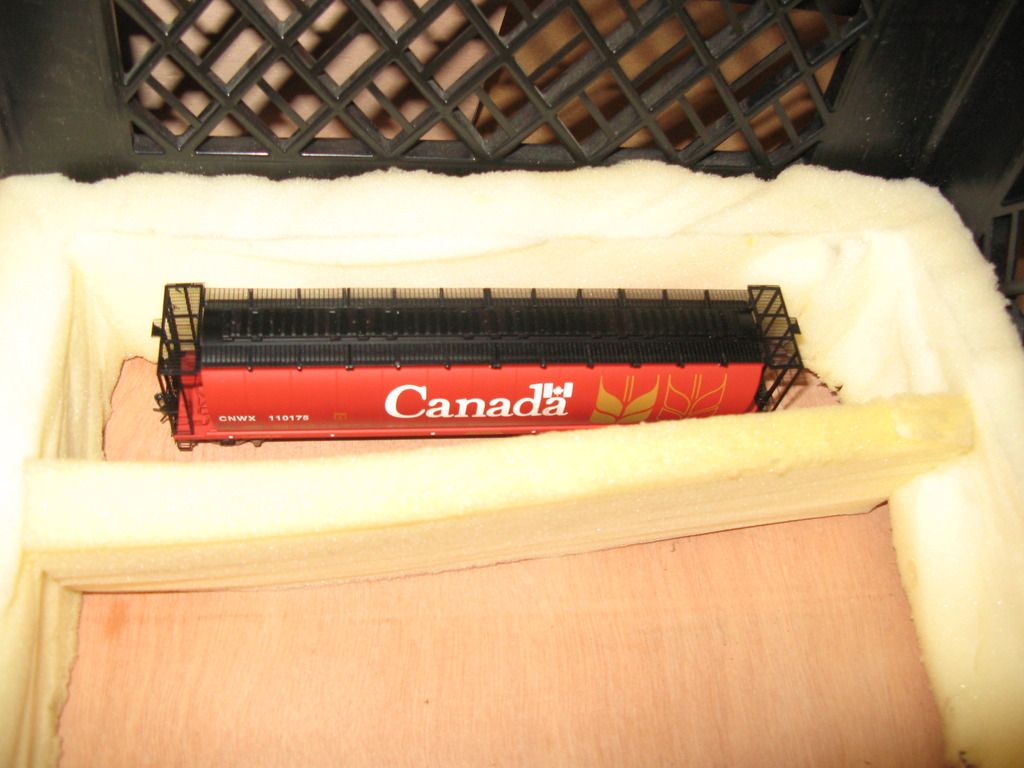
- then from the 12" square rectangles, I cutted 2 1/4" (or slightly over the height of your highest car, typically a gunderson boxcar) slices for the "walls". You must then empty the centers (I did about 3/4" as wall thickness) so to get a 2 1/4" x 3/4" foam frame;
-Then use the re-cuts in approx 1/2" x 2 1/4" x 10" as separators. That happens to fit four cars / floor.
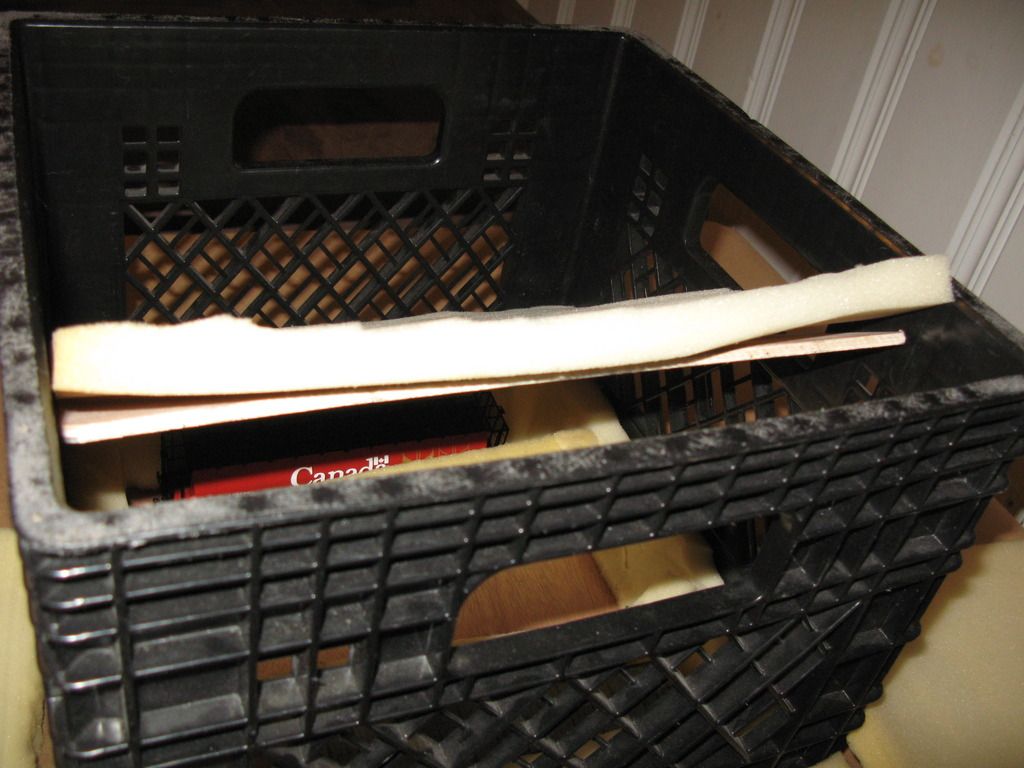
From bottom to top, it stacks: veneer-frame-separators-roof,... and so on, for a total of three to four stories, depending if you need to seal the top (like for flying) or not.
As a foam cutter, I used a VERY SHARP kitchen knife, like a meat cleaver. You must go back and forth in sawing movements. Get a couple cushions so you can practice foam cutting first. They were due to trash anyways...
Some advices:
1) Always start packing with the locos and heaviiest cars from the bottom, then build up with lighter cars;
2) So to avoid ripping the handrails out of your fanciest plastic locos or tank cars (god bless brass locos and cars...) build your floor with three of these, shift them aside with separators (they will slide well on a soft veneer) and finish your story by pushing down a smooth sided car (older hopper or boxcar) as the last one.
3) Be carefull with couplers too. If your car or loco is above 10" long (my Broadway CP AC6000 does), make sure to cover couplers with your fingers while packing it.
4) Oh, and don't forget to drill holes (just pile veneer boards together first so you can drill only once, if you happen to be as lazy as I am) in those veneer boards so you can pull them out. .... You don't want having to shake that box upside down.
Have fun, and travel safe!
As I do have a home layout too, I want to be able to enjoy my fleet at both locations, but this device can also be safe fo longer trips as well, given you add some tape on the top of the box.
Basically that used to cost me 2$ years ago (back when I was a student as I bought several of those dairy containers for moving everything from books to CDs and all). Oh, then I may add the four 12" square veneer boards (20$ a 4x8' sheet, they will make the "floors" for each story of your case), but those were recuts from layout diorama underlayments.
The foam comes from salvaged coach cushions found on the street. At this time of the year, students are moving, and it's very common to see dumped coachs waiting to be picked up by the heavy trashes dump truck. Since there's plenty of choice, you rather want to make your life easier and find square cushions to use.
Once I removed the covers, I started by cutting:
- 12" square pieces that I then re sliced to 1/2" for the "roofs";
- then from the 12" square rectangles, I cutted 2 1/4" (or slightly over the height of your highest car, typically a gunderson boxcar) slices for the "walls". You must then empty the centers (I did about 3/4" as wall thickness) so to get a 2 1/4" x 3/4" foam frame;
-Then use the re-cuts in approx 1/2" x 2 1/4" x 10" as separators. That happens to fit four cars / floor.
From bottom to top, it stacks: veneer-frame-separators-roof,... and so on, for a total of three to four stories, depending if you need to seal the top (like for flying) or not.
As a foam cutter, I used a VERY SHARP kitchen knife, like a meat cleaver. You must go back and forth in sawing movements. Get a couple cushions so you can practice foam cutting first. They were due to trash anyways...
Some advices:
1) Always start packing with the locos and heaviiest cars from the bottom, then build up with lighter cars;
2) So to avoid ripping the handrails out of your fanciest plastic locos or tank cars (god bless brass locos and cars...) build your floor with three of these, shift them aside with separators (they will slide well on a soft veneer) and finish your story by pushing down a smooth sided car (older hopper or boxcar) as the last one.
3) Be carefull with couplers too. If your car or loco is above 10" long (my Broadway CP AC6000 does), make sure to cover couplers with your fingers while packing it.
4) Oh, and don't forget to drill holes (just pile veneer boards together first so you can drill only once, if you happen to be as lazy as I am) in those veneer boards so you can pull them out. .... You don't want having to shake that box upside down.

Have fun, and travel safe!


