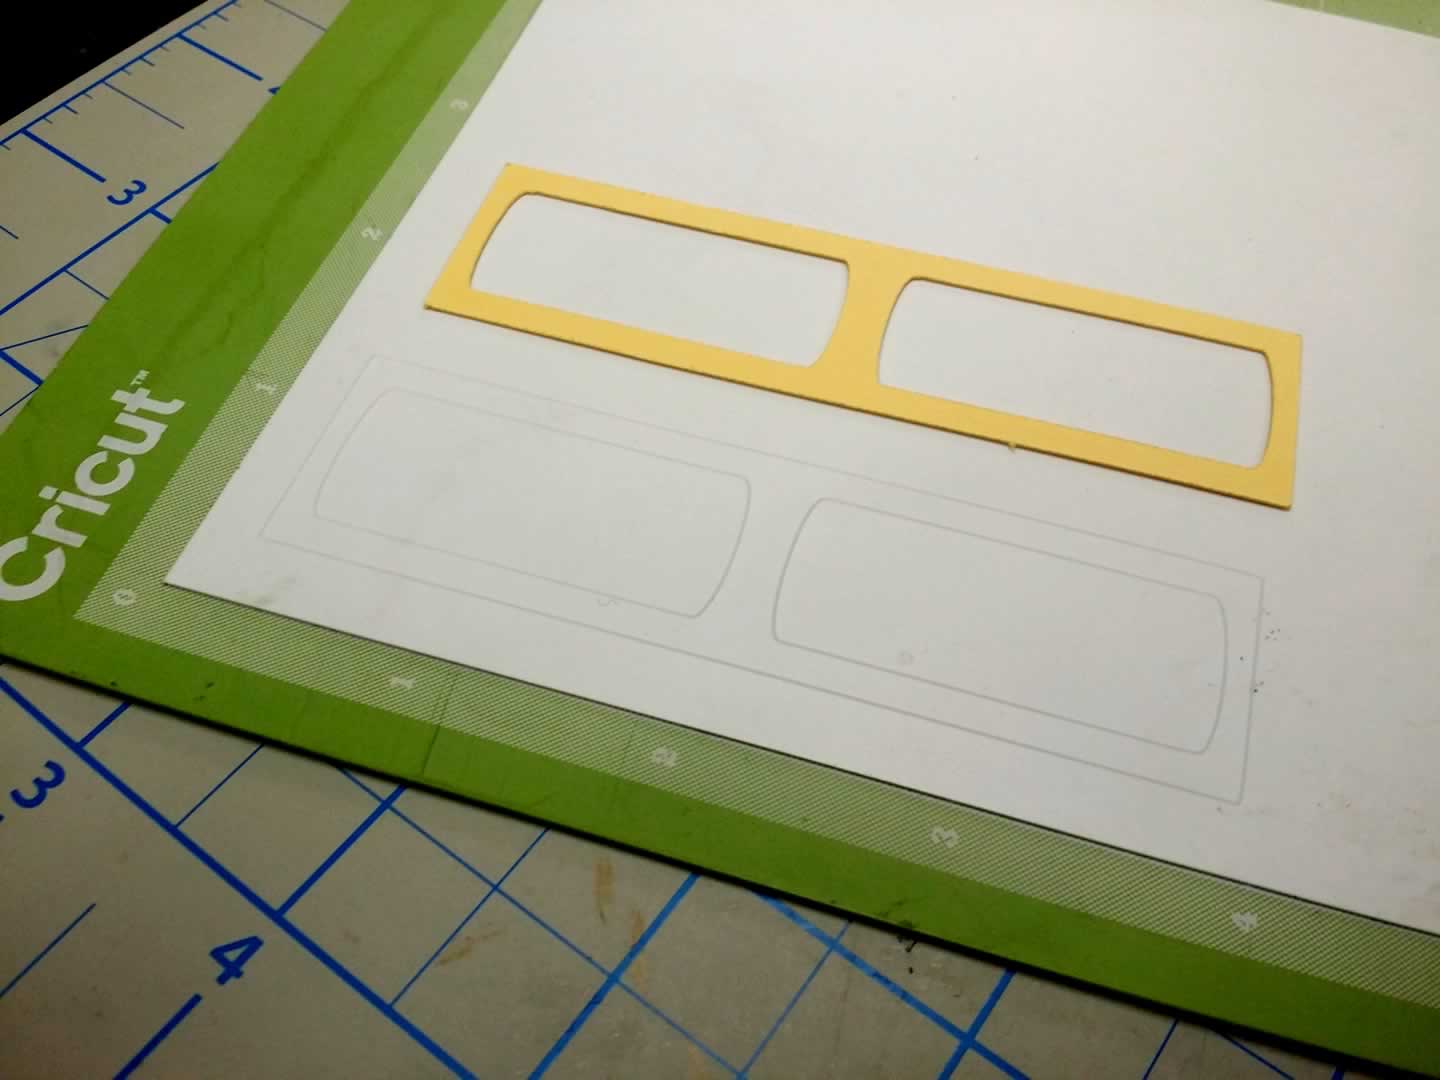
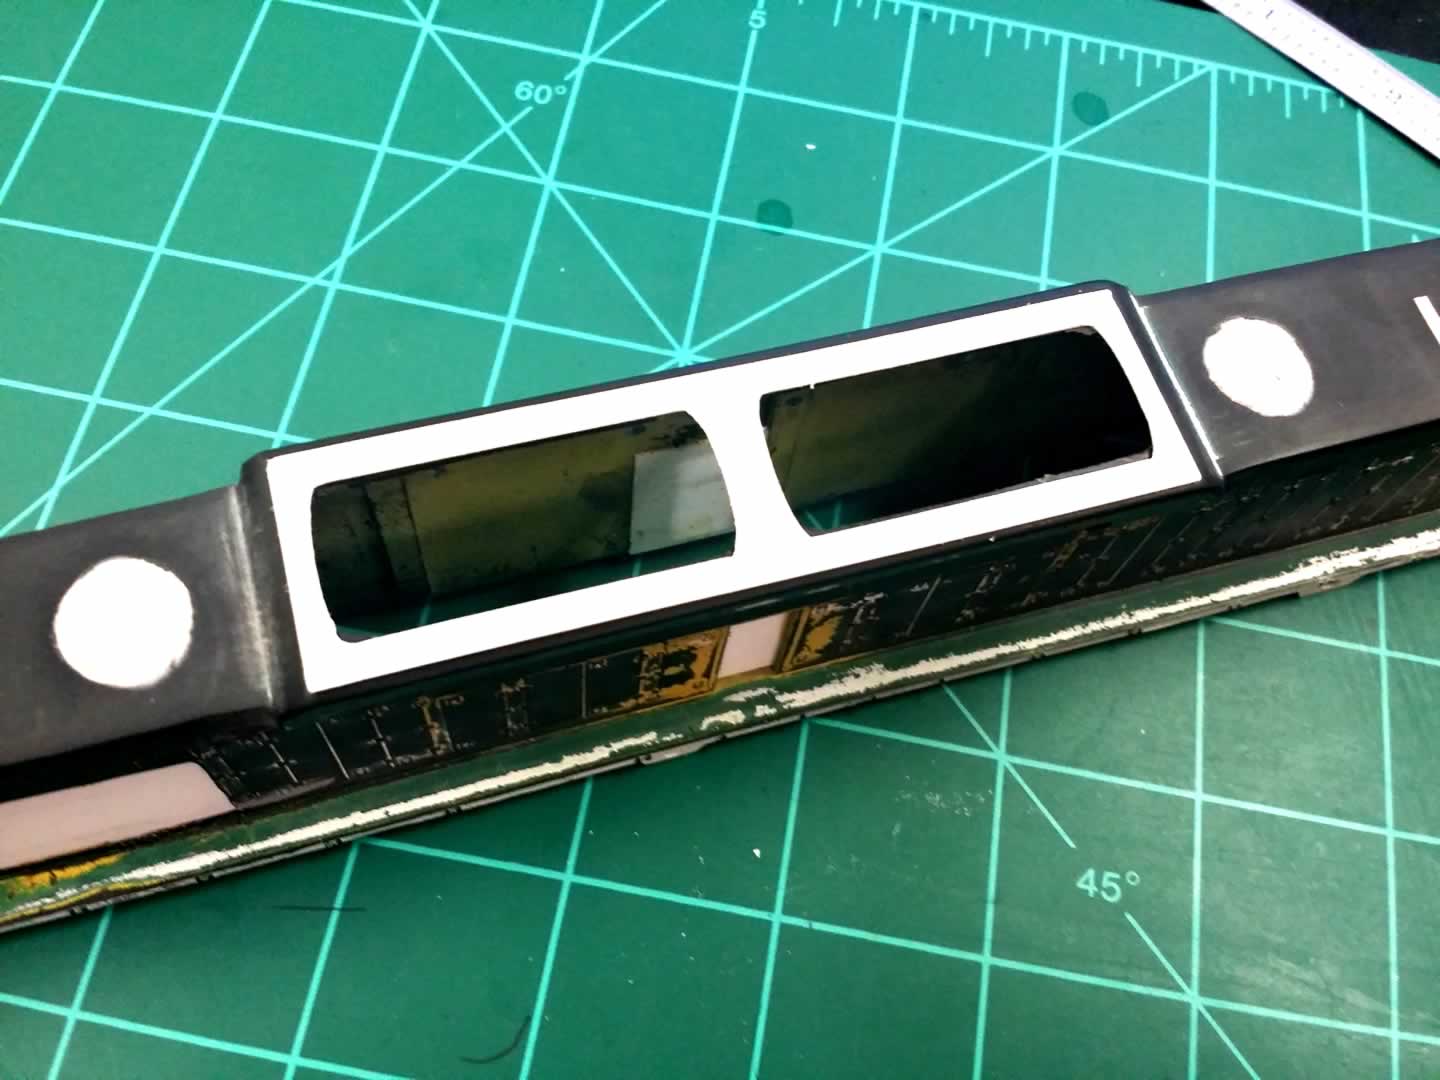
Cricut Explore as a C & C machine for parts and decals
Oct 31, 2014 12:01:01 GMT -5
pacbelt likes this
Post by mkl194 on Oct 31, 2014 12:01:01 GMT -5
I got a Cricut Explore craft cutter almost a year ago and have been experimenting with it for quite a while now and thought you all would like to hear a little bit about how its been working out.
Here's what it looks like:

What it does:
It's kind of like a printer, but it has a knife blade instead. I don't have a picture of the cutting mat, but basically its a big cutting mat that has a sticky surface where you fix your material onto a grid and then it loads into the machine and the knife cuts or scores the material in a pattern that you have selected.
I've used it to cut paper stencils, styrene parts, decals and vinyl lettering.
Stencils:
I cut some stencils I used to patch over various freight cars with decent effect. It will cut very small stencils if you choose your font carefully. My most successful font is called IMPACT. Its a Microsoft font that comes with most older versions of Microsoft Office. There is a section on my blog that shows some patched over super cheap box cars here: Trainfixxer
Here's a tip for using the cutting mat: get a heavy roller used in gluing counter top material, it makes your cuts way more accurate than the ones shown on my blog.
I've ripped up a lot of decal paper, fabric and styrene sheets before I used the big roller. The big roller is well worth it.
Decals:
So with my poor eyesite and imminent transition to DCC, I decided that my fictional belt railroad, somewhat based on the Minnesota Commercial, that I was going to make huge numbers on my locomotives. Yes, huge, and by huge I mean huge. Check it out:
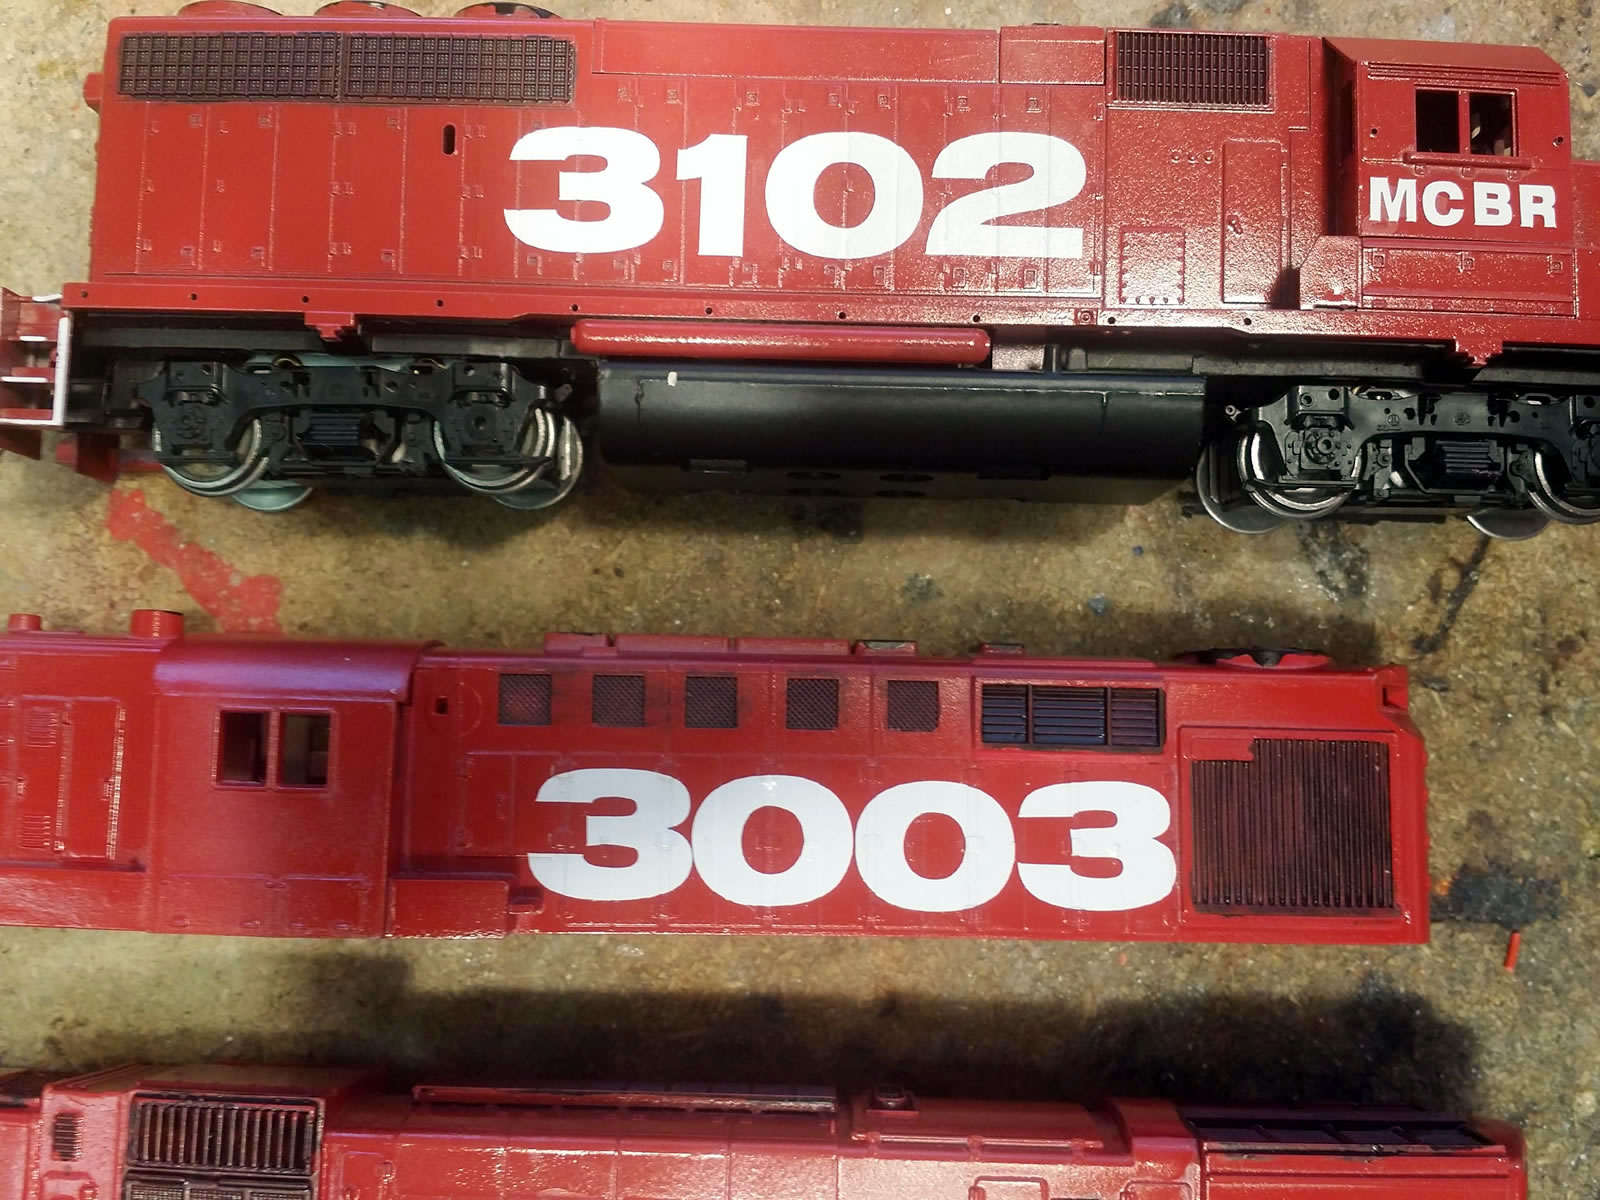
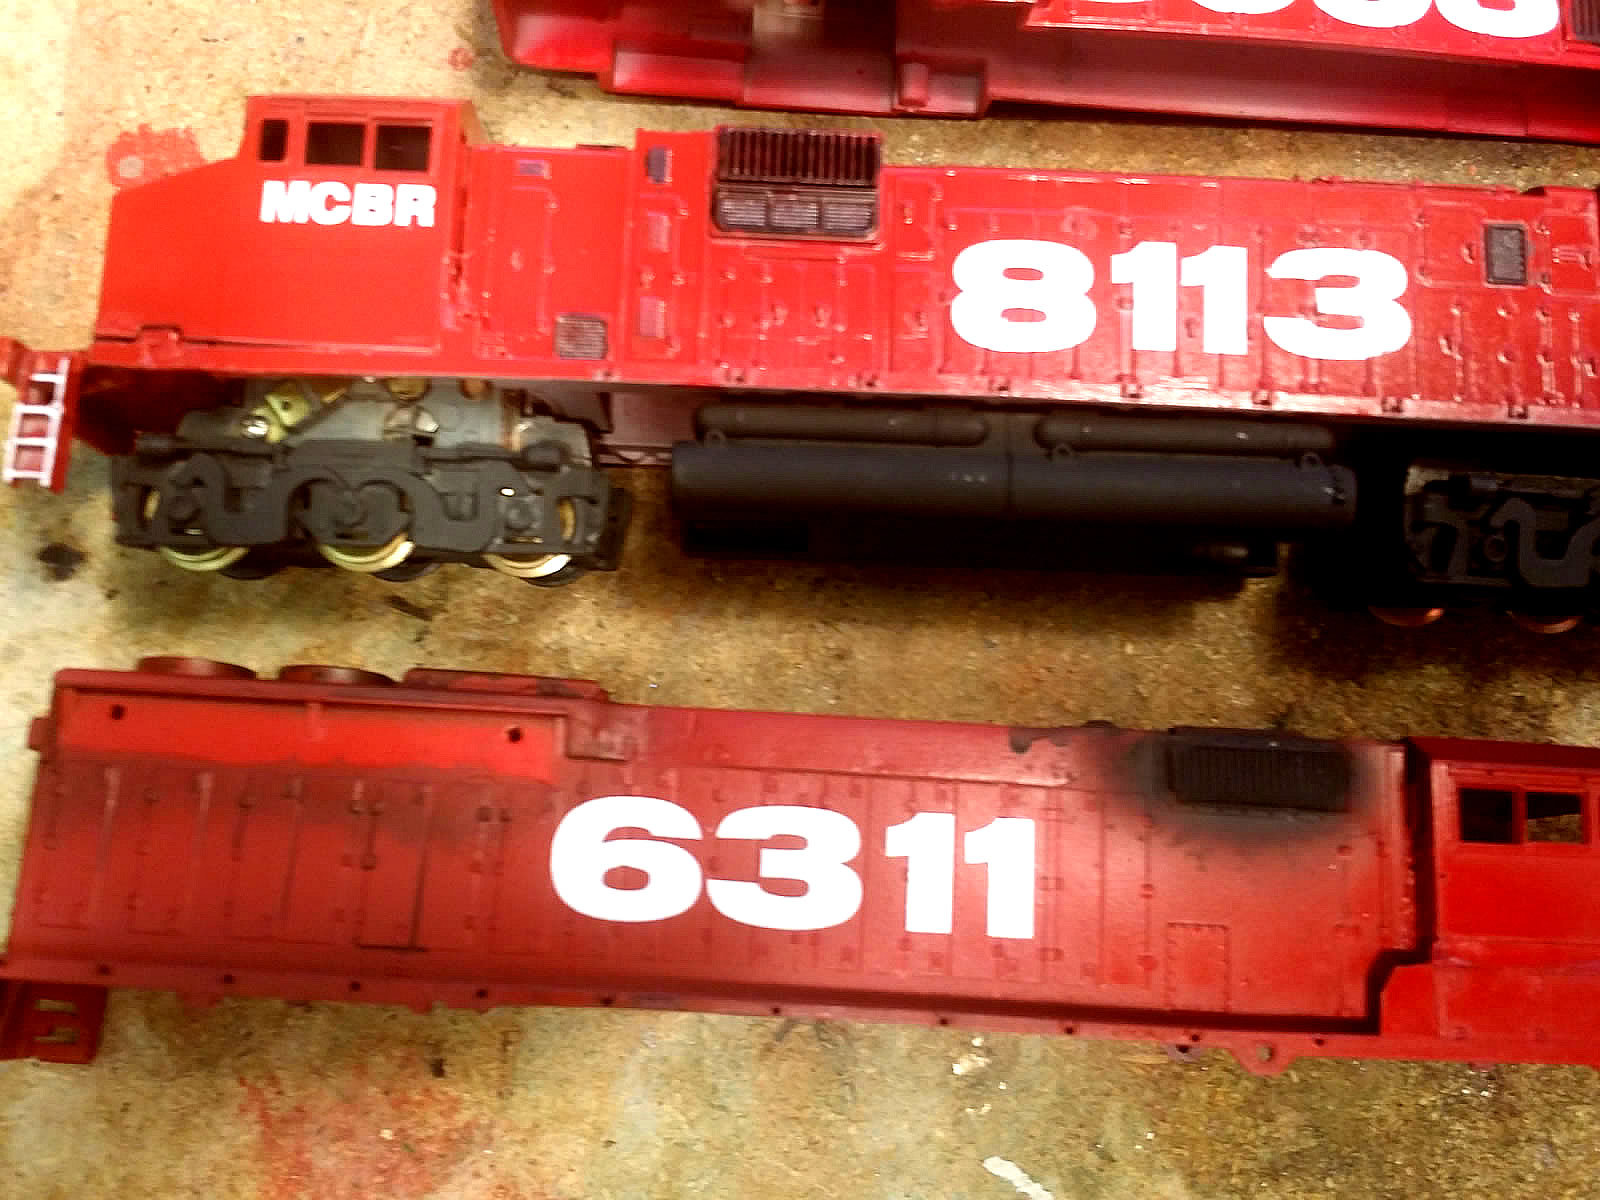
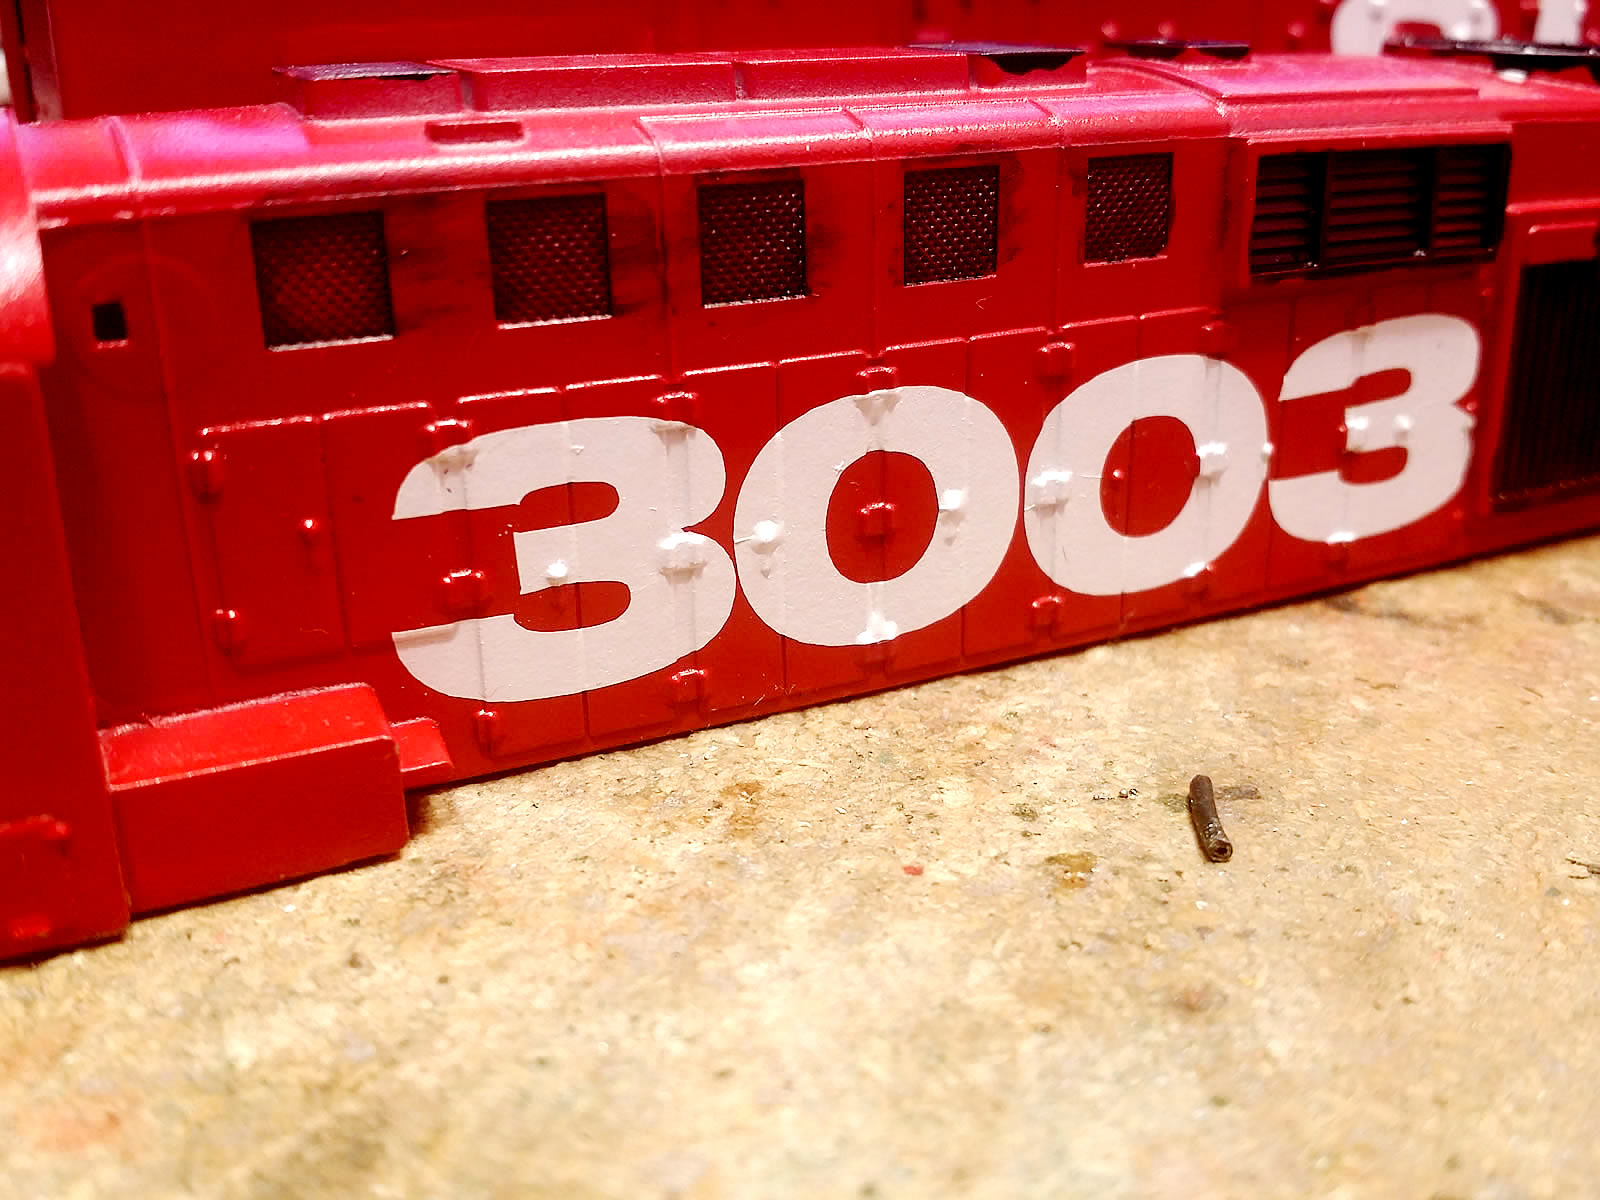
Yes, that big....in case you're wondering, that is a Tyco Super 630 with a GE Safety cab and an SD45 with the same GE safety cab, because, you know Safety First!
The numbers were cut directly from white decal paper, and the MCBR (Midway Center) was also cut with the Cricut. When done right, the Cricut does a nice job.
Cutting Parts:
I've cut styrene with the machine, but it only scores the thick stuff which means you need some knife skills to get your parts right.
At this point I should mention that the software is WEB BASED ONLY. No problem for lettering, it will let you make lettering based on the fonts on your computer.
To make parts, you need to be able to make your parts in a graphics program and then upload them. They should be in the SVG format with transparency.
The learning curve is not super tough, but when it comes time to make the cut, you always have to resize the part on the web based layout screen which means you need a super awesome laser high res gaming mouse with DPI control. That's the easiest way to get the measurements correct. Your part will always be off until you get to the final screen and properly size it. I don't yet know of an easier way to do this, it would be sweet if you could just type the dimensions into the interface, but I don't know how or if that can be done.
Custom Decals:
White decals are super simple. Here is what I've learned on color decals: example of a tough one is Yellow. Print a huge yellow rectangle on the white decal paper. Then clear coat it. Then load it and cut your decal out of that, mostly applies to numbers and small letters.
The clear coat will resist Solvaset, but keep working it and you should be ok.
NEXT PROJECT:
Custom Gears
I want to make replacement gears so badly for a number of applications I can't even tell you.....
My theory:
Here is a tutorial I found on how to use a free program, that I have used for other parts, that I really like.... this shows how to make gears, and this program will save the file in the correct format to use with Cricut Explore:
Make Gears using Inkscape
Here is the link to this totally excellent drawing program that is FREE!!
Inkscape FREE
My trials so far have shown that you must take into account the actual width of the score on the styrene. I don't have a real good formula to calculate that yet, but I'm working on it and will update all my research.
My goal is to produce a cut that can be used to make gears that can be laminated together to replace gears that you just can't get anywhere.
I have a Bachmann E60CF that has cracked gear that I want to replace, not salvage from somewhere else, but actually replace with a new superior gear.
The accuracy of this machine is more than enough to do the job, it will just take practice like any new piece of equipment.
So far that's about all I have to report about this machine....it shows a lot of promise, but unless you are really comfortable with graphic part design and CAD type work, don't go out and just get it on a whim. It's super new to most modelers, but ancient to scrapbookers. If you have a scrapbooker in your house, then take a good look at the real reviews on crafting websites.
One nice thing is that Hobby Lobby carries every accessory and supply for this machine all the time, so its well supported....that's all for now...
Here's what it looks like:

What it does:
It's kind of like a printer, but it has a knife blade instead. I don't have a picture of the cutting mat, but basically its a big cutting mat that has a sticky surface where you fix your material onto a grid and then it loads into the machine and the knife cuts or scores the material in a pattern that you have selected.
I've used it to cut paper stencils, styrene parts, decals and vinyl lettering.
Stencils:
I cut some stencils I used to patch over various freight cars with decent effect. It will cut very small stencils if you choose your font carefully. My most successful font is called IMPACT. Its a Microsoft font that comes with most older versions of Microsoft Office. There is a section on my blog that shows some patched over super cheap box cars here: Trainfixxer
Here's a tip for using the cutting mat: get a heavy roller used in gluing counter top material, it makes your cuts way more accurate than the ones shown on my blog.
I've ripped up a lot of decal paper, fabric and styrene sheets before I used the big roller. The big roller is well worth it.
Decals:
So with my poor eyesite and imminent transition to DCC, I decided that my fictional belt railroad, somewhat based on the Minnesota Commercial, that I was going to make huge numbers on my locomotives. Yes, huge, and by huge I mean huge. Check it out:


Yes, that big....in case you're wondering, that is a Tyco Super 630 with a GE Safety cab and an SD45 with the same GE safety cab, because, you know Safety First!
The numbers were cut directly from white decal paper, and the MCBR (Midway Center) was also cut with the Cricut. When done right, the Cricut does a nice job.
Cutting Parts:
I've cut styrene with the machine, but it only scores the thick stuff which means you need some knife skills to get your parts right.
At this point I should mention that the software is WEB BASED ONLY. No problem for lettering, it will let you make lettering based on the fonts on your computer.
To make parts, you need to be able to make your parts in a graphics program and then upload them. They should be in the SVG format with transparency.
The learning curve is not super tough, but when it comes time to make the cut, you always have to resize the part on the web based layout screen which means you need a super awesome laser high res gaming mouse with DPI control. That's the easiest way to get the measurements correct. Your part will always be off until you get to the final screen and properly size it. I don't yet know of an easier way to do this, it would be sweet if you could just type the dimensions into the interface, but I don't know how or if that can be done.
Custom Decals:
White decals are super simple. Here is what I've learned on color decals: example of a tough one is Yellow. Print a huge yellow rectangle on the white decal paper. Then clear coat it. Then load it and cut your decal out of that, mostly applies to numbers and small letters.
The clear coat will resist Solvaset, but keep working it and you should be ok.
NEXT PROJECT:
Custom Gears
I want to make replacement gears so badly for a number of applications I can't even tell you.....
My theory:
Here is a tutorial I found on how to use a free program, that I have used for other parts, that I really like.... this shows how to make gears, and this program will save the file in the correct format to use with Cricut Explore:
Make Gears using Inkscape
Here is the link to this totally excellent drawing program that is FREE!!
Inkscape FREE
My trials so far have shown that you must take into account the actual width of the score on the styrene. I don't have a real good formula to calculate that yet, but I'm working on it and will update all my research.
My goal is to produce a cut that can be used to make gears that can be laminated together to replace gears that you just can't get anywhere.
I have a Bachmann E60CF that has cracked gear that I want to replace, not salvage from somewhere else, but actually replace with a new superior gear.
The accuracy of this machine is more than enough to do the job, it will just take practice like any new piece of equipment.
So far that's about all I have to report about this machine....it shows a lot of promise, but unless you are really comfortable with graphic part design and CAD type work, don't go out and just get it on a whim. It's super new to most modelers, but ancient to scrapbookers. If you have a scrapbooker in your house, then take a good look at the real reviews on crafting websites.
One nice thing is that Hobby Lobby carries every accessory and supply for this machine all the time, so its well supported....that's all for now...

 Will be following for more results.
