|
|
Post by analogbeatmaker on Jan 9, 2014 3:22:45 GMT -5
Hi all! I would like to share a new project. I am currently working on detailing and weathering a HO Scale Athearn Genesis CSX MP15AC. I will start off with a pic of the model. Here it is: 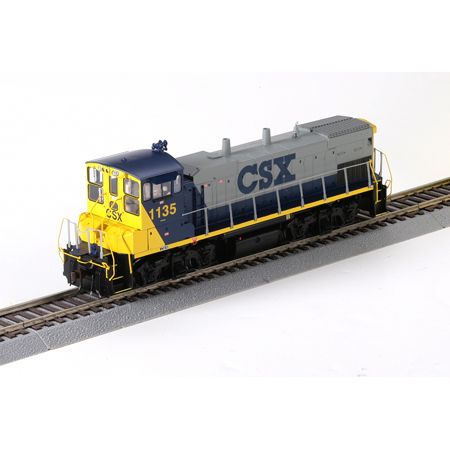 Here are the main proto pics I'm using: 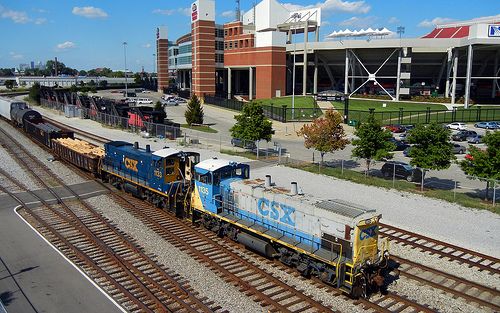 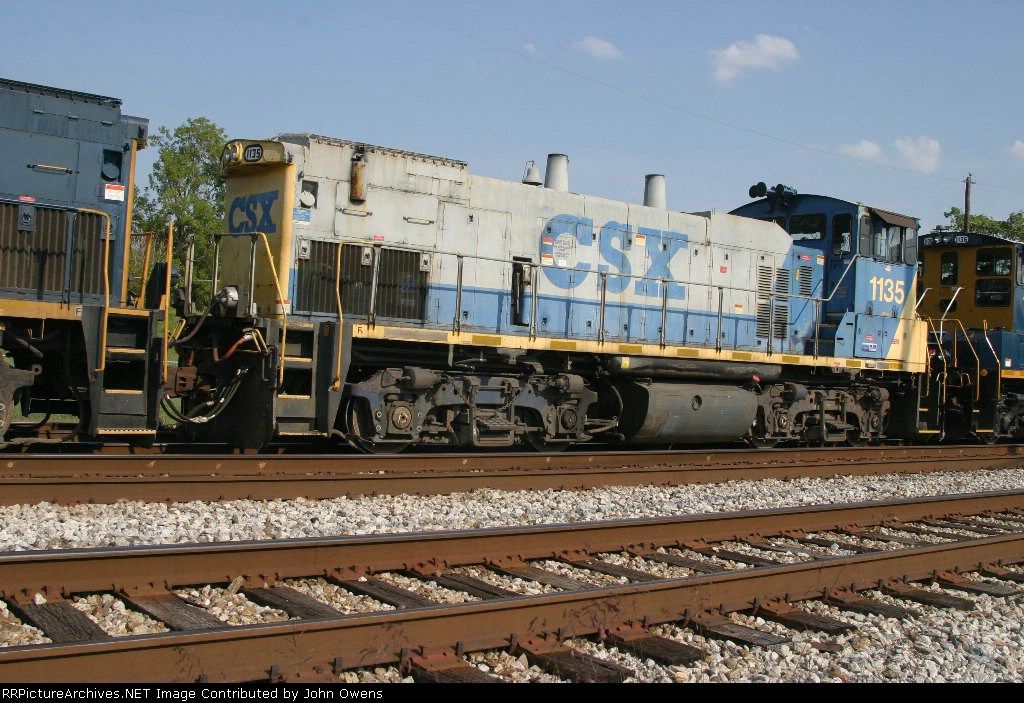 The model did not have lighted numberboards or even lenses...just solid plastic. So, here I drill/file the holes to make numberboards. 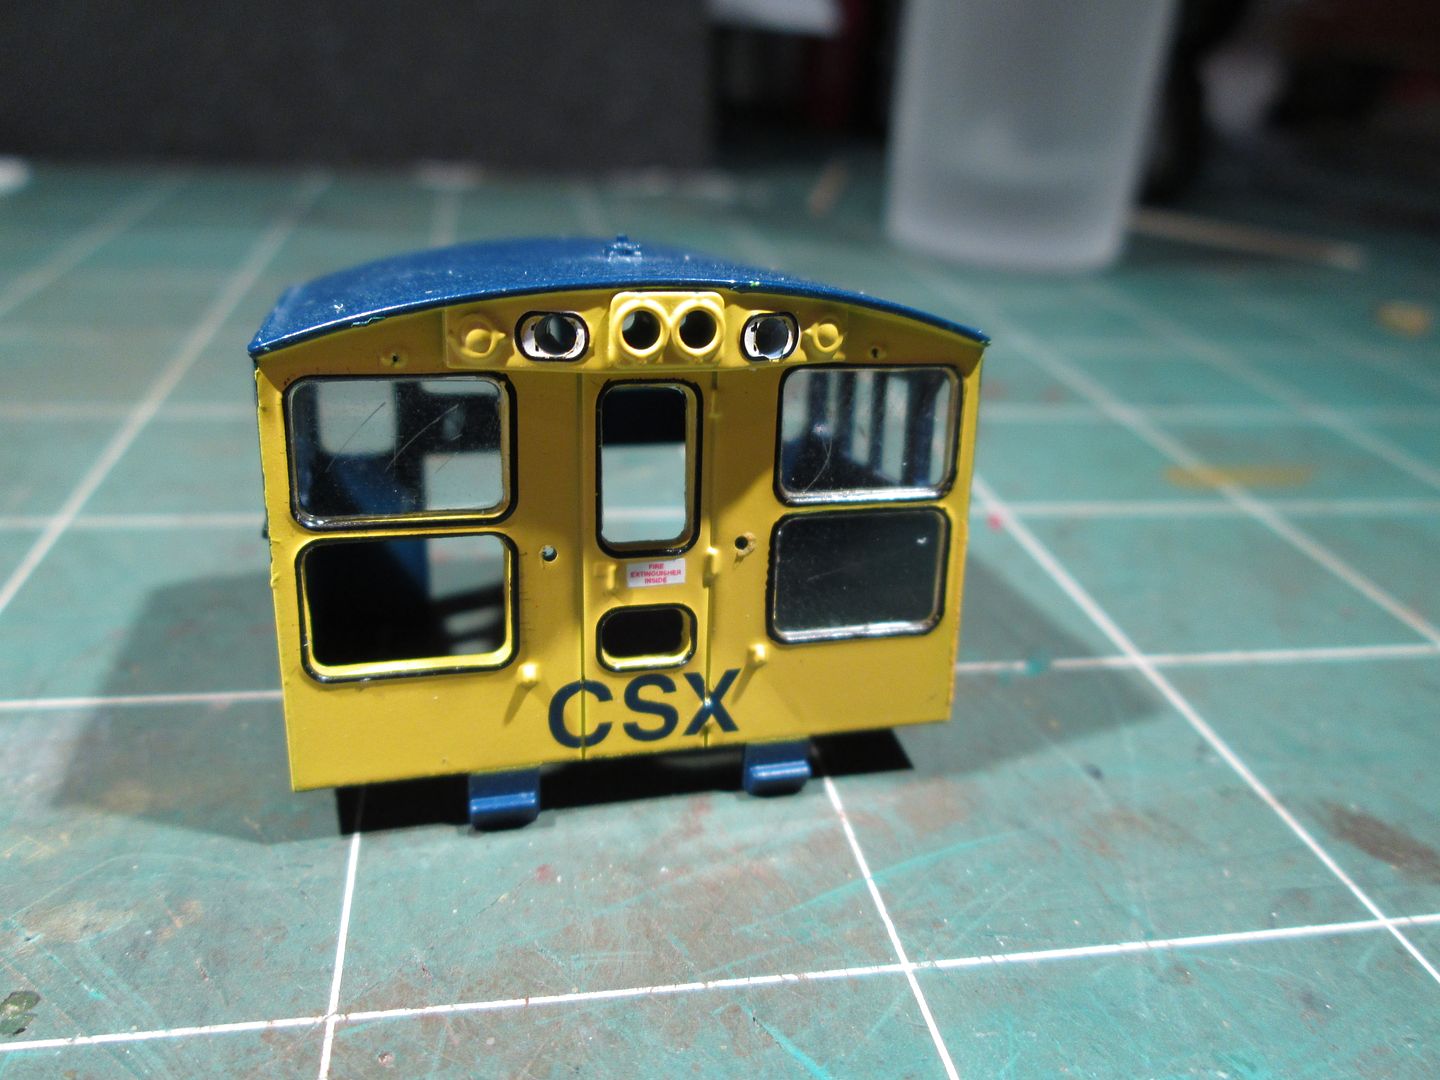 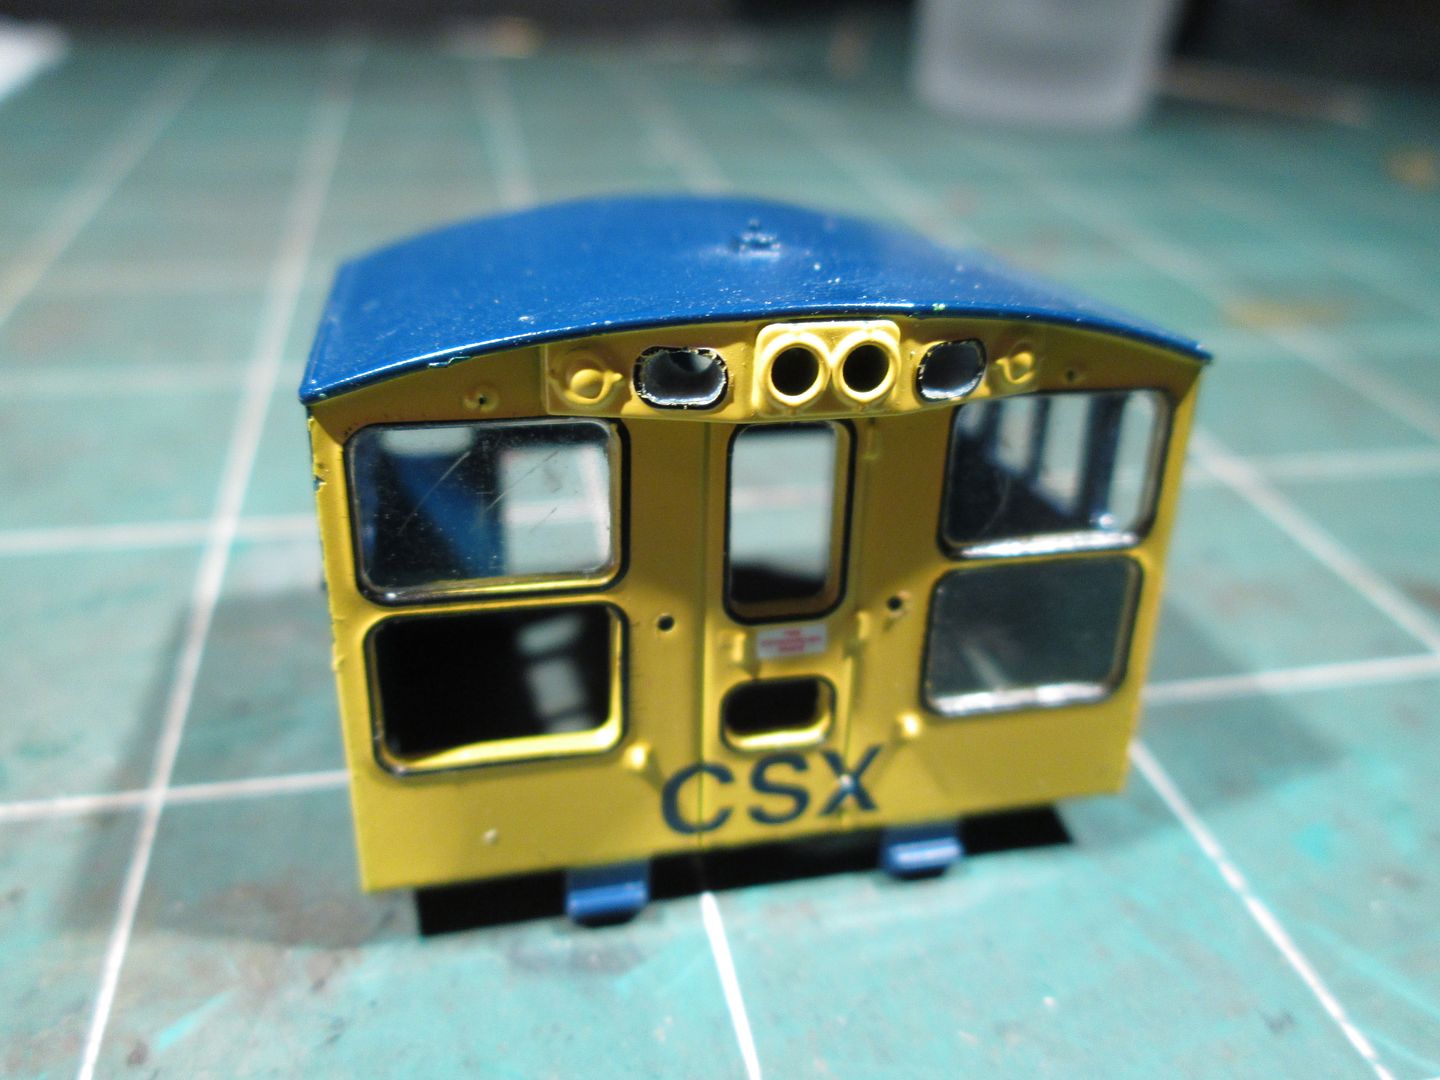 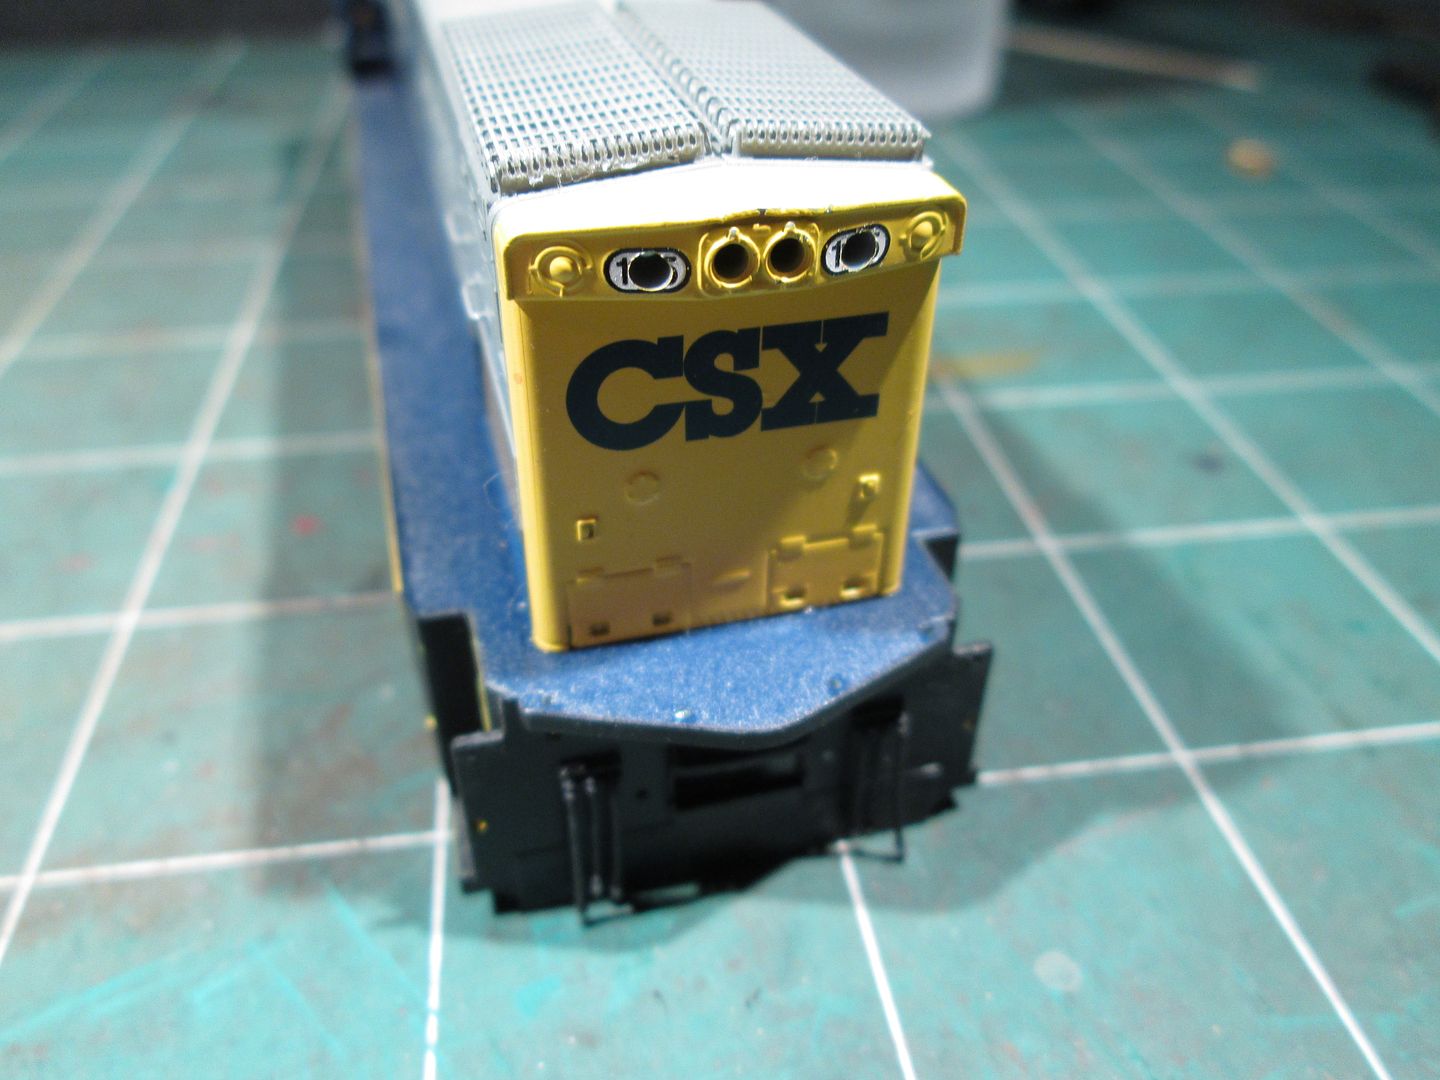 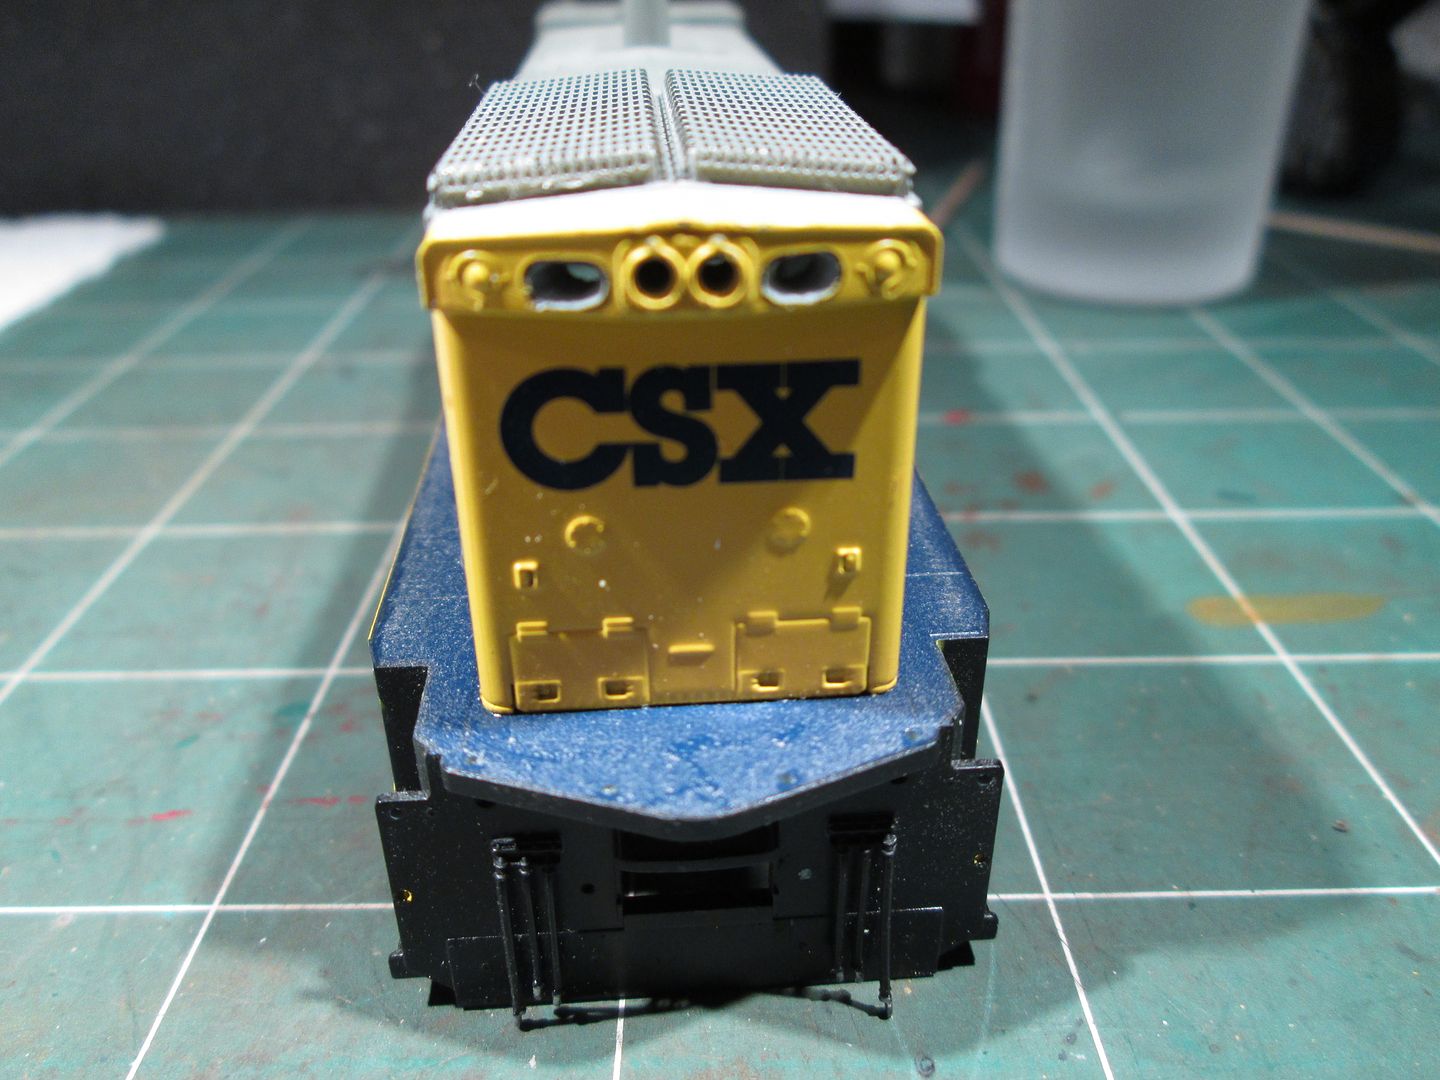 Installing the fiber optic that will be the front lights/rear lights and numberboards. 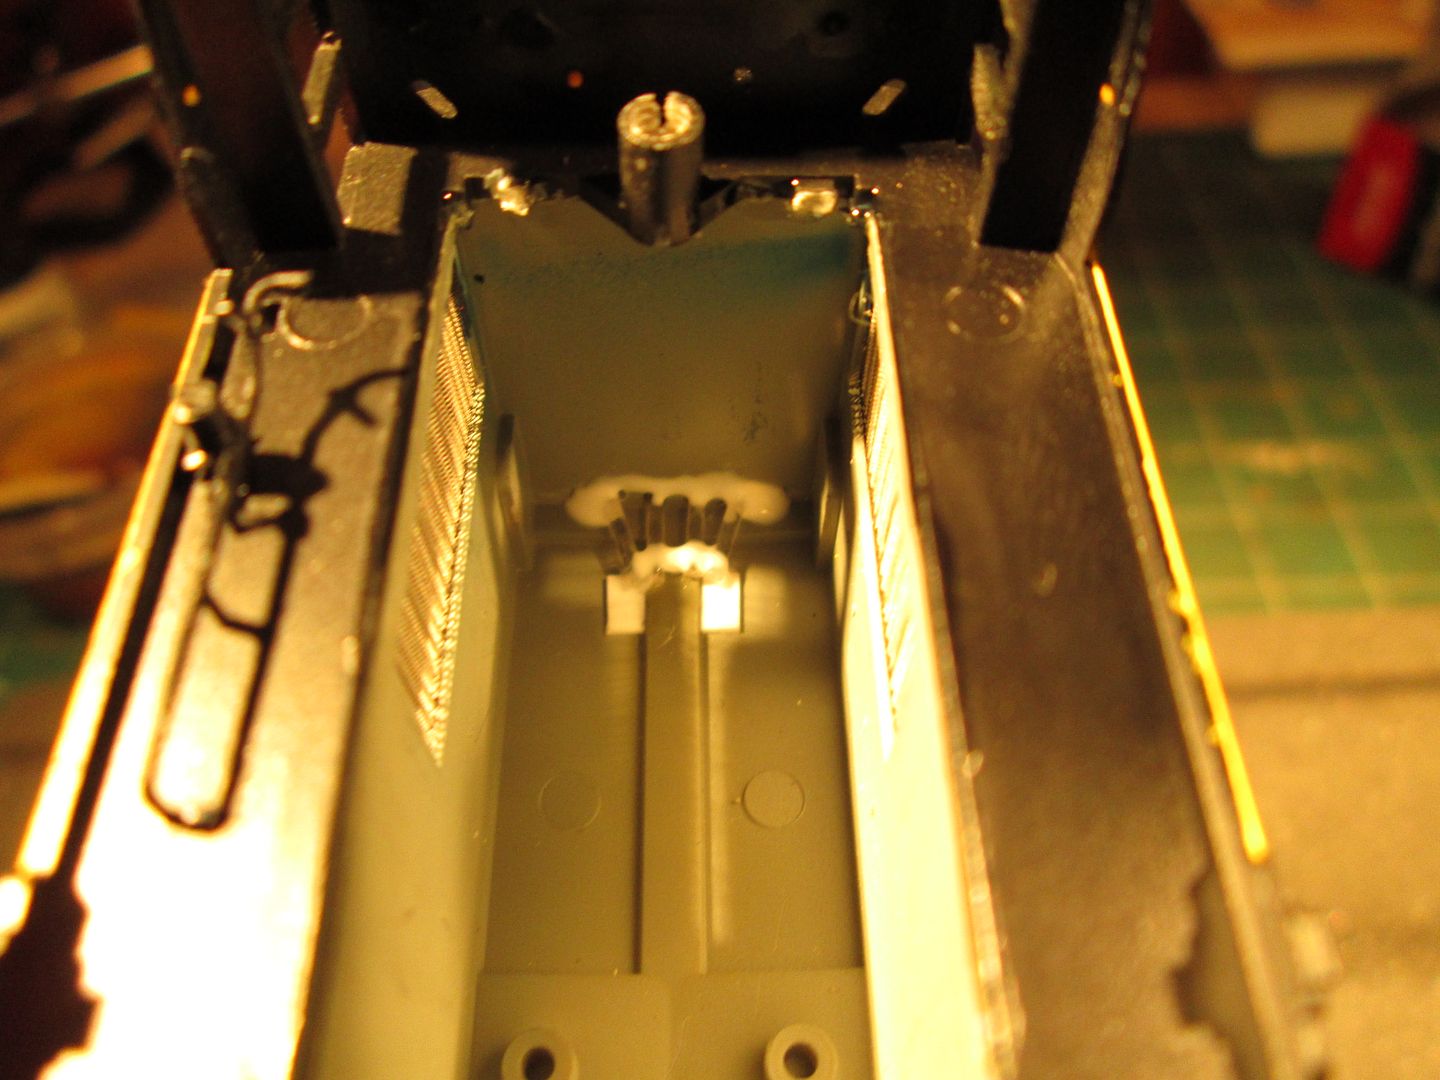 The rooftop extended too far on the long hood side and it was way too thick. In this pic I have filed down the overhang. After this I thinned the bit of overhang left to a more real thickness. 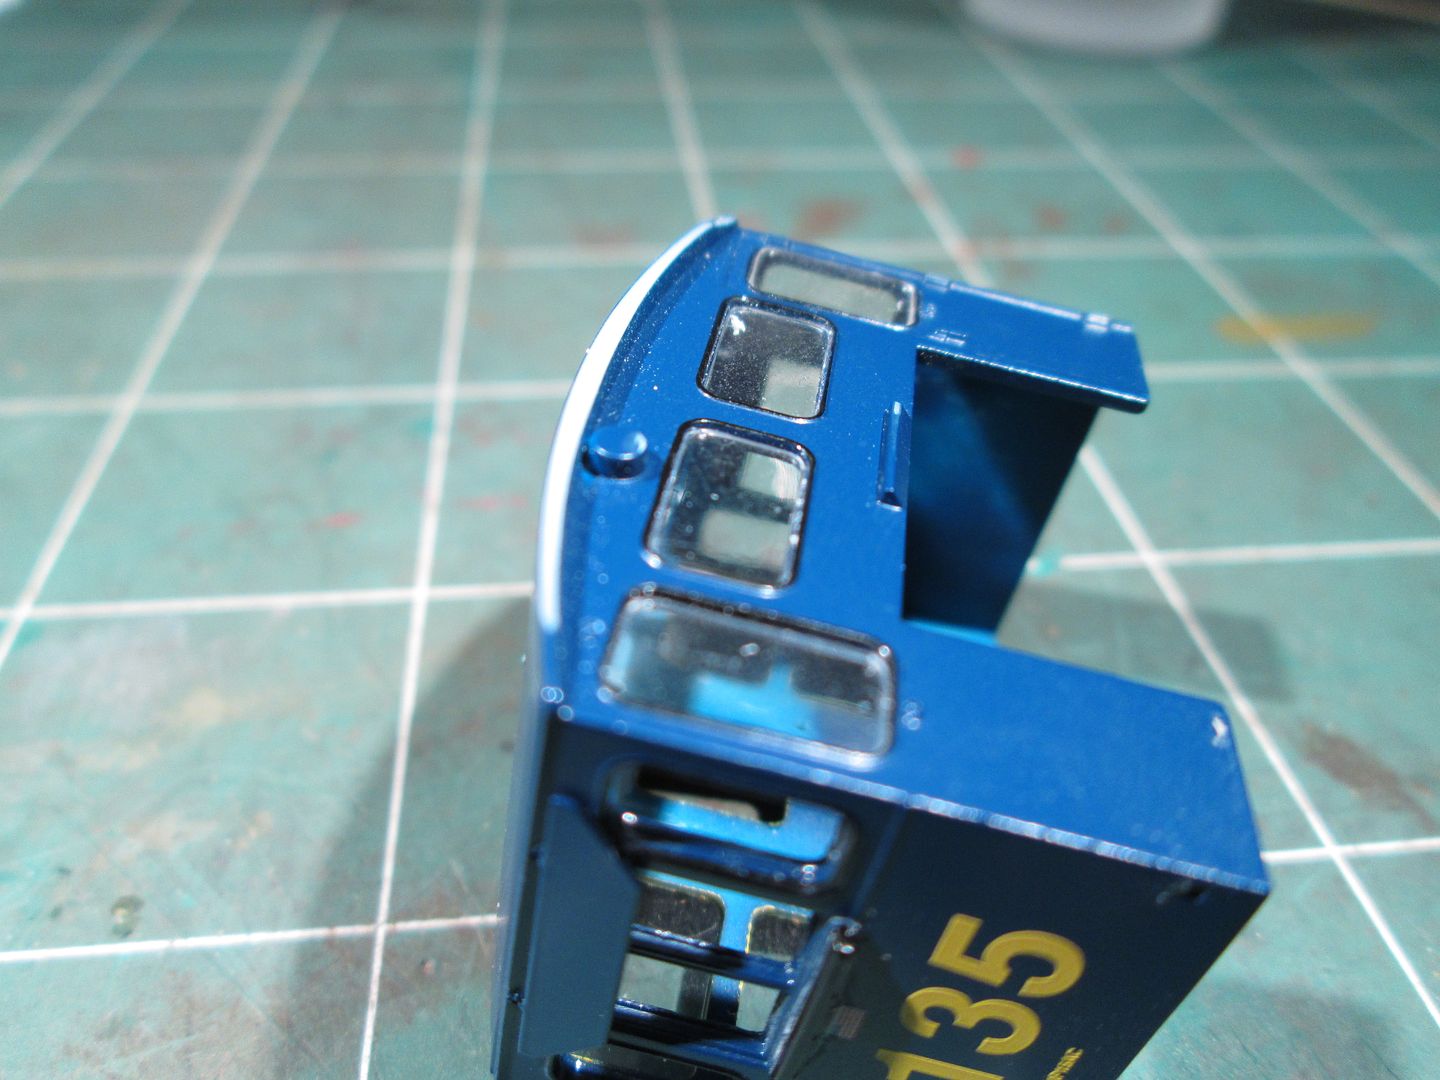 Now here is where the fun really begins.  The trucks are very wrong. There were a lot of mods so I'll just post the pics and you can see what's going on. 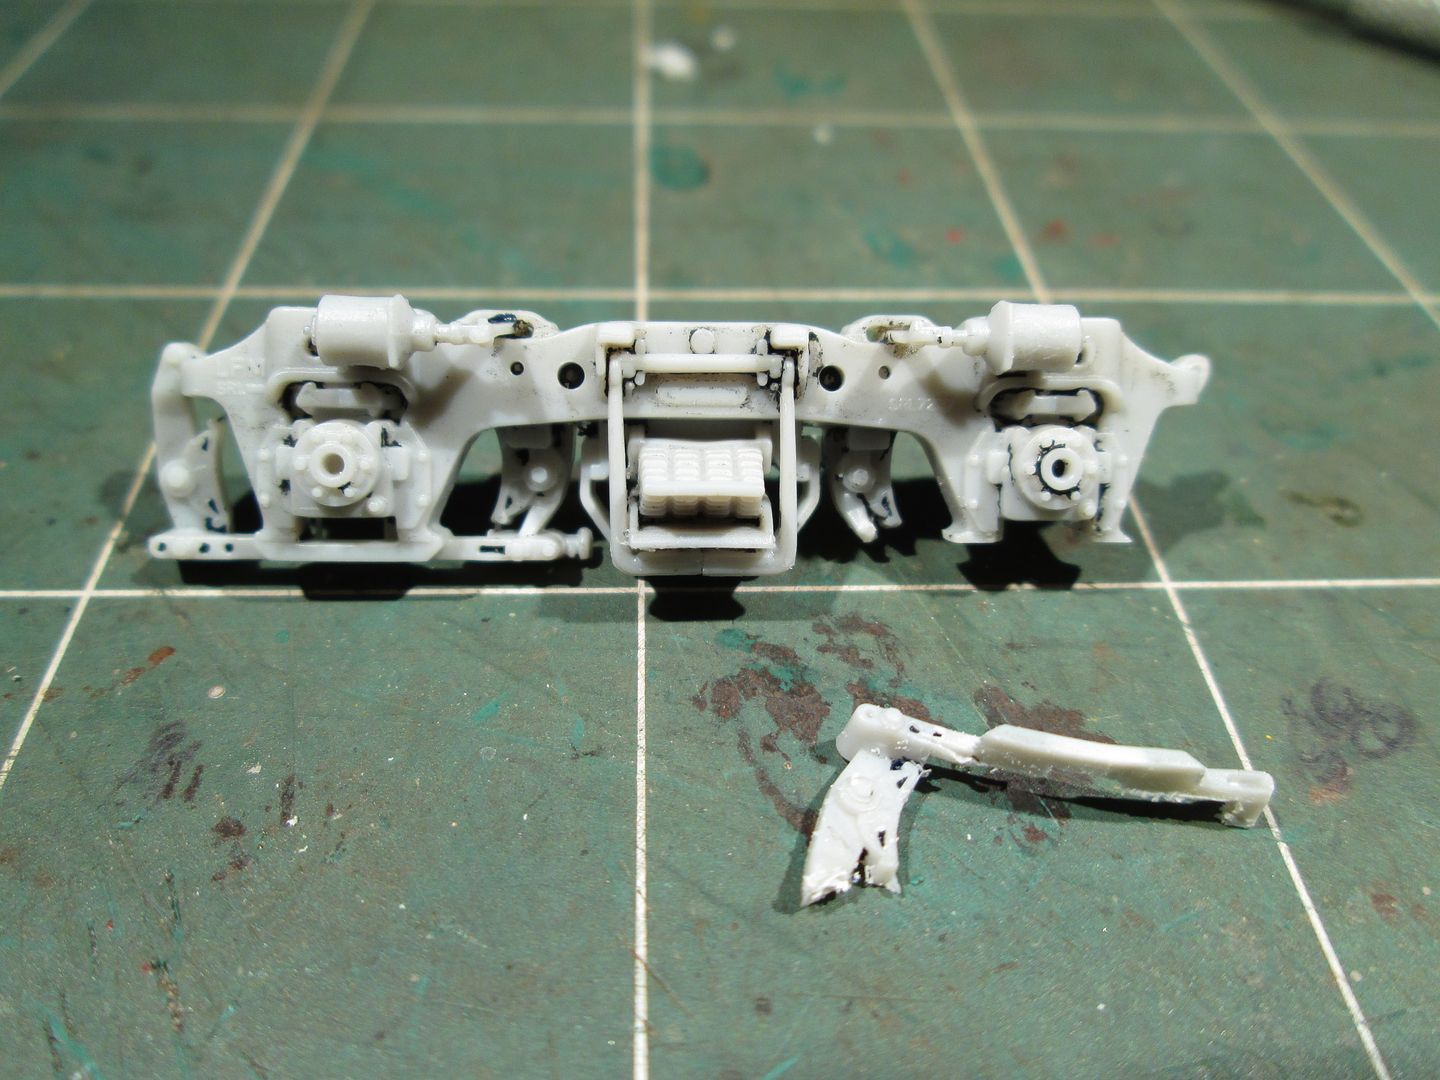 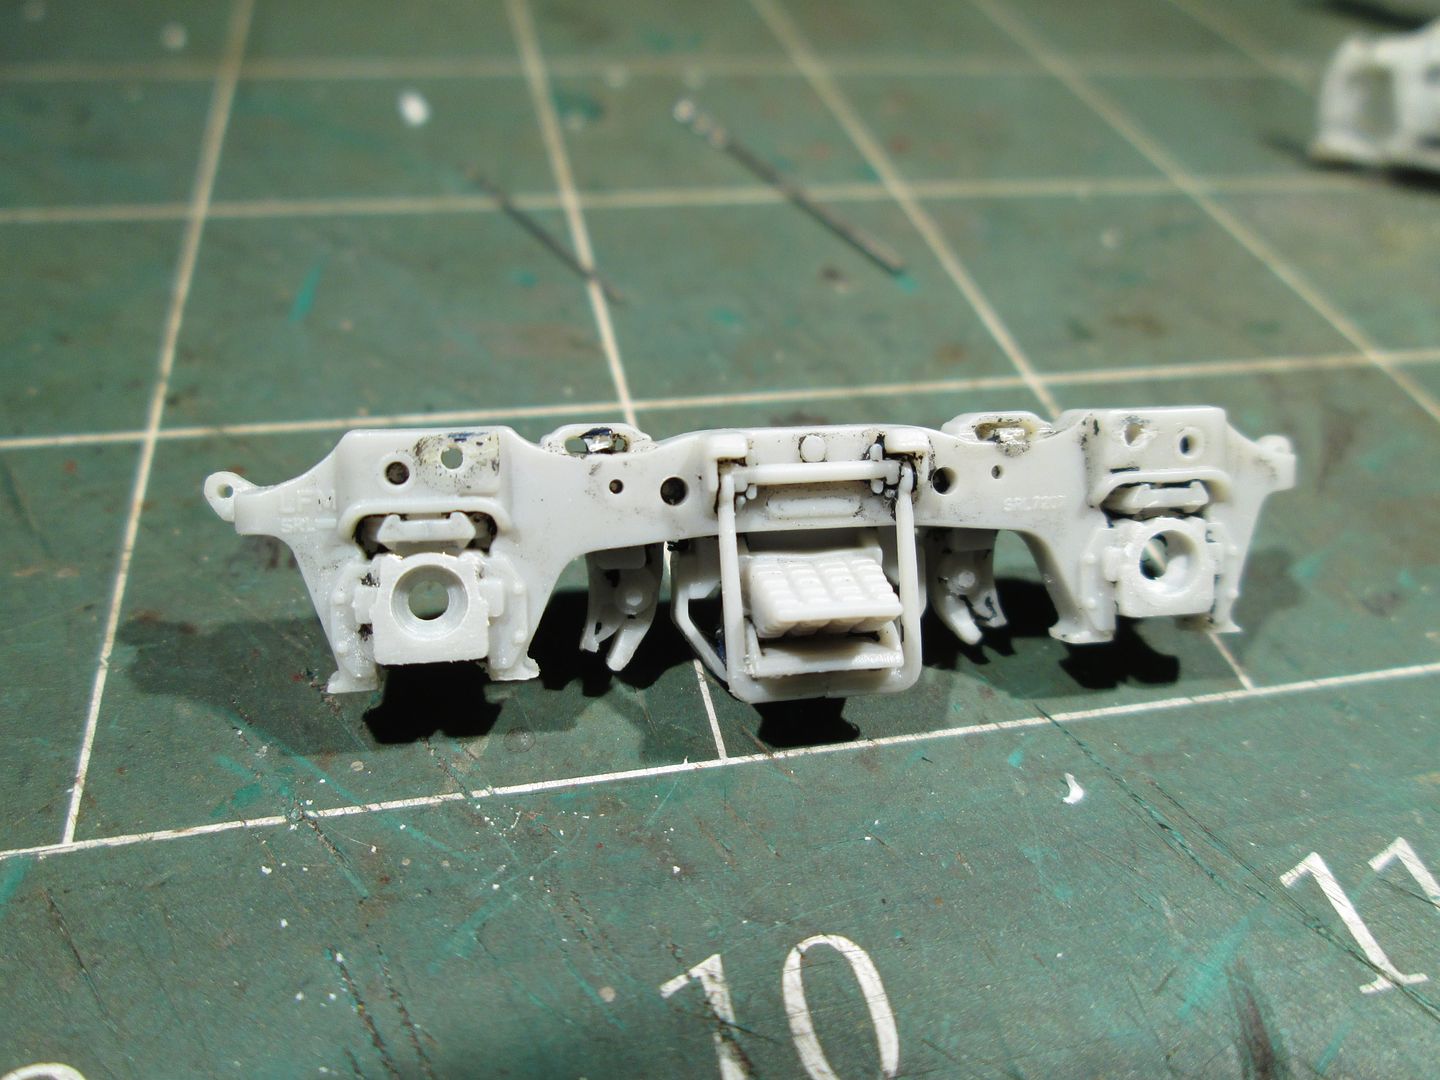 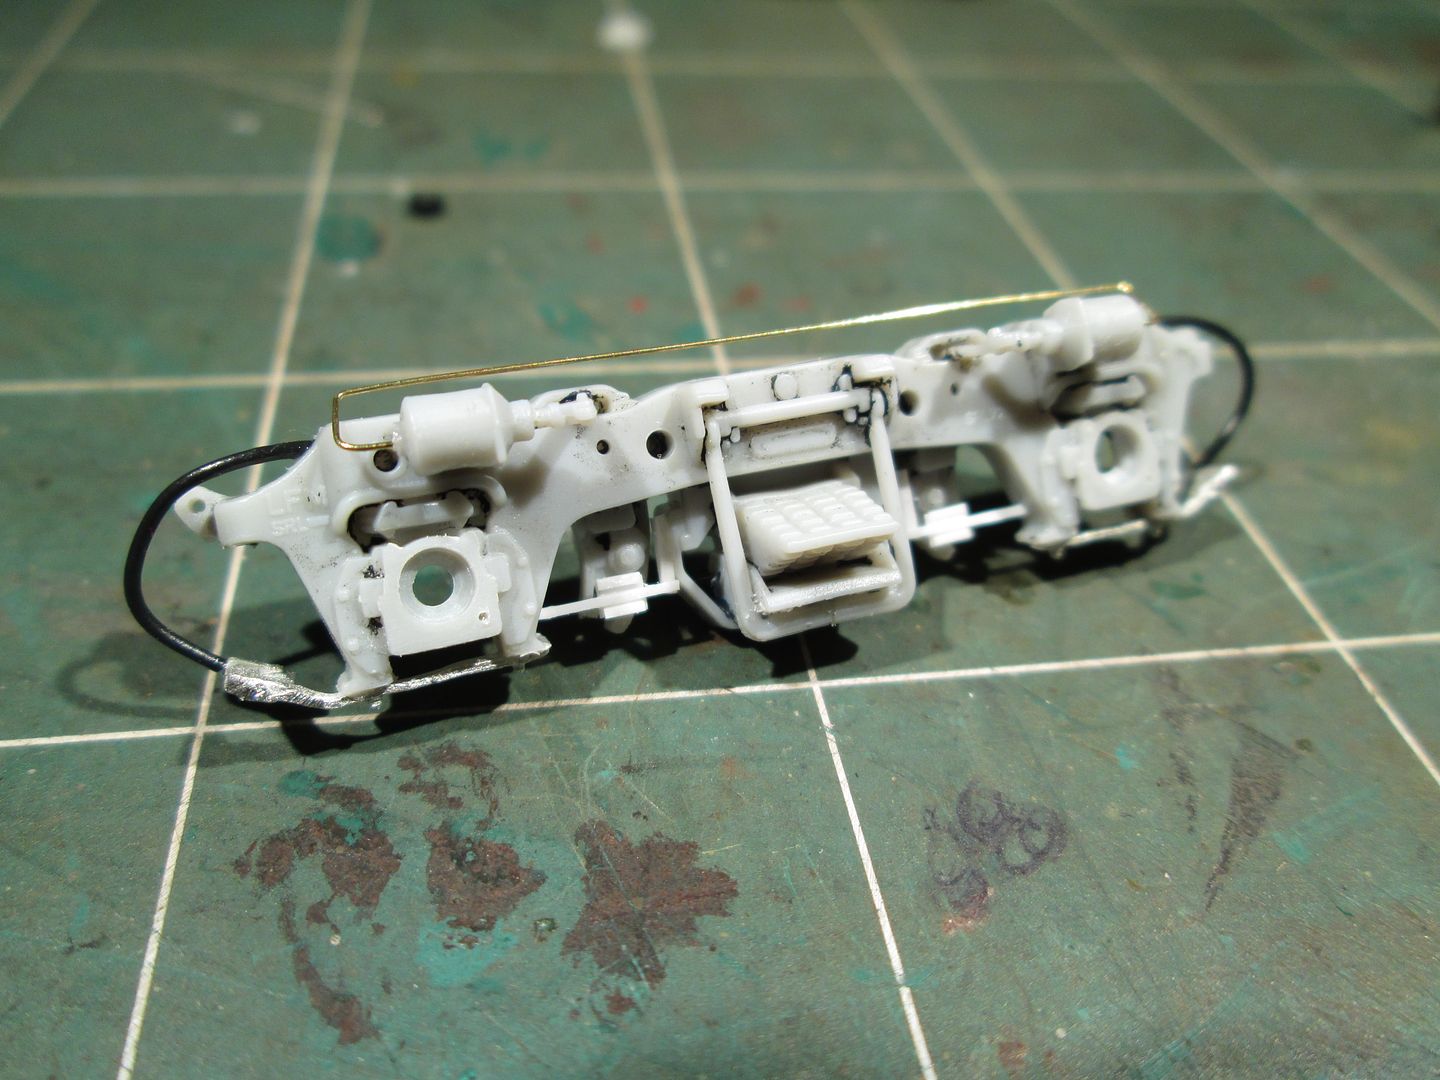 Only three more to go!  I'm still waiting on roller bearing ends to come in so I can glue those where they need to go. I will also have to make the additional curved airline hoses that are so apparent on these MP15 trucks and I'm going to try and replicate the "Solid Stick" flange lubricators as well. |
|
|
|
Post by antlorch on Jan 9, 2014 10:03:31 GMT -5
Looking good. I like the mods to the truck sideframes..
|
|
|
|
Post by analogbeatmaker on Jan 14, 2014 19:00:11 GMT -5
Looking good. I like the mods to the truck sideframes.. Thanks antlorch! I have to tell ya that modifying those trucks has been a major PITA! I'm still waiting on roller bearing caps to come in and I still need to scratch the flange lubricators. |
|
|
|
Post by analogbeatmaker on Jan 18, 2014 21:10:56 GMT -5
Here's a bit more progress fellas. As much of a pain it is to modify the trucks, all but one went fairly smoothly. However, that one wasn't giving up without a fight! For some reason as I drilled out the center of the "bearings" on this last one, neither hole stayed centered. Here I am filling the holes to drill again. 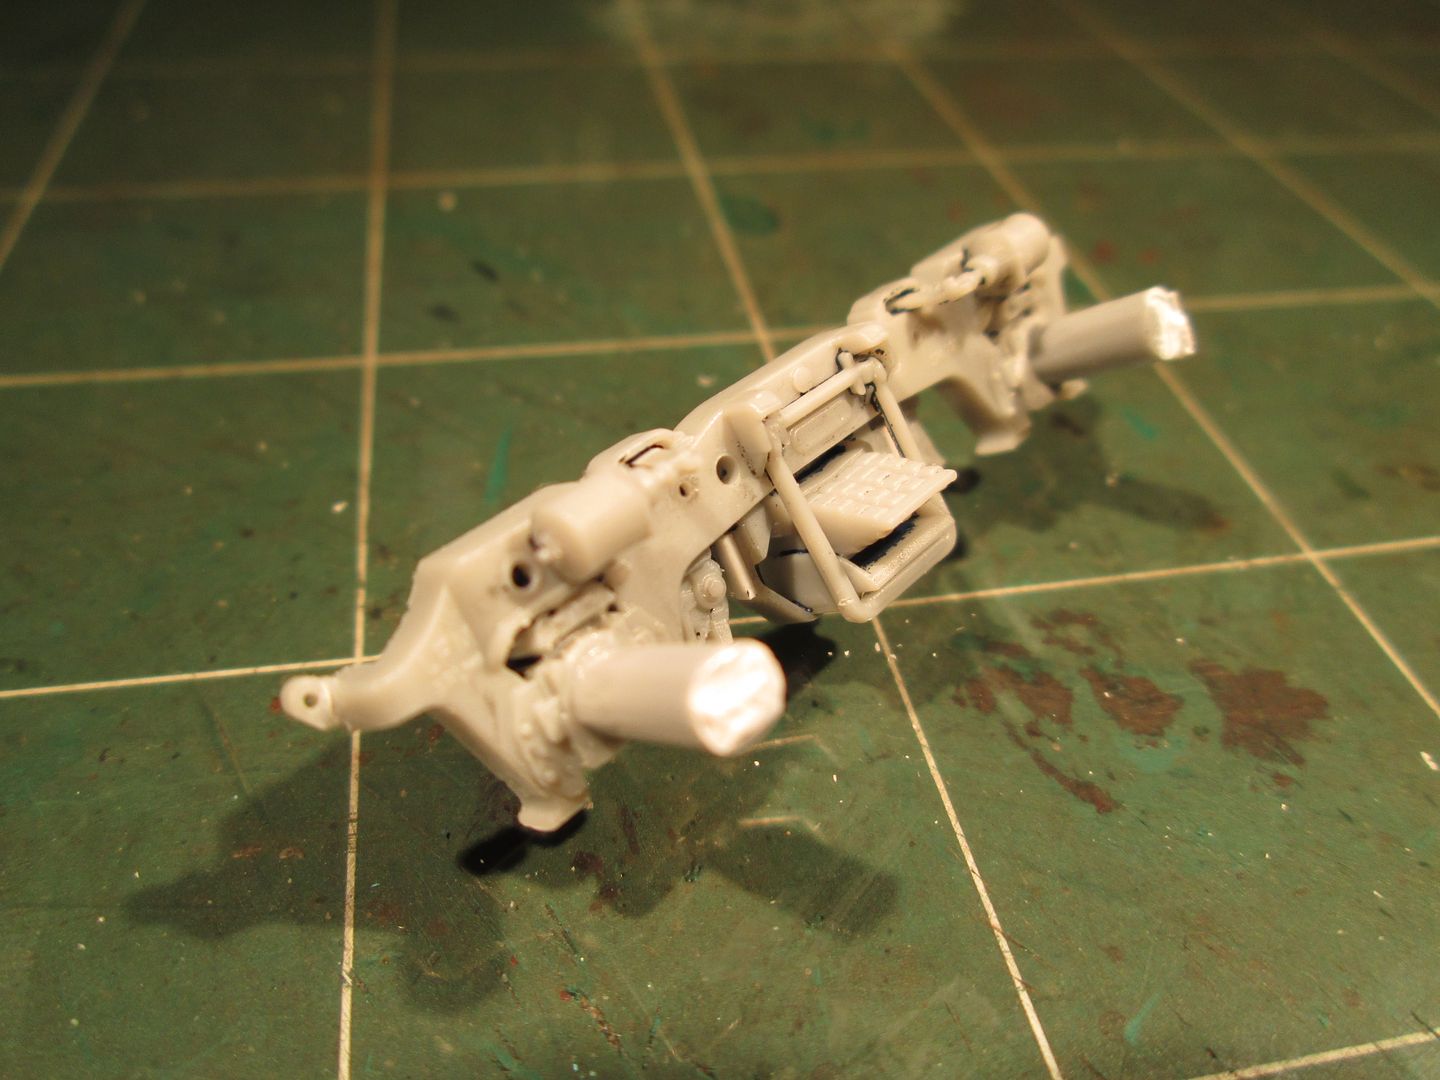 Once the glue dried I had to cut the sprue off and file some more. 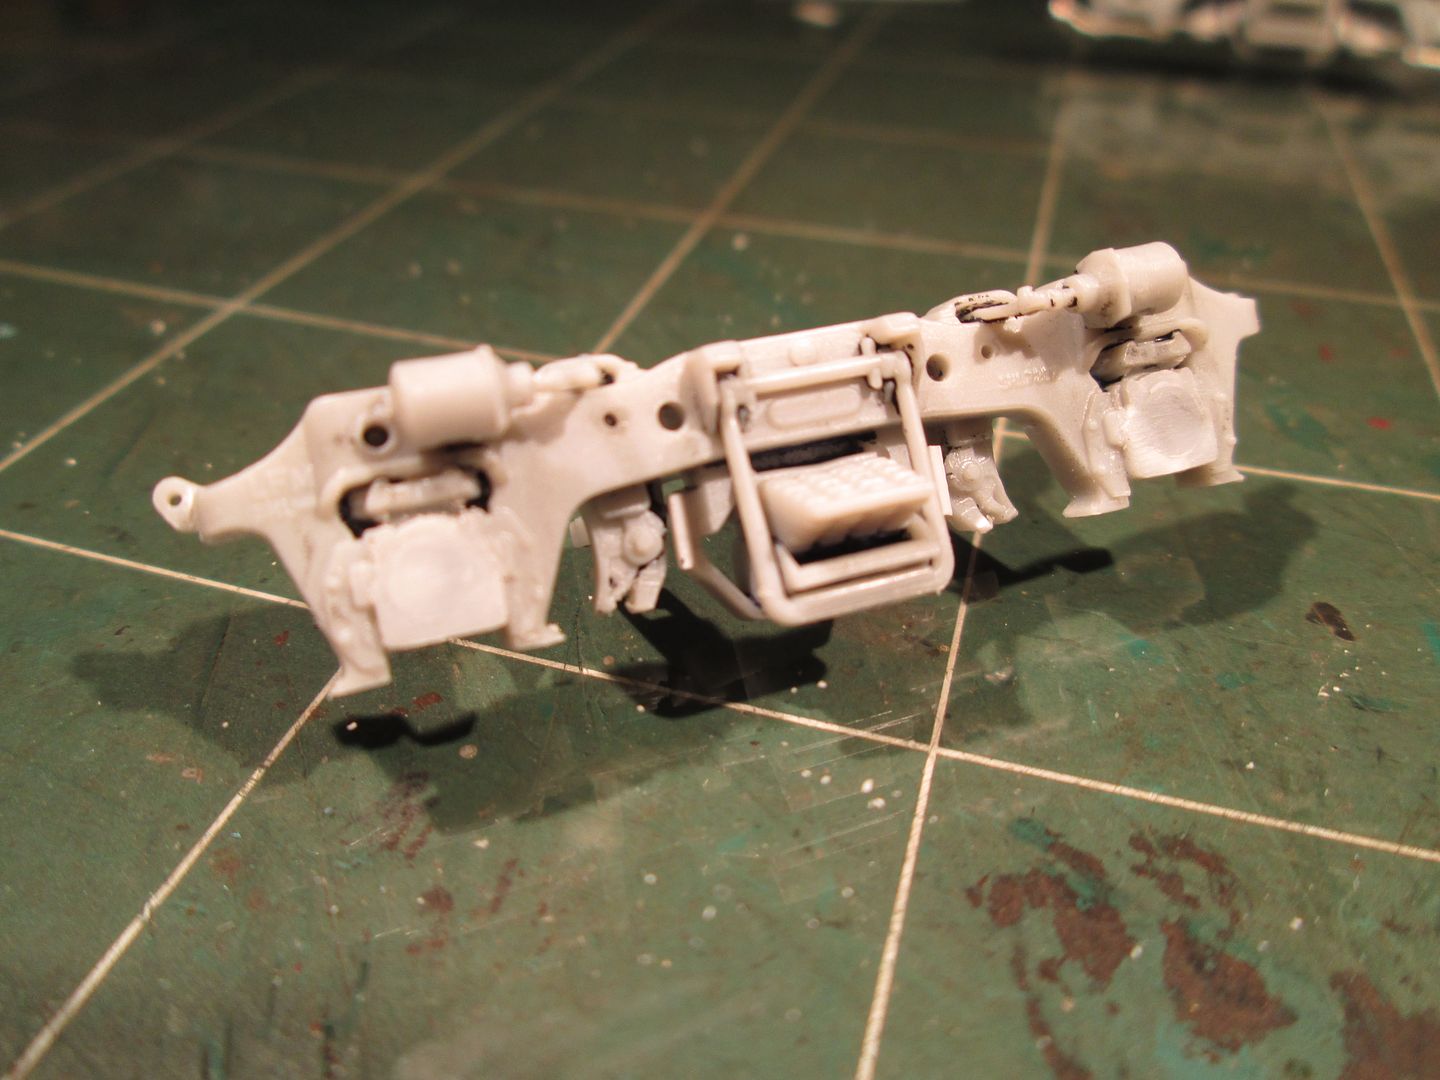 Finally, re-drilled. 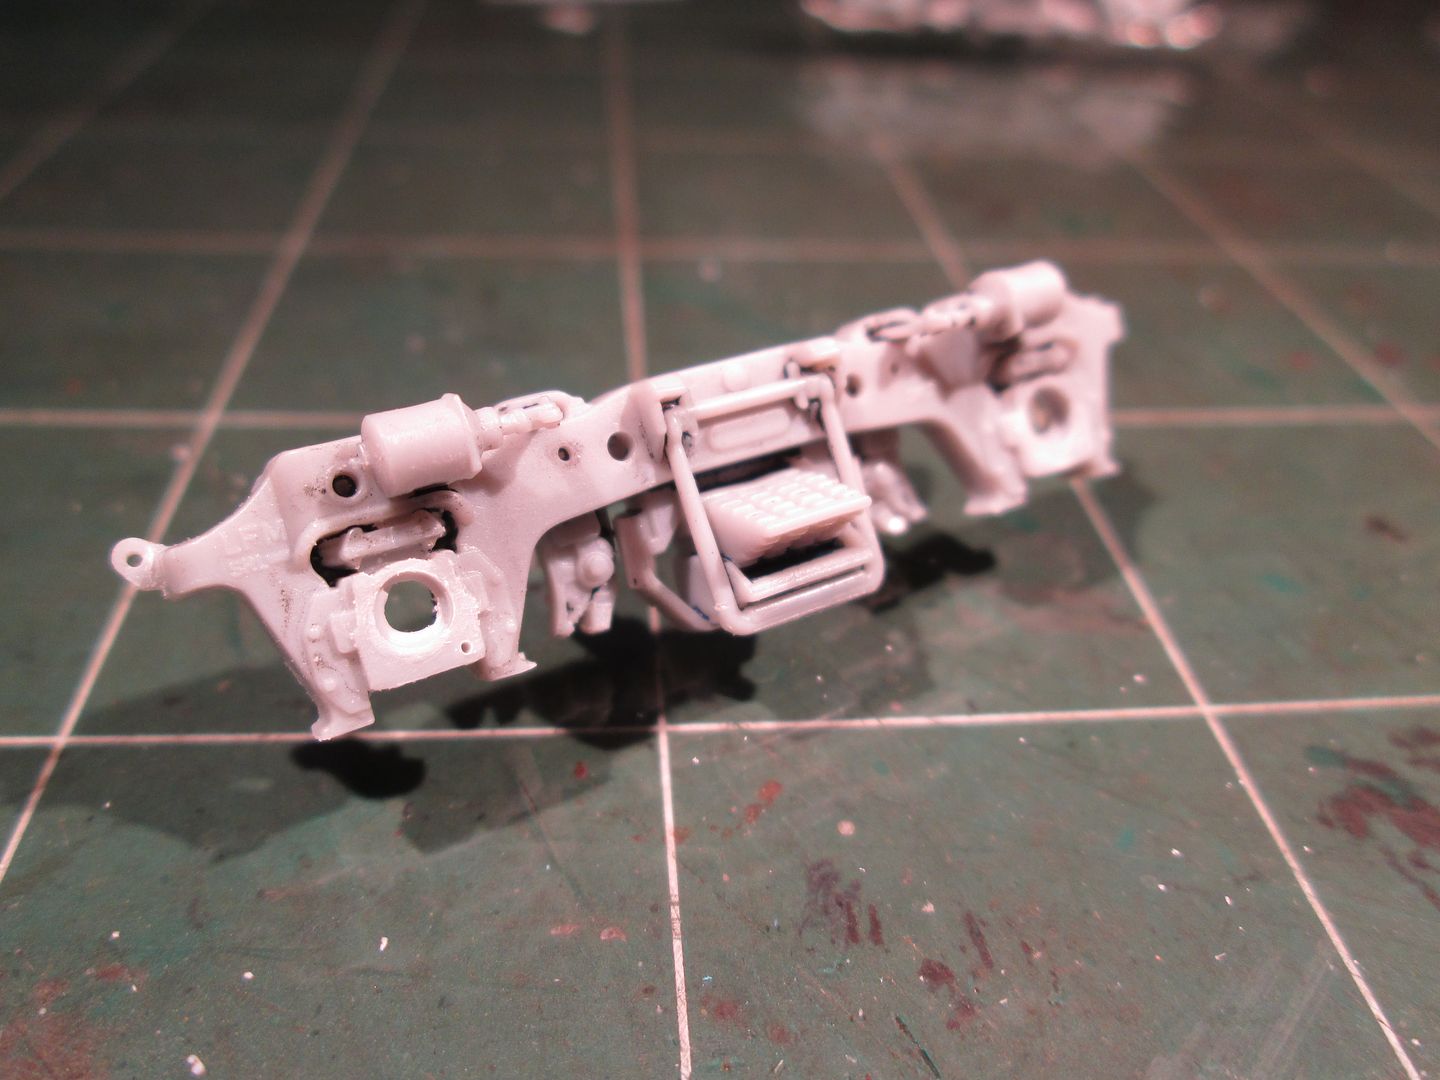 Since I was able to get great pics of the flange lubricators, here are the ones I scratched. I will be trimming them down a bit from here and possibly adding a little thickness to the "solid stick" itself. 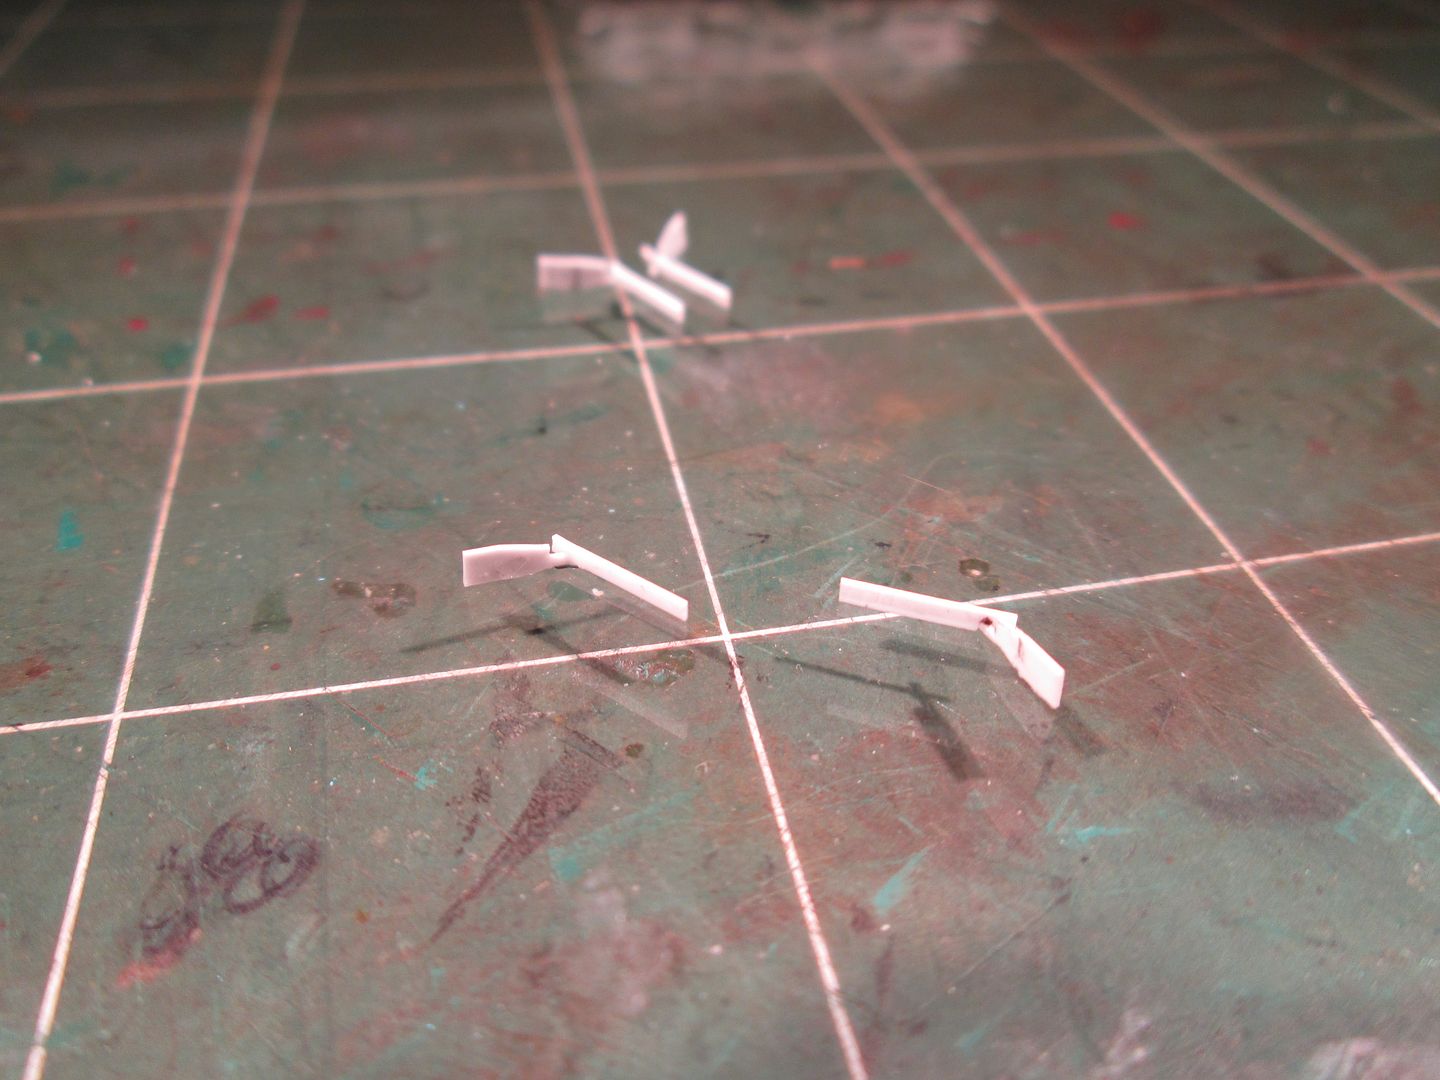 On the trucks. 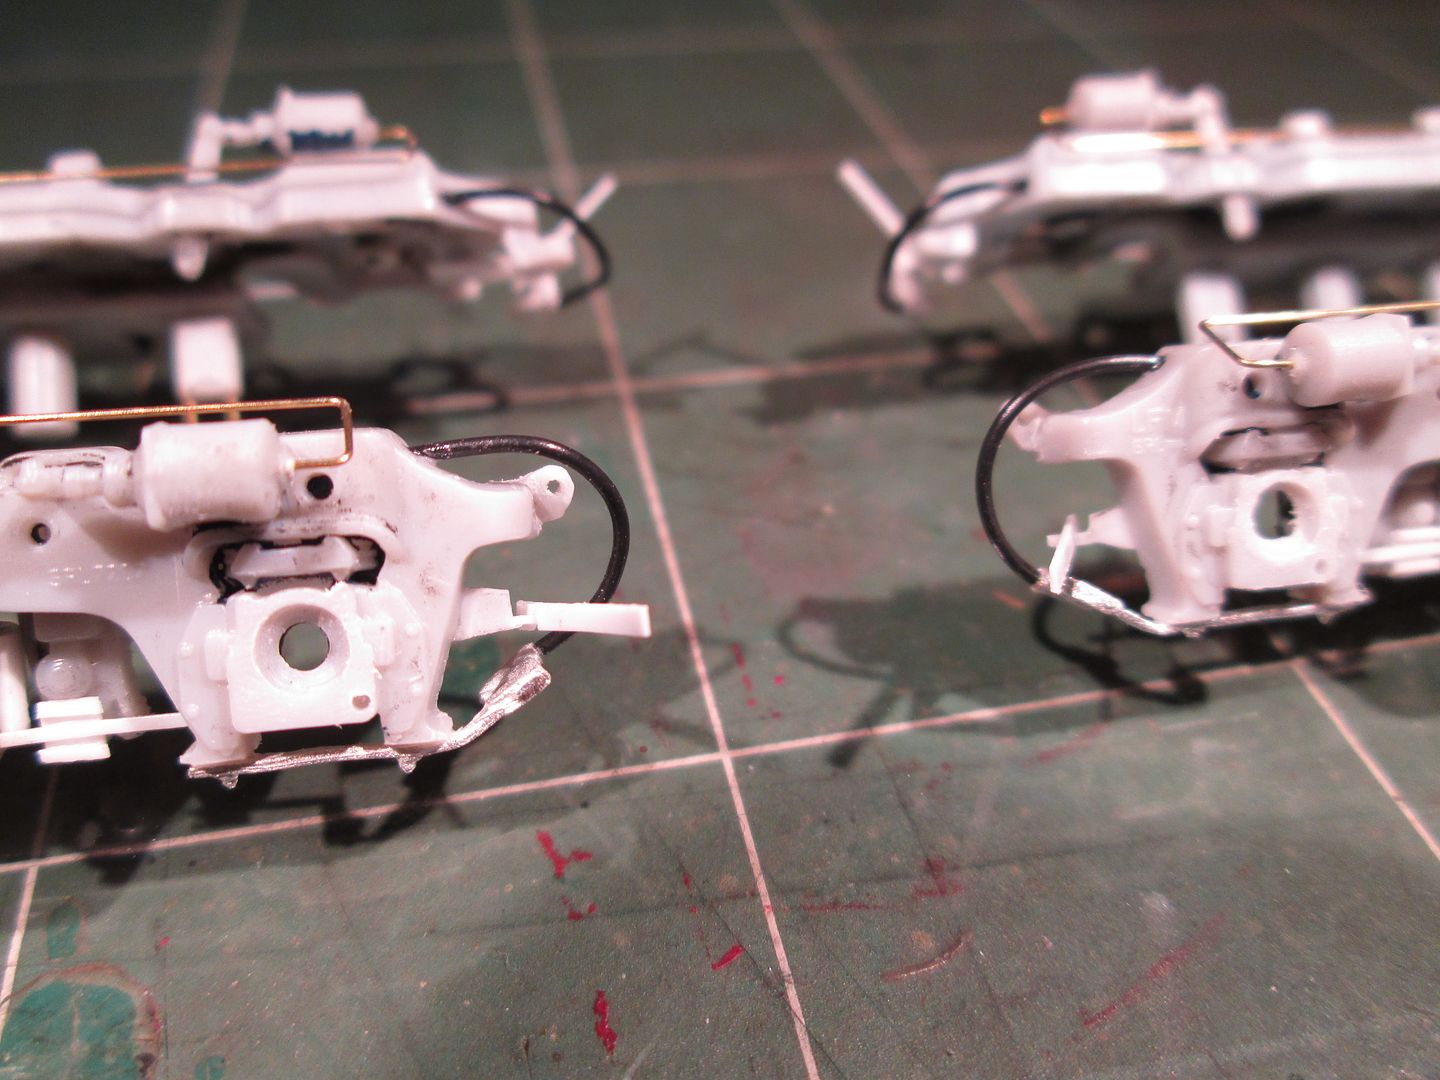 Here is a not so good pic of the small "loops" I needed to add to the roof, the lift rings and drop grab I added. 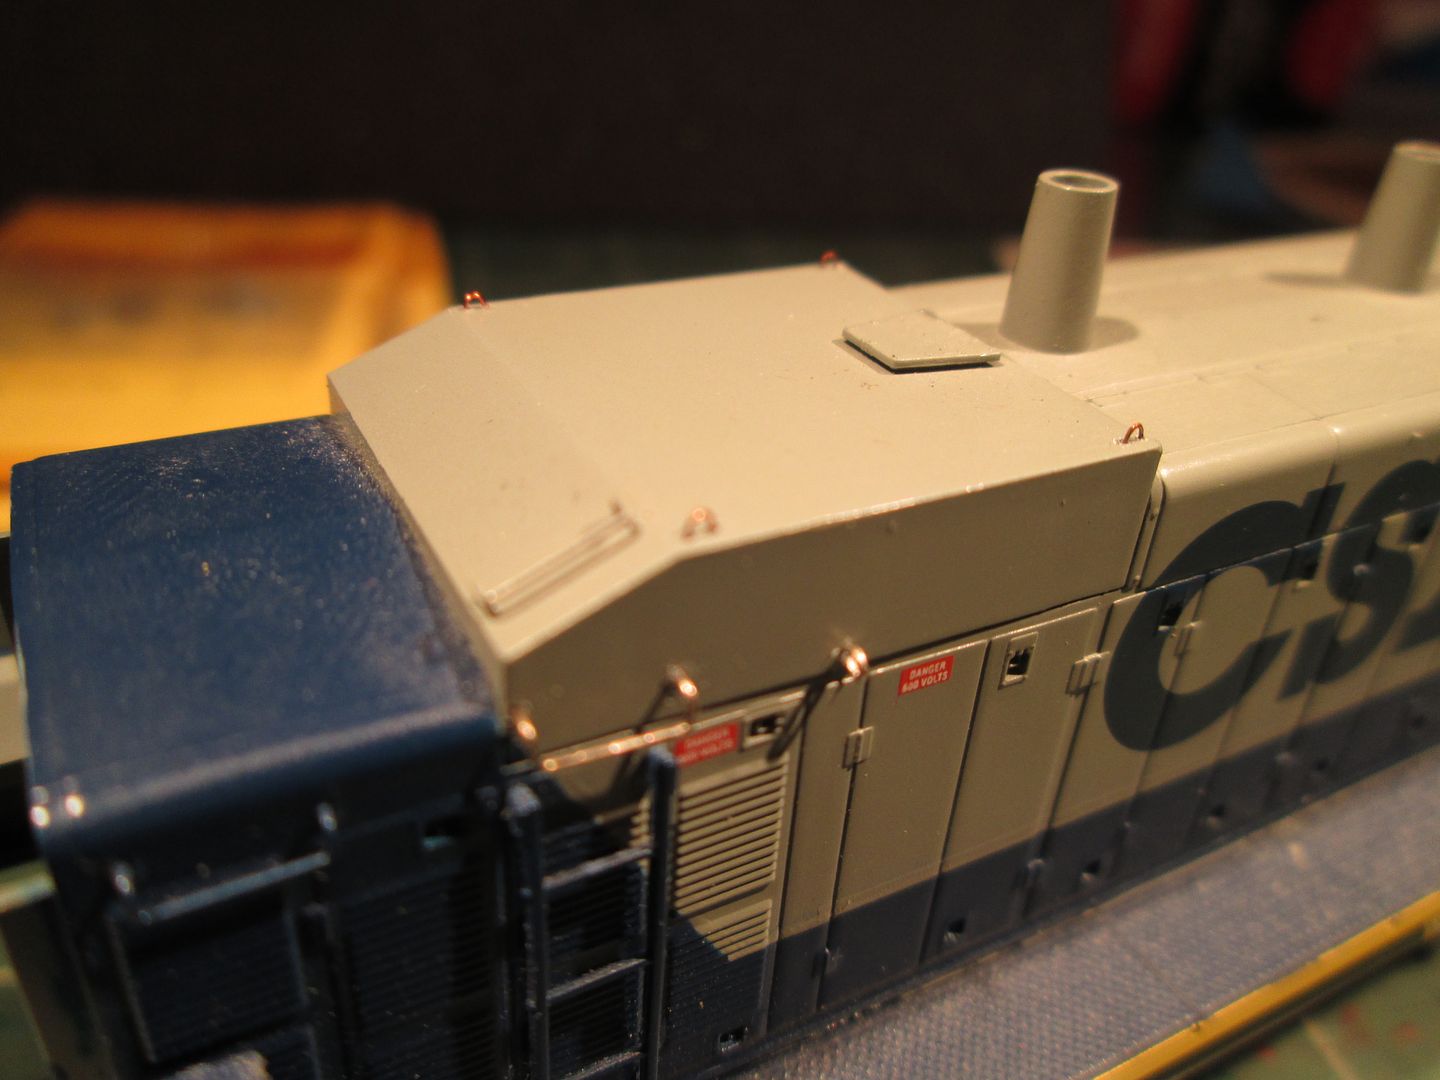 Since the front screens had knuckle busters on them I cut some off of extra doors and added them. You can also see the "thing that I don't know what it is" above the screen. 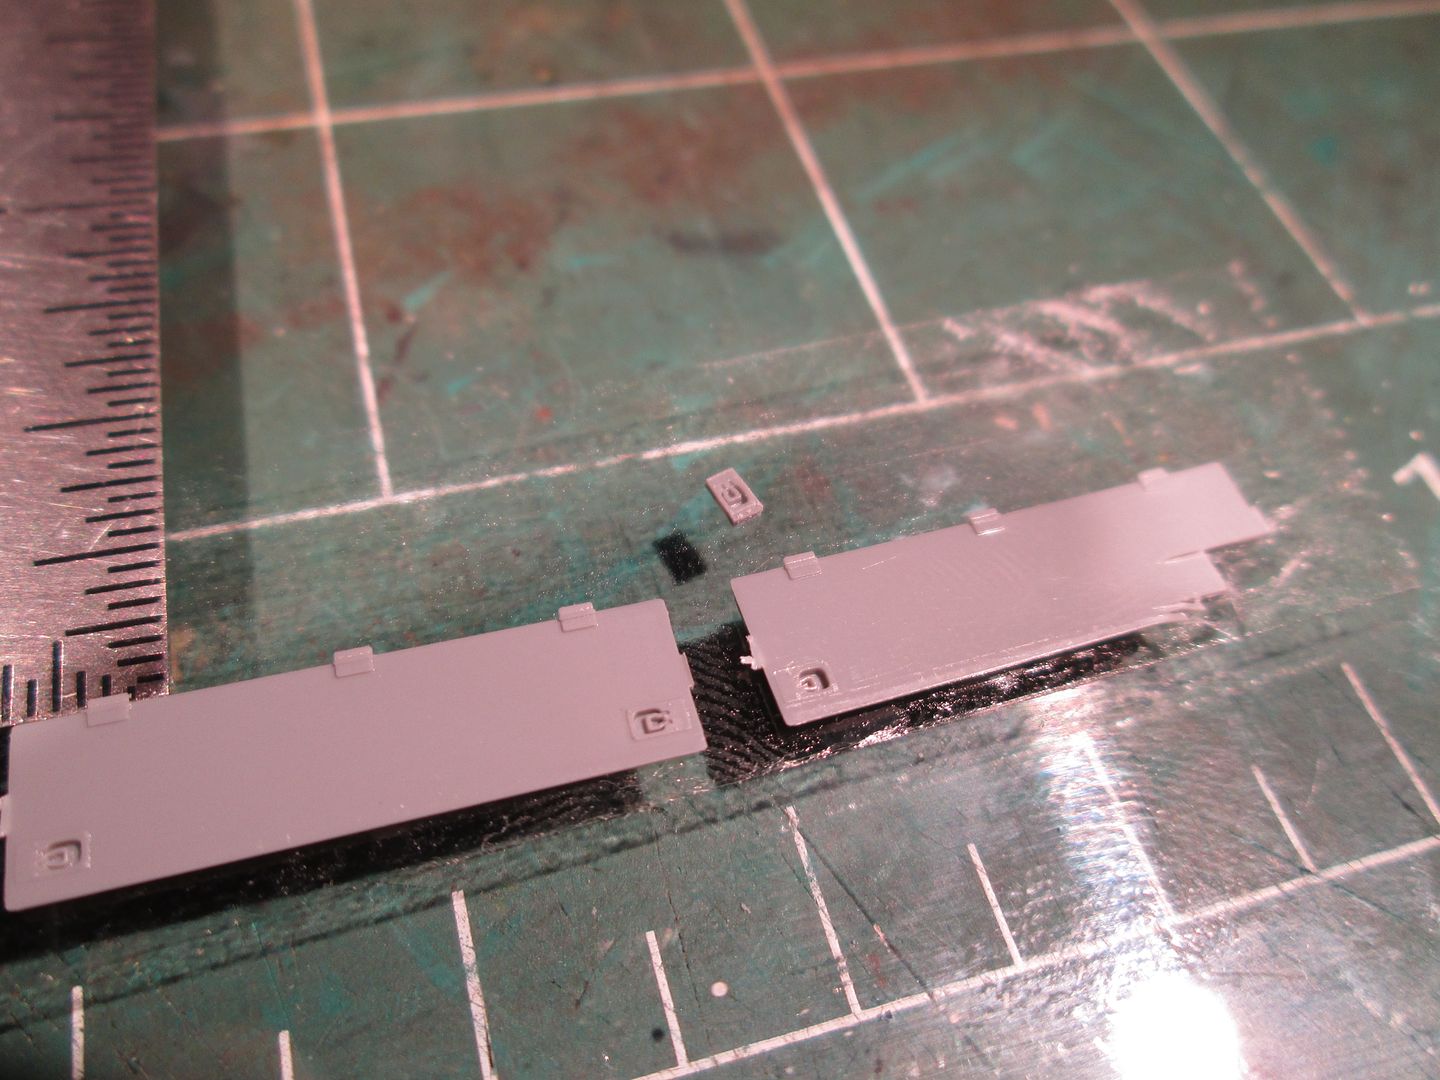 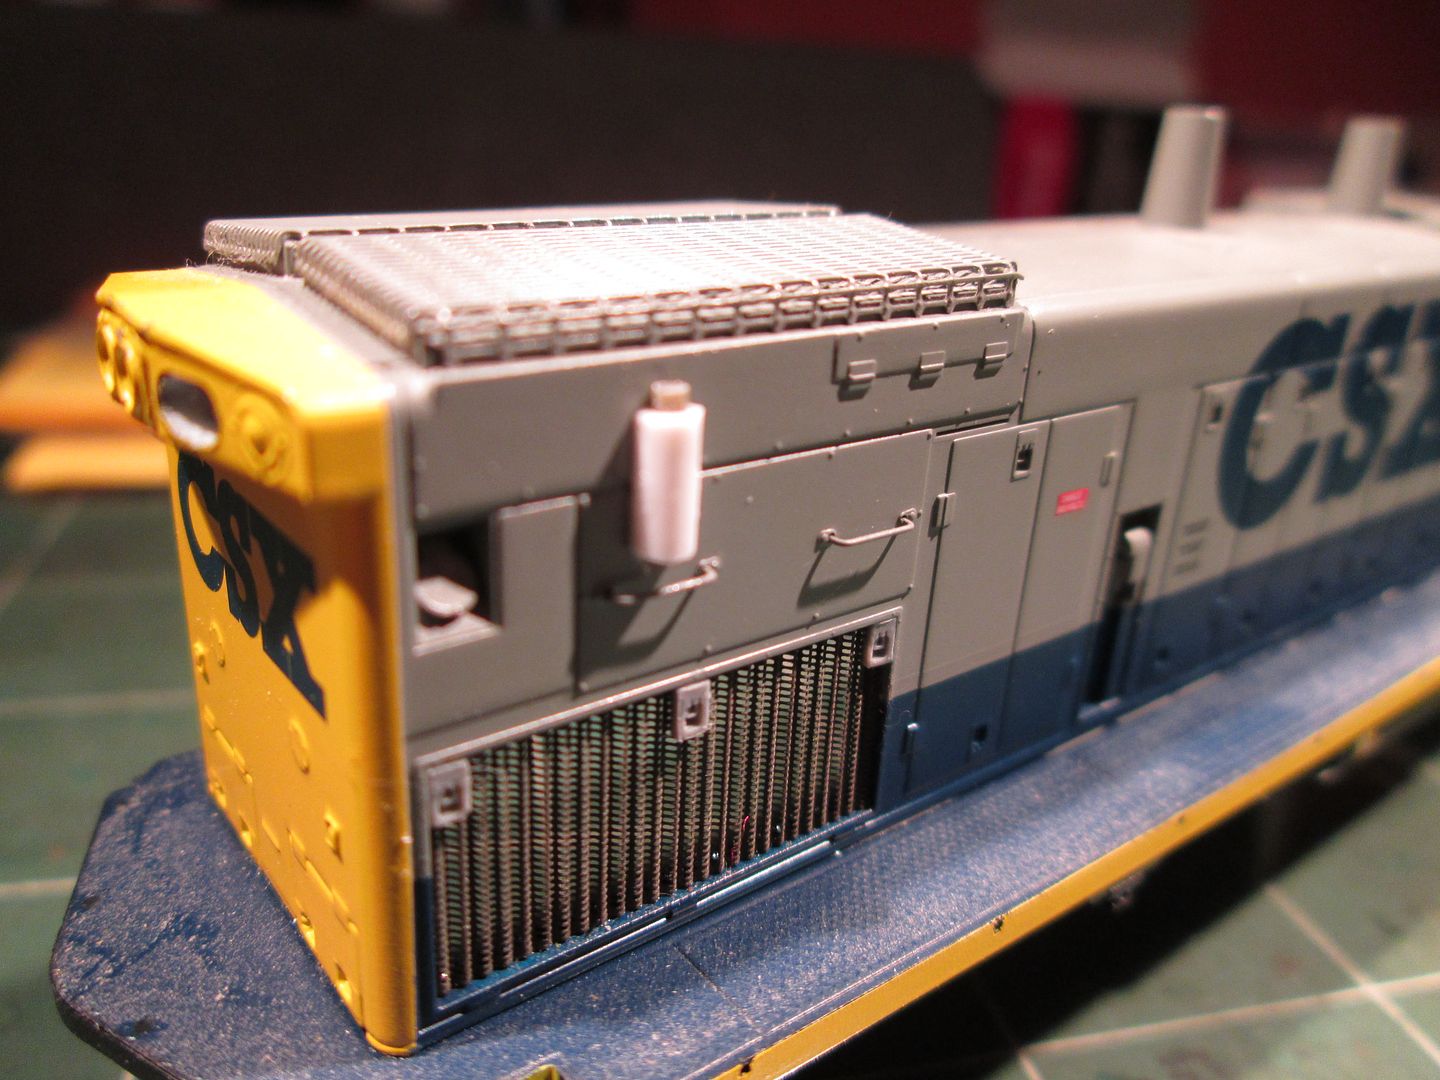 Here is the hardware I scratched for the handbrake chain. Oddly enough, in the main proto pic I'm using, the spring that goes on this device is missing and the chain is just hanging. Therefore, it will be modeled this way. 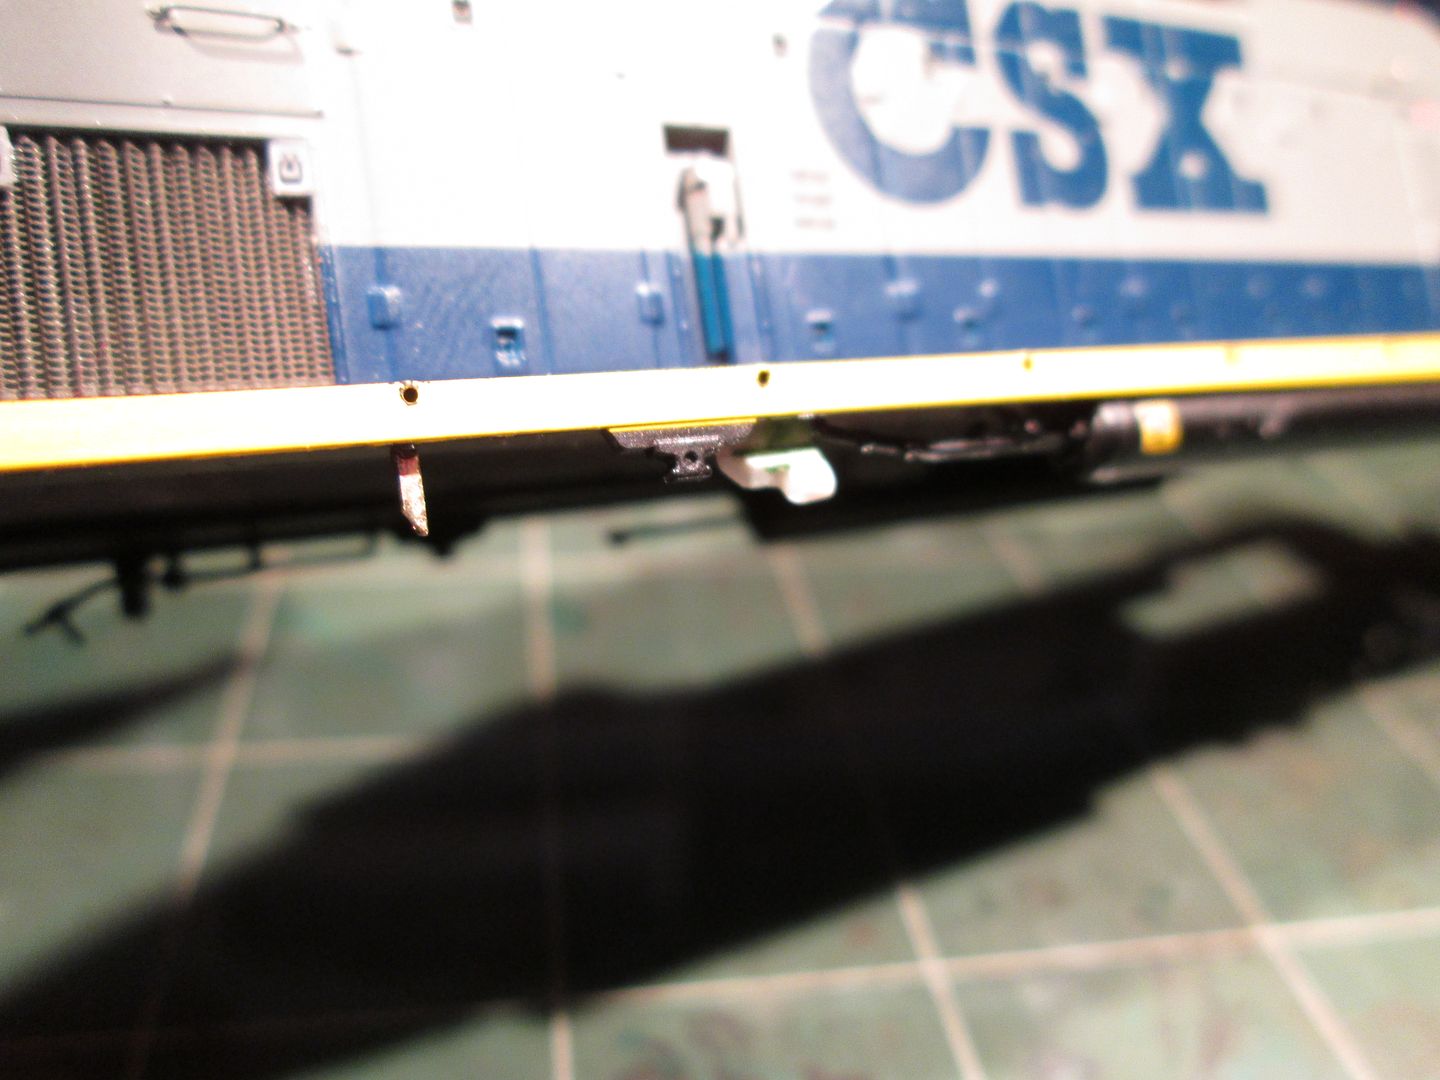 I need 4 ditchlights for this loco. Here is a pic of the LED being "glued" into place with Micro Kristal Klear. I use SMD (very tiny) LED's and the ones I get are on a tiny PC board. I file this down and file the solder on the back to get them to fit. Then I coat the LED and the inside of the housing with Micro Mask. Once dried this acts as an insulator preventing any shorting. 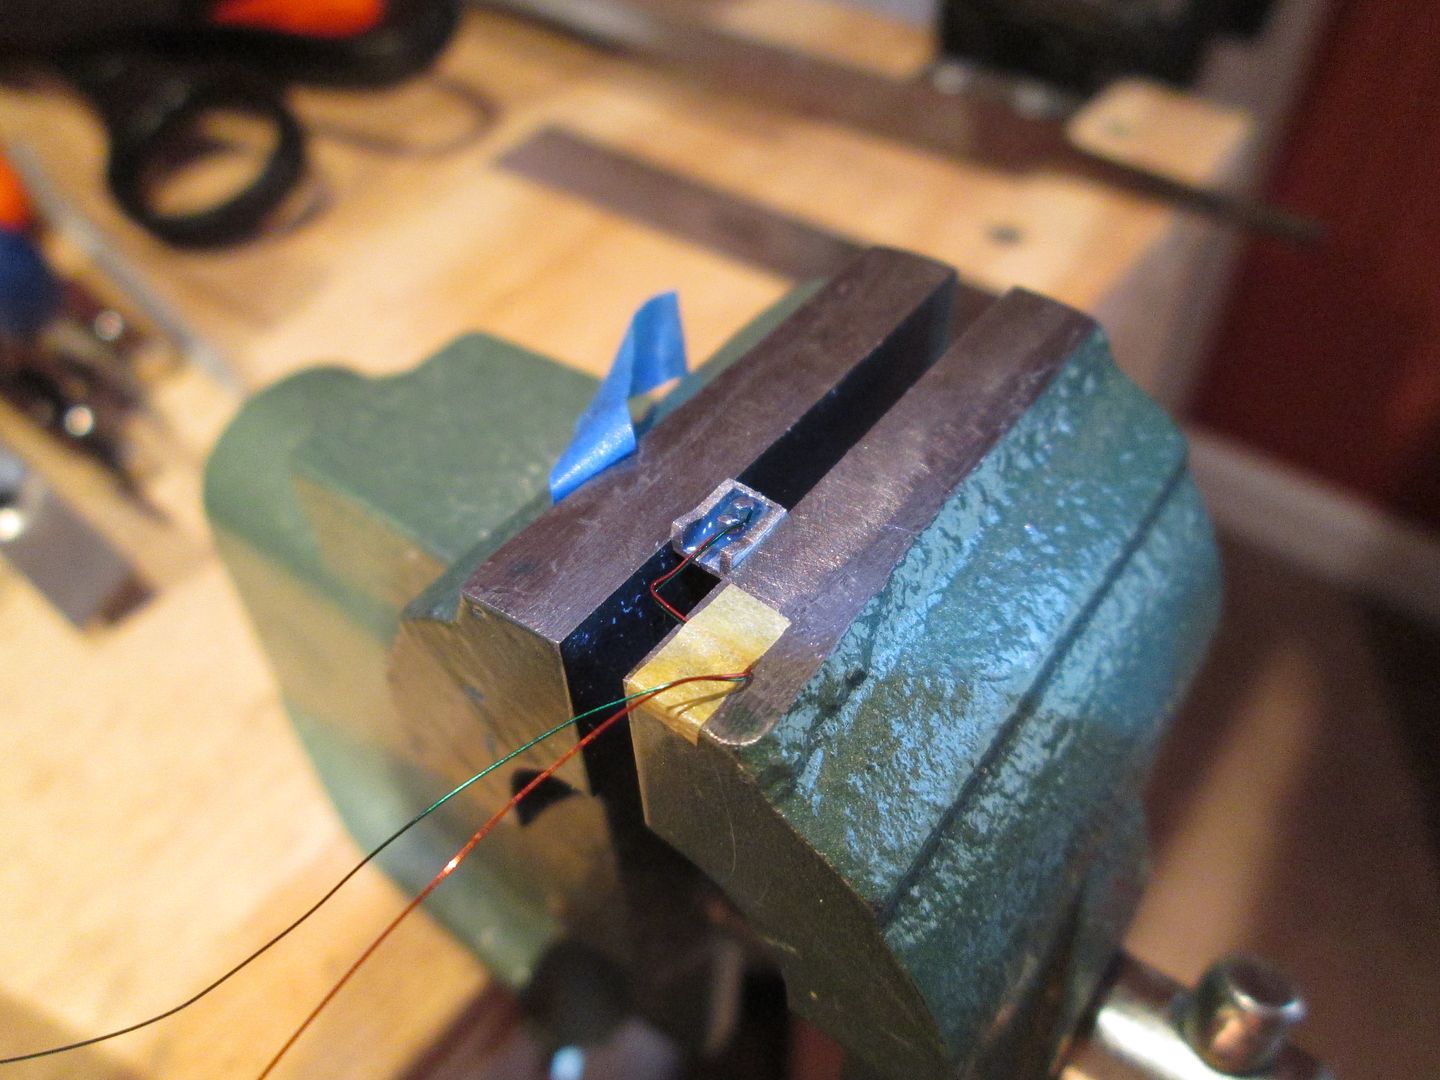 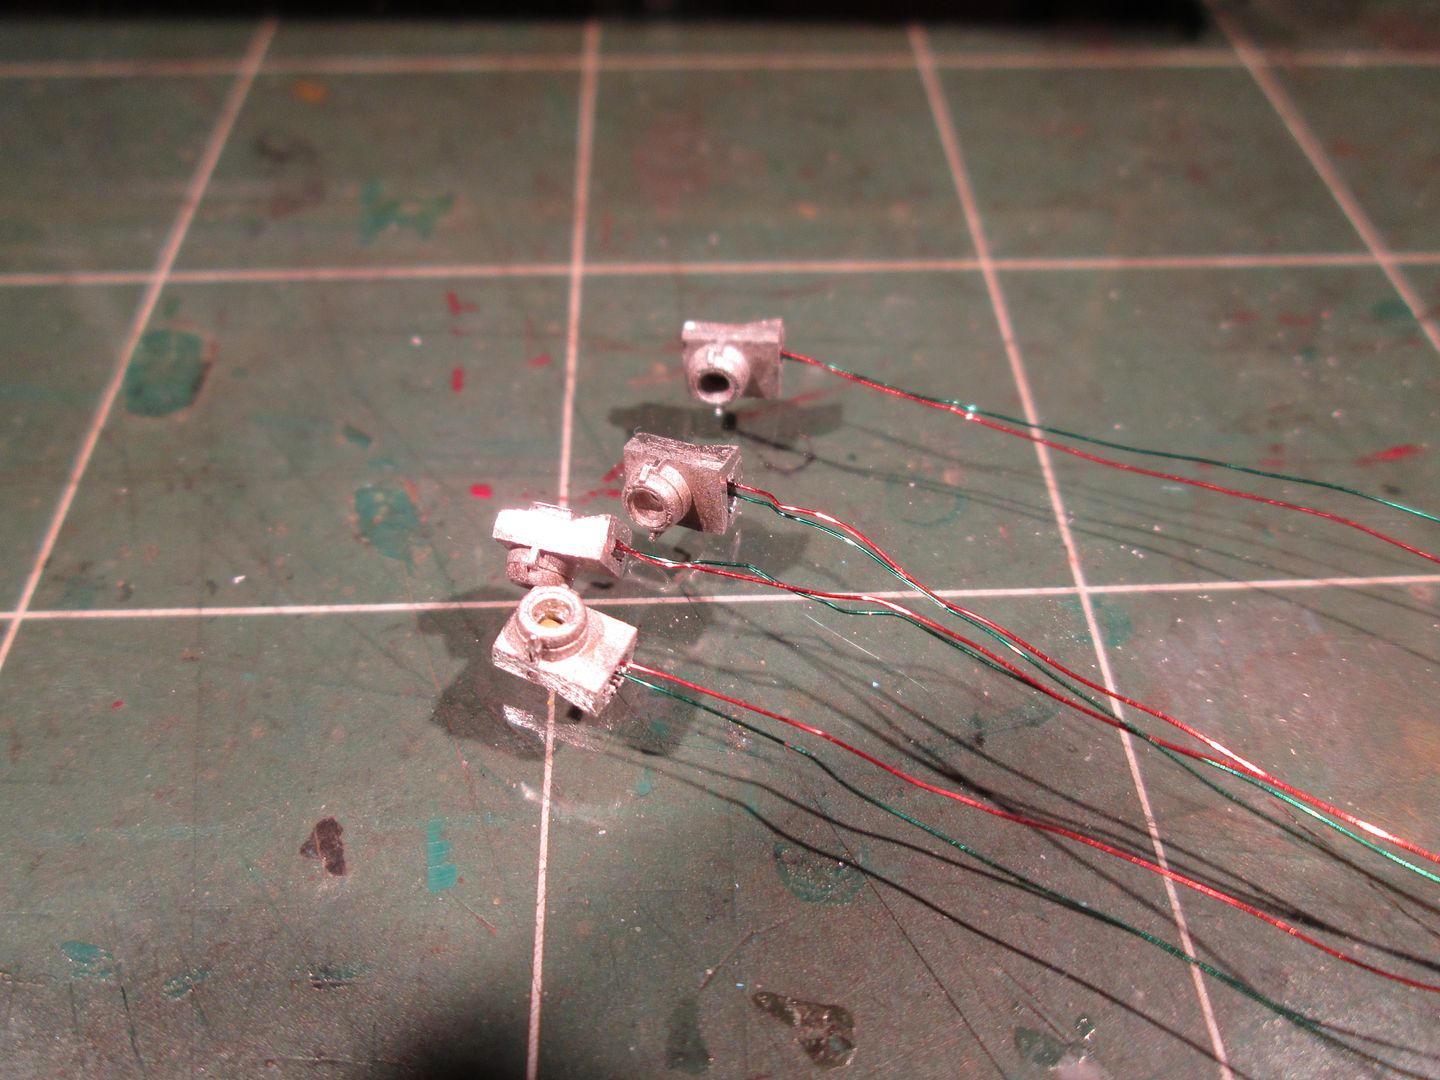 Goodbye nasty ol solid steps! 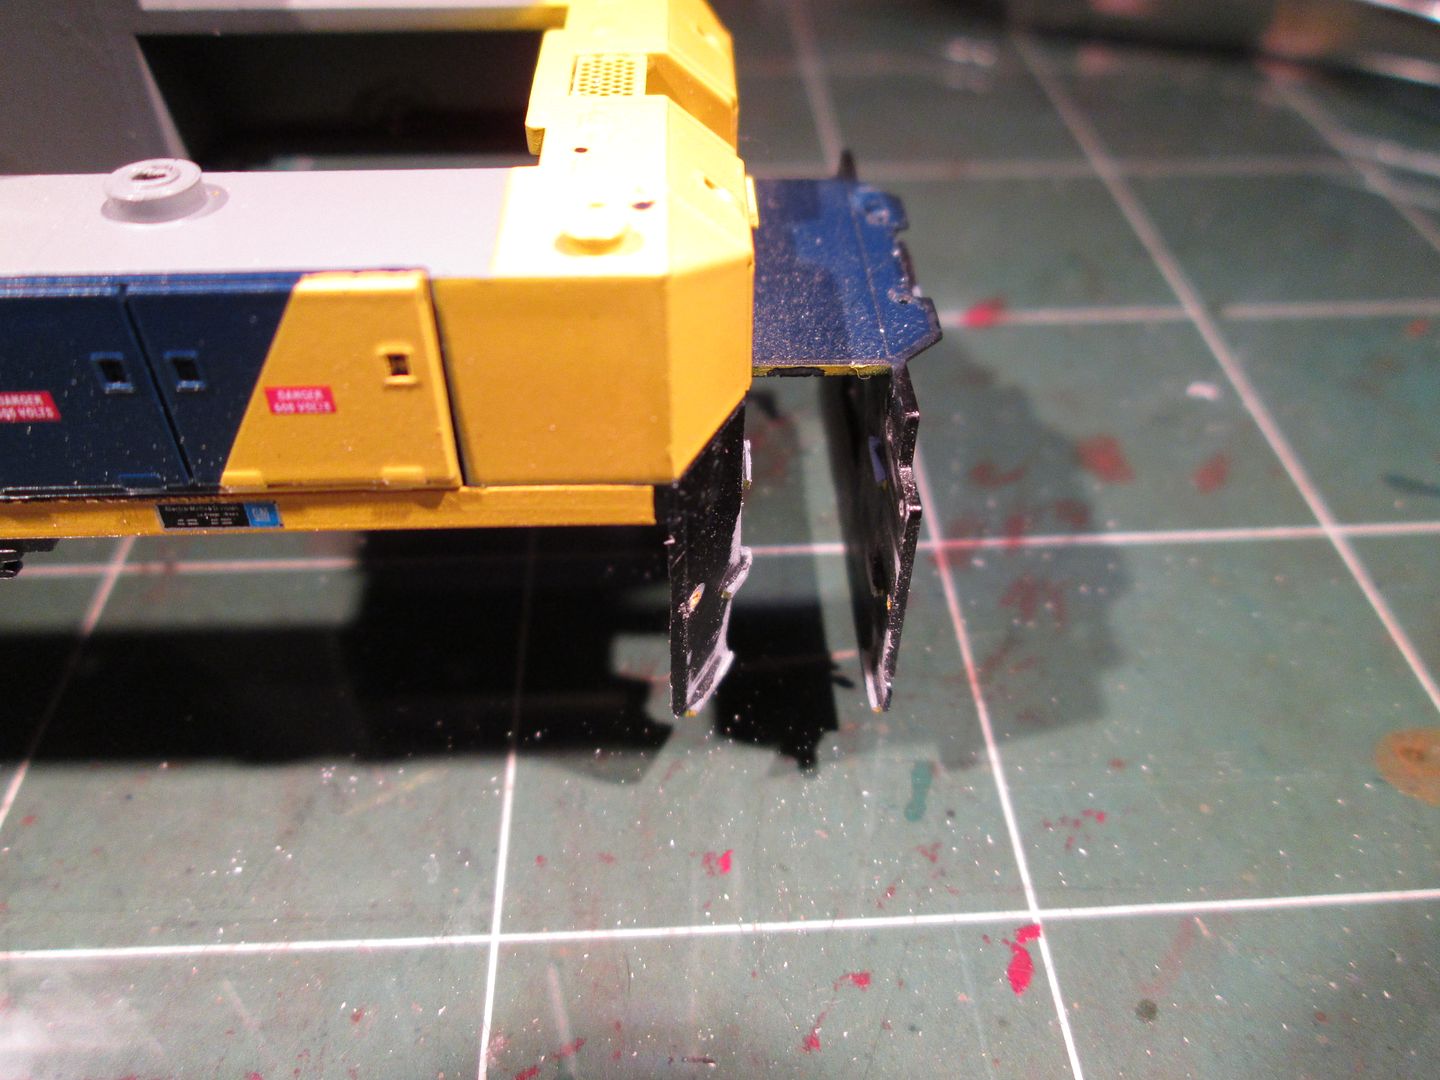 For the fuel tank I had to file off the factory "round thing" detail because it was centered...the proto is off-center. Here I've drilled the new hole for the detail part. 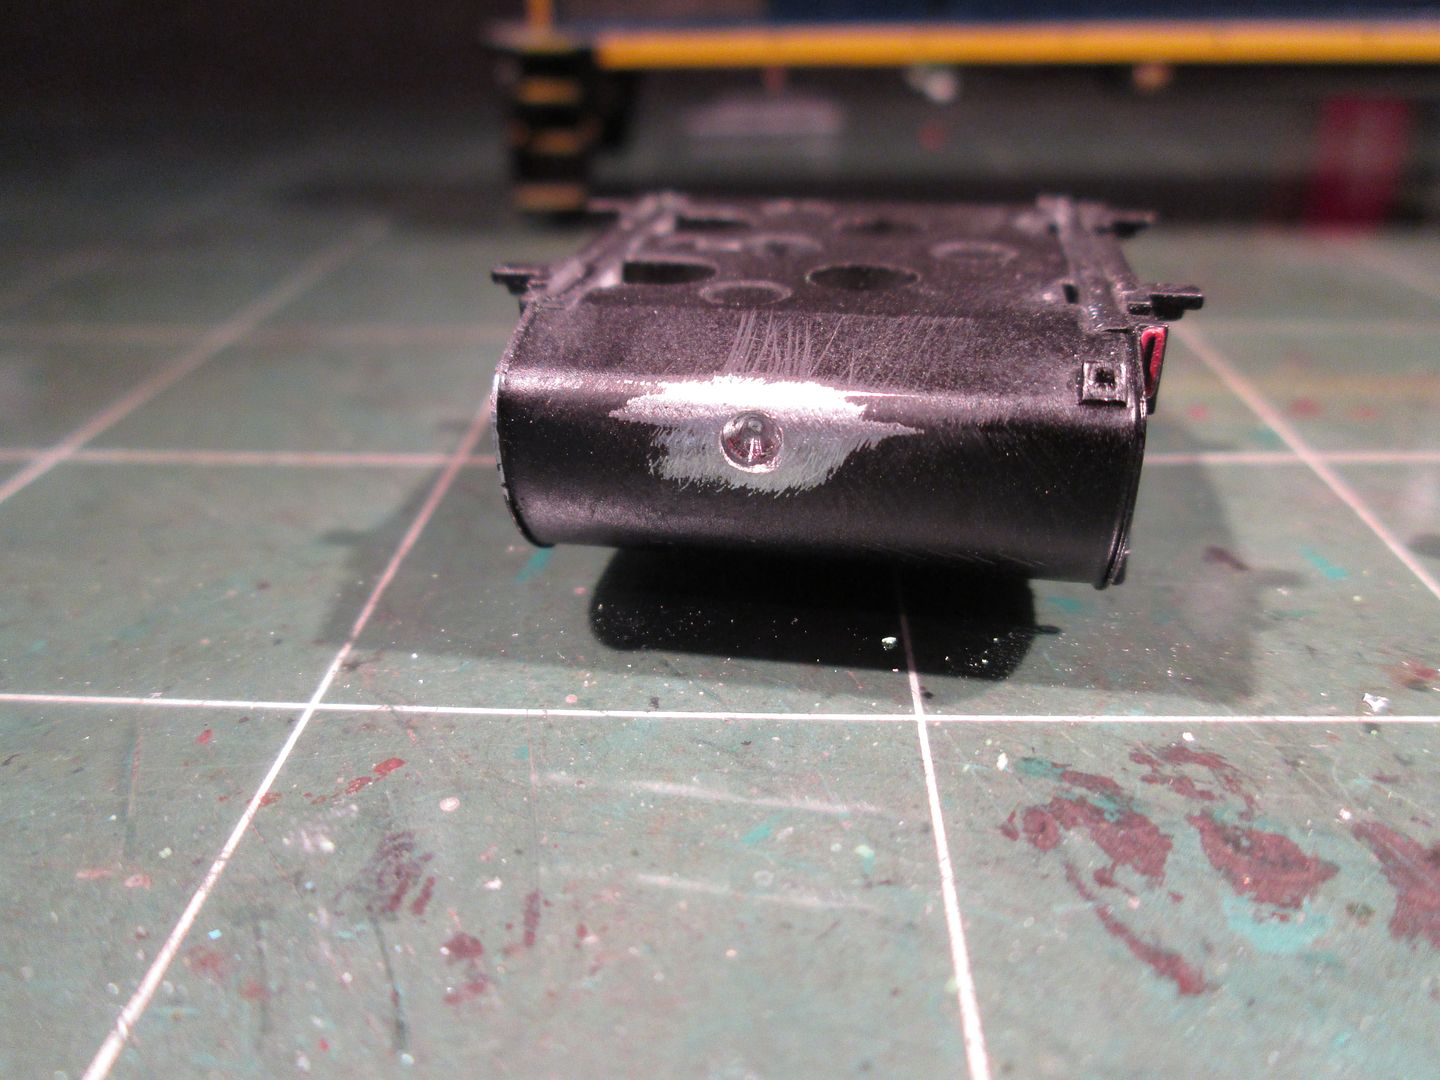 Here is the tank with all the details added ready for primer and paint. 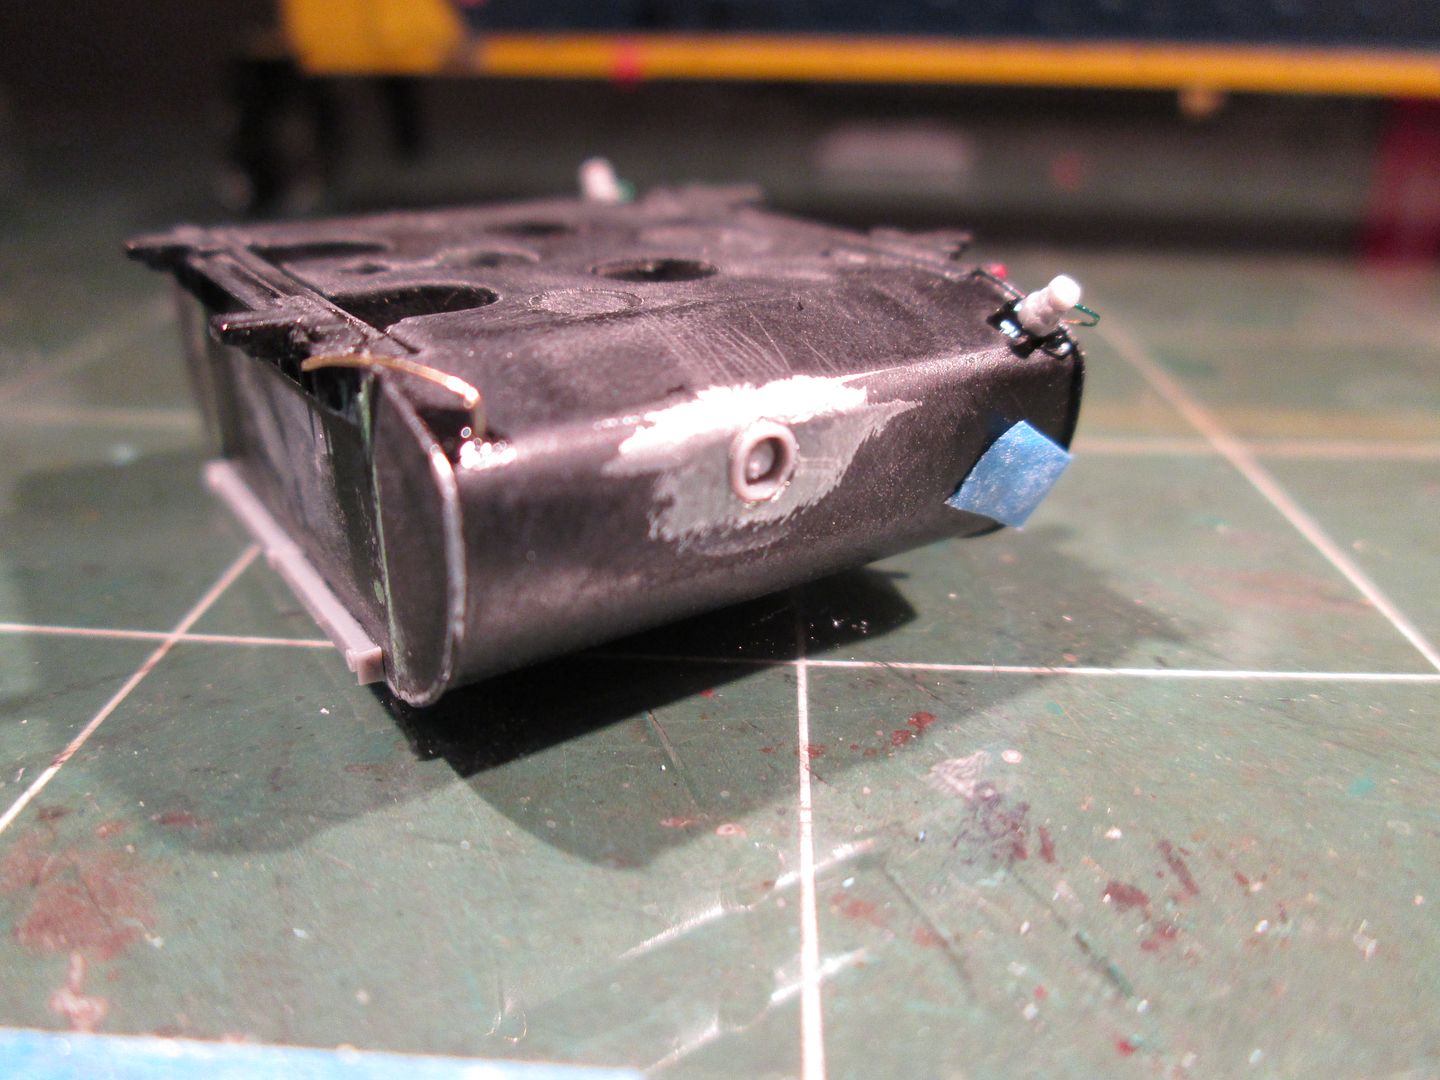 Next up will be adding the bent airlines to the truck airlines, mounting the horn, creating numberboard lenses ect! |
|
|
|
Post by rscott417 on Jan 20, 2014 17:51:03 GMT -5
So far so good, looking forward to more.
|
|
|
|
Post by analogbeatmaker on Jan 29, 2014 3:04:00 GMT -5
So far so good, looking forward to more. Thanks for looking rscott417! Your wish is my command. lol Juat as on the Southern MP15 I detailed/weathered, for this CSX I had to recreate those unusual bent airlines that are above the trucks. Here are the two pieces of wire. Sorry for the blurriness but you get the idea. 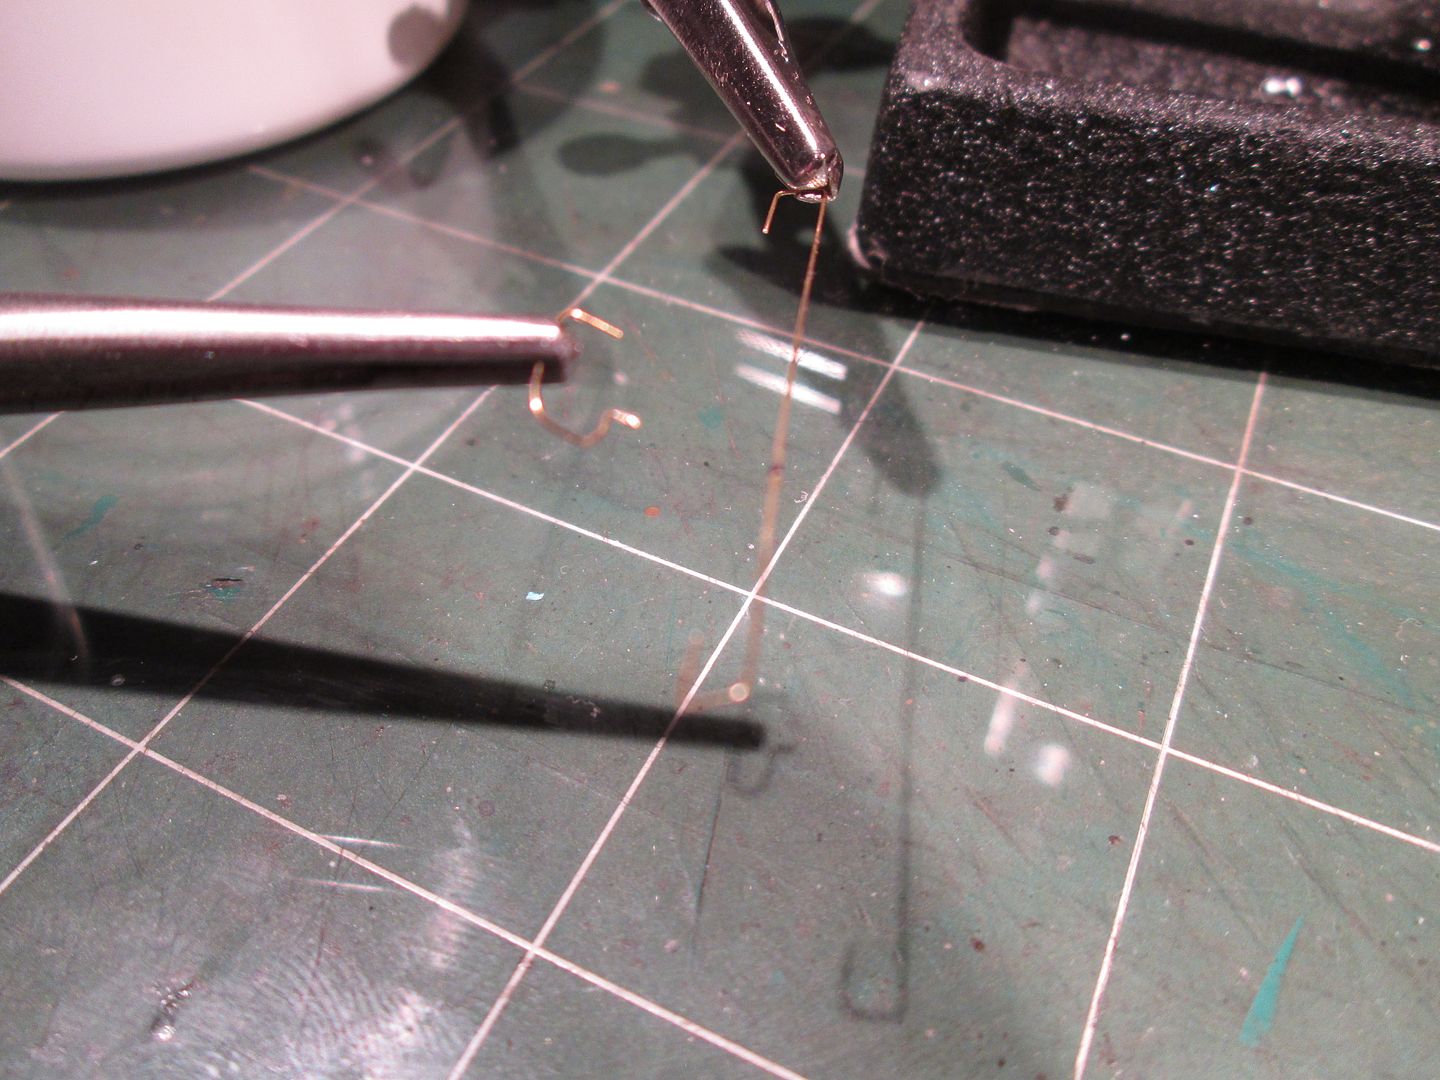 Here they are soldered together and on the trucks. 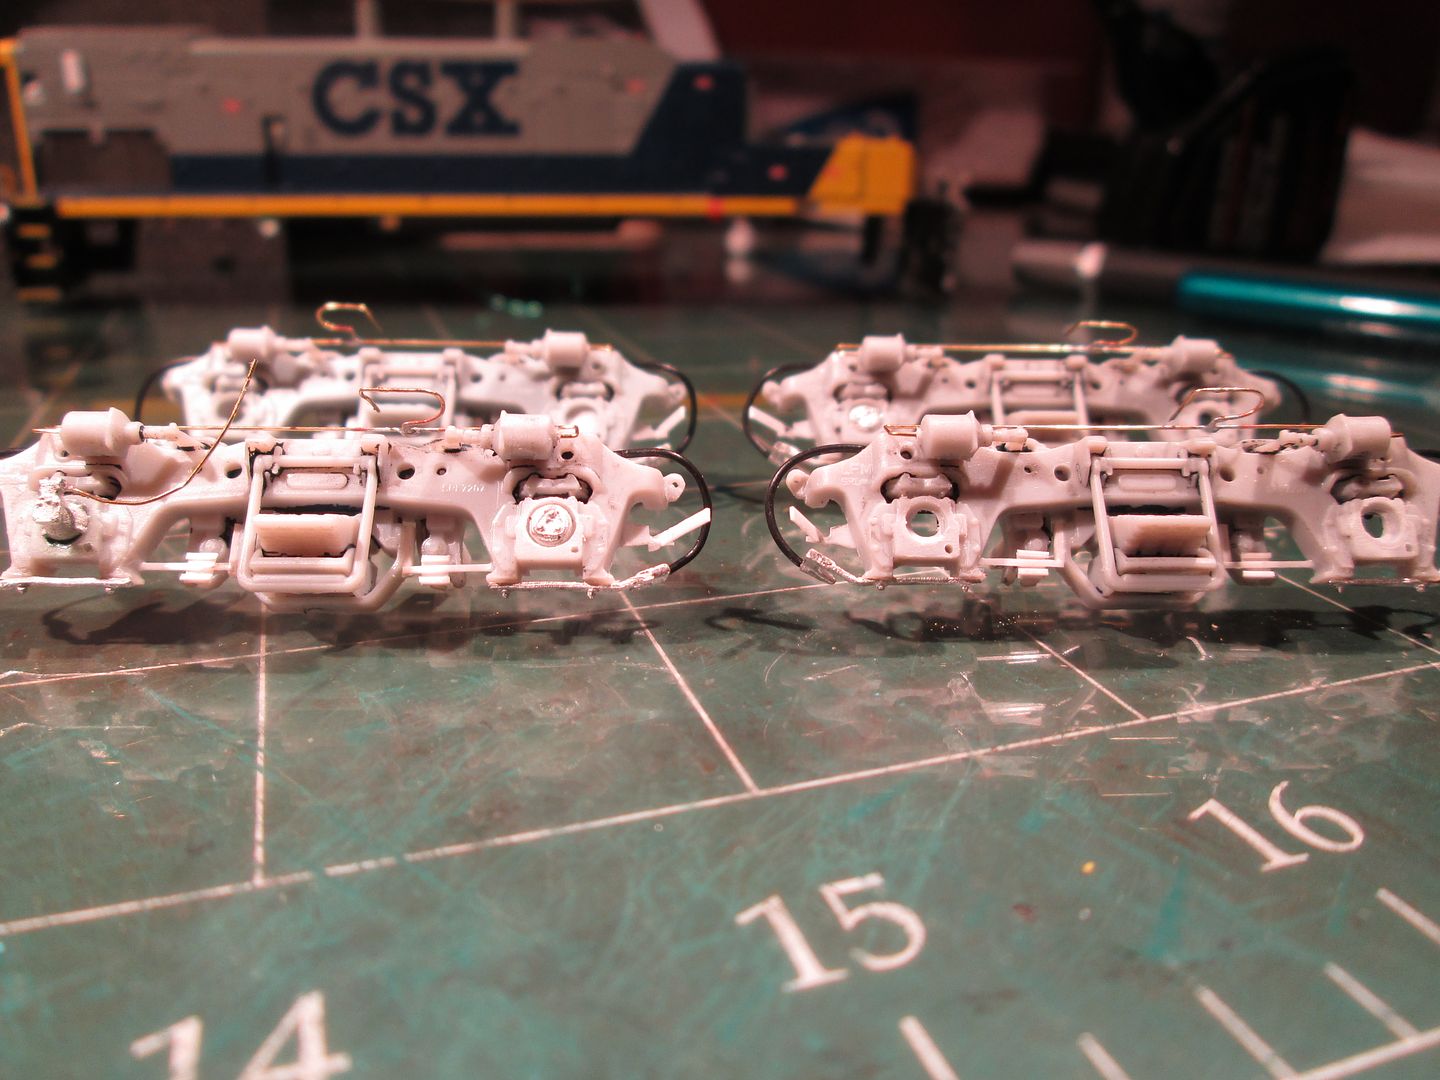 There are these little "hooks" (that on some engines they drape chain across) and two little curved brackets (that some sort of rod lays in) under the sill. Here I solder the bent brass "brackets" to a little piece of wire to mount them with. 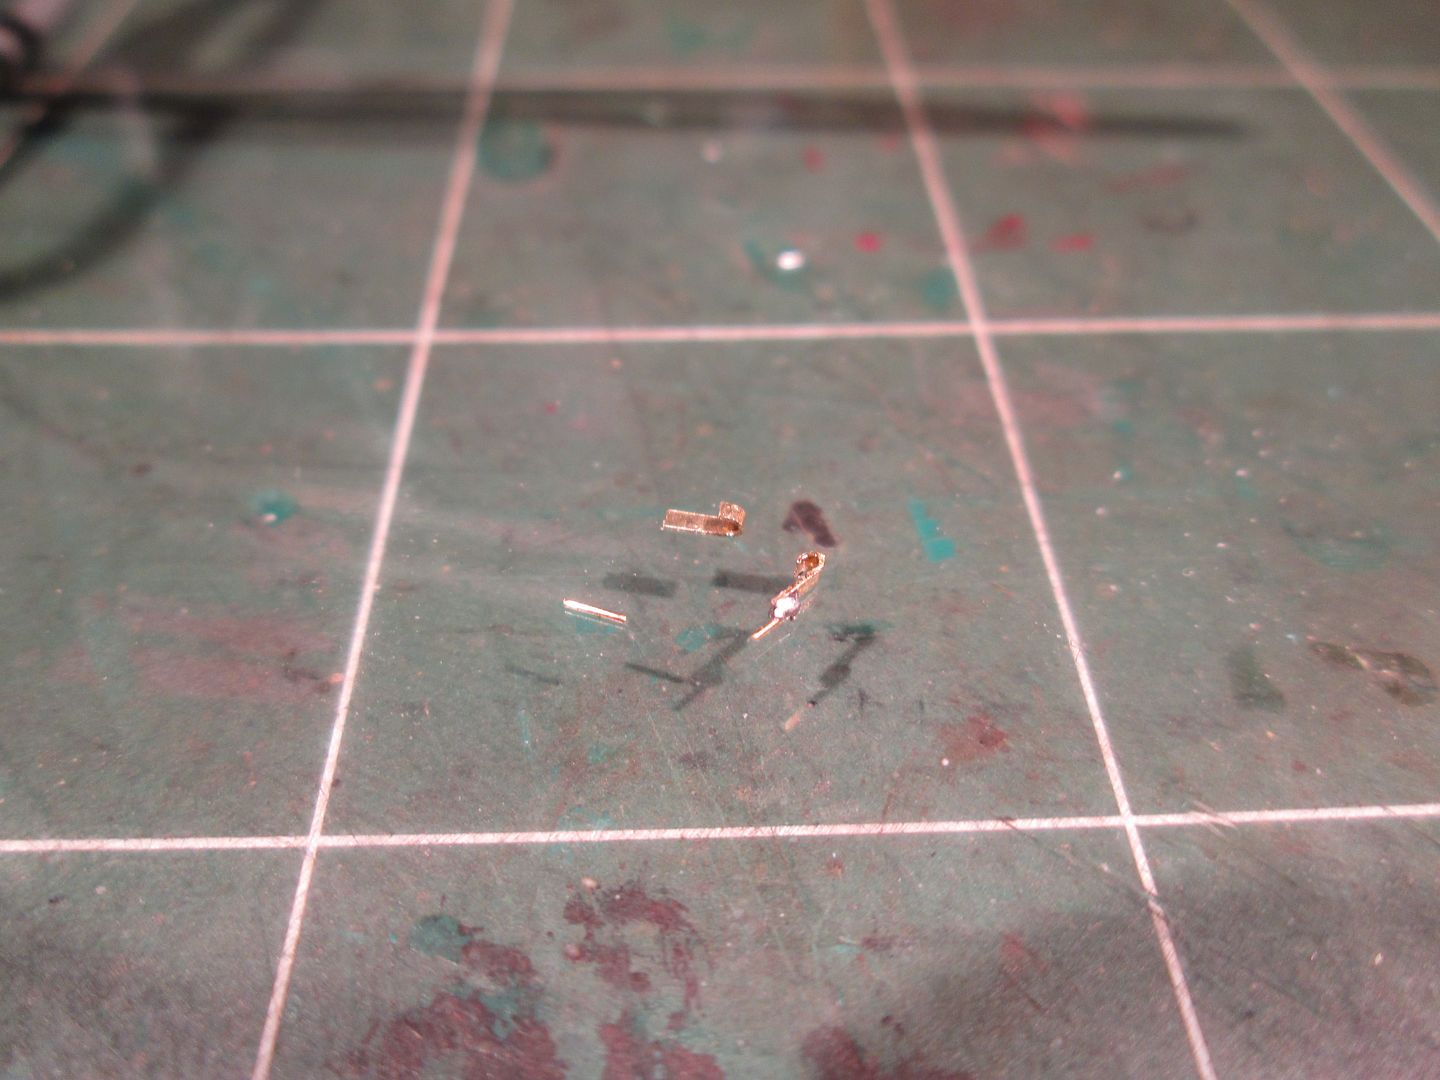 Here they (and the "hooks") are mounted. 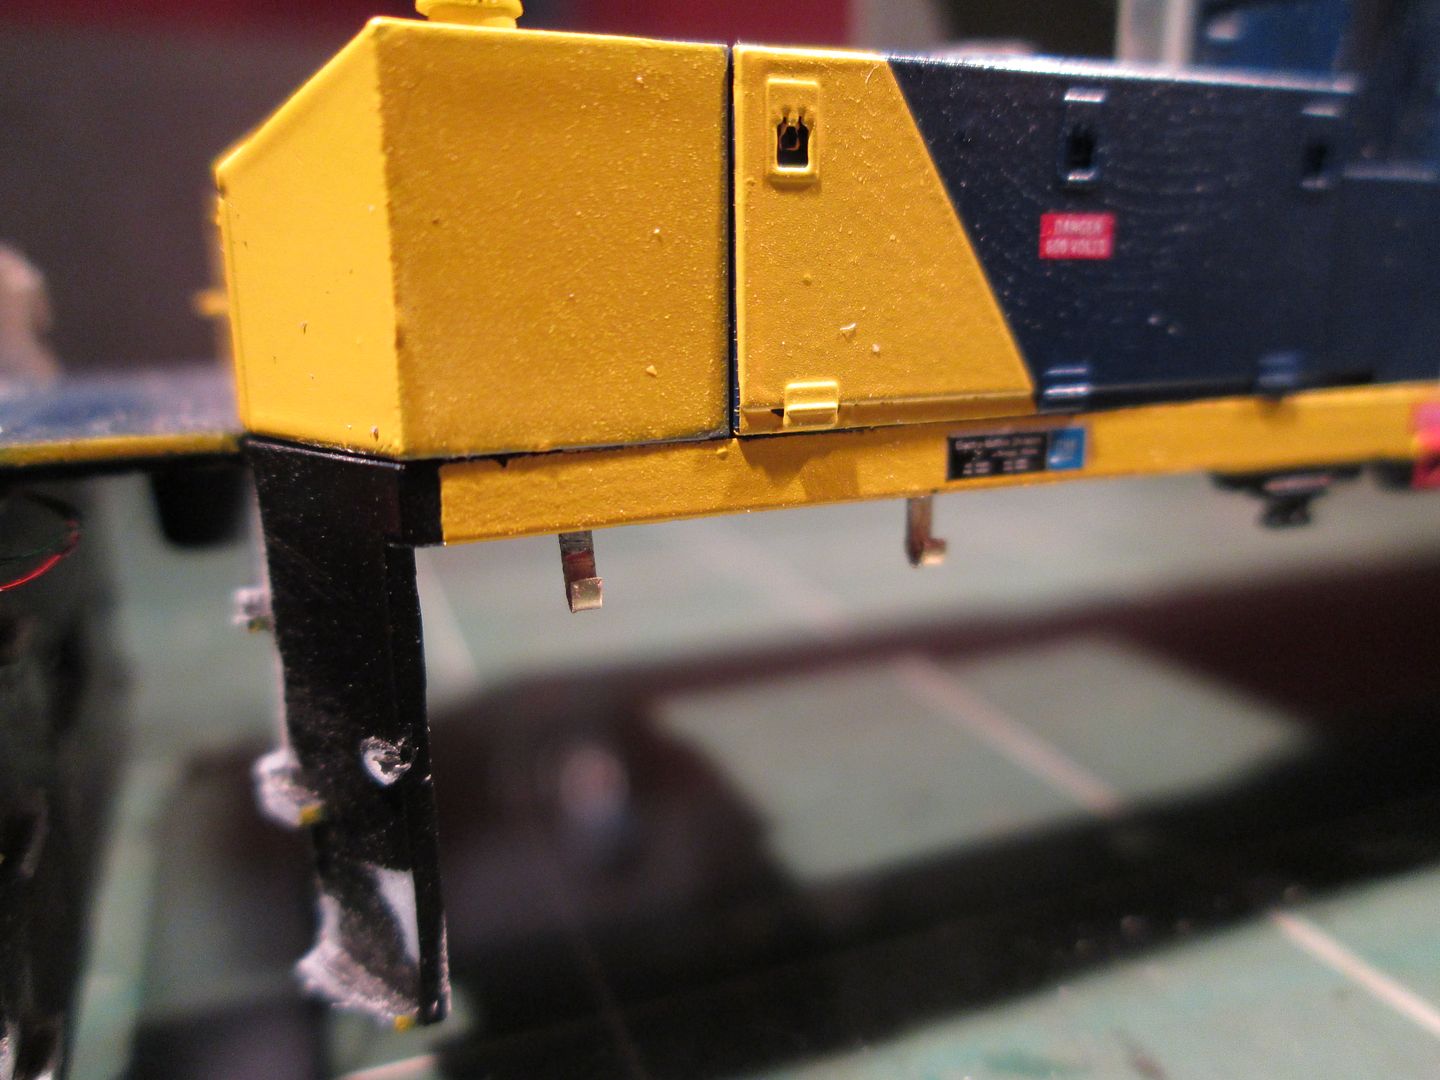 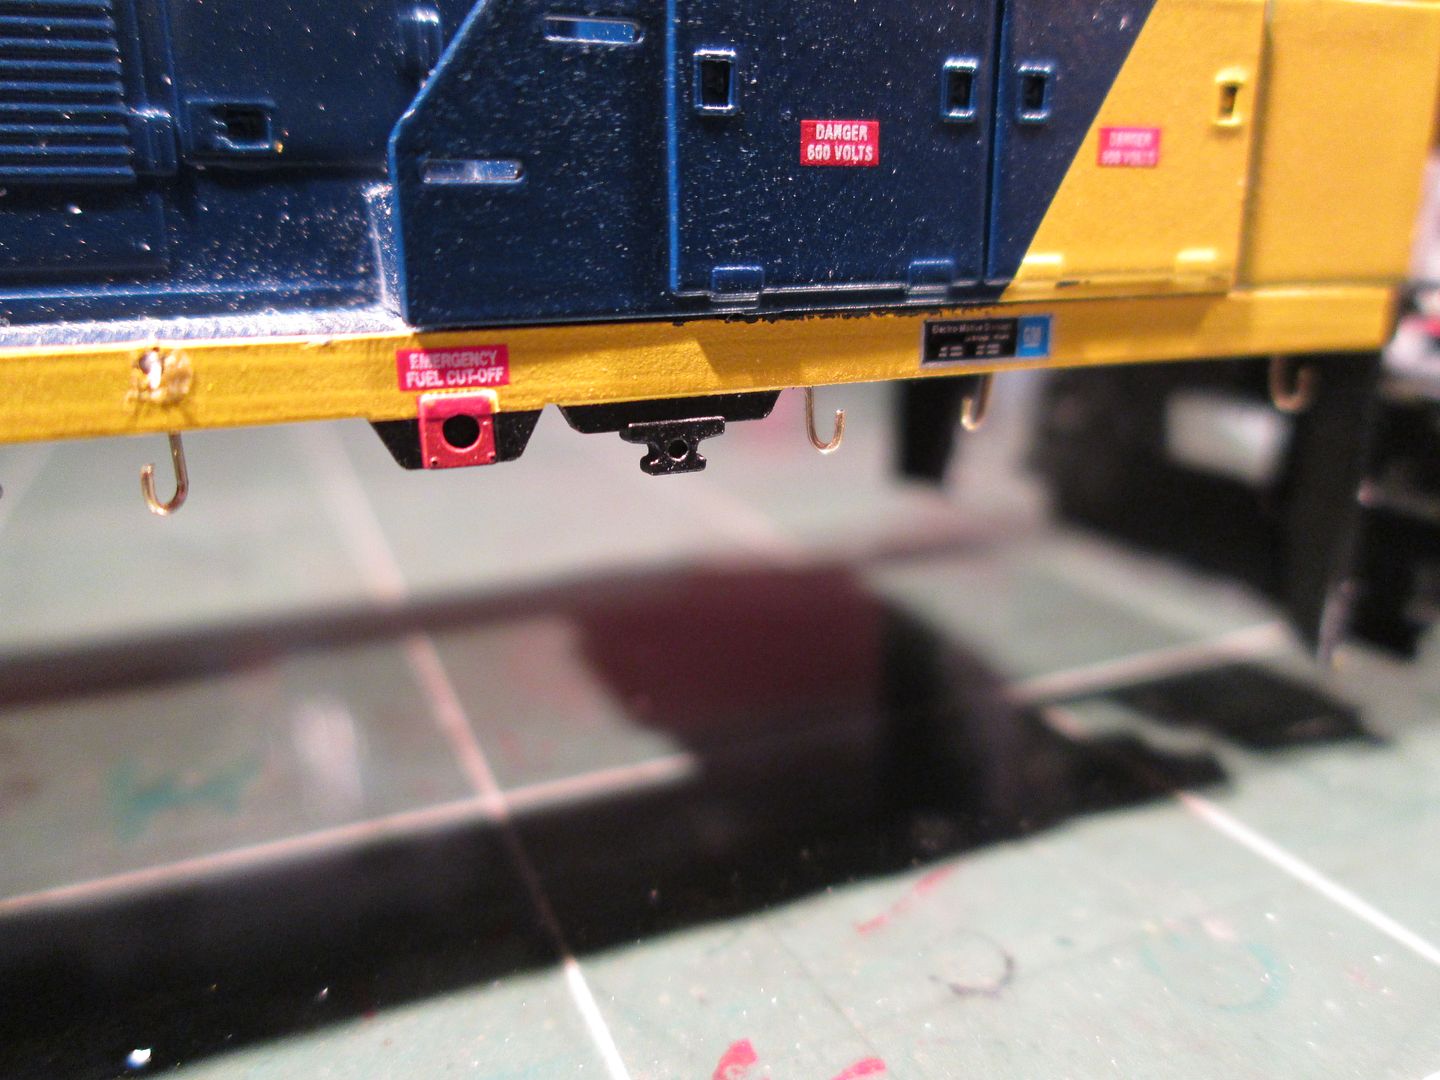 There is a small round antenna or GPS dome (I'm guessing) on top of the cab. Here I make it. The smaller round piece was glued onto the larger and a piece of wire inserted to replicate it. 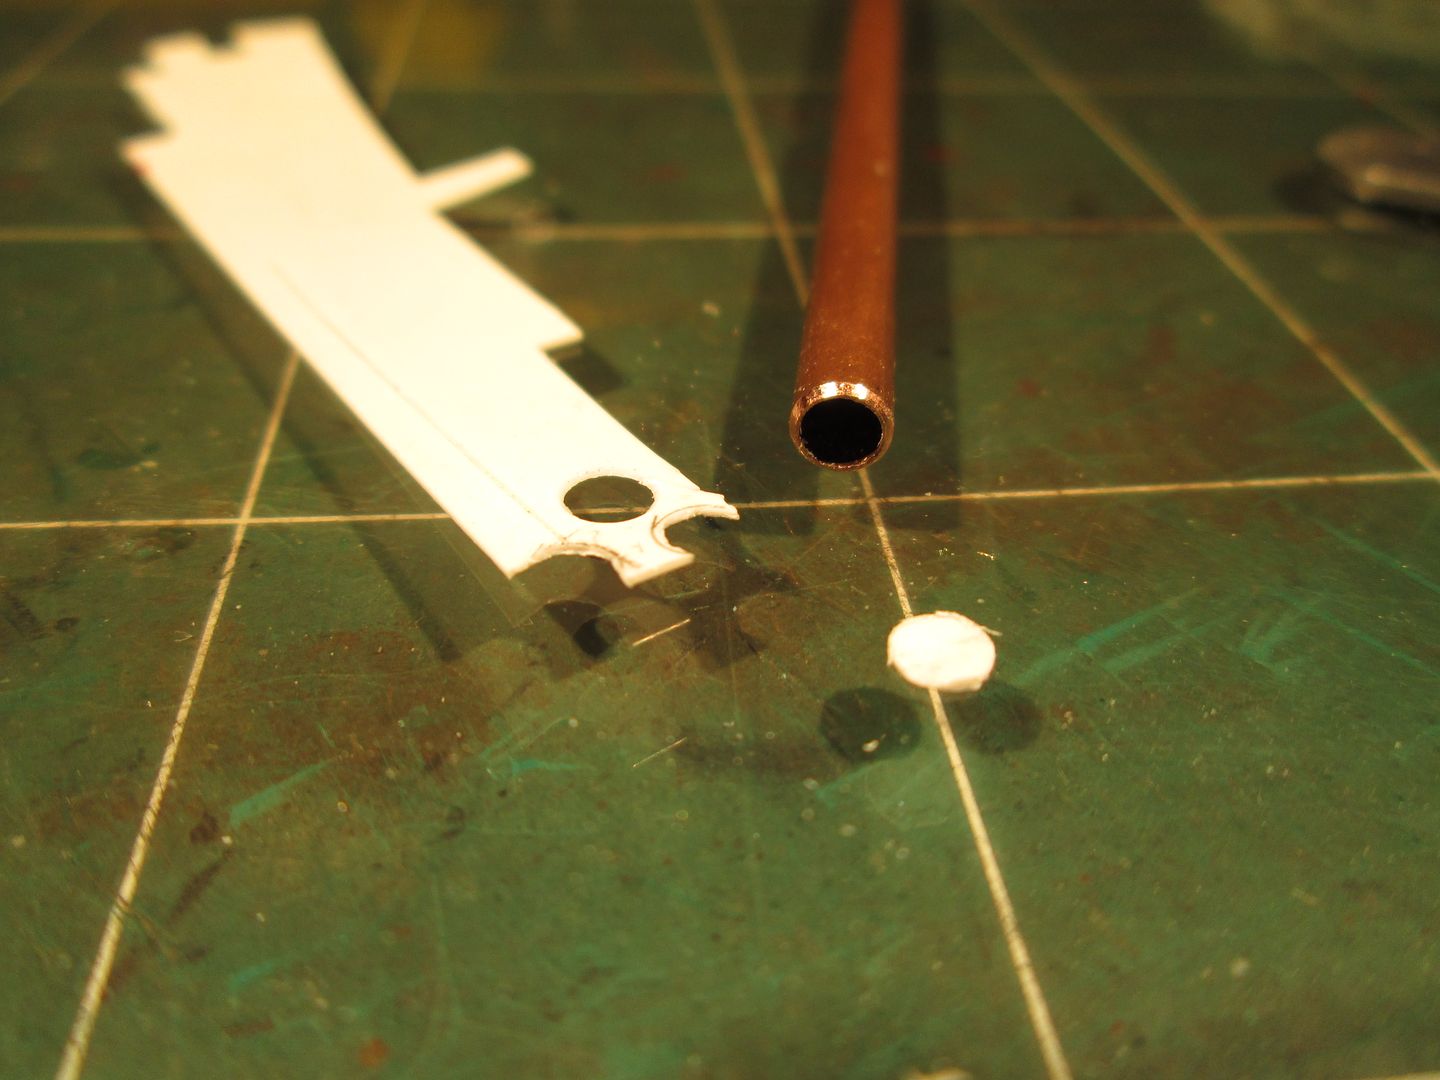 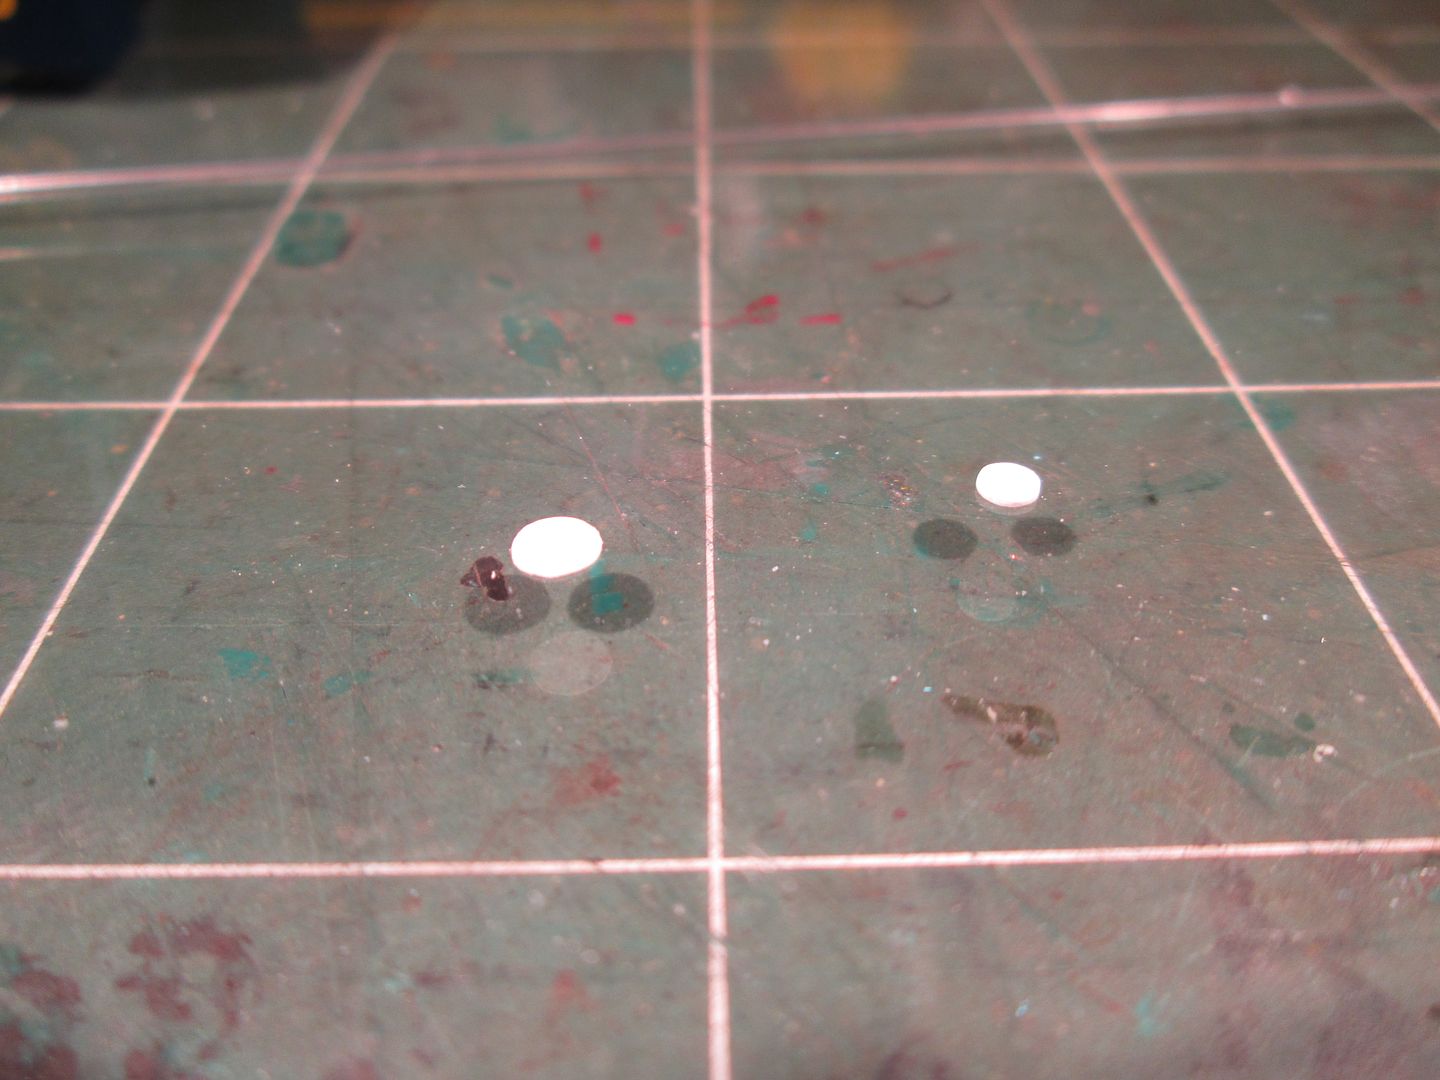 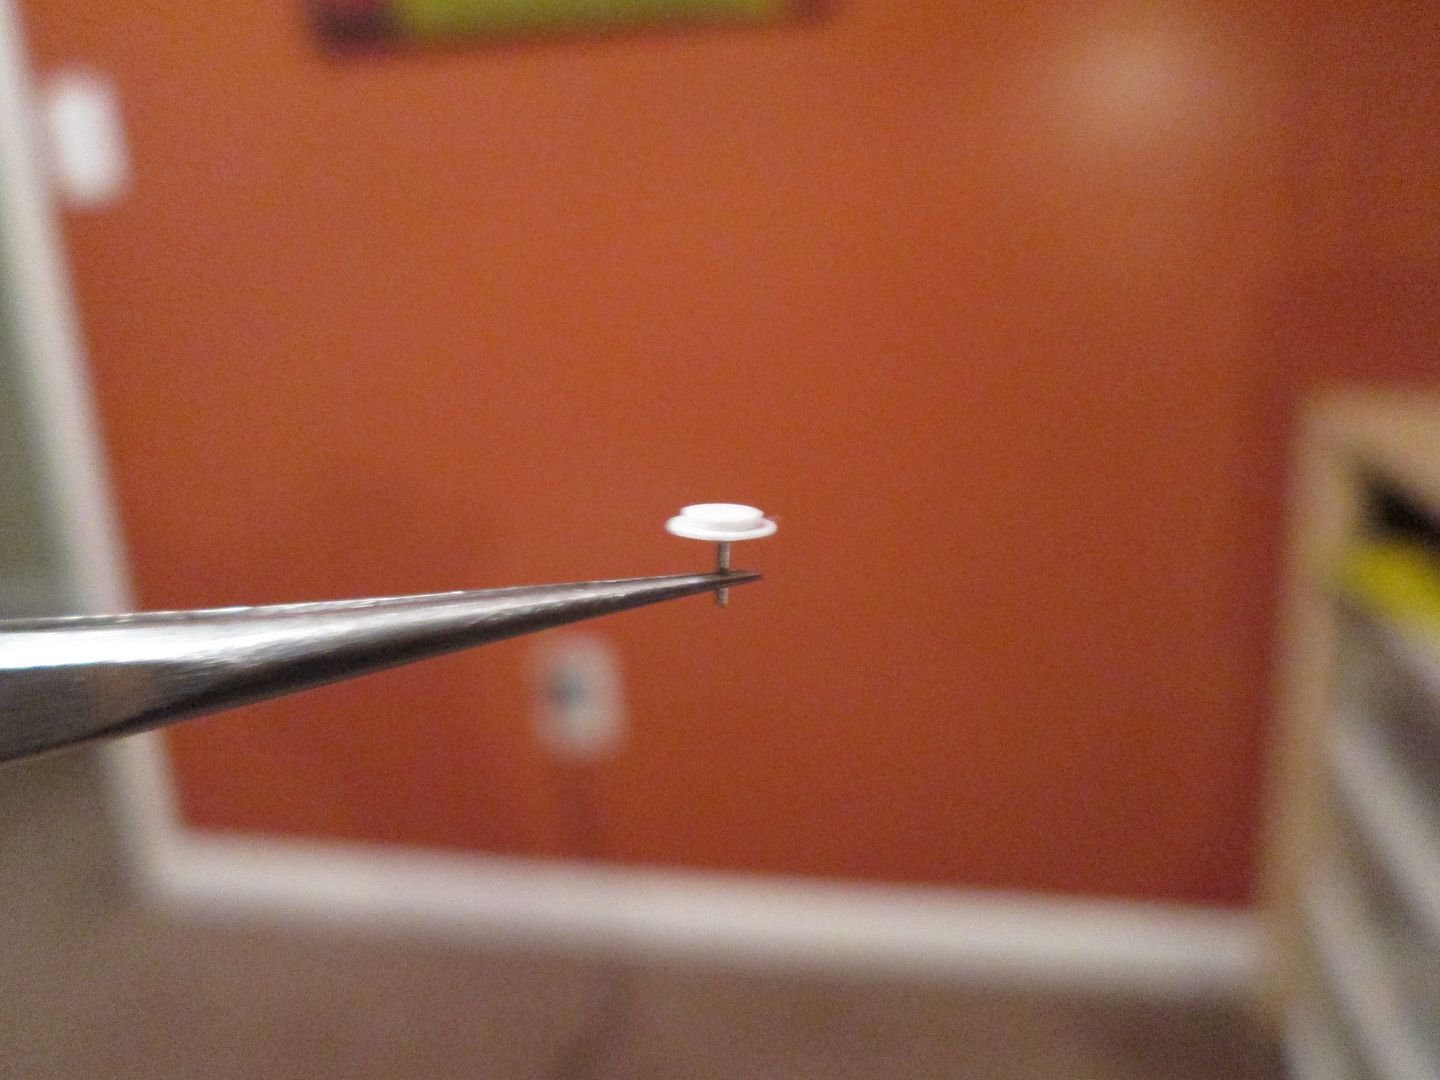 Here are a couple of pics showing the mounted ditch lights and MU cables. The MU cables were difficult. The connections were all the way on each side of the pilot and the MU cable/ends detail parts I had wouldn't stretch out far enough. I had to cut off the ends of the "cables", drill them out and glue in a piece of wire I bent to represent this. 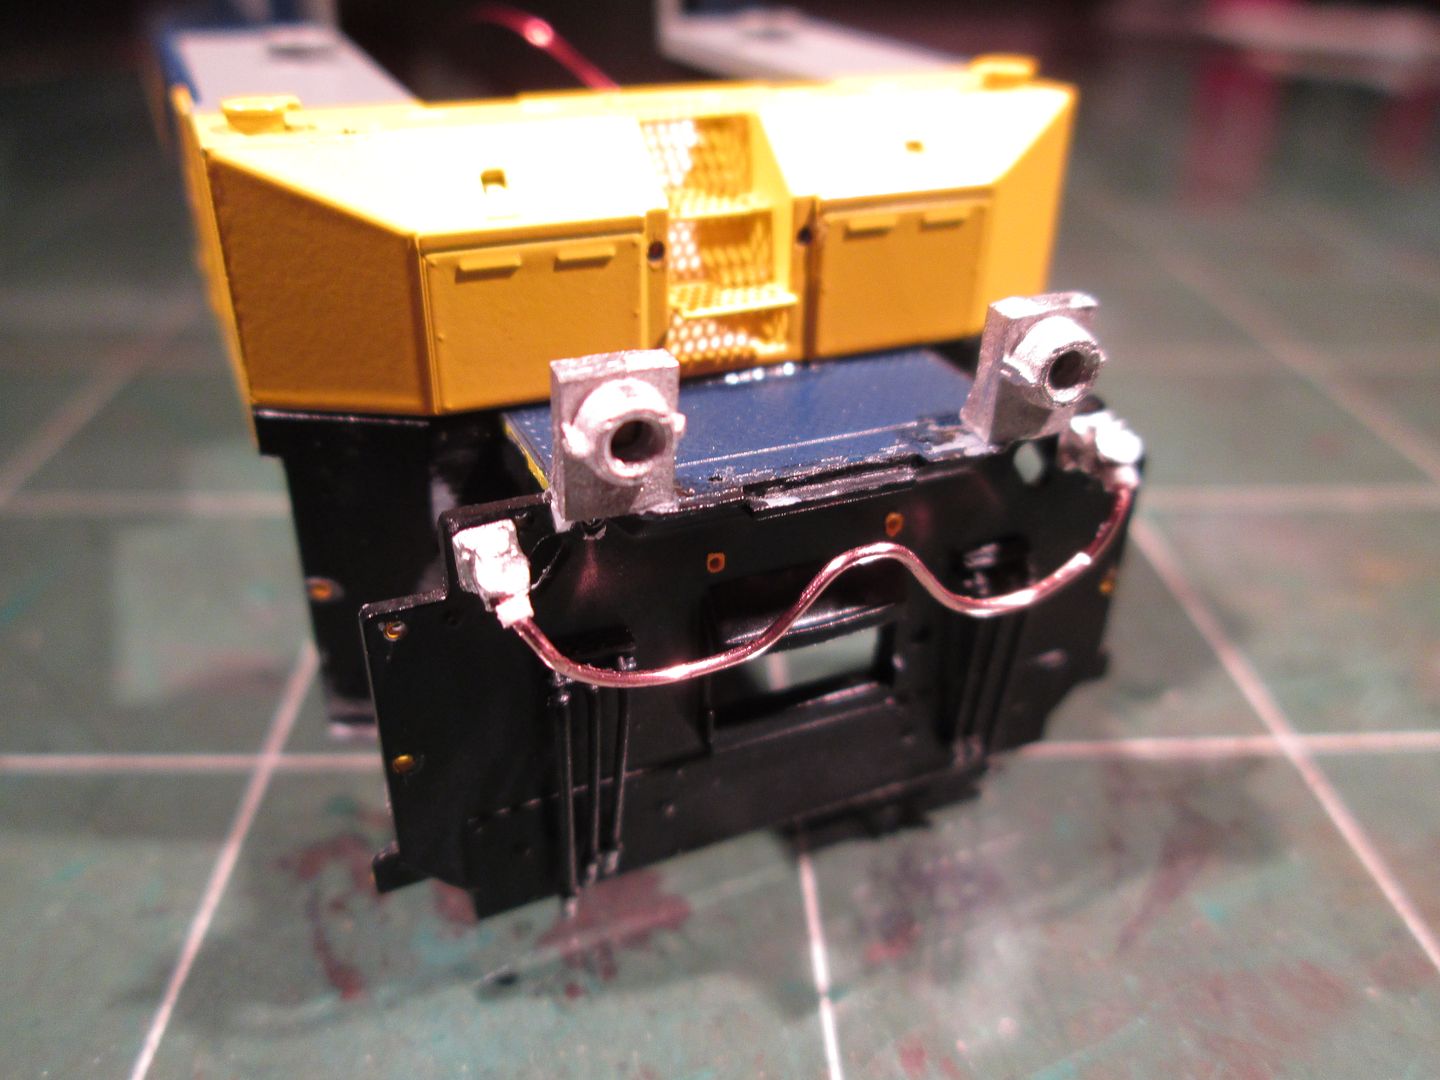 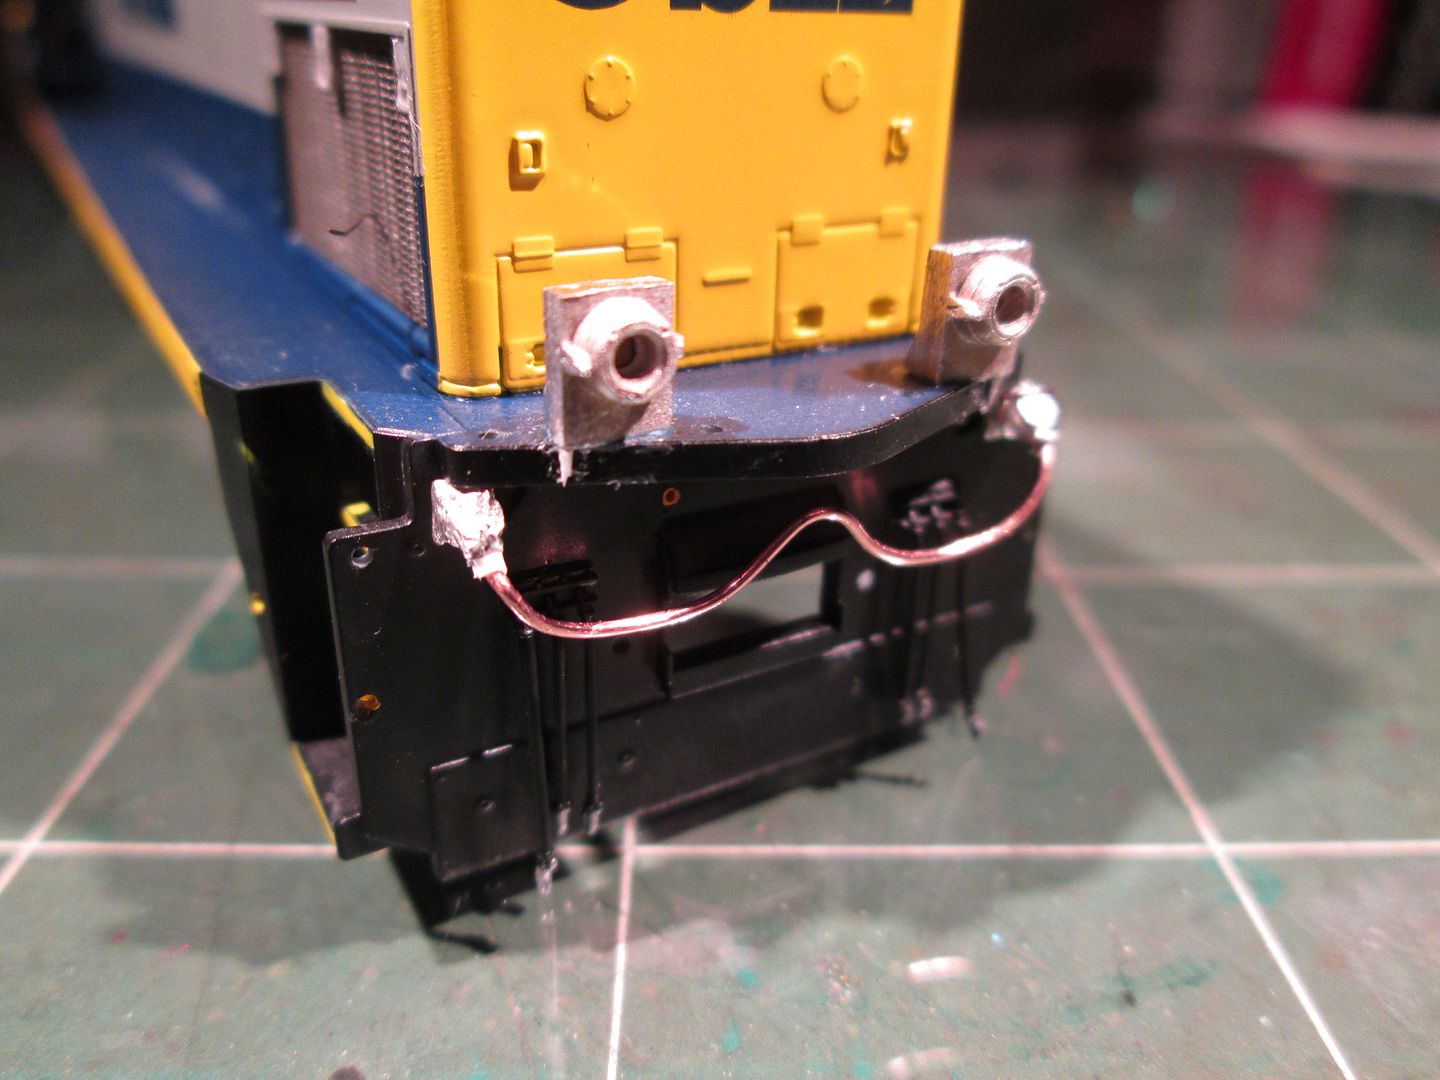 That's where I am at this point. On to making numberboards! |
|
|
|
Post by stevef45 on Jan 29, 2014 23:07:20 GMT -5
what ditch light housings are those?
|
|
|
|
Post by analogbeatmaker on Jan 30, 2014 0:59:21 GMT -5
what ditch light housings are those? Those are Details West DL-228's. |
|
|
|
Post by diesel on Feb 5, 2014 11:37:13 GMT -5
wow, this is a very in depth look at this unit! It's nice to see the attention to details and good execution on the model.
|
|
|
|
Post by analogbeatmaker on Feb 12, 2014 18:33:02 GMT -5
wow, this is a very in depth look at this unit! It's nice to see the attention to details and good execution on the model. Thanks diesel! I have to say though, I totally botched the numberboards. I think they'll look ok from a distance but up close they're a horror show. |
|
|
|
Post by analogbeatmaker on Feb 19, 2014 0:51:47 GMT -5
A bit more progress... I finally finished the trucks! 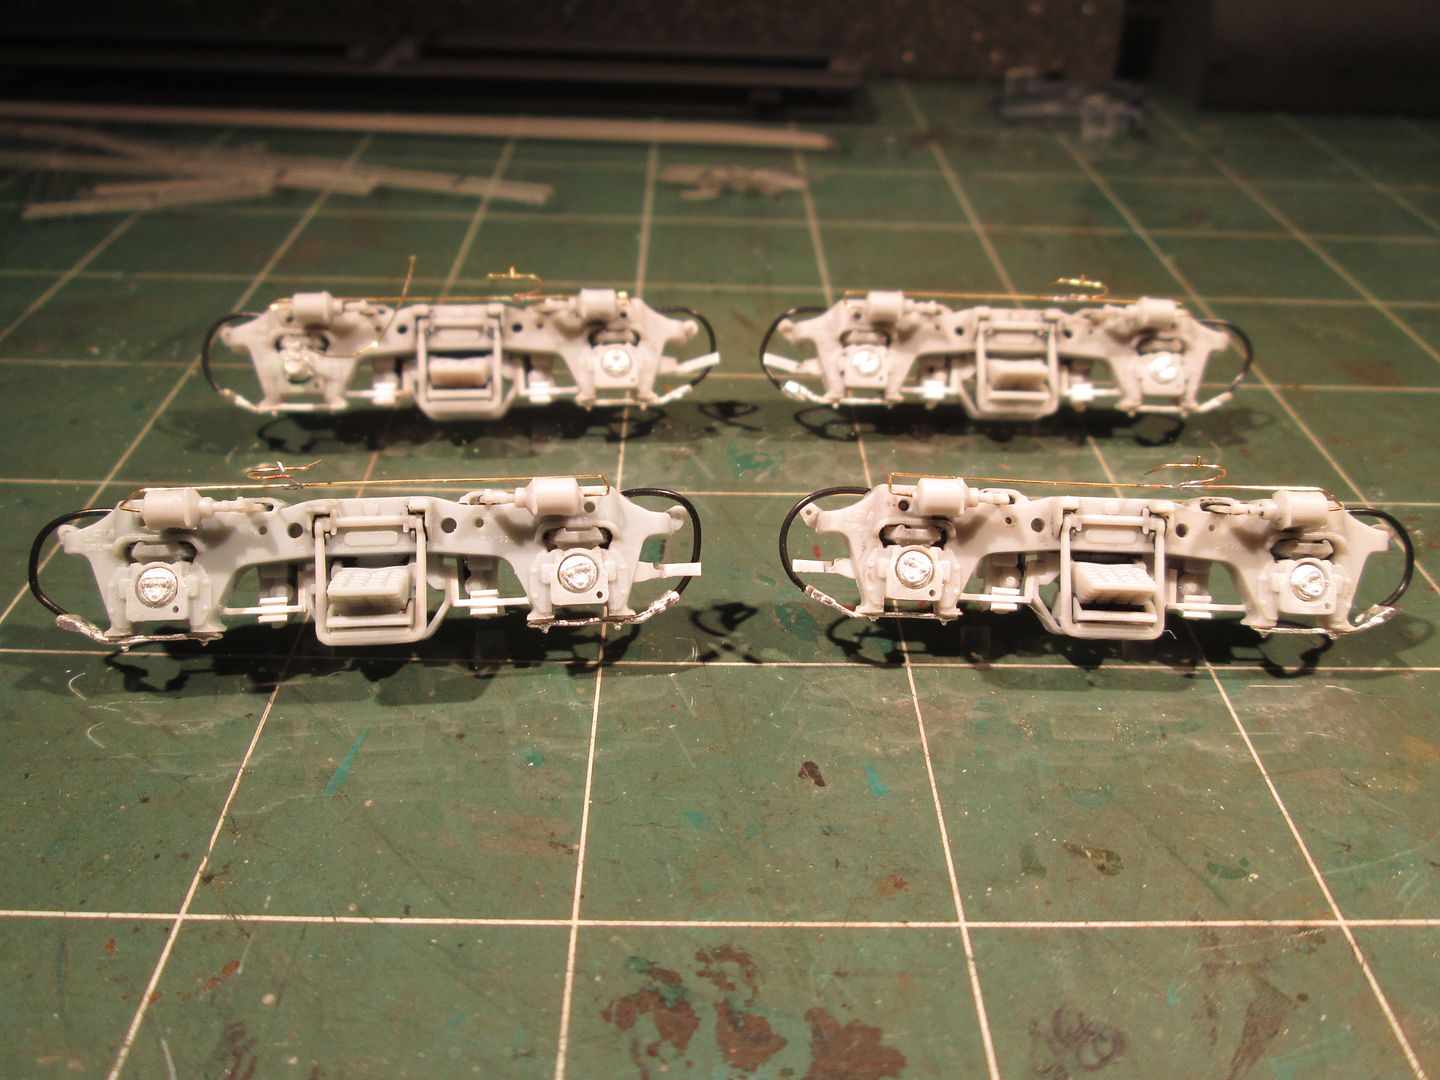 Primered! 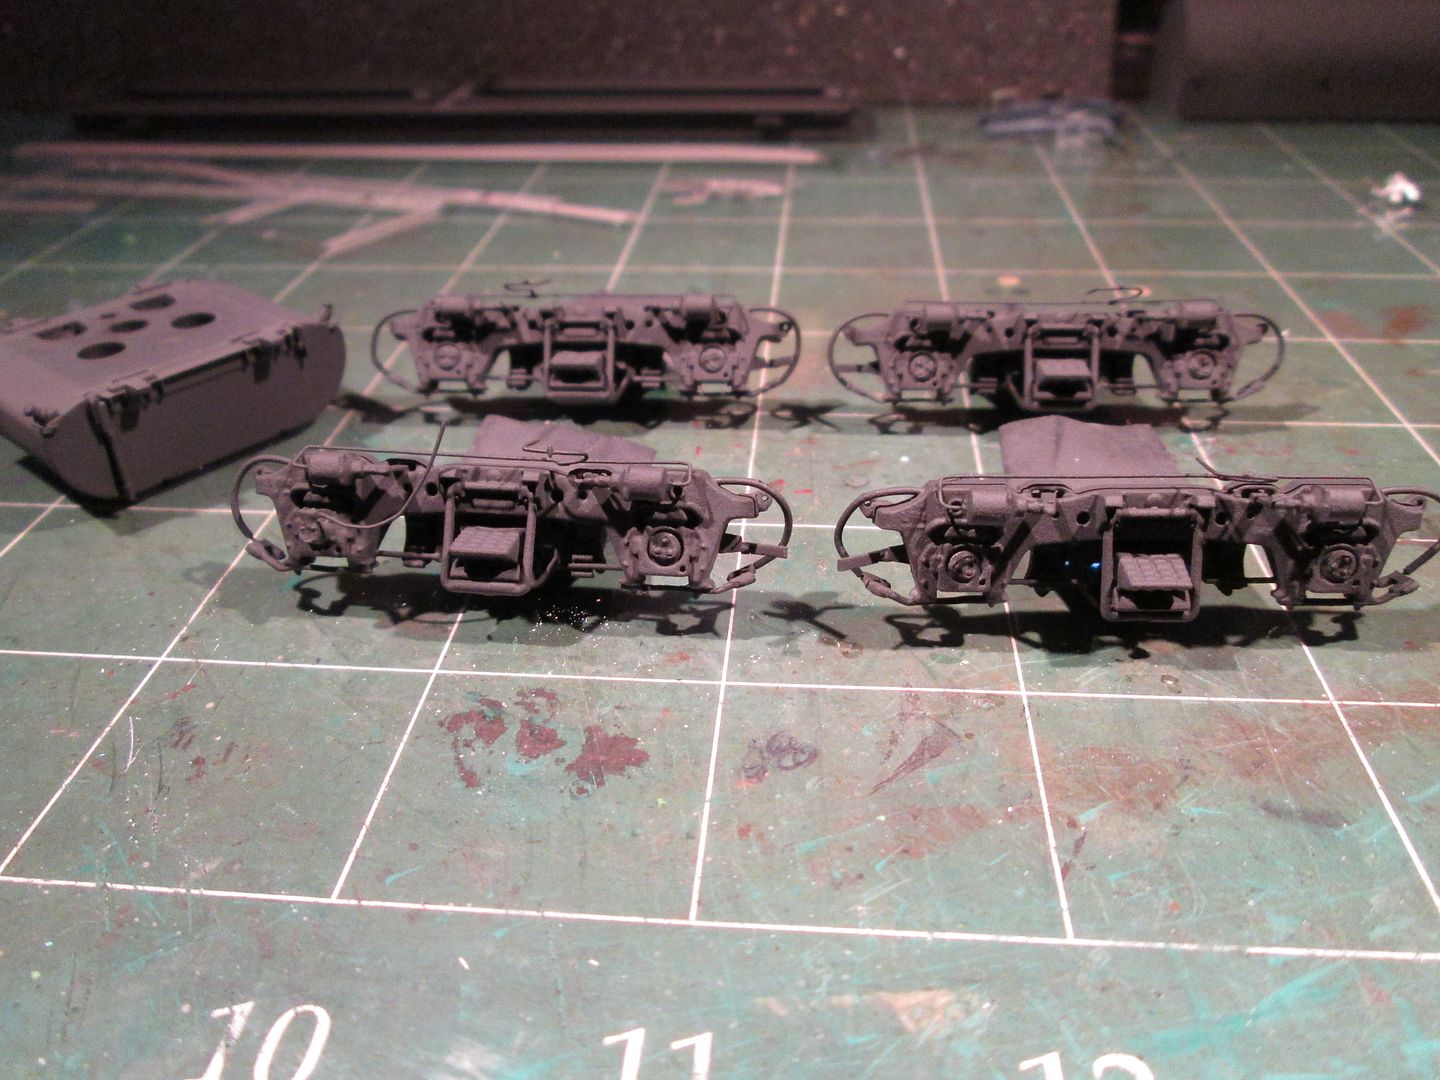 New photo etched steps. 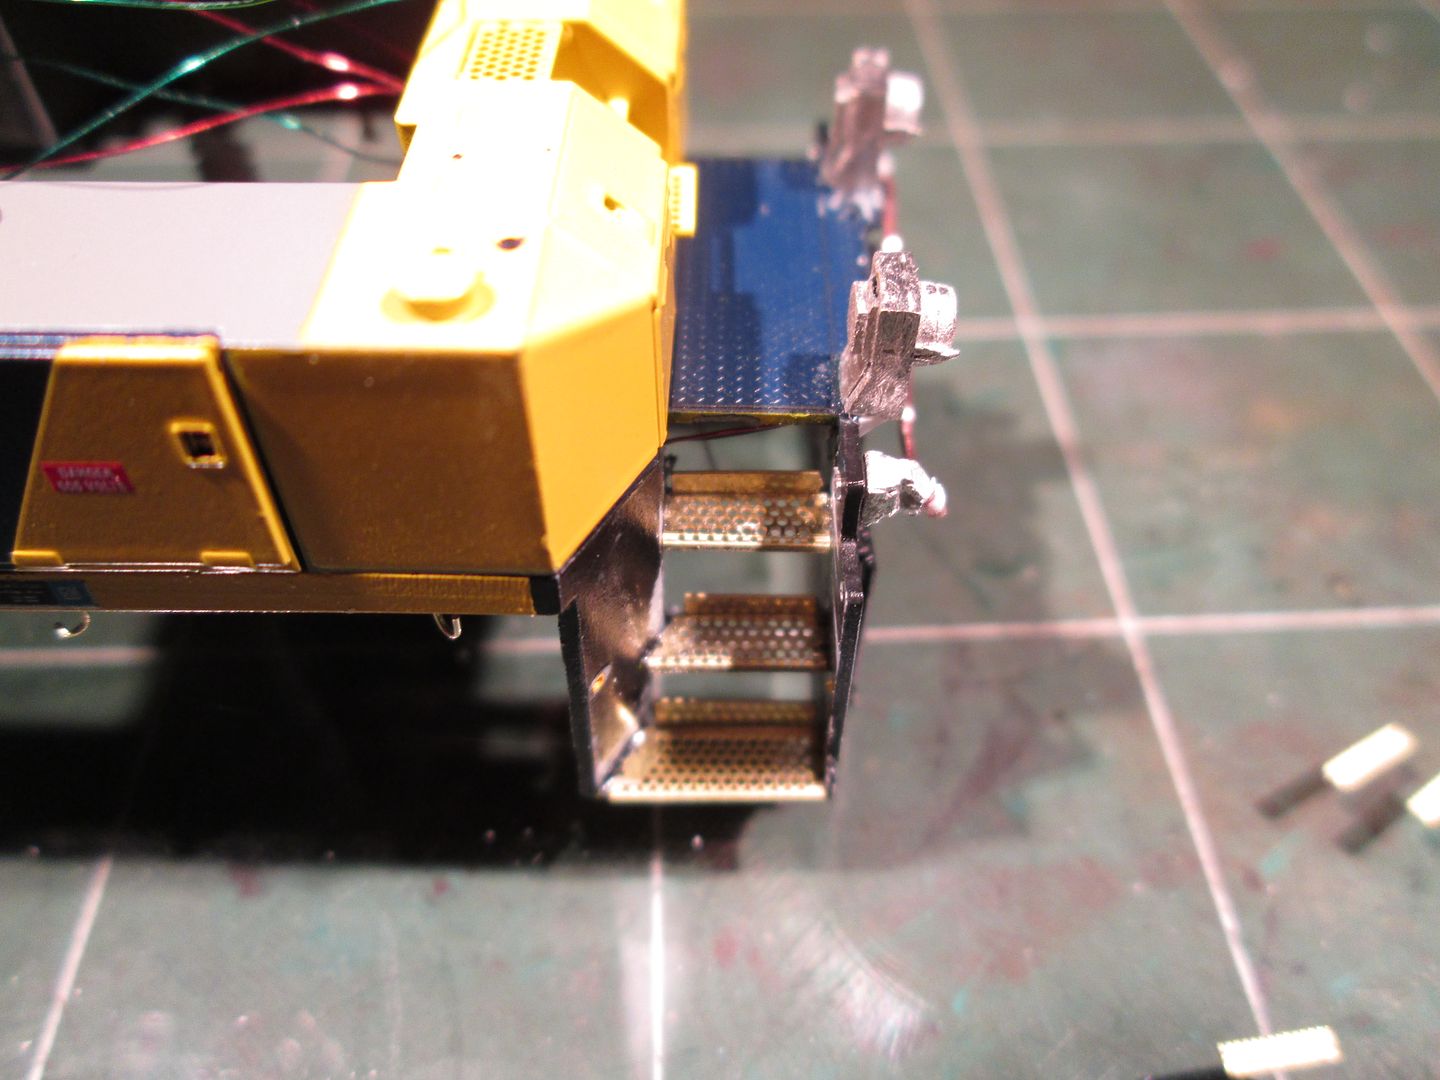 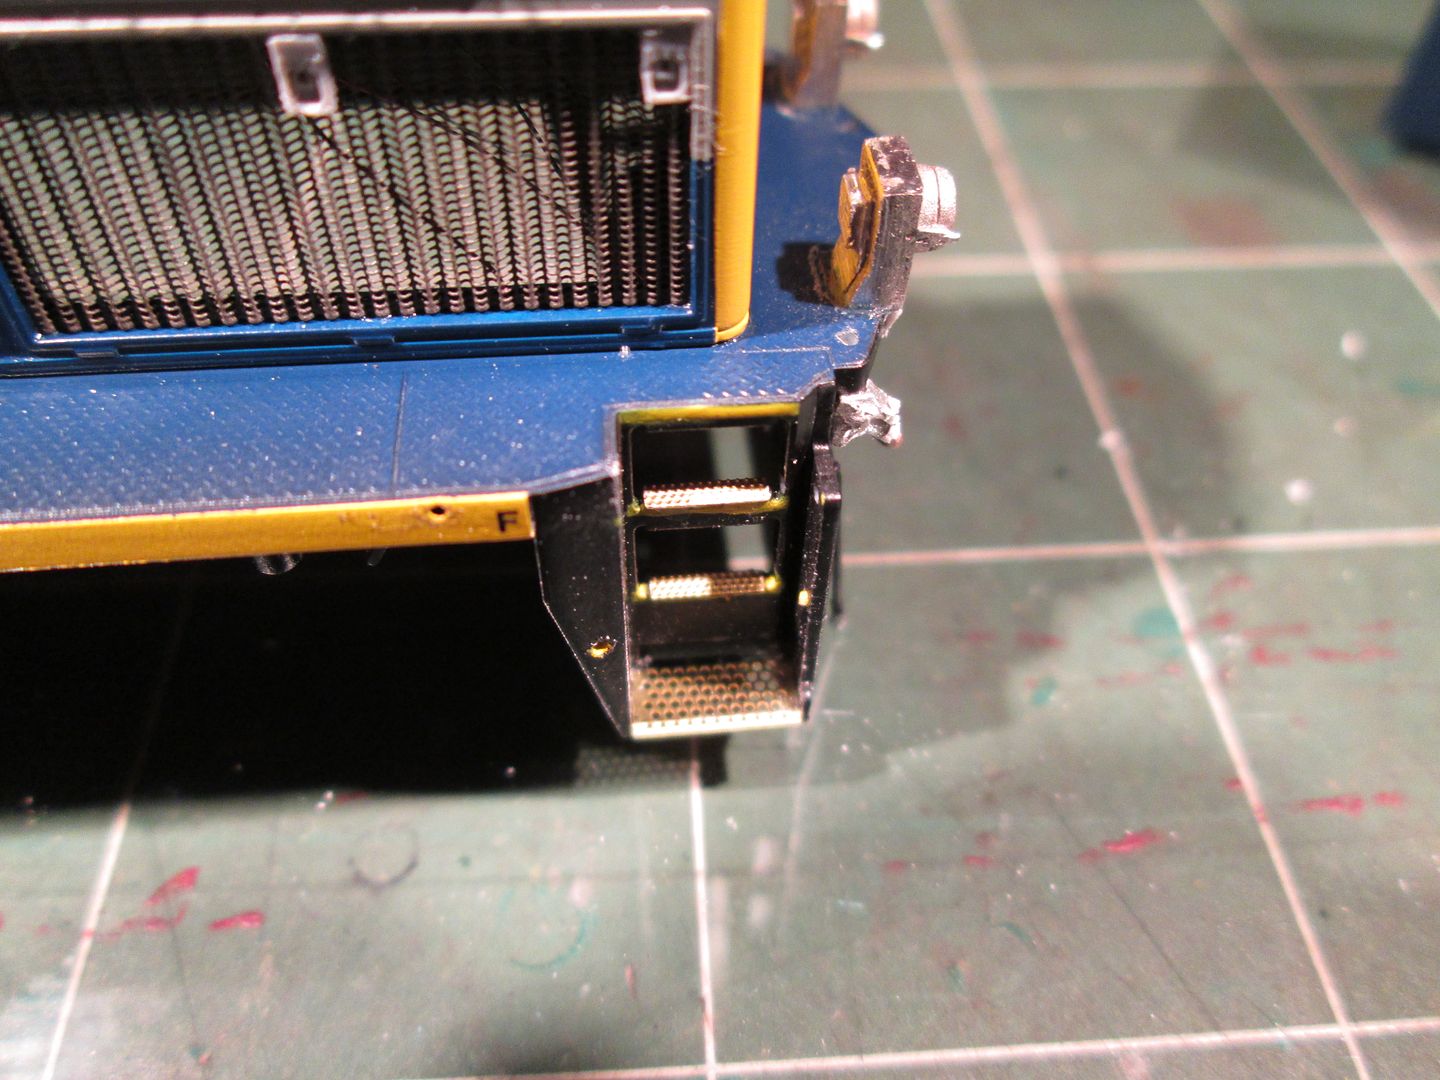 The failed numberboard experiment. I'm embarassed to post a pic of them but I figured I'll show my boogers too. The milky white you see in the head/tail light holes and behind the clear numberboard "glass" is the still wet Micro Krystal Klear. I was able to clean up the numberboard surrounds a little with paint but they still look horrendous. lol 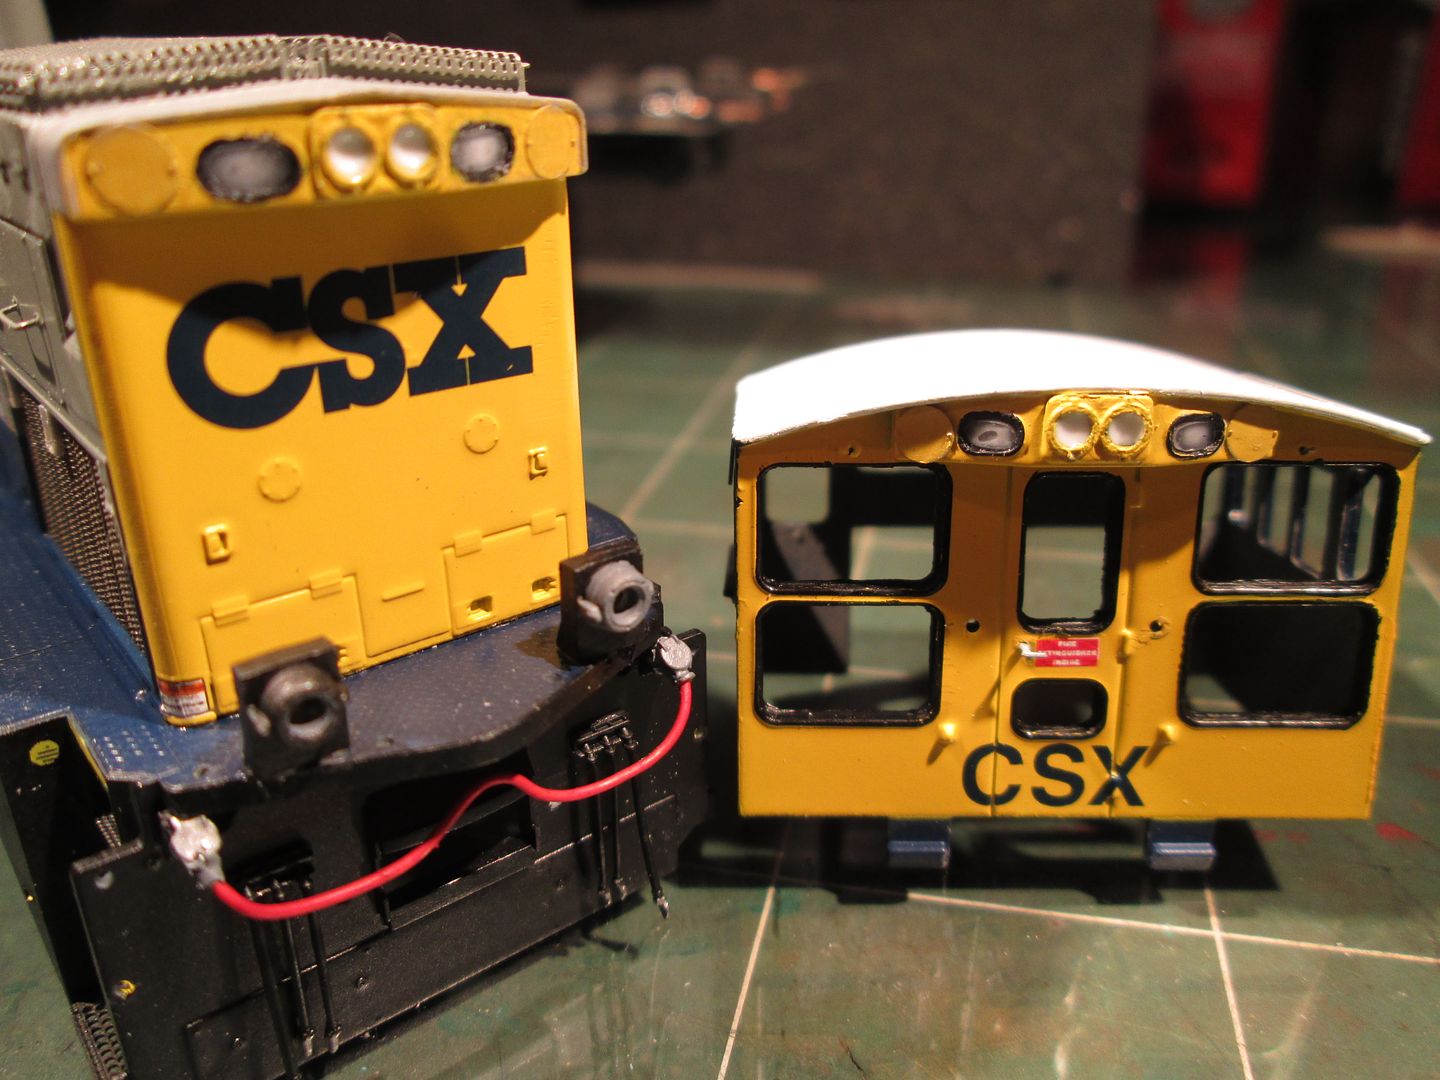 More than likely the next pics will be of the finished model. Thank for looking! |
|
|
|
Post by tamaman on Feb 19, 2014 10:27:58 GMT -5
Nice work Nick!
|
|
|
|
Post by analogbeatmaker on Feb 19, 2014 12:34:38 GMT -5
|
|
|
|
Post by slowfreight on Feb 19, 2014 14:08:20 GMT -5
It's not done until it's weathered!
The work on this is first-rate. I'd encourage you to weather the subassemblies before you put it together, as it worked really well for me when I weathered my Atlas MP15 to disassemble it first.
|
|
|
|
Post by analogbeatmaker on Feb 19, 2014 14:17:54 GMT -5
It's not done until it's weathered! The work on this is first-rate. I'd encourage you to weather the subassemblies before you put it together, as it worked really well for me when I weathered my Atlas MP15 to disassemble it first. You are correct good sir and it will be beaten down when finished. Take a look at the proto pics at the top of the thread...that's what I'm shooting for. As I did on my other engines some of this will be weathered while apart and some will be done once assembled. Thanks for the good words slowfreight! |
|
|
|
Post by analogbeatmaker on Jun 7, 2014 15:54:37 GMT -5
|
|
|
|
Post by antlorch on Jun 7, 2014 16:27:48 GMT -5
OK here is my take on your build.
The detailing is awesome. The trucks are a work of art along with all the details that where scratch built. The details help bring a added realism to the overall finish.
The paint does not look bad at all, the photos do not show really any paint that is to thick. It is amazing how much a good weathering job will cover up mistakes on paint.
Now the weathering is super. The overall fade is nice, the blue almost matches exactly and you probably couldn't have been much closer. The rust effects are right on. Overall this is an excellent model.
A couple things that I see that might need a little attention are with the weathering. First I think the doors on the hood need a little wash around them. Looks to me they stand out more on the prototype than on the model. The only other thing would be the rust on the top of the long hood. The prototype looks to have a little more than what you have. Though don't get me wrong, even if you don't do any changes it is still a work of art. Thanks for sharing this build with us.
|
|
|
|
Post by analogbeatmaker on Jun 7, 2014 22:20:35 GMT -5
OK here is my take on your build. The detailing is awesome. The trucks are a work of art along with all the details that where scratch built. The details help bring a added realism to the overall finish. The paint does not look bad at all, the photos do not show really any paint that is to thick. It is amazing how much a good weathering job will cover up mistakes on paint. Now the weathering is super. The overall fade is nice, the blue almost matches exactly and you probably couldn't have been much closer. The rust effects are right on. Overall this is an excellent model. A couple things that I see that might need a little attention are with the weathering. First I think the doors on the hood need a little wash around them. Looks to me they stand out more on the prototype than on the model. The only other thing would be the rust on the top of the long hood. The prototype looks to have a little more than what you have. Though don't get me wrong, even if you don't do any changes it is still a work of art. Thanks for sharing this build with us. Thank you Anthony for dropping some good constructive criticism and big props on this mini beast! Just to respond to the wash comment, I actually did a pin wash around all of the doors and knuckle-busters. However, I can definitely agree it could've been darker. I have to also say that due to not having a close-up pic of the roof that was a real difficult area to cop. I made several major mistakes on this model and it turned into a "just get it done to move on" model. However, in the end, it turned out overall better than I thought it would and I learned a lot which is great. |
|
|
|
Post by jakeloyst on Jun 8, 2014 19:16:55 GMT -5
Unit looks great!
|
|
|
|
Post by enginseer on Jun 8, 2014 21:50:36 GMT -5
Really nice work.
|
|