c415rock
Moderator
"Linking the East with the West"
Posts: 1,044
|
Post by c415rock on Aug 10, 2013 5:01:53 GMT -5
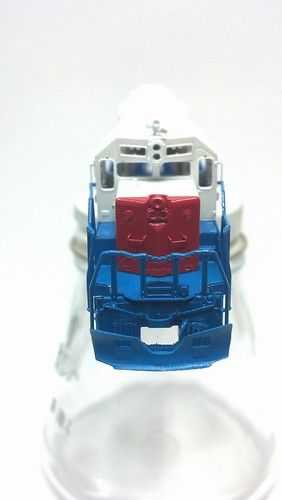
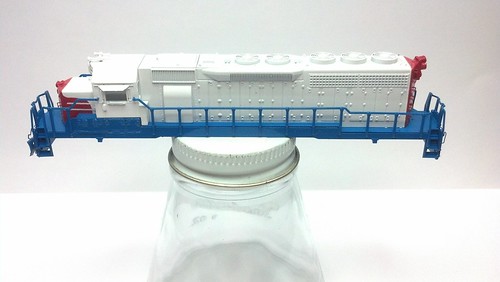
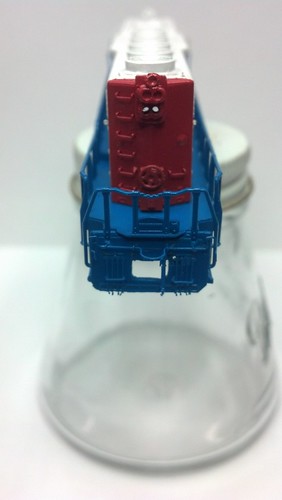
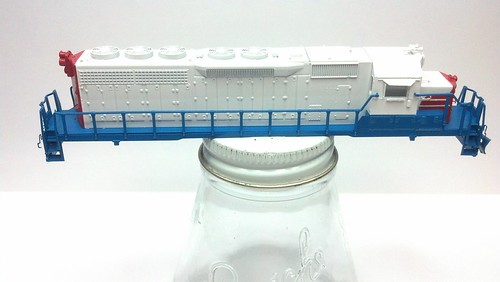
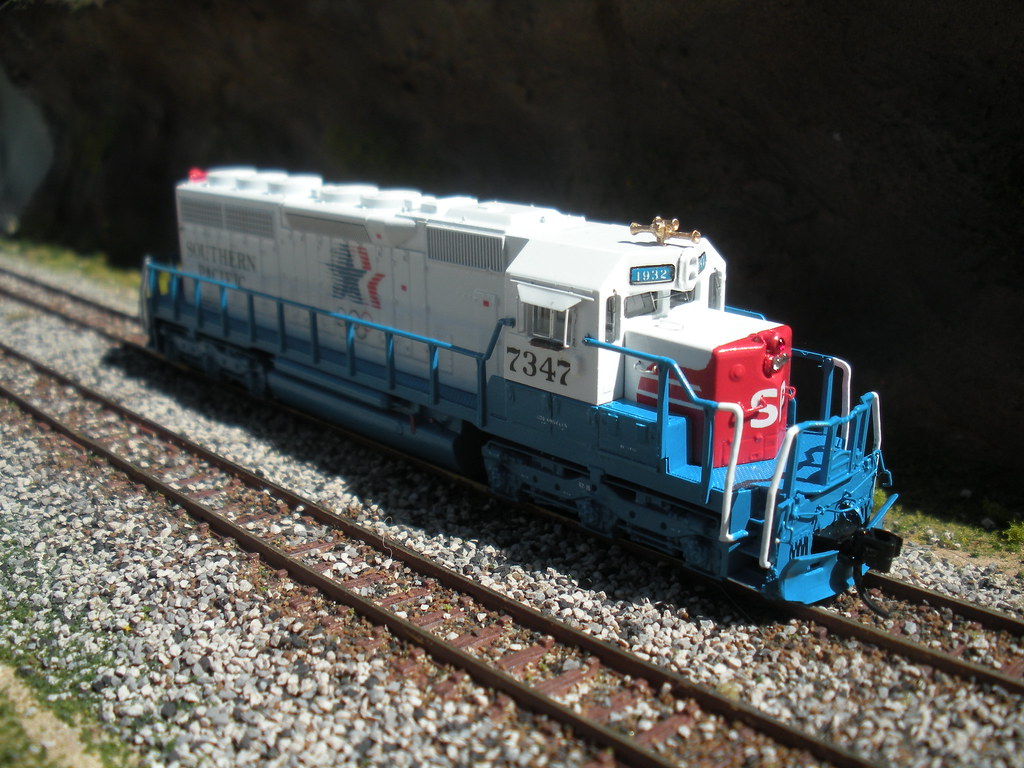
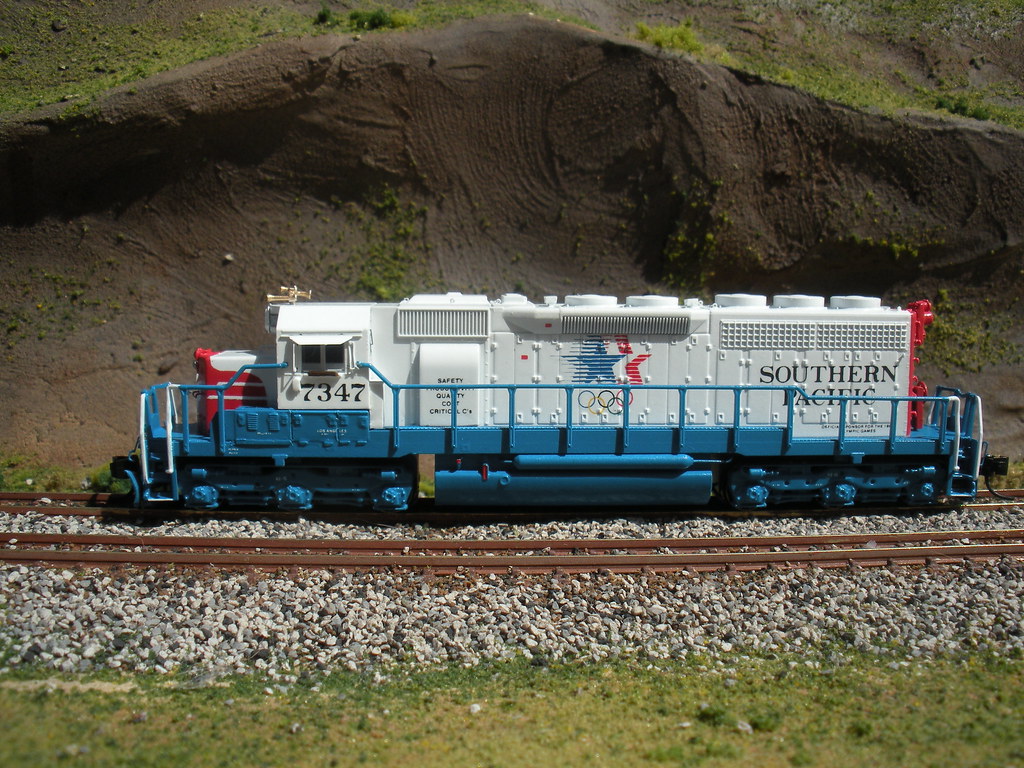
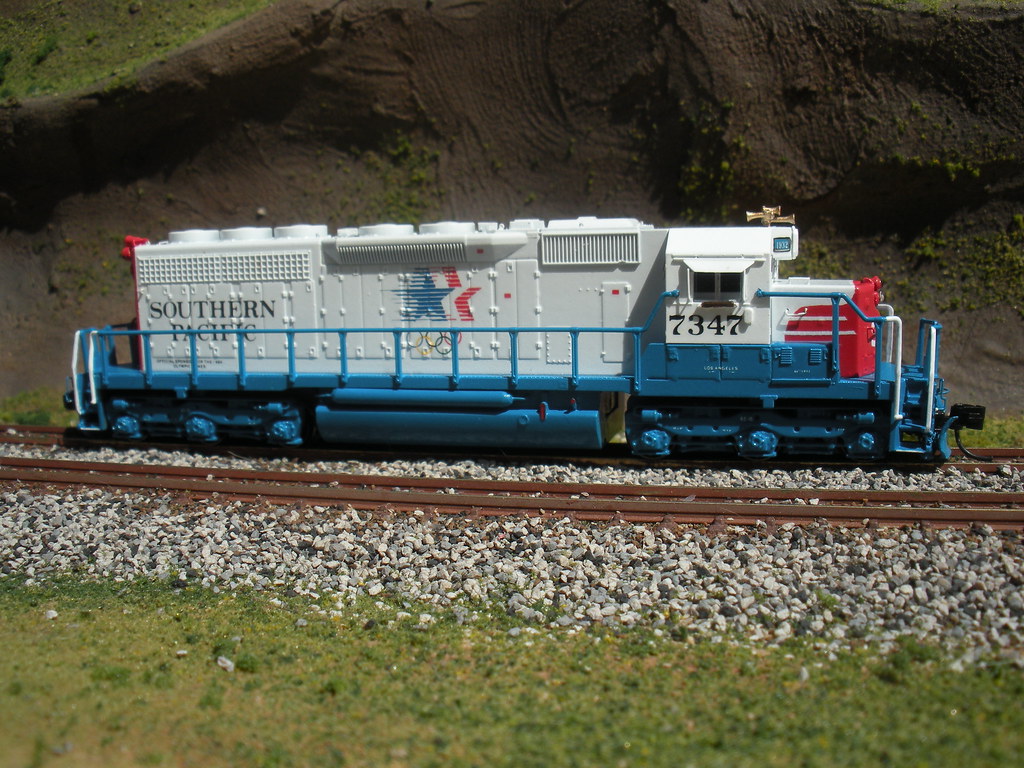
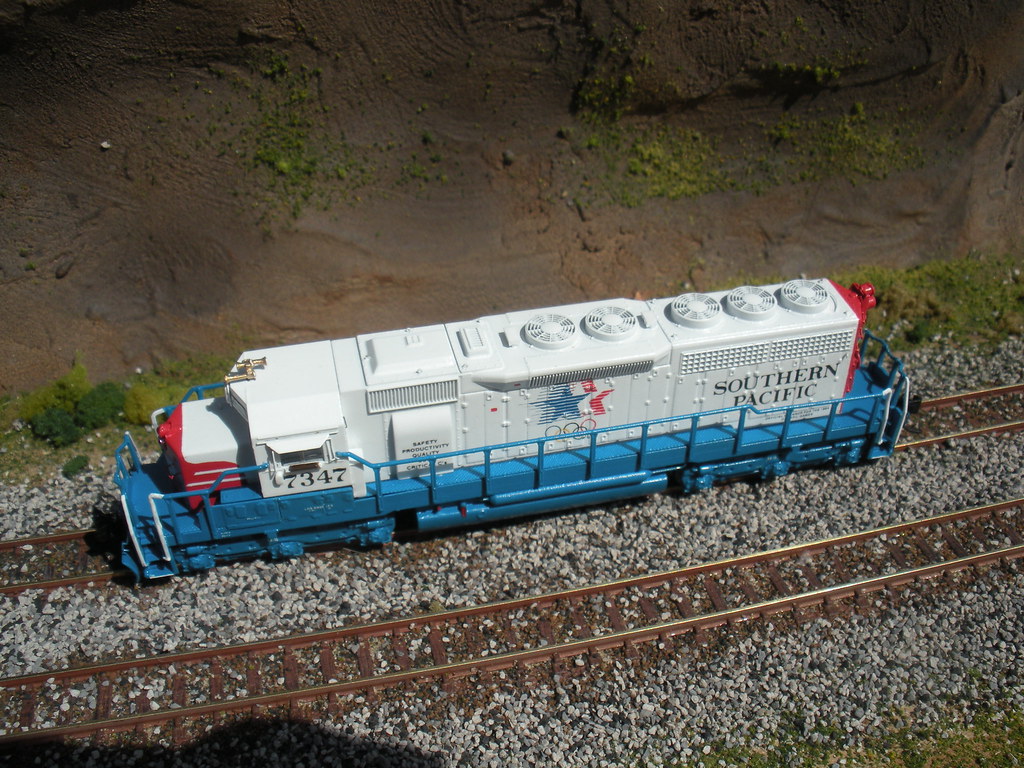
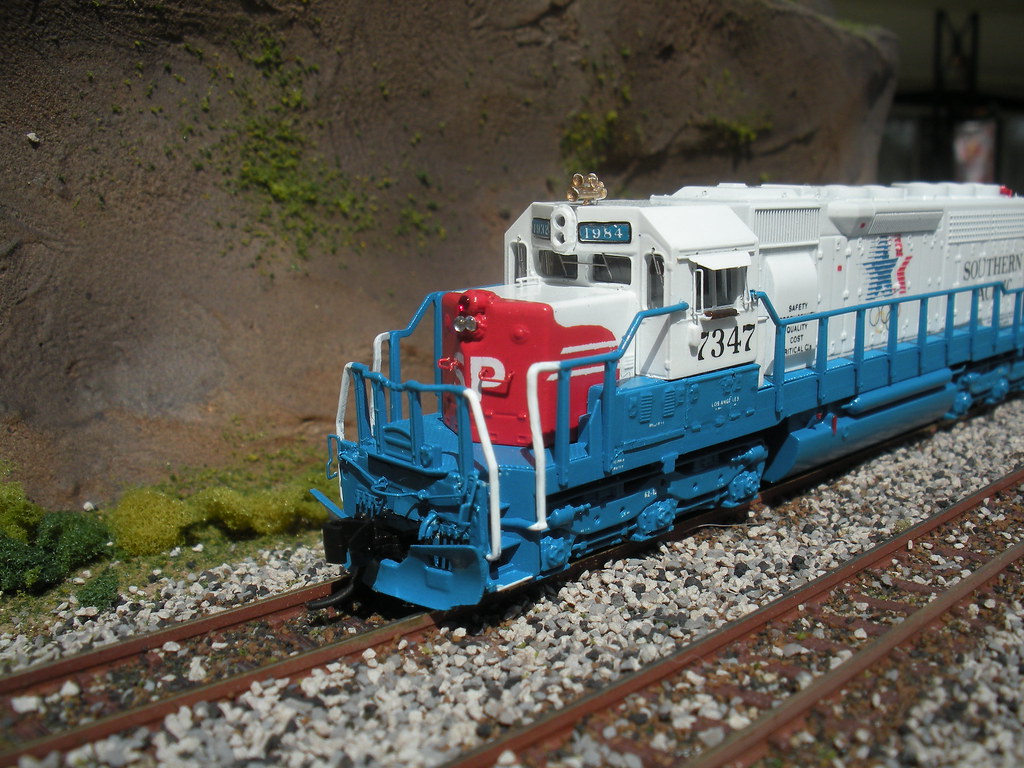
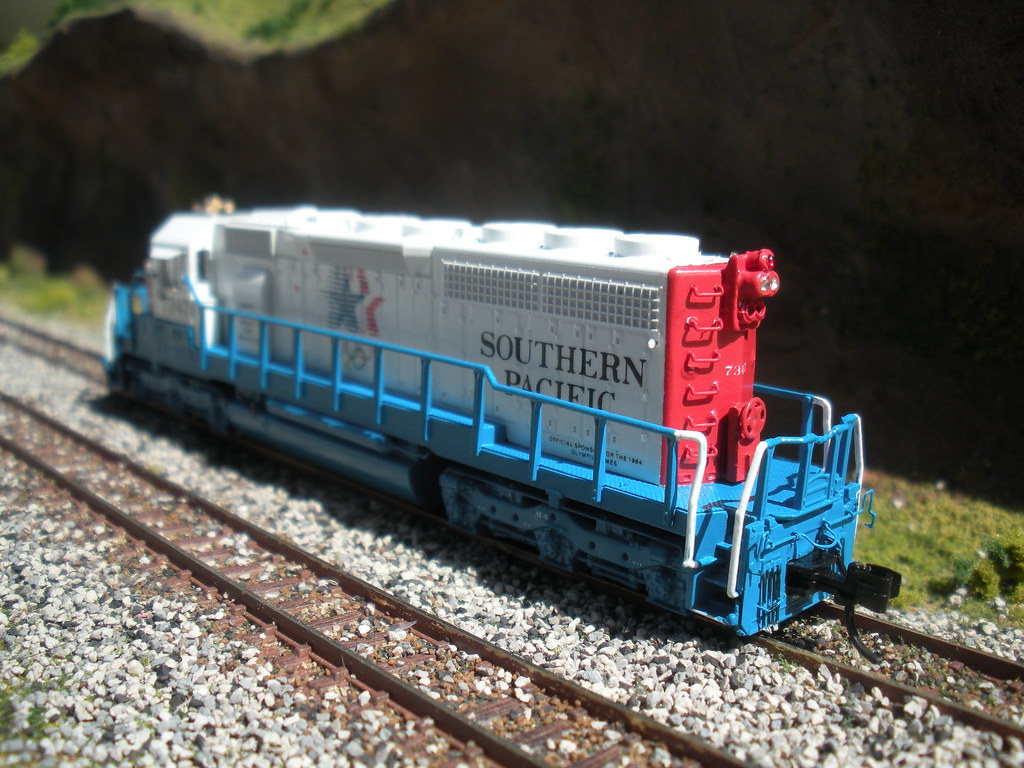
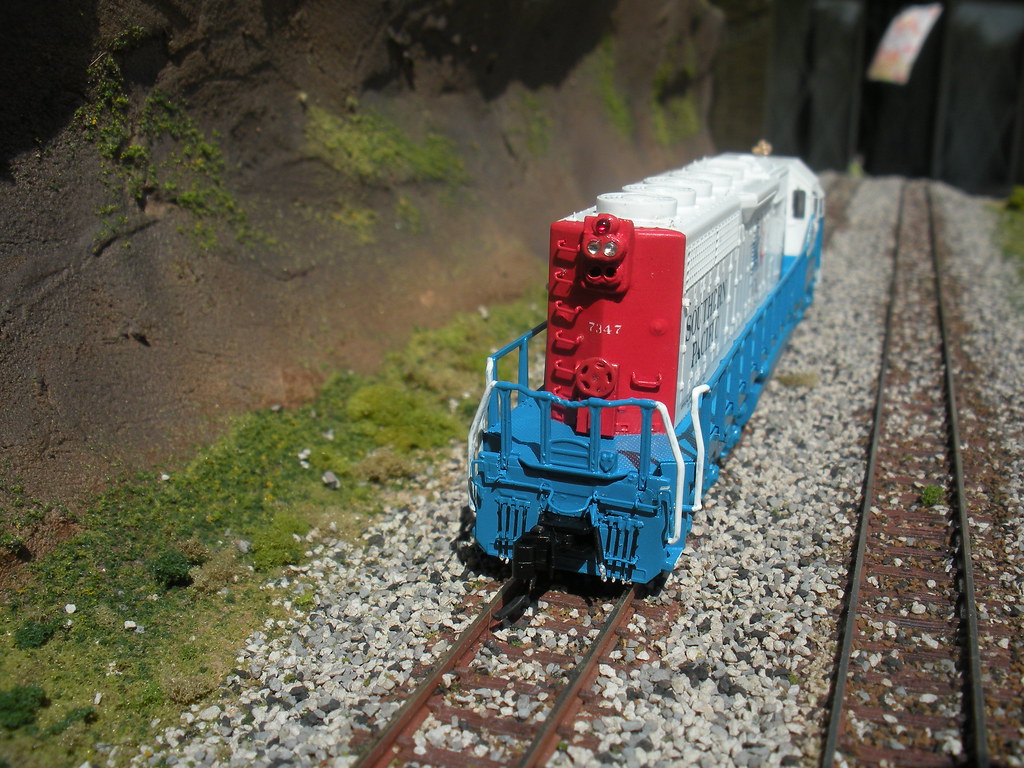
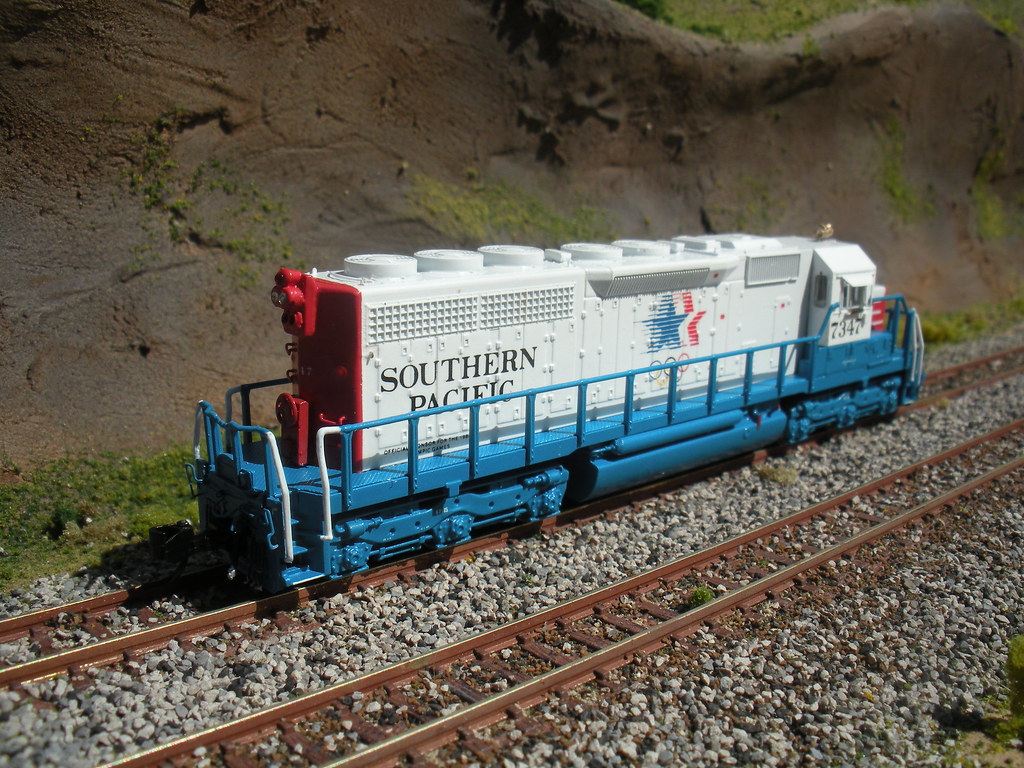
HI Everyone, Well this build is the first time I have ever tried to kit bash and super detail a N Scale locomotive. Some back ground The project SP SD40R #7347 LA Olympic tribute unit. This unit has some very distinctive spotting features like. Twin T vents on the DB Hatch, rear hand brake stand, G.R.I.P. doors and split battery box doors on sub bases, L windshield patched to standard configuration. Detail parts used include BLMA, Detail Associates, Precision Scale Co., Miniatures by Eric and scratch built air tanks and sub base doors. BLMA Detail Associates #96 Wipers 8215 Cab Arm Rest #13 Modern EMD cut levers 8217 Dual Headlight Late #105 EMD pilot face layovers 8218 Dual Oscillating, Pyle Headlight #100 Locomotive MU Hoses 8219 Oscillating, Pyle Headlight #93 Rear fan grab iron curved style #74 Angled cab shades Precision Scale Co. #59 Drop grab irons 6705 Air line Hoses #90 Locomotive lift rings #57 Grab iron drill templates Miniatures by Eric #64 Locomotive wind deflectors NB18 CNR-SD Brake Houseing #210 Diesel locomotive snow plow #221 Air horns-Leslie S3L Miscellaneous styrene and brass wire #101 Diesel locomotive hood doors Here is a link to Prototype photo. www.rrpicturearchives.net/showPicture.aspx?id=3009252The project started out as a Kato Union Pacific SD40 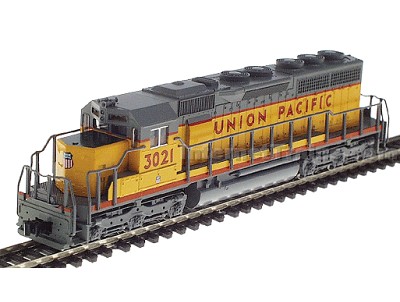 Next the unit was striped using the method described by Brian Banna. It worked like a charm. Then a quick trip thru the grit blasting booth and she is read for detailing. 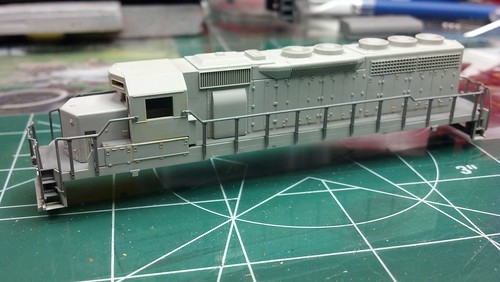 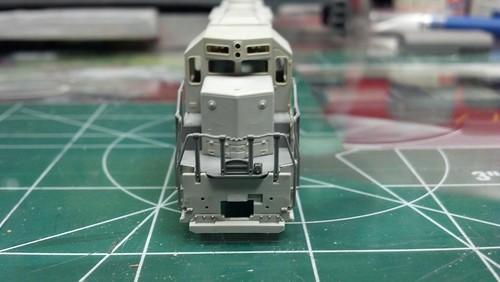 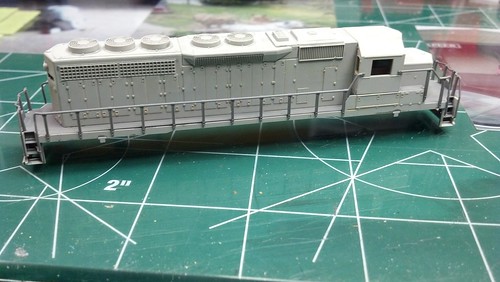 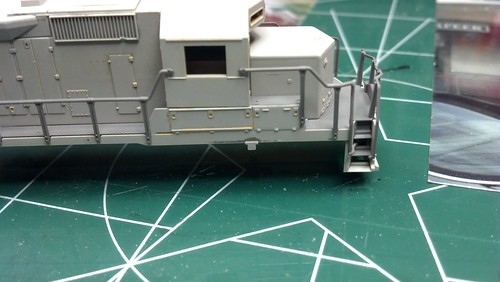 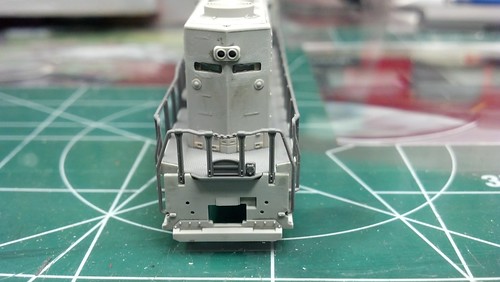 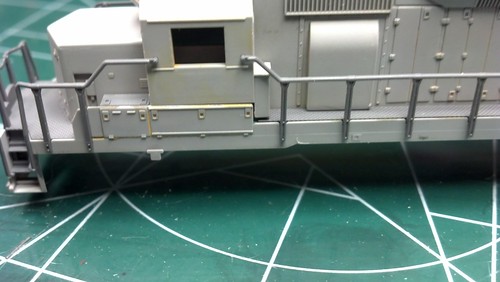 So the work begins. 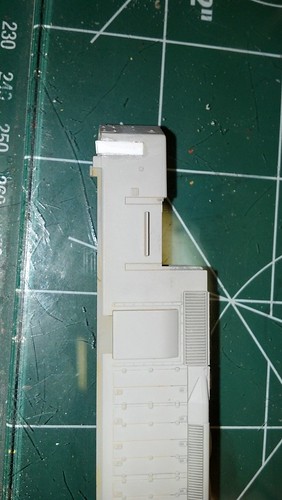 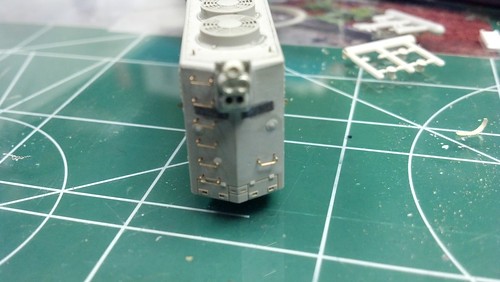 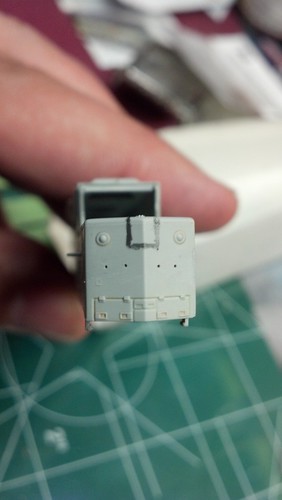 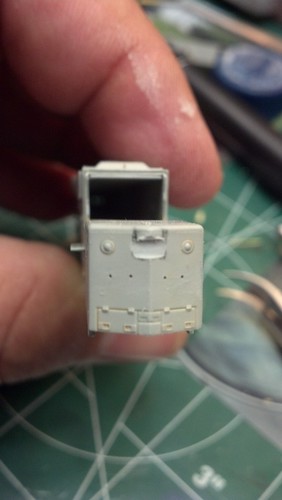 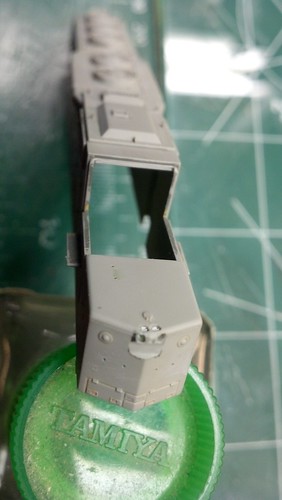 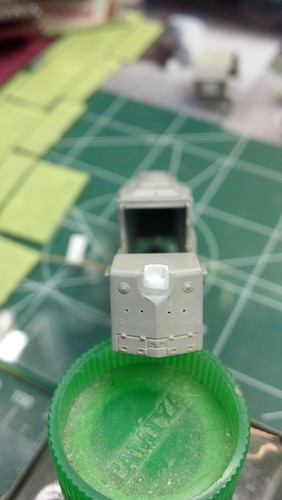  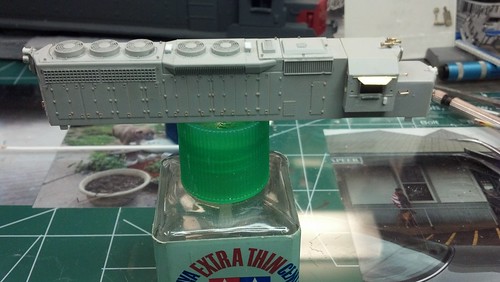 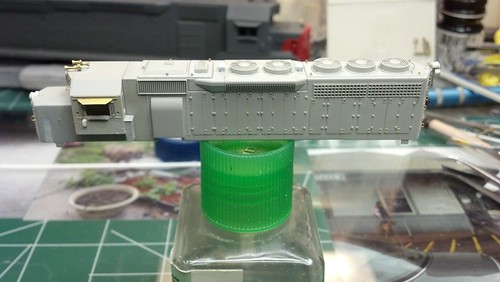 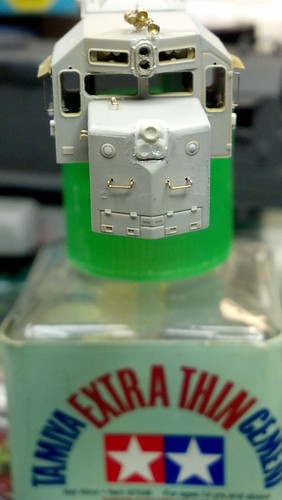 That is it for right now, I will post more of this project later today. As always your feedback, comments and questions are always welcome. Erik |
|
c415rock
Moderator
"Linking the East with the West"
Posts: 1,044
|
Post by c415rock on Aug 10, 2013 13:38:51 GMT -5
Here is part two of this build. The two most challenging parts of this build were re configuring of the sub base doors to match the prototype and building the nose headlight cluster. This photo shows the nose and reconfigured BLMA air horn to represent the SP P3 air horn.  Next up is the fuel tank re detailing 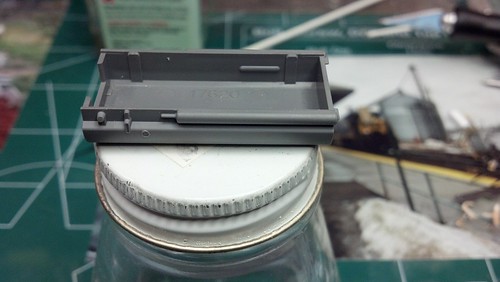 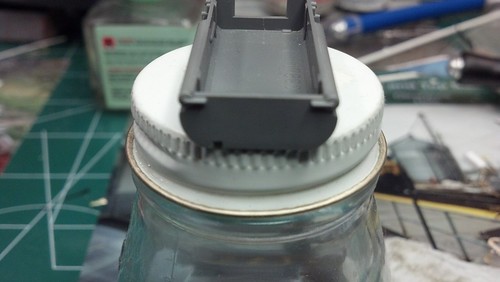 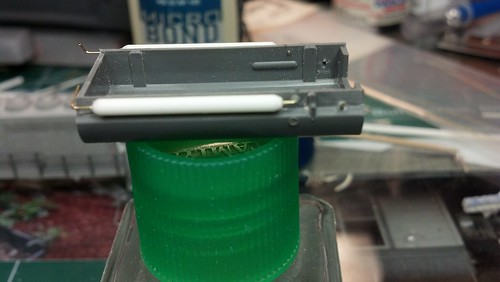 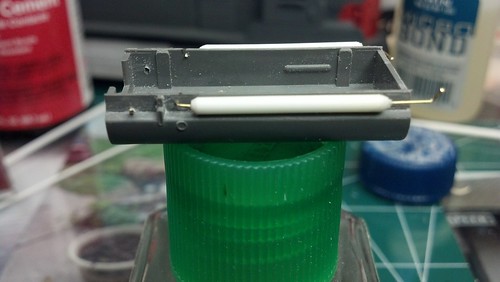 Now back to the Body 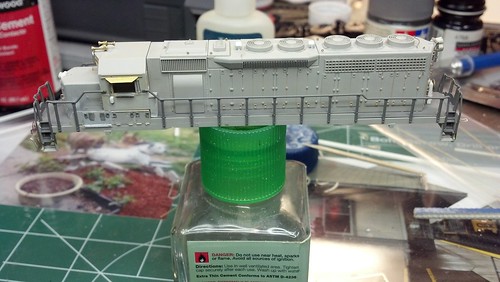 Close up of the rebuilt sub bases and G.R.I.T. doors. The cab vent is made from styrene rod that has been compressed with smooth jaw pliers, and the vents on the doors and slam latches are cut out from BLMA Diesel locomotive hood doors #101. 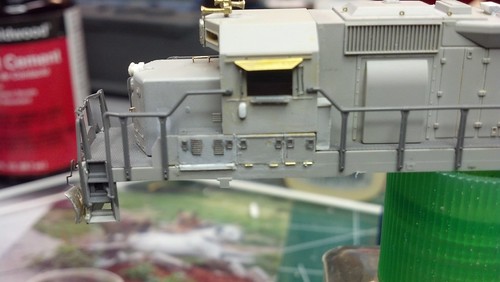 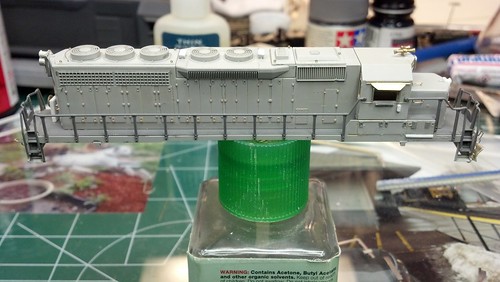 Nose and rear details 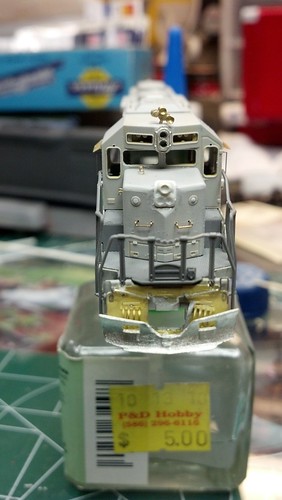 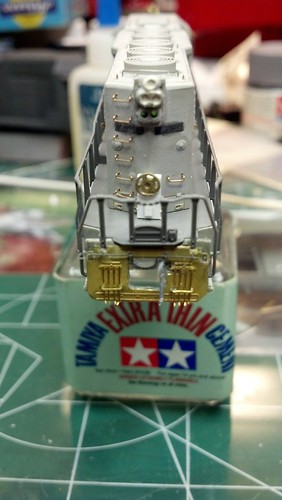 Now time to give it a once over and a bath in warm soapy water. Then on to the spray booth for a coat of primer. Erik |
|
|
|
Post by antlorch on Aug 10, 2013 20:09:10 GMT -5
Erik this is coming out sweet. Lots of detail for N-scale and it all looks great! Keep it up.
|
|
c415rock
Moderator
"Linking the East with the West"
Posts: 1,044
|
Post by c415rock on Aug 11, 2013 19:18:25 GMT -5
Vince,
It is striped in 91% rubbing alcohol with a Dremmel tool. Brian did a great video on YouTube showing the process. Thanks for the parts they were a big help. I will measure the styrene rod that I used for the air tanks and let you know. It was a piece of rod that I had in my scrap box.
Erik
|
|
c415rock
Moderator
"Linking the East with the West"
Posts: 1,044
|
Post by c415rock on Aug 11, 2013 23:17:14 GMT -5
Vince,
The rod is .080 Evergreen #212
Here is the link to Brian's You Tube video on striping Kato Paint.
The only thing I did different is, I used a cordless two speed Dremel MiniMite Model 750. I had to go this route because my corded Variable speed Dremel switch died. As you can see this worked just as good.
Erik
|
|
Deleted
Deleted Member
Posts: 0
|
Post by Deleted on Aug 13, 2013 10:41:20 GMT -5
Erik,
The lead into this thread is great. You really let us know how you started, what you used and posted a proto photo. Great start.
For a first time ever N-Scale detail build, you are moving along well. If I may offer just a little tip about cutting the nose light in. I have found the best way to do this is simply to cut the notch out and not try to file it. You will get a much straighter cut. My method for this is as follow.
1. Mark the verticals with a straight edge. Lightly scribe it in.
2. Mark the bottom of the cut. Not the bottom of the beveled triangular cut, but the bottom of the light housing.
3. Drill a series of small holes inside your marked area.
4. Cut all this out by connecting the holes. Now you have a rough cut cavity.
5. Using a VERY sharp knife, start slicing plastic away until you have reached your scribed lines.
6. Now carefully finish the hole up to the scribed lines. Make sure you finish the inside edges of this cutout inline with the shell. NOT perpendicular to the angled nose. Now you should have a nice squared up rectangular hole.
7. Now figure how far back you need to cut the top of the notch and mark this with a light scribe line.
8. Trim the top of the nose back to your scribe line.
9. Build your light housing inside the cavity. Do not glue in the headlight details yet. Just build the housing.
10. Now figure out how far down the point of the beveled triangle needs to be. Make a mark with your knife at this point.
11. Connect that point you just made with the bottom outside edges of the light housing. Lightly scribe it in.
12. Using your VERY sharp knife, keeping it perpendicular to the face of the model. Start slicing the bevel into the nose. Try to keep the knife a the same angle as you cut.
13. glue on your headlight details and you are done.
Now to get back to the modeling. I think you are getting along very well with this model. I suggest after putting all the details on, running it through the grit blaster again. It will clean up all the brass parts really well. The battery box doors and louvers look good. The grit blaster will blend those details in nicely too.
It is great to see you building this model. Especially since it is N-Scale. I look forward to seeing it finished.
|
|
c415rock
Moderator
"Linking the East with the West"
Posts: 1,044
|
Post by c415rock on Aug 13, 2013 14:24:22 GMT -5
Brian,
Thanks for the tips, I will have to give it a try on the next one. I am doing this unit for a 13 year old so he can give it to his dad for a Birthday gift. His dad is a big SP nut. So this should be a big surprise for him. The unit just came out of the paint booth. I will try to post some photos later.
I have really enjoyed doing this and want to do more. I am kind of in the same boat as you. I have a love for both N & HO. I love n scale for the train sizes that you can run. Plus how much you can pack in a small area. It is for this reason I am designing as L shape wall layout for my bedroom. The ho layout will dominate the basement. With my brother and dad also in HO it is only natural that the basement become the HO haven.
I think the next N scale unit for me is going to be a DT&I Geep all decked out. I sure wish the Sunrise Enterprise was still making parts. They made some great stuff in N & HO scale that no one else made.
Erik
|
|
c415rock
Moderator
"Linking the East with the West"
Posts: 1,044
|
Post by c415rock on Aug 14, 2013 13:39:09 GMT -5
|
|
Deleted
Deleted Member
Posts: 0
|
Post by Deleted on Aug 14, 2013 13:48:53 GMT -5
Very nice paint so far.
That grit blasting really helps, doesn't it?
|
|
|
|
Post by Bessemer Bob on Aug 30, 2013 10:58:28 GMT -5
Great work,
Really happy to see more N scale gems getting posted here
|
|
|
|
Post by jmlaboda on Sept 5, 2013 13:36:20 GMT -5
Thanks for sharing your work... it is appreciated. I especially love the work you did on the Espee light packages... nothing speaks louder about a "proper" Espee unit than the lights!!!
|
|
c415rock
Moderator
"Linking the East with the West"
Posts: 1,044
|
Post by c415rock on Sept 24, 2013 2:21:28 GMT -5
|
|
|
|
Post by analogbeatmaker on Dec 15, 2013 12:21:16 GMT -5
Don't know how I missed this...but...phenominal work! The details you added turned out great and the paint is very crisp. I don't know how you guys do N-scale as HO gives me such fits! lol
|
|
c415rock
Moderator
"Linking the East with the West"
Posts: 1,044
|
Post by c415rock on Dec 15, 2013 16:43:56 GMT -5
Hi Nick,
Thanks for the kind words. I had fun with this build, this is was the first major kit bash in N-scale that I attempted. This build came about by helping out a kid who wanted to give his dad a birthday gift of a SP engine that he was sure not to have. So I helped the kid out by just charging him for the parts and paint. The rest was donated. Come to find out after this project was completed and delivered. The kids father is the owner of a very well known N scale building and detail part company. He was very happy with it and paid me one of the best complements that I have ever received. Once I found out who it was for, I considered it a great honor to have a unit a unit I built on his layout.
Erik
|
|
|
|
Post by jpwisc on Jan 7, 2014 15:31:49 GMT -5
I can see why he's happy, you nailed that build! Nice work.
|
|


