|
|
Post by icghogger on Oct 14, 2012 11:49:16 GMT -5
I just received my order of the C&C 36-inch fans (fast service, thanks Dave!) and I wanted to share the product with everyone. These are very well done and the instructions are tops. The forming of the grilles uses a tool that is included with the kit. After removing the grille from the fret, follow the directions exactly. I found finger pressure to be just fine, no other tools needed. The directions say to position the grille with the word "top" up. All I found on my example was a dot etched into the grille, so that became my "top" marker. 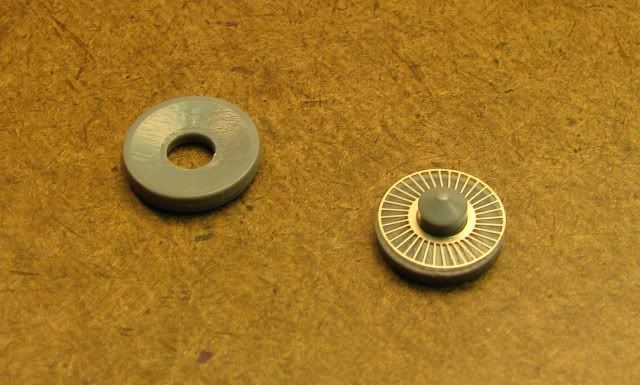 Grille in place, ready for forming. 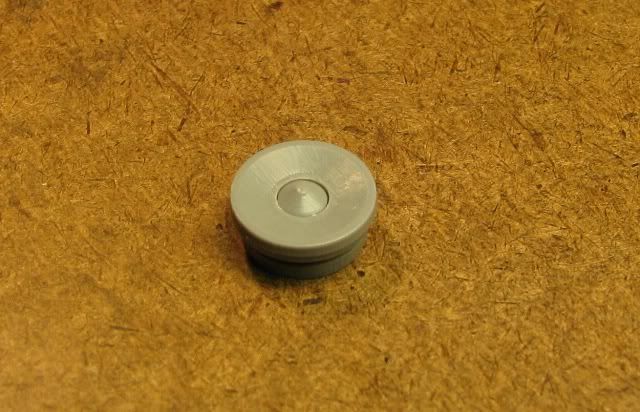 First forming step. 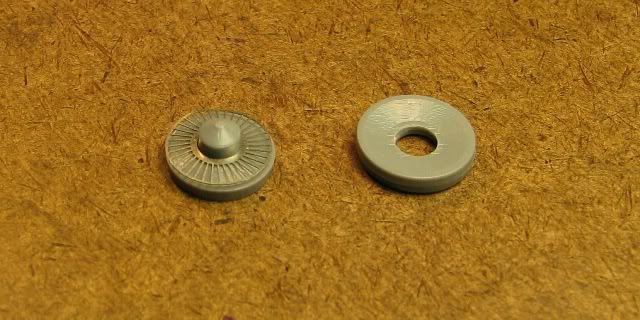 First forming step done. 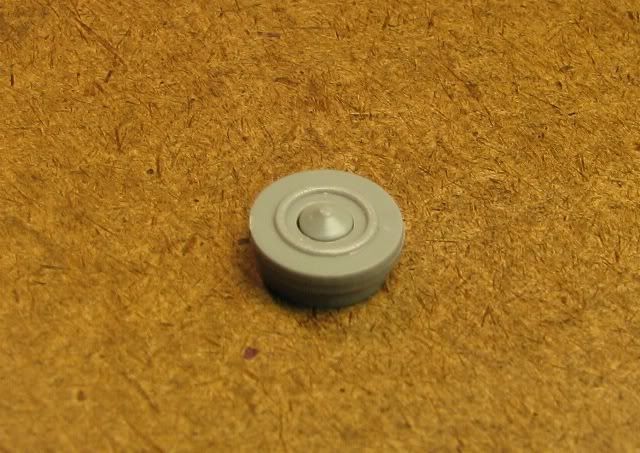 Second forming step. 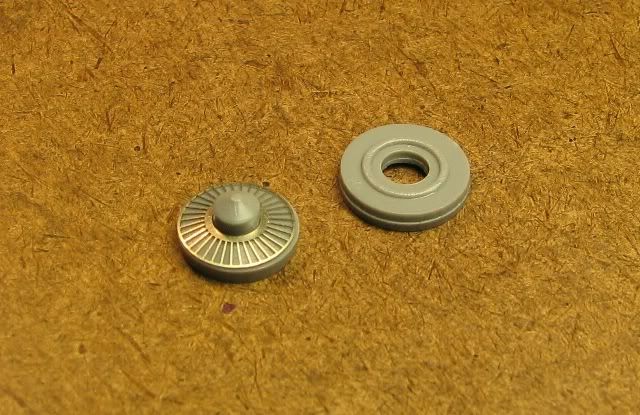 Forming of grille complete. |
|
|
|
Post by cannon on Oct 14, 2012 11:58:34 GMT -5
I just received my order of the C&C 36-inch fans (fast service, thanks Dave!) and I wanted to share the product with everyone. These are very well done and the instructions are tops. The forming of the grilles uses a tool that is included with the kit. After removing the grille from the fret, follow the directions exactly. I found finger pressure to be just fine, no other tools needed. Forming with finger pressure works fine, but use the tool too after to assure complete forming. Also test fit the ring and grille to verify the spacer ring isn't too tall before gluing while it is easy to sand the thickness of the ring. Dave Hussey Cannon and Company |
|
|
|
Post by icghogger on Oct 14, 2012 11:59:52 GMT -5
Here are the parts trimmed from the fret, prepped and laid out for assembly. 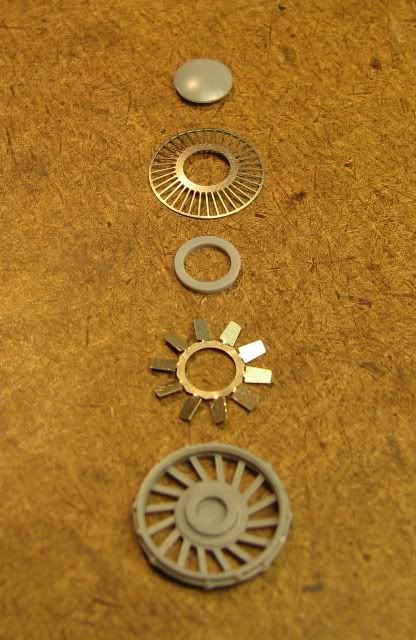 |
|
|
|
Post by icghogger on Oct 14, 2012 12:02:08 GMT -5
|
|
|
|
Post by Randy Earle on Oct 14, 2012 12:30:45 GMT -5
Fantastic news! Well done Dave! Thanks for the info Robert!
|
|
deez
Chairman
Midland Belt Railway
Posts: 949
|
Post by deez on Oct 14, 2012 15:30:44 GMT -5
Oh yeah!!! Mine should be here tomorrow!! Cant wait!! So happy!!
|
|
Deleted
Deleted Member
Posts: 0
|
Post by Deleted on Oct 14, 2012 19:46:53 GMT -5
Robert,
Nice step by sep. Thanks.
Dave,
The fan looks GREAT!
One of my SD40-2's is going to get a 48" put in as a replacement for one of the dynamic fans. Give it a little character.
|
|
Deleted
Deleted Member
Posts: 0
|
Post by Deleted on Oct 15, 2012 12:57:22 GMT -5
Robert, Nice step by sep. Thanks. Dave, The fan looks GREAT! One of my SD40-2's is going to get a 48" put in as a replacement for one of the dynamic fans. Give it a little character. Do you mean something like this? www.rrpicturearchives.net/showPicture.aspx?id=2845506Saw this the other day and knowing these fans have just been released I thought I might so this myself! |
|
Deleted
Deleted Member
Posts: 0
|
Post by Deleted on Oct 15, 2012 13:20:20 GMT -5
Yes, exactly something like that.
|
|
|
|
Post by diesel on Oct 19, 2012 15:30:57 GMT -5
NICE! I can't wait! Thank you Robert for putting up such nice detail shots of these fans showing the step by step process. I know the directions will tell you what to do, but I was really wondering how we were supposed to get the dome effect in the grill, and I really like seeing pics of this kind of thing anyway. I'm adding both of these fans to my next parts order. I want to see if I can actually do an order and then not say the words, OOPS! I forgot to add... after I open the box. I have a couple projects on ice because I forgot at least one part for each loco. My GP35u is a prime example! -Hoping it's not too soon to push the evelope, I wonder if the success of this product puts us any closer to having nice Q fans from Cannon, (both sizes?) The plastic Q fans Proto 2000 and Athearn have on their RTRs are ok, but they're not this nice: www.rrpicturearchives.net/showPicture.aspx?id=2718677 |
|