Smoke
Chairman
The Ski Train!!!!
Posts: 753
|
Post by Smoke on Feb 15, 2010 1:02:23 GMT -5
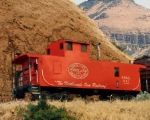
Haven't posted much lately, but though I would show you guys this... 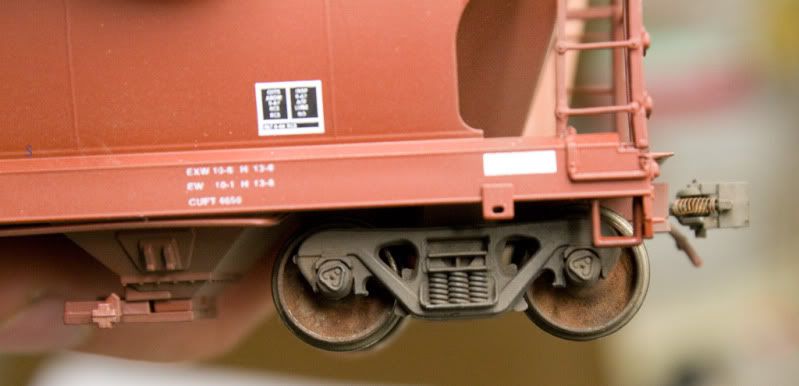 Someday i will finish the car that goes with the tucks.... |
|
|
|
Post by Randy Earle on Feb 15, 2010 1:55:08 GMT -5
Looks good Andrew.
|
|
|
|
Post by dcs077 on Feb 15, 2010 5:20:09 GMT -5
so how did you do it??
|
|
cbq2bn
Chairman
The Zephyr - The only way to Travel
Posts: 727 
|
Post by cbq2bn on Feb 15, 2010 6:37:52 GMT -5
I'm really liking the looks of wheels like this..
|
|
|
|
Post by mountaingoatgreg on Feb 15, 2010 7:05:42 GMT -5
Very well done..good job!!!!
|
|
|
|
Post by icghogger on Feb 15, 2010 9:54:02 GMT -5
Very Nice, Andrew! Please tell us how you did it.
|
|
Smoke
Chairman
The Ski Train!!!!
Posts: 753
|
Post by Smoke on Feb 17, 2010 20:02:06 GMT -5
I have a little write up about how I did it that I will post here. I have the pictures I just have to write the words.  |
|
Smoke
Chairman
The Ski Train!!!!
Posts: 753
|
Post by Smoke on Mar 18, 2010 22:59:54 GMT -5
Picture of my materials used, minus the bottle of paint.  I start out by painting my wheels with a coat of paint. I always use a color that is brown, gray, tan, etc. You want to use a color that if it doesn’t get fully covered, will not show through. The painting of the wheel face takes away the shine of the wheel and it also improves the “grip” of the wheel face. Stock wheel Vs. Painted wheel: 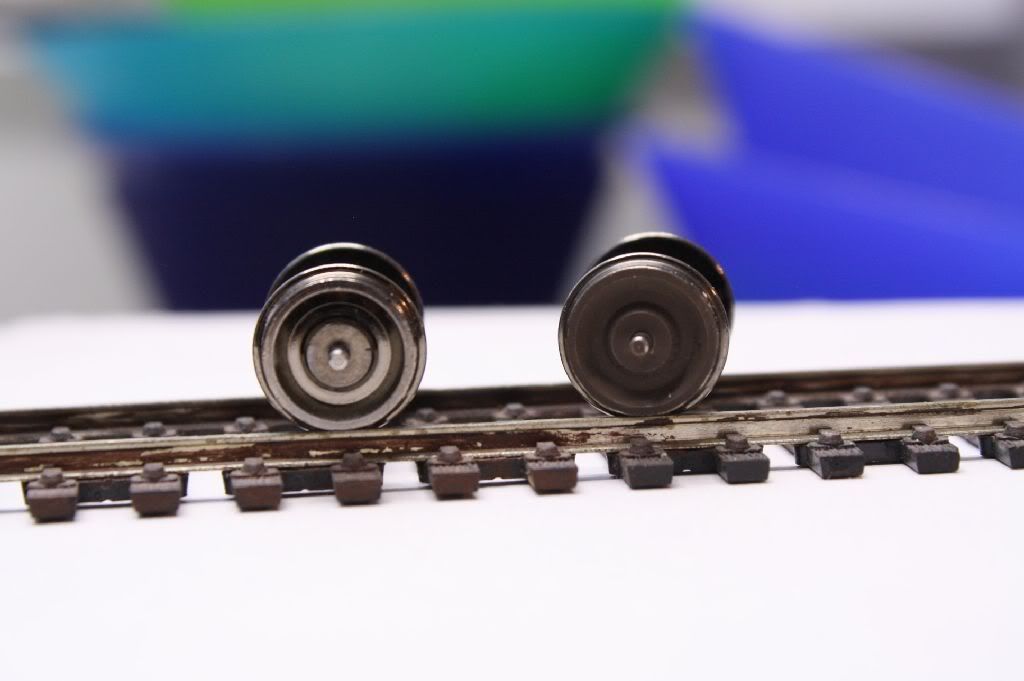 Once I have the wheel face painted, I use oils and paint the wheel face again. This is so the powders will stick to the wheel face. Be sure not to get any oils or paints where the electrical contacts are if you are working with locomotive wheels. The wheel on the left is painted, and the wheel on the right is painted and has oil on it. 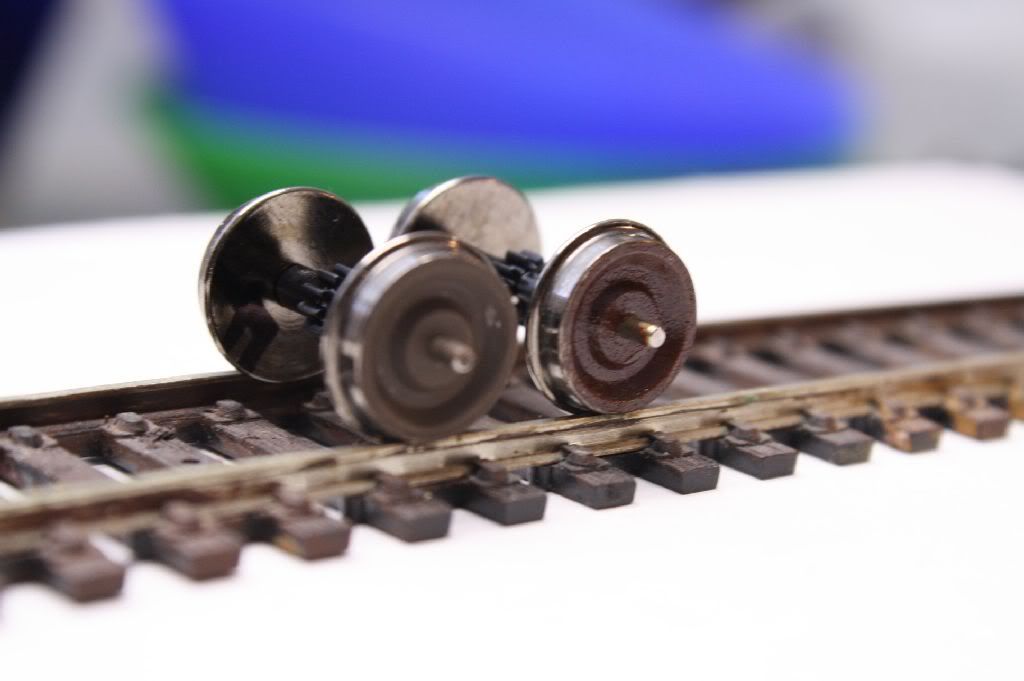 I then take my brush and dip it in the powders and tap the brush letting the chalks drop onto the wheel face. Then you take your brush and stipple the powders into the oils. I have found I useful to stipple the chalks on and then blow away the powder that is not stuck to the wheel. Using three colors of chalk you can vary the looks of the wheel face. 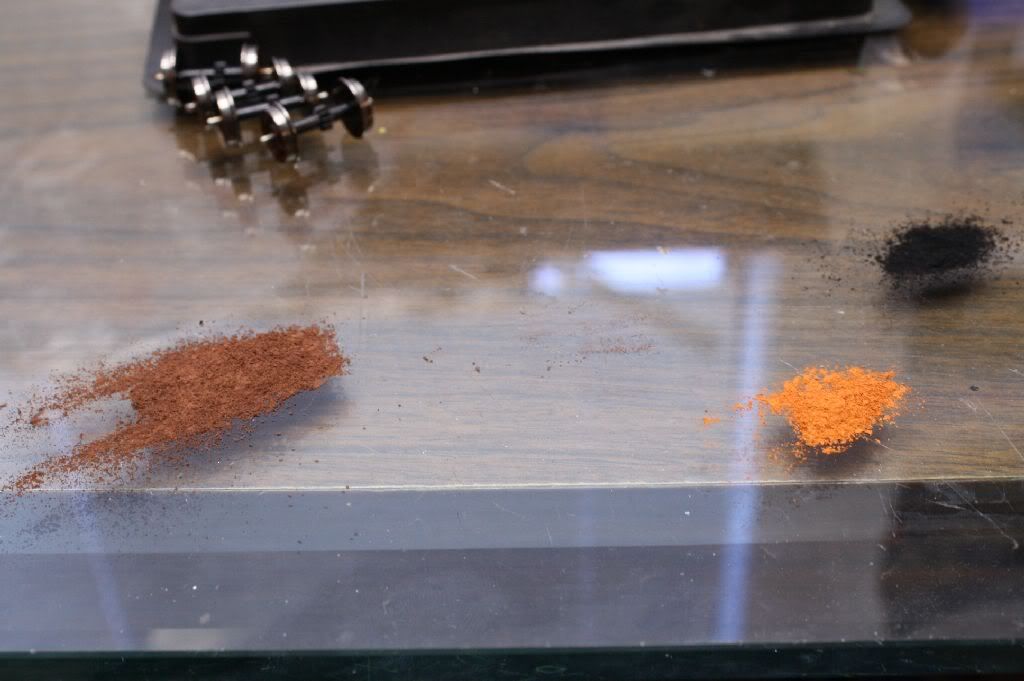 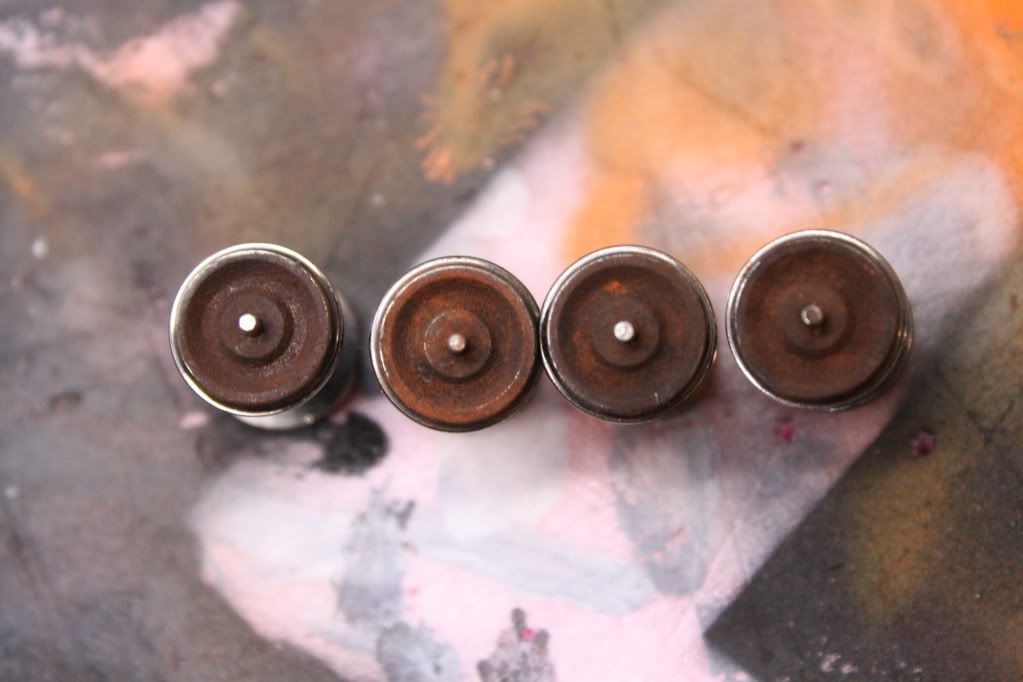 And here are the results on a IMRC car... 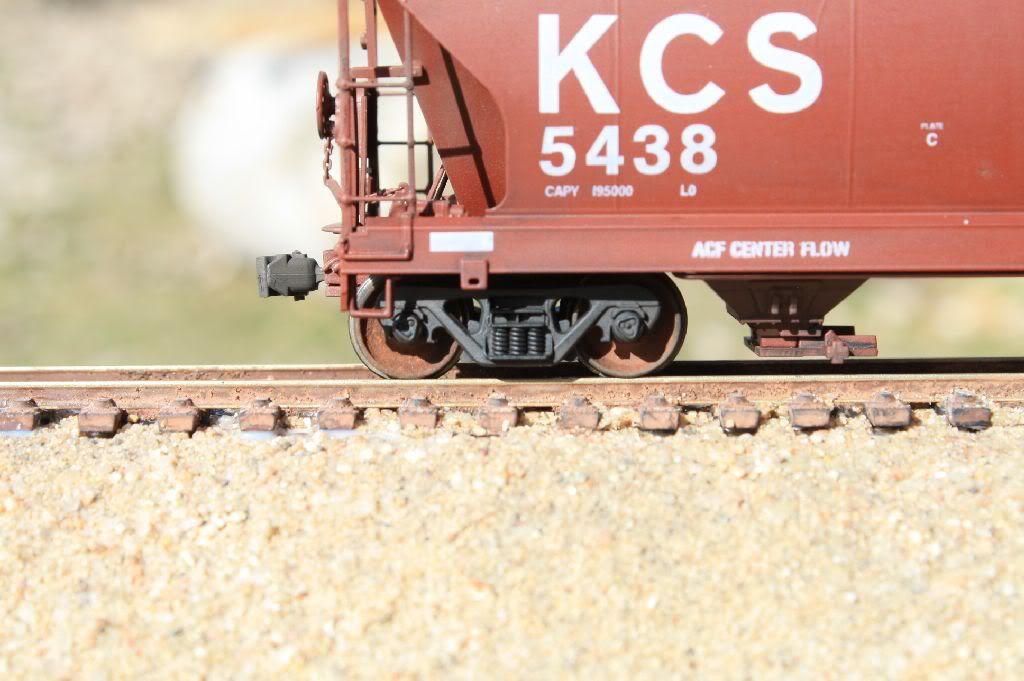 -Andrew |
|
|
|
Post by icghogger on Mar 23, 2010 8:47:49 GMT -5
Very Nice, Adam, I got dirty just lookin' at it! ;D
|
|
|
|
Post by mrlfan on Mar 23, 2010 22:35:02 GMT -5
Thanks for showing us your tricks Andrew. I will have to try this.
Glenn
|
|
Smoke
Chairman
The Ski Train!!!!
Posts: 753
|
Post by Smoke on Mar 24, 2010 12:09:59 GMT -5
I used your technique and got this: 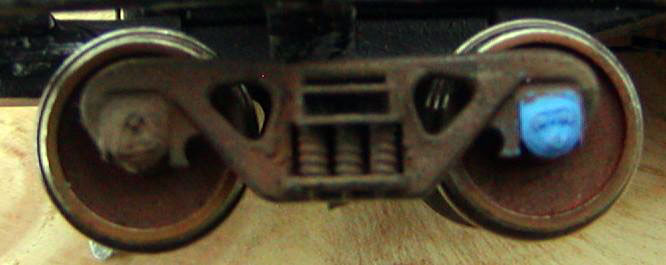 I also used it on the truck, but I didn't use oils as I didn't have them in that color. It worked fine, I just had to work quickly. ;D Nice!! This isn't the only way to do it, just one that I have found to work well for me. You don't have to use the same colors of oil that I did, it just helps to disguise if you miss any spots. -Andrew |
|
|
|
Post by kverberk on Jun 6, 2010 19:37:58 GMT -5
Thanks for sharing your technique. I look at these amazing wheathering jobs and I just can't figure out how to do it. That helps a bunch.
|
|
|
|
Post by m a y o r 79 on Jun 6, 2010 21:41:30 GMT -5
Nice looking wheels. I've used oils before to paint the fronts up but never thought to use chalks to give them texture. Painting the wheel is a huge improvement over stock, but the chalks take it to a whole new level.
Very nice work. I'll have to try this the next time I'm weathering up some freight cars.
|
|