Wammi
Trainmaster
18-ERS-6
Posts: 146
|
Post by Wammi on Nov 3, 2009 13:31:36 GMT -5
Here's some photos of one of the current projects I have in the pipeline. 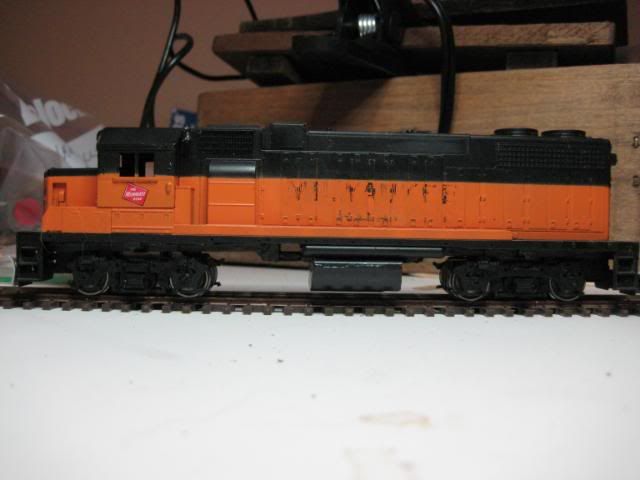 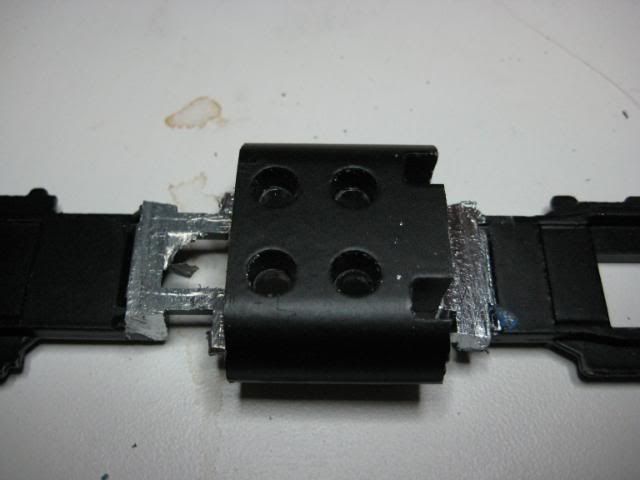 The frame chop was the hardest part of this model. I have a long list of detail parts that will be needed to finish it up. Just waiting for funds to be allocated to this project. |
|
|
|
Post by mrlfan on Nov 4, 2009 2:31:04 GMT -5
Looking good so far. I am glad I have a mill to use on my frames.
Glenn
|
|
Wammi
Trainmaster
18-ERS-6
Posts: 146
|
Post by Wammi on Nov 4, 2009 10:24:42 GMT -5
Hey thanks, Glenn. I sure wish I had a mill to use! I used a miter box and exacto saw to cut this frame down. I have a P2K GP38-2 as well, and not sure how I am going to reduce the size of that tank yet. All part of the adventure of modeling the Milwaukee Road.  |
|
Wammi
Trainmaster
18-ERS-6
Posts: 146
|
Post by Wammi on Nov 9, 2009 11:36:30 GMT -5
Hey Stan,
When I click on the link, it doesn't work. I'd love to see what you have going on with this project.
I stopped by Caboose Hobbies yesterday and picked up most of the parts I'll need to finish the build. This will be the first time using a Cannon cab and the diamond tread plate. Should be interesting. With any luck I'll have time this evening to get some serious work completed on it.
|
|
Wammi
Trainmaster
18-ERS-6
Posts: 146
|
Post by Wammi on Nov 9, 2009 16:55:26 GMT -5
Oh, just found the prototype photo that I'll be working from:  Photo credit: GP-38 355 - Bensenville IL - 08/78 - {Jim Ford Photo} |
|
Wammi
Trainmaster
18-ERS-6
Posts: 146
|
Post by Wammi on Nov 9, 2009 18:15:18 GMT -5
Nice Glen! So, they make the correct size fuel tank for the Milwaukee GP38-2s? Wow! That could have saved me a lot of frustration with the miter box and Xacto Saw!
I can't wait to see the finished product!
|
|
Freightrain
Chairman
Modeling CSX from 1995 to present
Posts: 625
|
Post by Freightrain on Nov 9, 2009 20:57:52 GMT -5
Hey Bob, I went to Caboose Hobbies many times when I was stationed at Ft. Carson a few years ago, that place is huge, and its funny because their parking lot is so tiny.
btw what does that 20 ERS stand for at the bottom of the cab in the prototype pic?
|
|
Wammi
Trainmaster
18-ERS-6
Posts: 146
|
Post by Wammi on Nov 9, 2009 21:08:06 GMT -5
Hey Glenn, Yeah, parking is a real pain there. I am amazed they get away with it. The Milwaukee had their own locomotive designators. 20-ERS stands for a 2000hp prime mover on 4 axles. Another example is the SD45 which had the designation of 36-ERS-6, which is a 3600hp prime mover on 6 axles. I don't have a complete list or official guide for these designators, sure wish I did. |
|
Wammi
Trainmaster
18-ERS-6
Posts: 146
|
Post by Wammi on Nov 10, 2009 0:58:51 GMT -5
BINGO! Thanks Stan! I knew I had forgotten most of how that worked! Been so many years since I thought of such things. Here's an update of what I managed to get done this evening. I thought I had a thread going for this project, but I'll be darned if I can find it now. So, I'll post this update here. Placing 1mm sheet styrene on either end of the fuel tank to bring it very close to scale length and give smooth tank ends. I'll be filing the entire tank smooth.  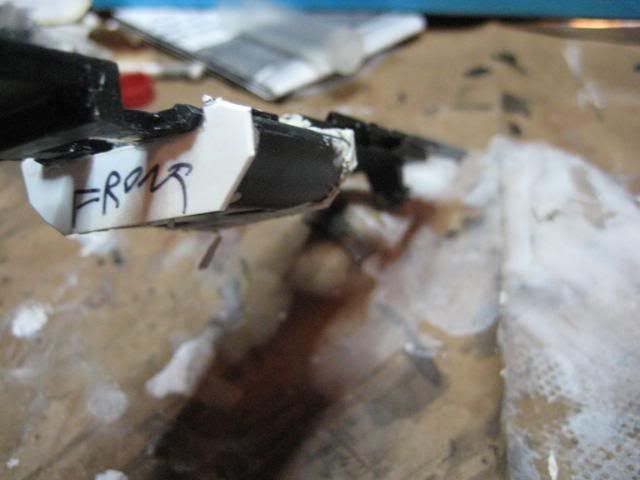 Installed the diamond plate, Cannon Cab, MU hoses, trainline air hose, all weather window, rear view mirror/wind deflector. Started the lift rings, but after 4 in a row shot out of my tweezers never to be seen again, I figured it was time to stop for the night. 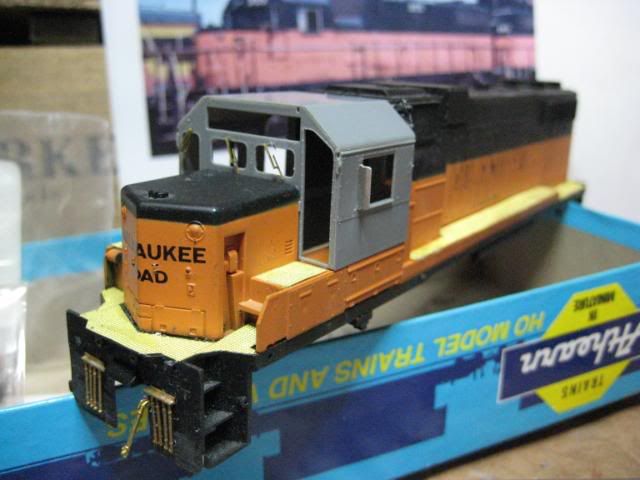 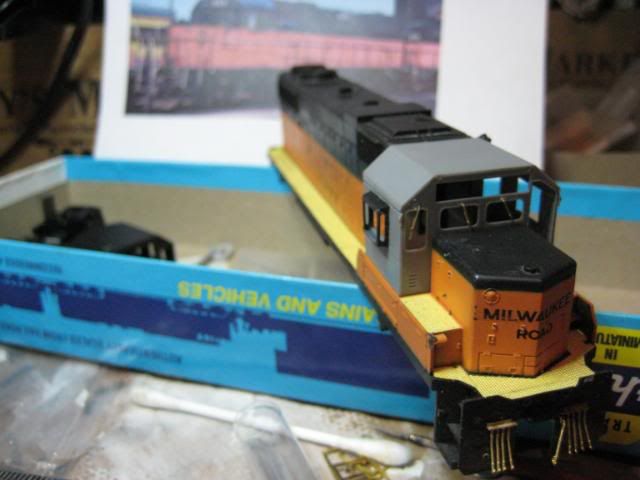 So, left to install on the shell is lift rings, grab irons, beacon, brass horn, antenna, and the cut bars. I'm not sure how much detail I'm going to put on the frame yet. I'm leaning toward quite a bit since the underside of this unit is so wide open. We'll see. I've already got around $80.00 worth of detail parts on an engine I paid $15.00 for... haha |
|
dtinut
Chairman
Modeling the DT&I of the 60's & 70's
Posts: 661
|
Post by dtinut on Nov 10, 2009 1:04:42 GMT -5
I created a MILW GP38-2 awhile back. I started with a decorated P2K sheell, and then create a frame using an Athearn frame which I milled the tank off completely. I had to rebuild the frame creating a bridge across the area where the tank was to span the space now gone. I used some sheet metal (from a car weight) and lead to rebuild the frame. I used Athearn trucks, and put a P2K motor in it with the nice U-joints like Atlas usesd on some of their locos. I ran nice, but the motor had to sit higher than normal, and is the reason why I used the beter u-joints in the drive. I sold it to Perry, who I think in turn sold it to another guy? Anyways, here are a few pics I have of it. Good luck with yours! - Brian    |
|
Wammi
Trainmaster
18-ERS-6
Posts: 146
|
Post by Wammi on Nov 10, 2009 1:25:45 GMT -5
Nice work, Brian! Big time thanks for posting those pics! They are the first models of a Milwaukee Road GP38-2 which actually has the correct fuel tank!
I have a P2K GP38-2 on the project shelf as well. I started with the Athearn because the guys over on another forum voted it to me by next build. I was pretty happy about it since I know the Athearn BB stuff inside out. I'm not sure when I'll do the P2K. I have to tear it all apart to see how/if I can chop the frame down enough. I don't want to be forced to reconstruct an entire frame if I don't have to.
|
|
|
|
Post by icghogger on Nov 10, 2009 11:23:27 GMT -5
Excellent Work on your dash two, Brian!
|
|
Wammi
Trainmaster
18-ERS-6
Posts: 146
|
Post by Wammi on Nov 10, 2009 12:47:43 GMT -5
Haha! C'mon and joing the party, Stan!
|
|
|
|
Post by superfleet93 on Nov 11, 2009 18:56:55 GMT -5
|
|
Wammi
Trainmaster
18-ERS-6
Posts: 146
|
Post by Wammi on Nov 11, 2009 21:40:57 GMT -5
Now for an update: I shot the first primer coat this evening: 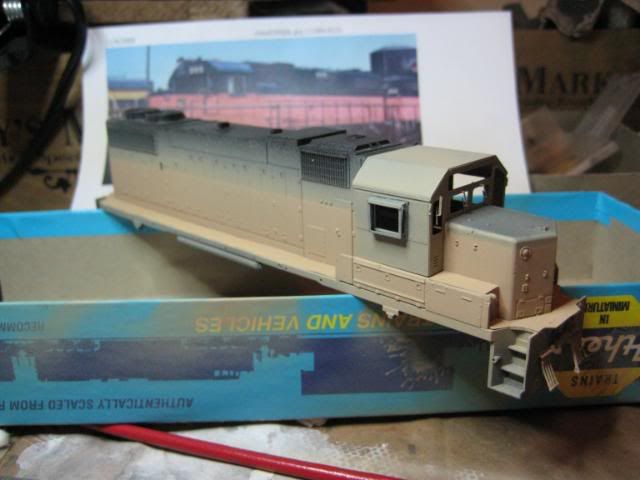  Then trimmed the styrene down and did a little sanding on the fuel tank: 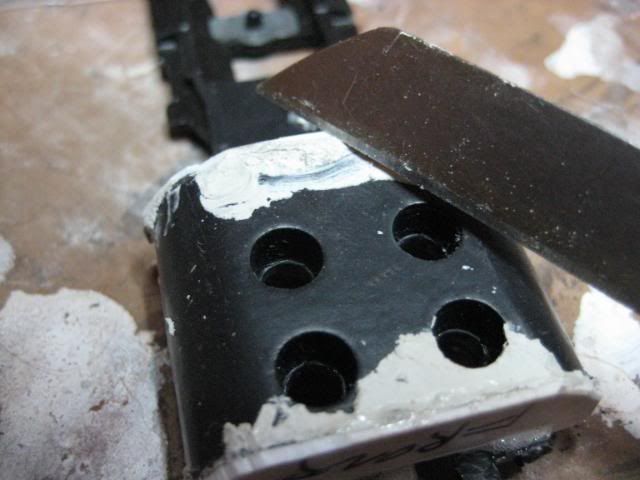 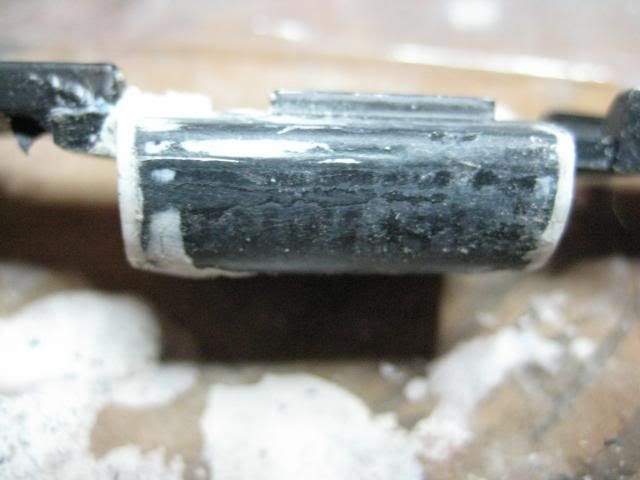 So, here is the results so far: 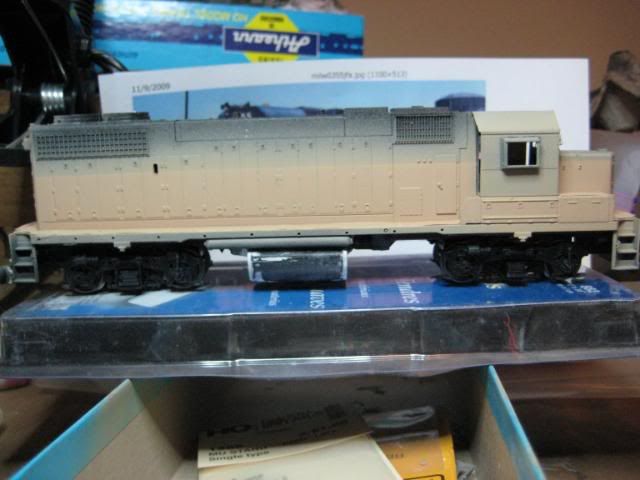 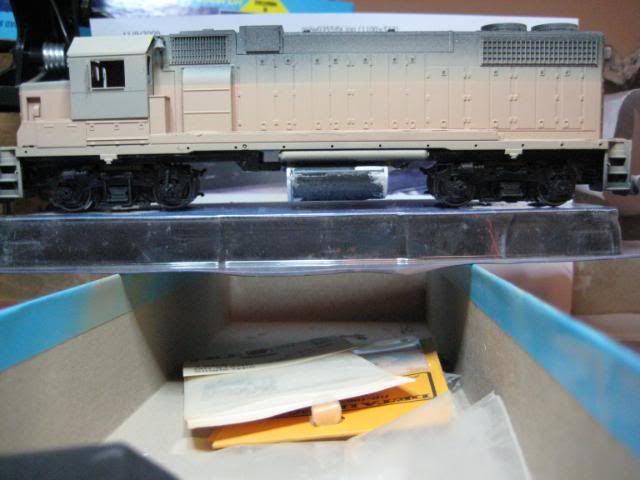 You can see by the following detail shot of the fuel tank, that it is now pretty much the right size: 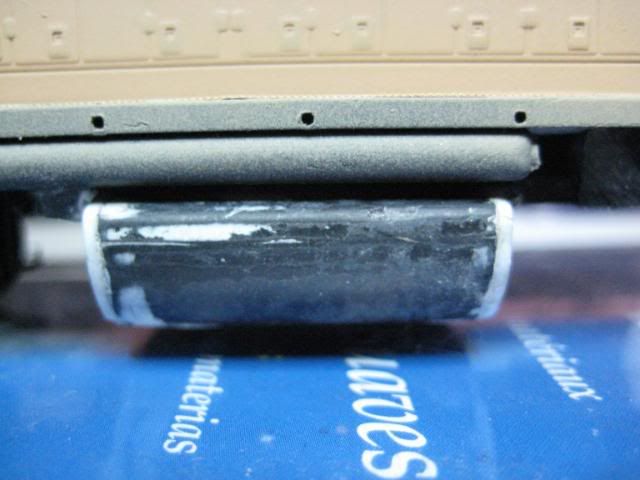 The next thing I'll be doing is to lightly coat the fuel tank with Squadron putty then sand to a smooth finish. This should take out any imperfections in Athearn's molding. After that, I'll be shooting the contrasting primer. The contrasting primer should produce subtle shading differences when the orange is applied. (that is if I do it right!) I'm having a lot of fun with this build! Thanks for reading and commenting. I really appreciate it! |
|
dtinut
Chairman
Modeling the DT&I of the 60's & 70's
Posts: 661
|
Post by dtinut on Nov 11, 2009 23:35:33 GMT -5
The small tank on these (MILW), and the Southern GP38's is 1700 gallons
Brian
|
|
|
|
Post by Randy Earle on Nov 11, 2009 23:36:59 GMT -5
Bob, great job so far, it's really looking good.
Hey Perry! Thanks for the link, I watched the slide show and now I'm all fired up!
|
|
Wammi
Trainmaster
18-ERS-6
Posts: 146
|
Post by Wammi on Nov 12, 2009 10:26:04 GMT -5
Thanks for the info, Brian! Thanks, Randy. It has been a lot of fun so far. |
|
|
|
Post by superfleet93 on Nov 12, 2009 12:46:31 GMT -5
Bob, great job so far, it's really looking good. Hey Perry! Thanks for the link, I watched the slide show and now I'm all fired up! Bob, Your doing a great job keep up the work! Randy, I'm glad you liked the pics, anything I can do to help get people fired up!! Perry |
|
Wammi
Trainmaster
18-ERS-6
Posts: 146
|
Post by Wammi on Nov 13, 2009 11:13:58 GMT -5
Thanks Perry!
I shot the contrasting color and the orange last night. I didn't make a good color choice for the contrasting color. It gave a very cool effect, which I'll use in the future where applicable. I also had some airbrush issues. So, overall I'm not very happy with the results. All is not lost, however, as I think I can build upon this and still end up with a rather realistic build. I'll post some photos for anyone interested this weekend.
There is definitely a learning curve.
|
|