|
|
Post by analogbeatmaker on Jun 5, 2014 1:55:16 GMT -5
|
|
|
|
Post by tjmfishing on Jun 5, 2014 14:30:35 GMT -5
How did you get A the rust streaks on the black cover and B the spottyness on the yellow one?
|
|
|
|
Post by analogbeatmaker on Jun 5, 2014 22:39:42 GMT -5
How did you get A the rust streaks on the black cover and B the spottyness on the yellow one? Hi Taylor, thanks for checking out the coil car! The rust streaks were done with white oil paint. I used a very small brush and very lightly and carefully painted the streaks down. Then to smooth/even them out I used a flat, wide brush (which I dipped in thinner and wiped most of the thinner off on a paper towel so it was just slightly damp) and pulled it from the top down over the streaks. After that dried I used blue oil paint and put a very small amount at the top of the streaks and pulled it down with the same thinner dampened brush technique. After that dried I used either burnt sienna or burnt umber (I don't remember) oil paint and used a small brush to add the brown around where the supports join the hood. On the yellow hood, after I repainted it yellow from my first horrifying attempt, I penciled in the pattern of the rust. I then mixed up a very thinned (with water) color using white, black and blue acrylic paint to match the main color of the rust areas. I filled in the pencil outline with that. it took more than a couple of coats to get the color opaque. The paint has to be thinned down to about the consistency of milk so it doesn't build up too thick. After that I used red oxide acrylic, again thinned, and a small brush and outlined all of the blue/gray to create that reddish border. Again, several coats. After that dried I used black and white oils to lighten and darken the rust where appropriate...which I applied with a small brush and removed/blended with Q-tips. Thanks for the questions and I hope I answered them sufficiently.  |
|
|
|
Post by simulatortrain on Jun 12, 2014 20:13:43 GMT -5
Again very nice work, going to have to remember that rust technique. Who makes the air hoses that you used? I could use something like that.
|
|
|
|
Post by tamaman on Jun 13, 2014 9:14:17 GMT -5
Great work!
|
|
|
|
Post by analogbeatmaker on Jun 24, 2014 15:18:54 GMT -5
Again very nice work, going to have to remember that rust technique. Who makes the air hoses that you used? I could use something like that. Thank you again simulatortrain! The "airhoses" are kitbashed by me. They start from hoses made by "Hi-Tech"...they are rubber. I cut the anglecock out of the hose which leaves the two pieces of hose on each side of the anglecock. Then I find a piece of solid-core wire (from my leftover wire stash) that is the same diameter. I file/sand one end of the wire to a sharp point. Then I slide the anglecock (very carefully) onto the wire. This distorts the anglecock but once you bend the wire and slide the anglecock onto the bend it retains it's original shape. Then I bend the wire appropiately. Once all that looks good I cut the wire and epoxy the piece of leftover airhose (with the connector) to the end of the wire. Once cured I paint it and install it. I hope this helps. If you want to see the process just look in my build thread for this coil car or the build threads for my Southern High Cube boxcar or ATW Bulkhead Flatcar. Thanks Kevin! |
|
|
|
Post by simulatortrain on Jun 25, 2014 14:45:05 GMT -5
Thanks! It looks very good!
|
|
|
|
Post by sd45longhoodfoward on Oct 10, 2014 21:05:51 GMT -5
umm Nick go play yer drums will ya are making me look bad bud LOL
|
|
|
|
Post by sd45longhoodfoward on Oct 10, 2014 21:06:08 GMT -5
NICE!!!!!!!!!
|
|
|
|
Post by analogbeatmaker on Oct 11, 2014 0:46:57 GMT -5
umm Nick go play yer drums will ya are making me look bad bud LOL haha...too funny!  Thanks Terry!! |
|
|
|
Post by jakeloyst on Oct 13, 2014 7:29:21 GMT -5
great weathering job!
|
|
|
|
Post by lajmdlr on Oct 13, 2014 11:03:13 GMT -5
analogbeatmaker
Not an expert on these cars but the Walthers kits includes the "cross bars" to keep the coils separated. Did NW cars not have those?
BTW VERY good weathering job! Modelers can never do it "wrong" because an example a "mistake" can always be found on the prototypes!
|
|
|
|
Post by analogbeatmaker on Oct 13, 2014 11:47:10 GMT -5
analogbeatmaker Not an expert on these cars but the Walthers kits includes the "cross bars" to keep the coils separated. Did NW cars not have those? BTW VERY good weathering job! Modelers can never do it "wrong" because an example a "mistake" can always be found on the prototypes! Thank you Andy! You know, I bought that coil car over 7-8 years ago. It is a Walthers but it didn't have "cross bars" in the box. Also, I only found a few pics from above showing the inside of these types of cars (none were NW) and the cars did not have them. Since the kit didn't have them I omitted them. Thanks jakeloyst! |
|
|
|
Post by lajmdlr on Oct 13, 2014 17:41:57 GMT -5
Nick
Can't say every Walthers coil car kit in my fleet came w/ cross bars but most did. Even have a few extras probably because the hoods will always stay on those. The Red Caboose coil cars also have the cross bars but are thinner than the Walthers ones. Don't know why they really need them as those coils can weigh 20-100 tons each. Maybe so the crane operators won't bash the coils during loading or the operators bashed the cross bars so much they never got replaced. LOL
|
|
|
|
Post by tankcarsrule on Oct 13, 2014 19:59:38 GMT -5
Outstanding Nick!
Regards, Bobby
|
|
|
|
Post by analogbeatmaker on Oct 18, 2014 0:01:12 GMT -5
Outstanding Nick! Regards, Bobby Thanks Bobby! |
|
|
|
Post by lajmdlr on Oct 19, 2014 13:21:30 GMT -5
Here's a pic of a C&O Red Caboose? coil car by Kevin Kayser in Dave Hussey's Naperville 2014 pix: www.pbase.com/dh30973/image/157854812Note the cross bars - 6 thin ones & 1 wide one in middle. But think it's loaded wrong as normally all the coils are loaded directly over the wheels. Coils can weigh many many many tons & could easily collapse the car in the middle. Have seen SP coil cars w/ coils in the middle but they are shorter & have very thick frames. The WP had some 29' 6" gondolas made that carried coils only over the wheels. They were short because they figured longer gondolas wasted space & cost extra fuel to pull then. |
|
|
|
Post by analogbeatmaker on Oct 19, 2014 15:04:02 GMT -5
Here's a pic of a C&O Red Caboose? coil car by Kevin Kayser in Dave Hussey's Naperville 2014 pix: www.pbase.com/dh30973/image/157854812Note the cross bars - 6 thin ones & 1 wide one in middle. But think it's loaded wrong as normally all the coils are loaded directly over the wheels. Coils can weigh many many many tons & could easily collapse the car in the middle. Have seen SP coil cars w/ coils in the middle but they are shorter & have very thick frames. The WP had some 29' 6" gondolas made that carried coils only over the wheels. They were short because they figured longer gondolas wasted space & cost extra fuel to pull then. That's a nicely done model. The wood looks perfect. That's also interesting knowledge on the loading, thanks. I had seen those braces but since my model didn't come with them I just thought my particular model proto didn't use them or Walthers just didn't include them. Oh well, next time. That's also a nice link to the RPM meet pics.  |
|
|
|
Post by lajmdlr on Oct 19, 2014 23:27:35 GMT -5
Here's a pic of a C&O Red Caboose? coil car by Kevin Kayser in Dave Hussey's Naperville 2014 pix: www.pbase.com/dh30973/image/157854812Note the cross bars - 6 thin ones & 1 wide one in middle. But think it's loaded wrong as normally all the coils are loaded directly over the wheels. Coils can weigh many many many tons & could easily collapse the car in the middle. Have seen SP coil cars w/ coils in the middle but they are shorter & have very thick frames. The WP had some 29' 6" gondolas made that carried coils only over the wheels. They were short because they figured longer gondolas wasted space & cost extra fuel to pull then. That's a nicely done model. The wood looks perfect. That's also interesting knowledge on the loading, thanks. I had seen those braces but since my model didn't come with them I just thought my particular model proto didn't use them or Walthers just didn't include them. Oh well, next time. That's also a nice link to the RPM meet pics.  Don't think there's any wood on that model - just alot of rust including on the cross bars. Besides how could any wood last more than 1-2 loadings if that.  |
|
|
|
Post by analogbeatmaker on Oct 19, 2014 23:42:17 GMT -5
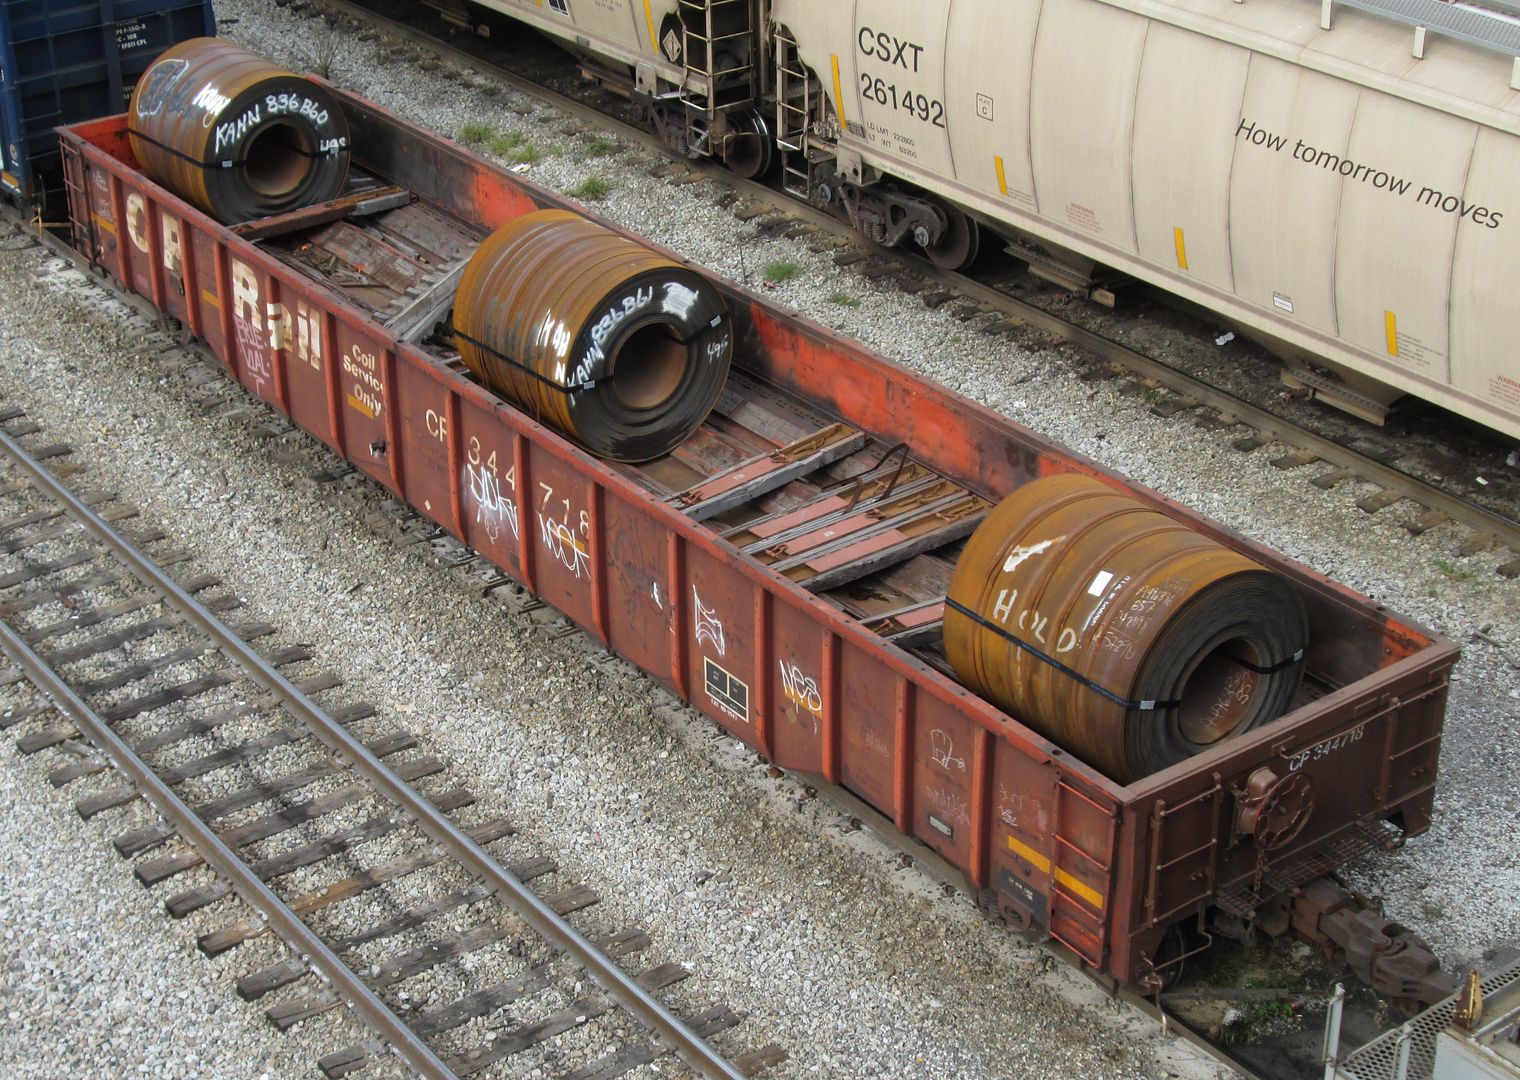
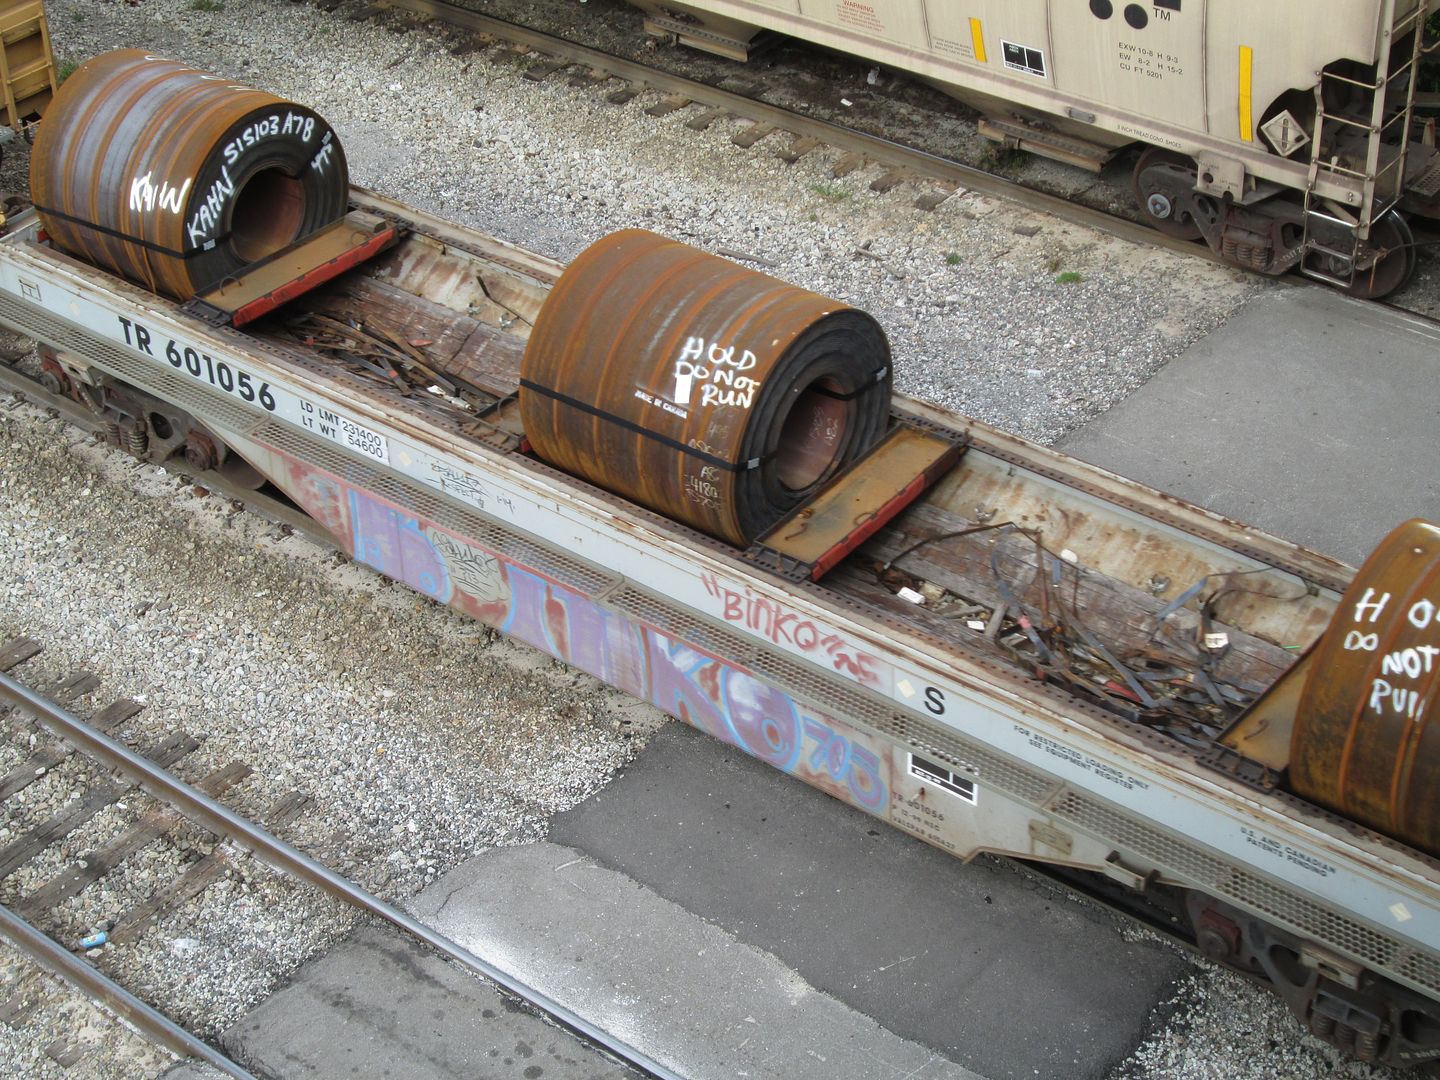
Don't think there's any wood on that model - just alot of rust including on the cross bars. Besides how could any wood last more than 1-2 loadings if that.  Yup...check again. It is running along the car. Just two strips about midways on the slope. The "wood" was actually a raised relief part of the metal chassis on my model. I glued real wood over it. I also found it in the few overhead pics I got of coil cars. Now that being stated, the wood in the proto pics I had seen when I did my model was beat up badly. Here are a couple of pics I snagged last week and you can see the wood in both.   |
|