|
|
Post by ricnok on Jan 26, 2014 12:57:07 GMT -5
Well some people blame it on the rain, I am blaming this on Eric Gagnon's Trackside Treasures blog post tracksidetreasure.blogspot.ca/2013/12/cv-white-boxcars.html . I had just come across an undec Branchline 50' Berwick boxcar and was made a half earnest attempt to unload it to a couple friends when I read the post. Immediately I made the connection that the BFF car he mentioned was this car, just a different door. Hmmm went my brain. 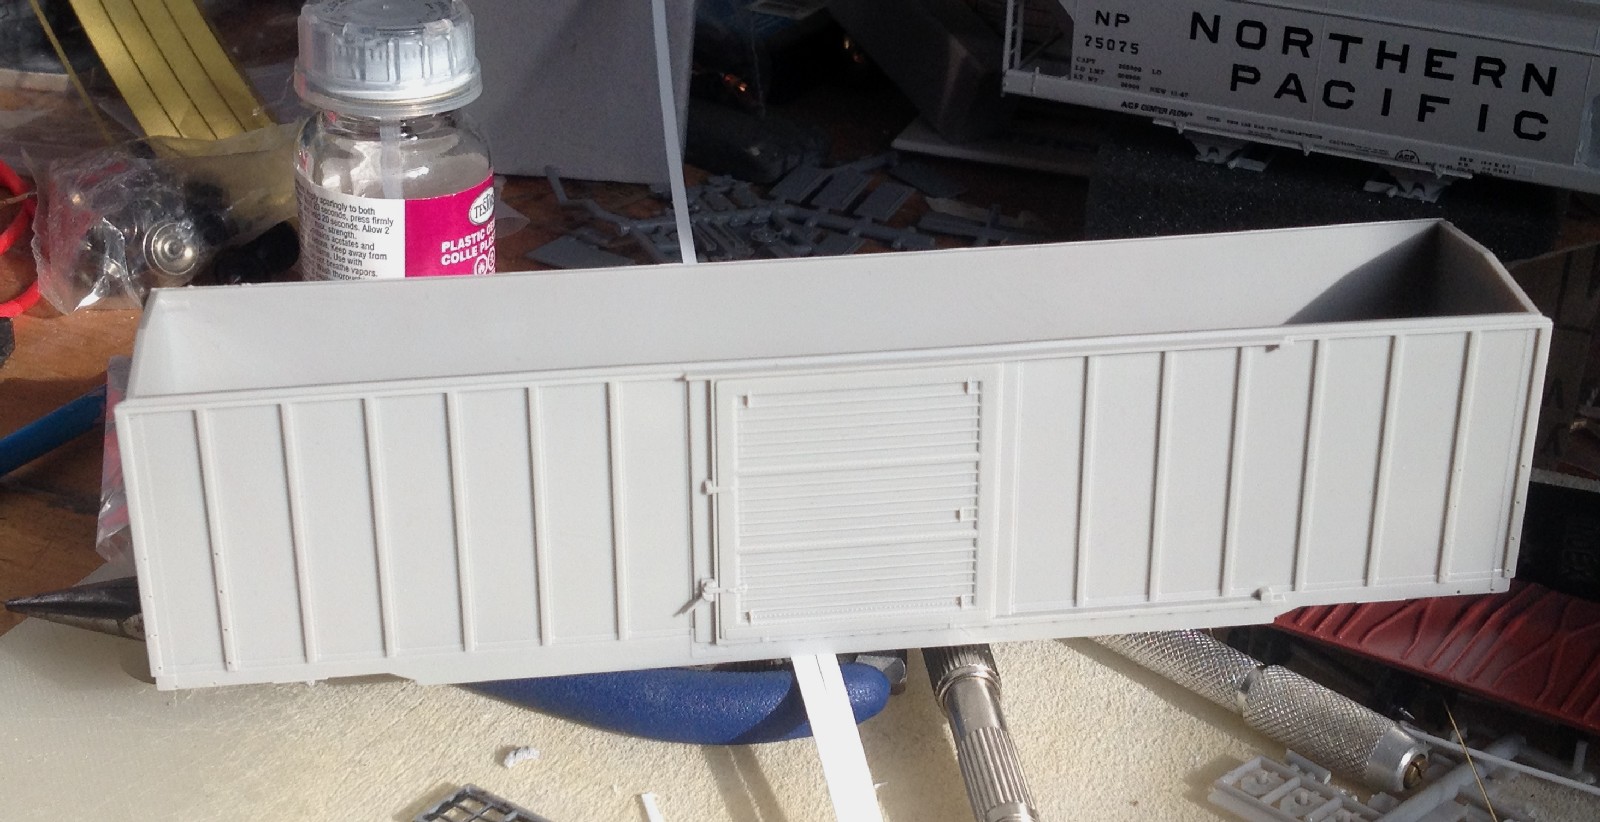 I was concerned that if I cut the door out and did not over support at the top that I might have an issue so I cut some styrene rectangular tube and stuck it in 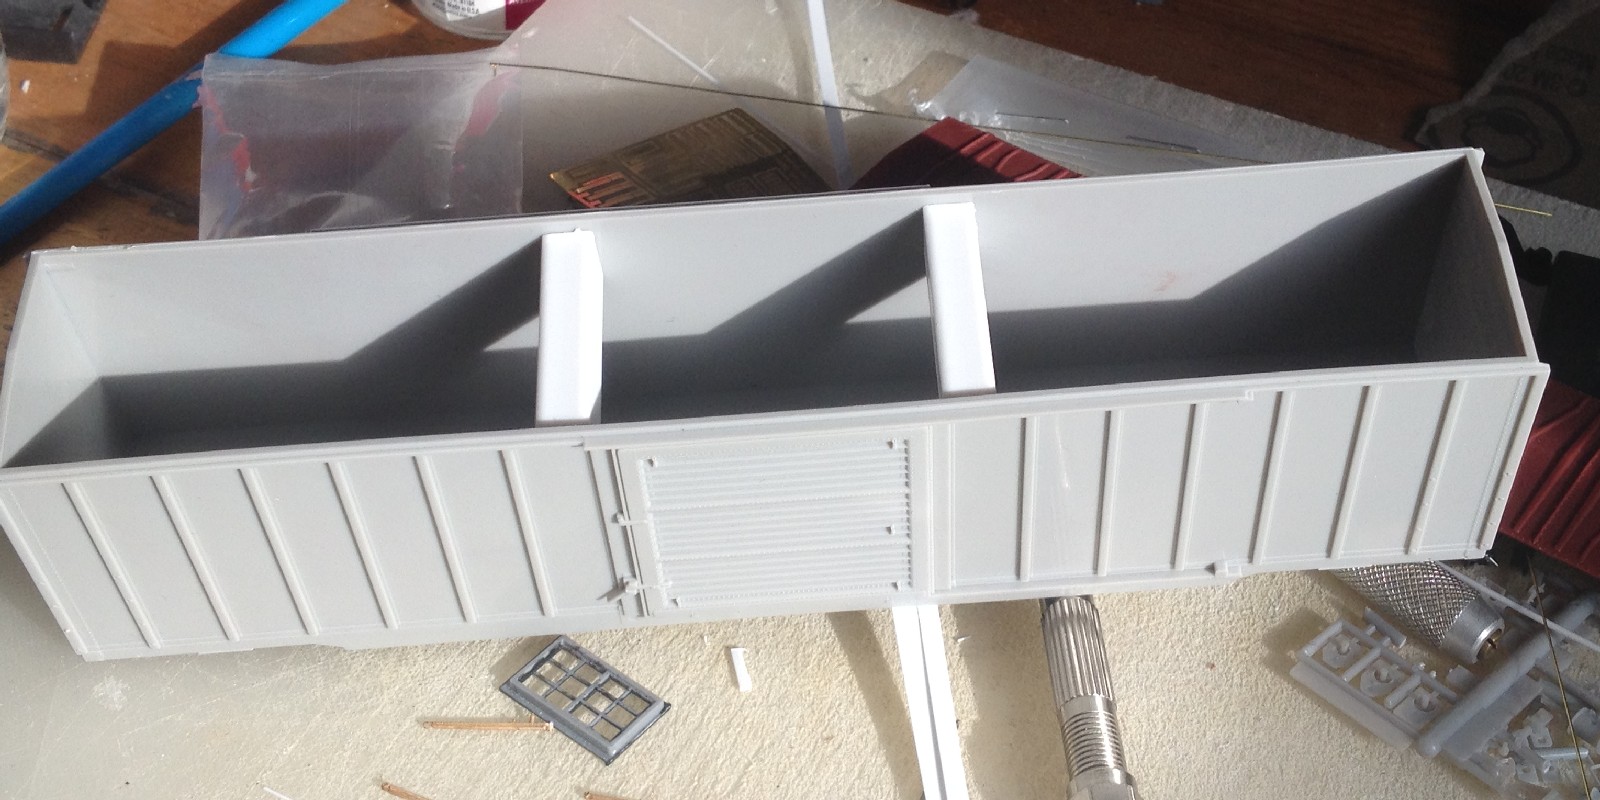 Then I went to the basement and with a reinforced cut off wheel in my flex shaft attachment, used my Dremel to roughly take out the door at medium speed. Those big globs just pick right off when the plastic has cooled. I will do the final cutting and trimming when I get the doors from the P1K Newsprint car 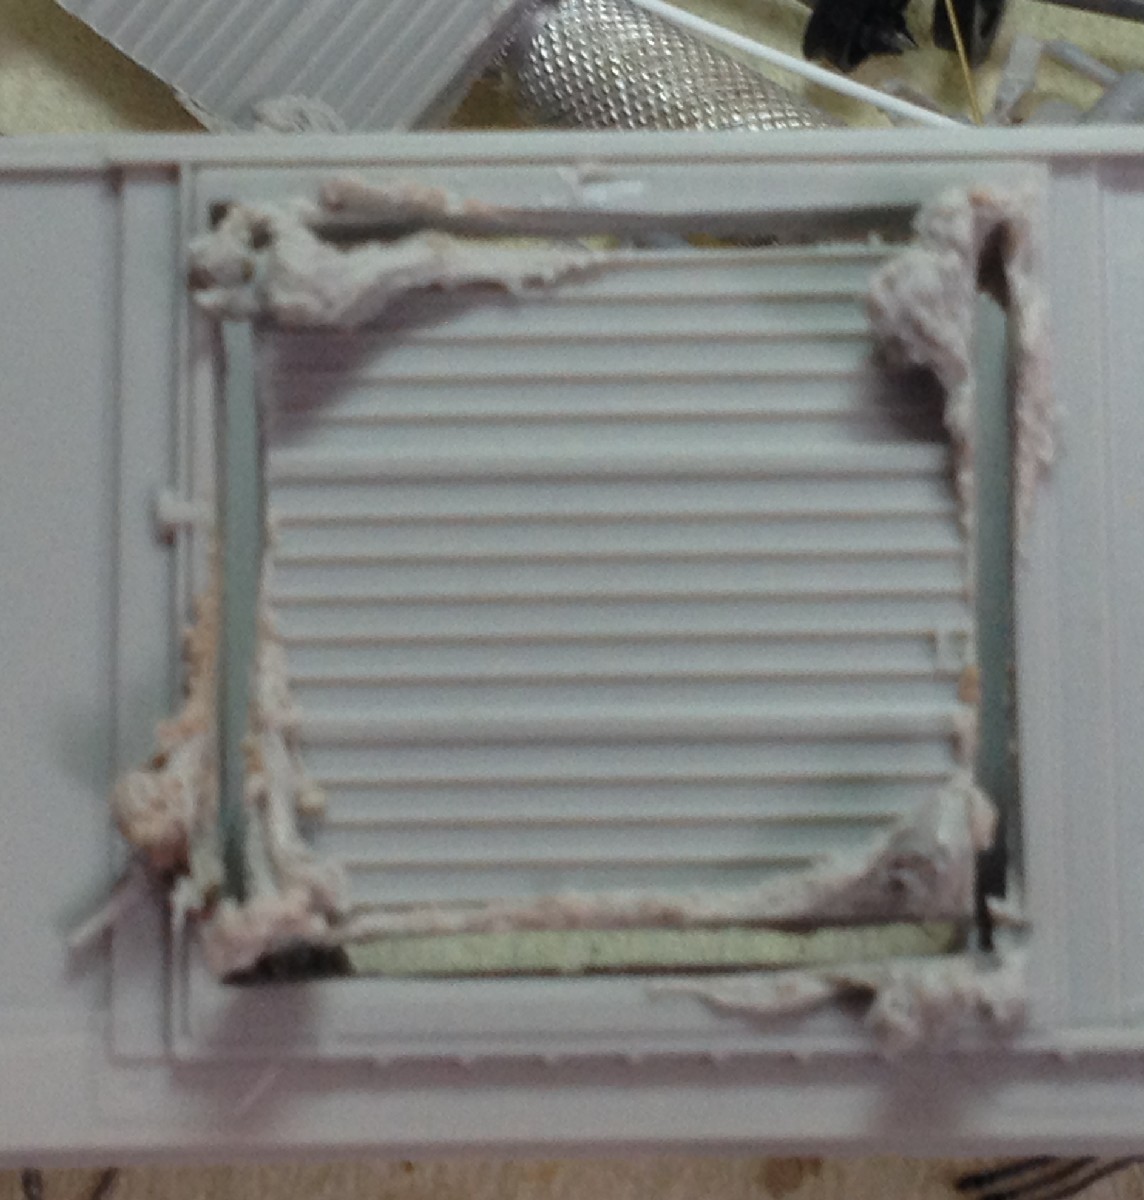 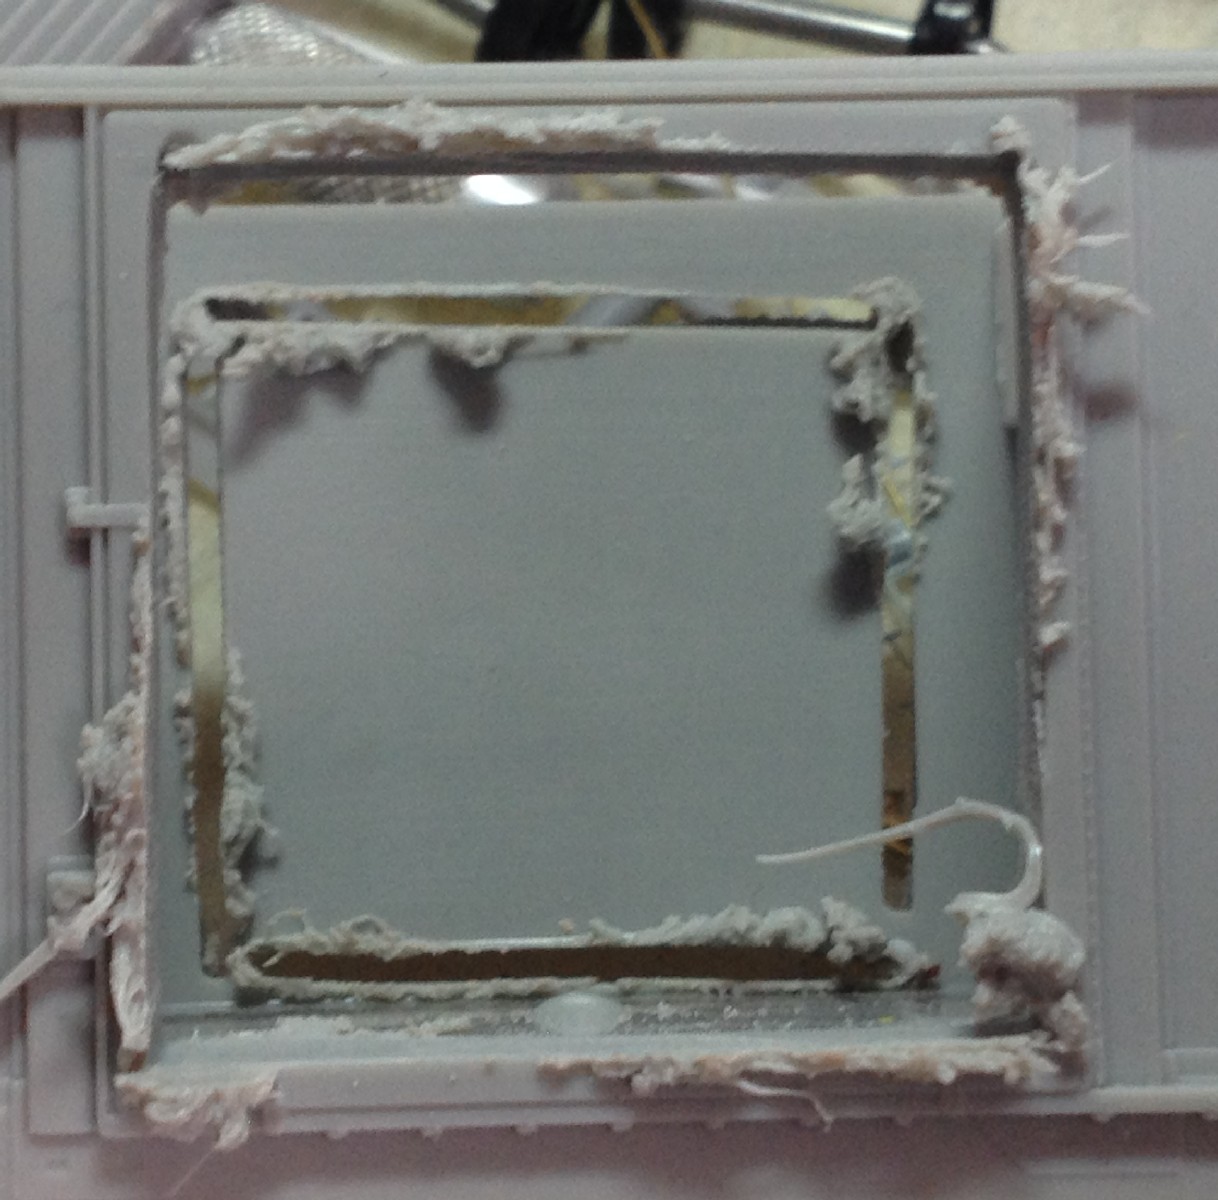 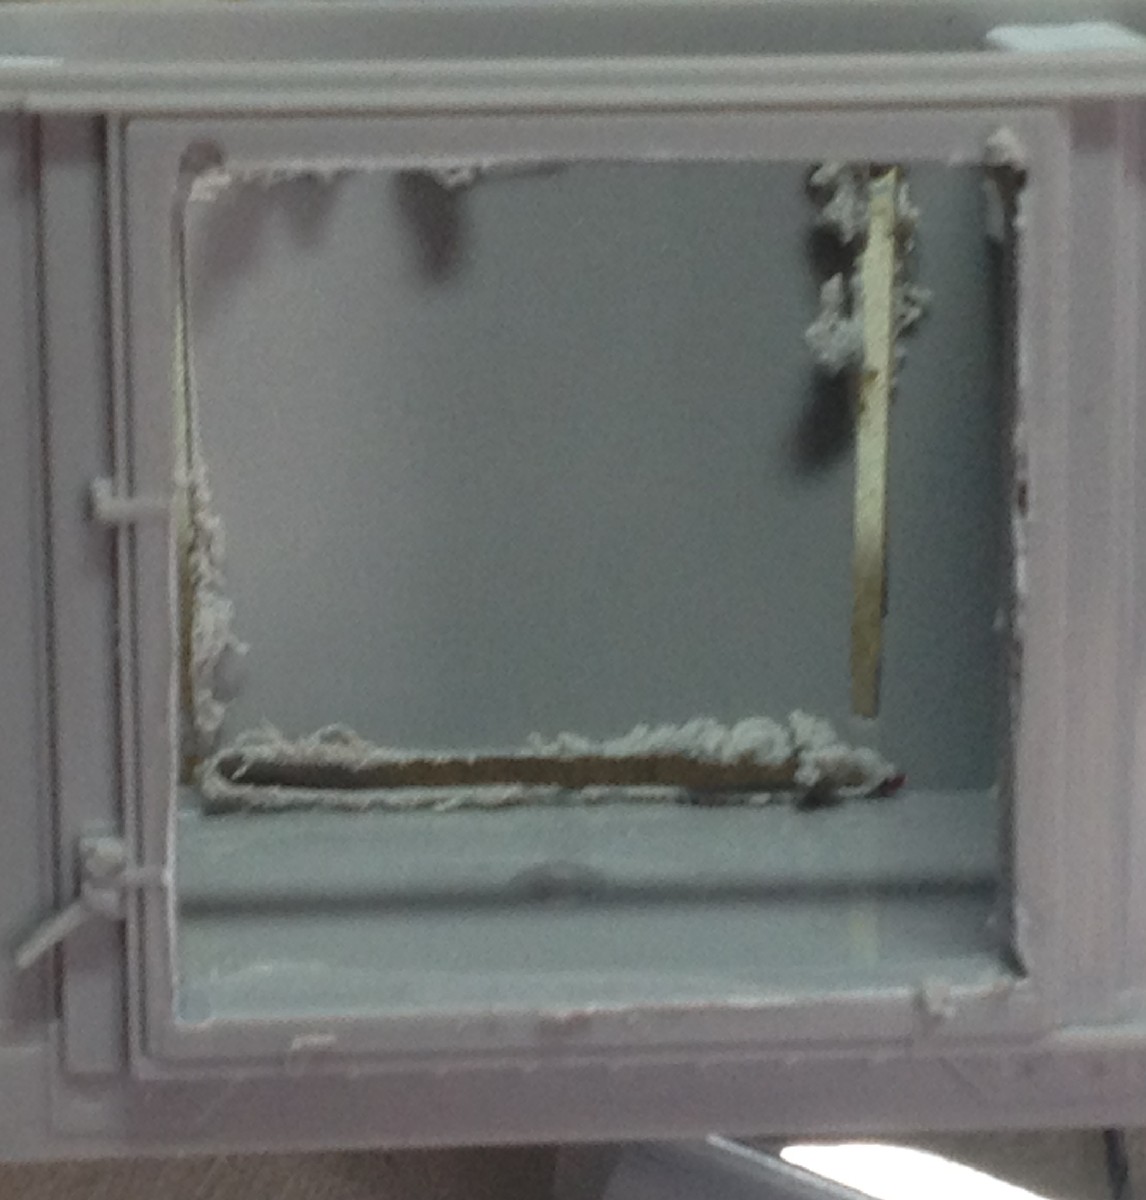 As you can see I will have to figure out the floor of the model once I get the donor doors cut out |
|
FP7
Engineer
Posts: 42 
|
Post by FP7 on Jan 26, 2014 18:33:46 GMT -5
Ric,
Before you cut the P1K car, you might want to check the door widths! The Berwick has a 10' door while the P1K plug is 9' wide. Not an insurmountable issue but it can slow the project down.
Looking forward to the rest of the build.
|
|
|
|
Post by ricnok on Jan 26, 2014 18:56:57 GMT -5
Yeah I just found that out as I was measuring a P1K car that I have while waiting for the donor car to show up. I had ordered an Accurail plug as backup www.accurail.com/accurail/art/Details/110.jpg but it looks like it is been called up to the big leagues with modifications. For some reason I thought the P1K was wider. At least I should be able to use the door bars. I really don't want to scratch build these doors but I may have to yet. |
|
|
|
Post by ricnok on Mar 10, 2014 19:52:01 GMT -5
So, here is an update on this project. I found some Details West doors part number PD-147. While they were too short, I added on enough to fill the gap in the top. I also removed the cast on door details and put on some brass wire for the rods. In the process, I also gouged the door opening so I glued on some .10x.125 strips on the side of the door to clean up the look. Now I need to find some door rollers. 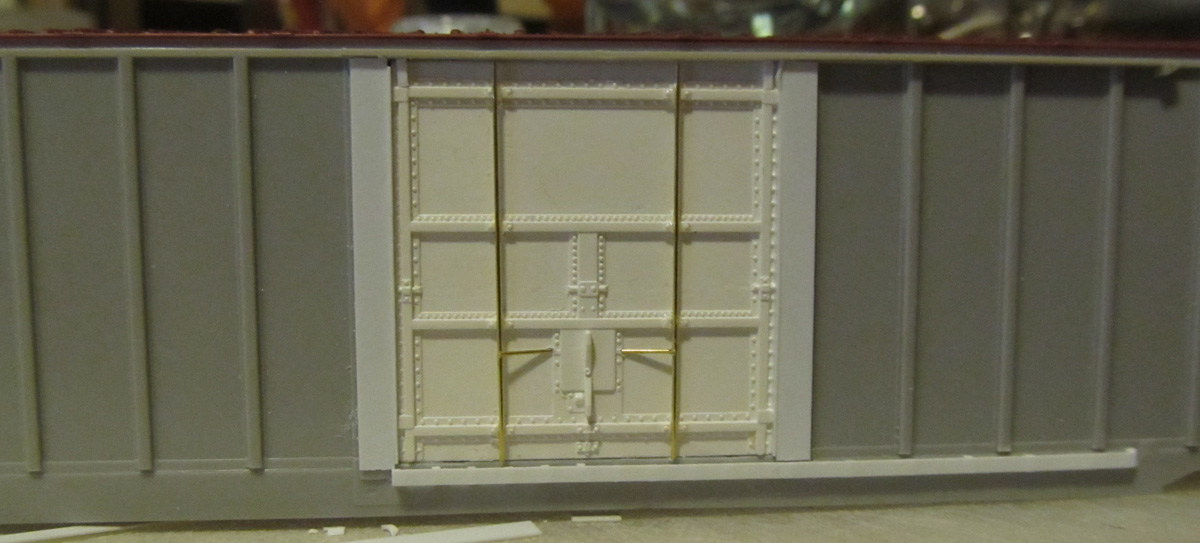 I also wasn't happy with the cast on bottom track, so I made a jig and put some .030x.030 in it and glued a strip of .040x.010 on the .030x.030. I then trimmed the .030 x.030 to the proper length  |
|
|
|
Post by CP_8530 on Mar 10, 2014 23:25:47 GMT -5
Progressing nicely!
|
|
|
|
Post by icghogger on Mar 11, 2014 10:57:52 GMT -5
Nice Work, Rick, that door track really looks Great!!
|
|
dekon
Staff Member
Posts: 634
|
Post by dekon on Mar 17, 2014 16:54:57 GMT -5
Nice!
|
|
|
|
Post by m a y o r 79 on Mar 18, 2014 6:02:33 GMT -5
Very nice work on the door.
Were ese cars used for anything specific or just general freight?
|
|
|
|
Post by ricnok on Mar 18, 2014 16:17:59 GMT -5
Based on where I have seen pictures of them taken, I am guessing the paper industry utilized them.
|
|
|
|
Post by ricnok on Nov 16, 2014 17:34:11 GMT -5
So here I am almost a year later but priming has been completed and base weathering about to begin before I paint and decal  |
|
|
|
Post by m a y o r 79 on Nov 18, 2014 13:46:57 GMT -5
Seems like most of my projects, slooooow  Looking goo though Ric. |
|
|
|
Post by dR. T. dAmAgE PhD on Nov 22, 2014 18:34:40 GMT -5
Very Nice indeed!
GaRy
|
|
|
|
Post by emd16645 on Nov 26, 2014 9:20:00 GMT -5
Ric,
You made reference earlier in your thread about replacing the door track. Could you provide more detail to your jig dimensions and your process? I have a small fleet of the berwick cars that I'd like to upgrade.
Thanks,
Chris
|
|
|
|
Post by tjmfishing on Nov 26, 2014 15:46:15 GMT -5
Berwick Cars....good one
|
|
|
|
Post by ricnok on Nov 26, 2014 21:49:37 GMT -5
Chris I took a piece of .060 styrene and cut it about 3/4" x 6". Why so long...so I don't loose it. Now this is the time consuming part and confusing to explain part (I will add a picture). I cut a bunch of .010x.100 styrene about 3/4" wide. These will be the spacers on the jig for the track supports. I noticed on the Branchline car that the supports that stand the track off the car double up under the door probably due to the heavy door sitting there most of the car's life. I glued my first spacer (.010x.100) down and let it dry sufficiently, then put a piece of scrap .030x.030 beside it and glued down another piece of .010x.100 on the other side of .030x.030, being careful not to glue the .030x.030 and I immediately removed the .030 spacer. The .030x.030 is the size of the track support I used and we are just using this piece to set the jig. I continued this the width of the door. Once past that, I doubled up the .010x.100 between each .030x.030. You might have to change the size a bit to watch out for the ribs. Next cut some smaller pieces of .030x.030 to be the actual supports that are placed in the jig. Just make them long enough to be the support and if you don't mind the wasteage, longer and trim after it is done gluing. Fill the jig with the .30x.030 and then take the material you want to use for the track (I used .010x.060), put some glue on that (not too much so it doesn't run down the .030 to the jig) and then place on the .030. Keep the track straight and pull it out as soon as you are comfortable in case some glue did wick down to the jig. Set aside and trim the .030 when the glue is fully cured, then glue on the car. 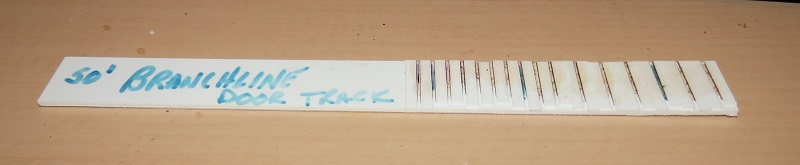 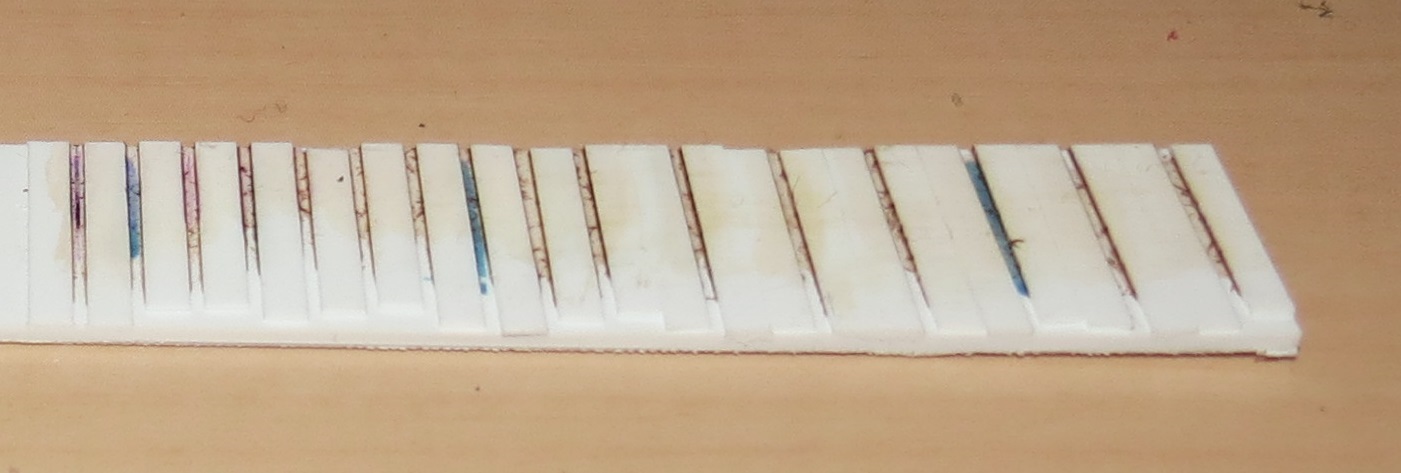  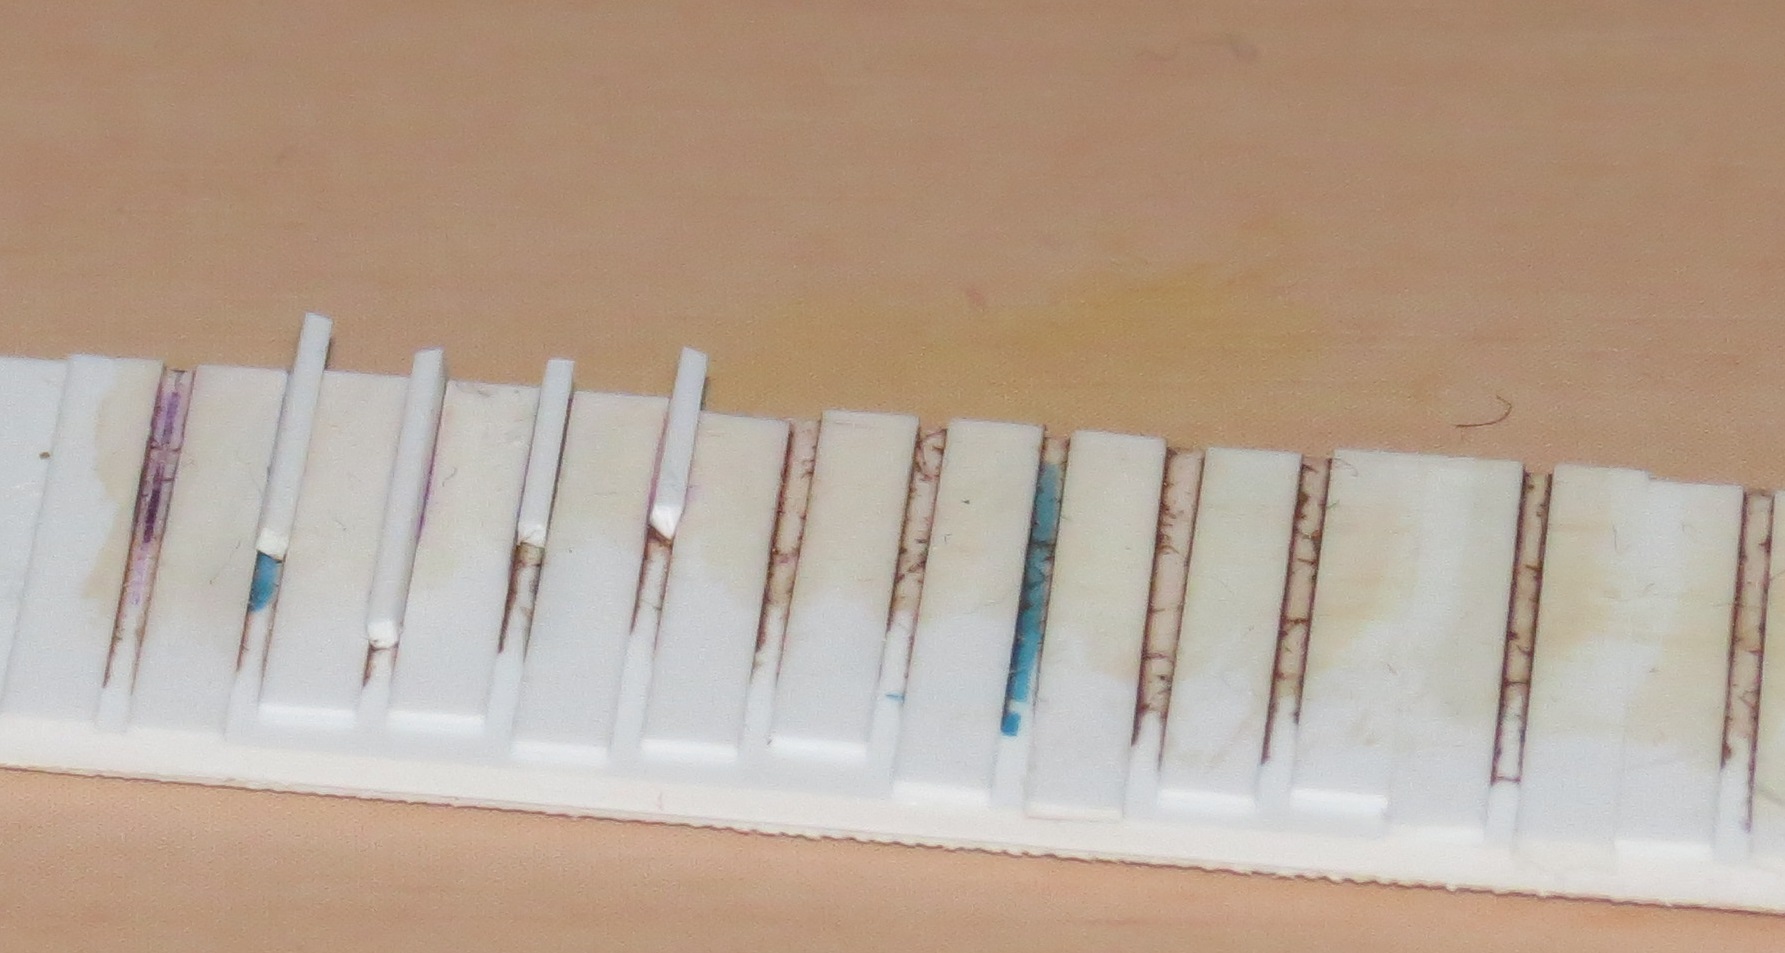  |
|
|
|
Post by emd16645 on Nov 27, 2014 7:26:30 GMT -5
Thanks for the explanation. I probably will take a crack at on of these CV cars at some point and the Bangor and Aroostook had cars with this style door as well. Just need to get my hands on the replacement doors!
|
|
|
|
Post by ricnok on Dec 7, 2014 21:01:01 GMT -5
So as I said in the last update, I sometimes weather before I paint and here is why. I used oils and made some nasty spots on the roof. I then used a toothpick to apply some silicone caulk over the spots once they have dried and I then sprayed the roof colour over that and then removed the caulk to reveal the rust underneath. You can also see some areas where it looks like the rust is getting ready to pop through. I haven't painted the rest of the car yet, I just started with the roof.  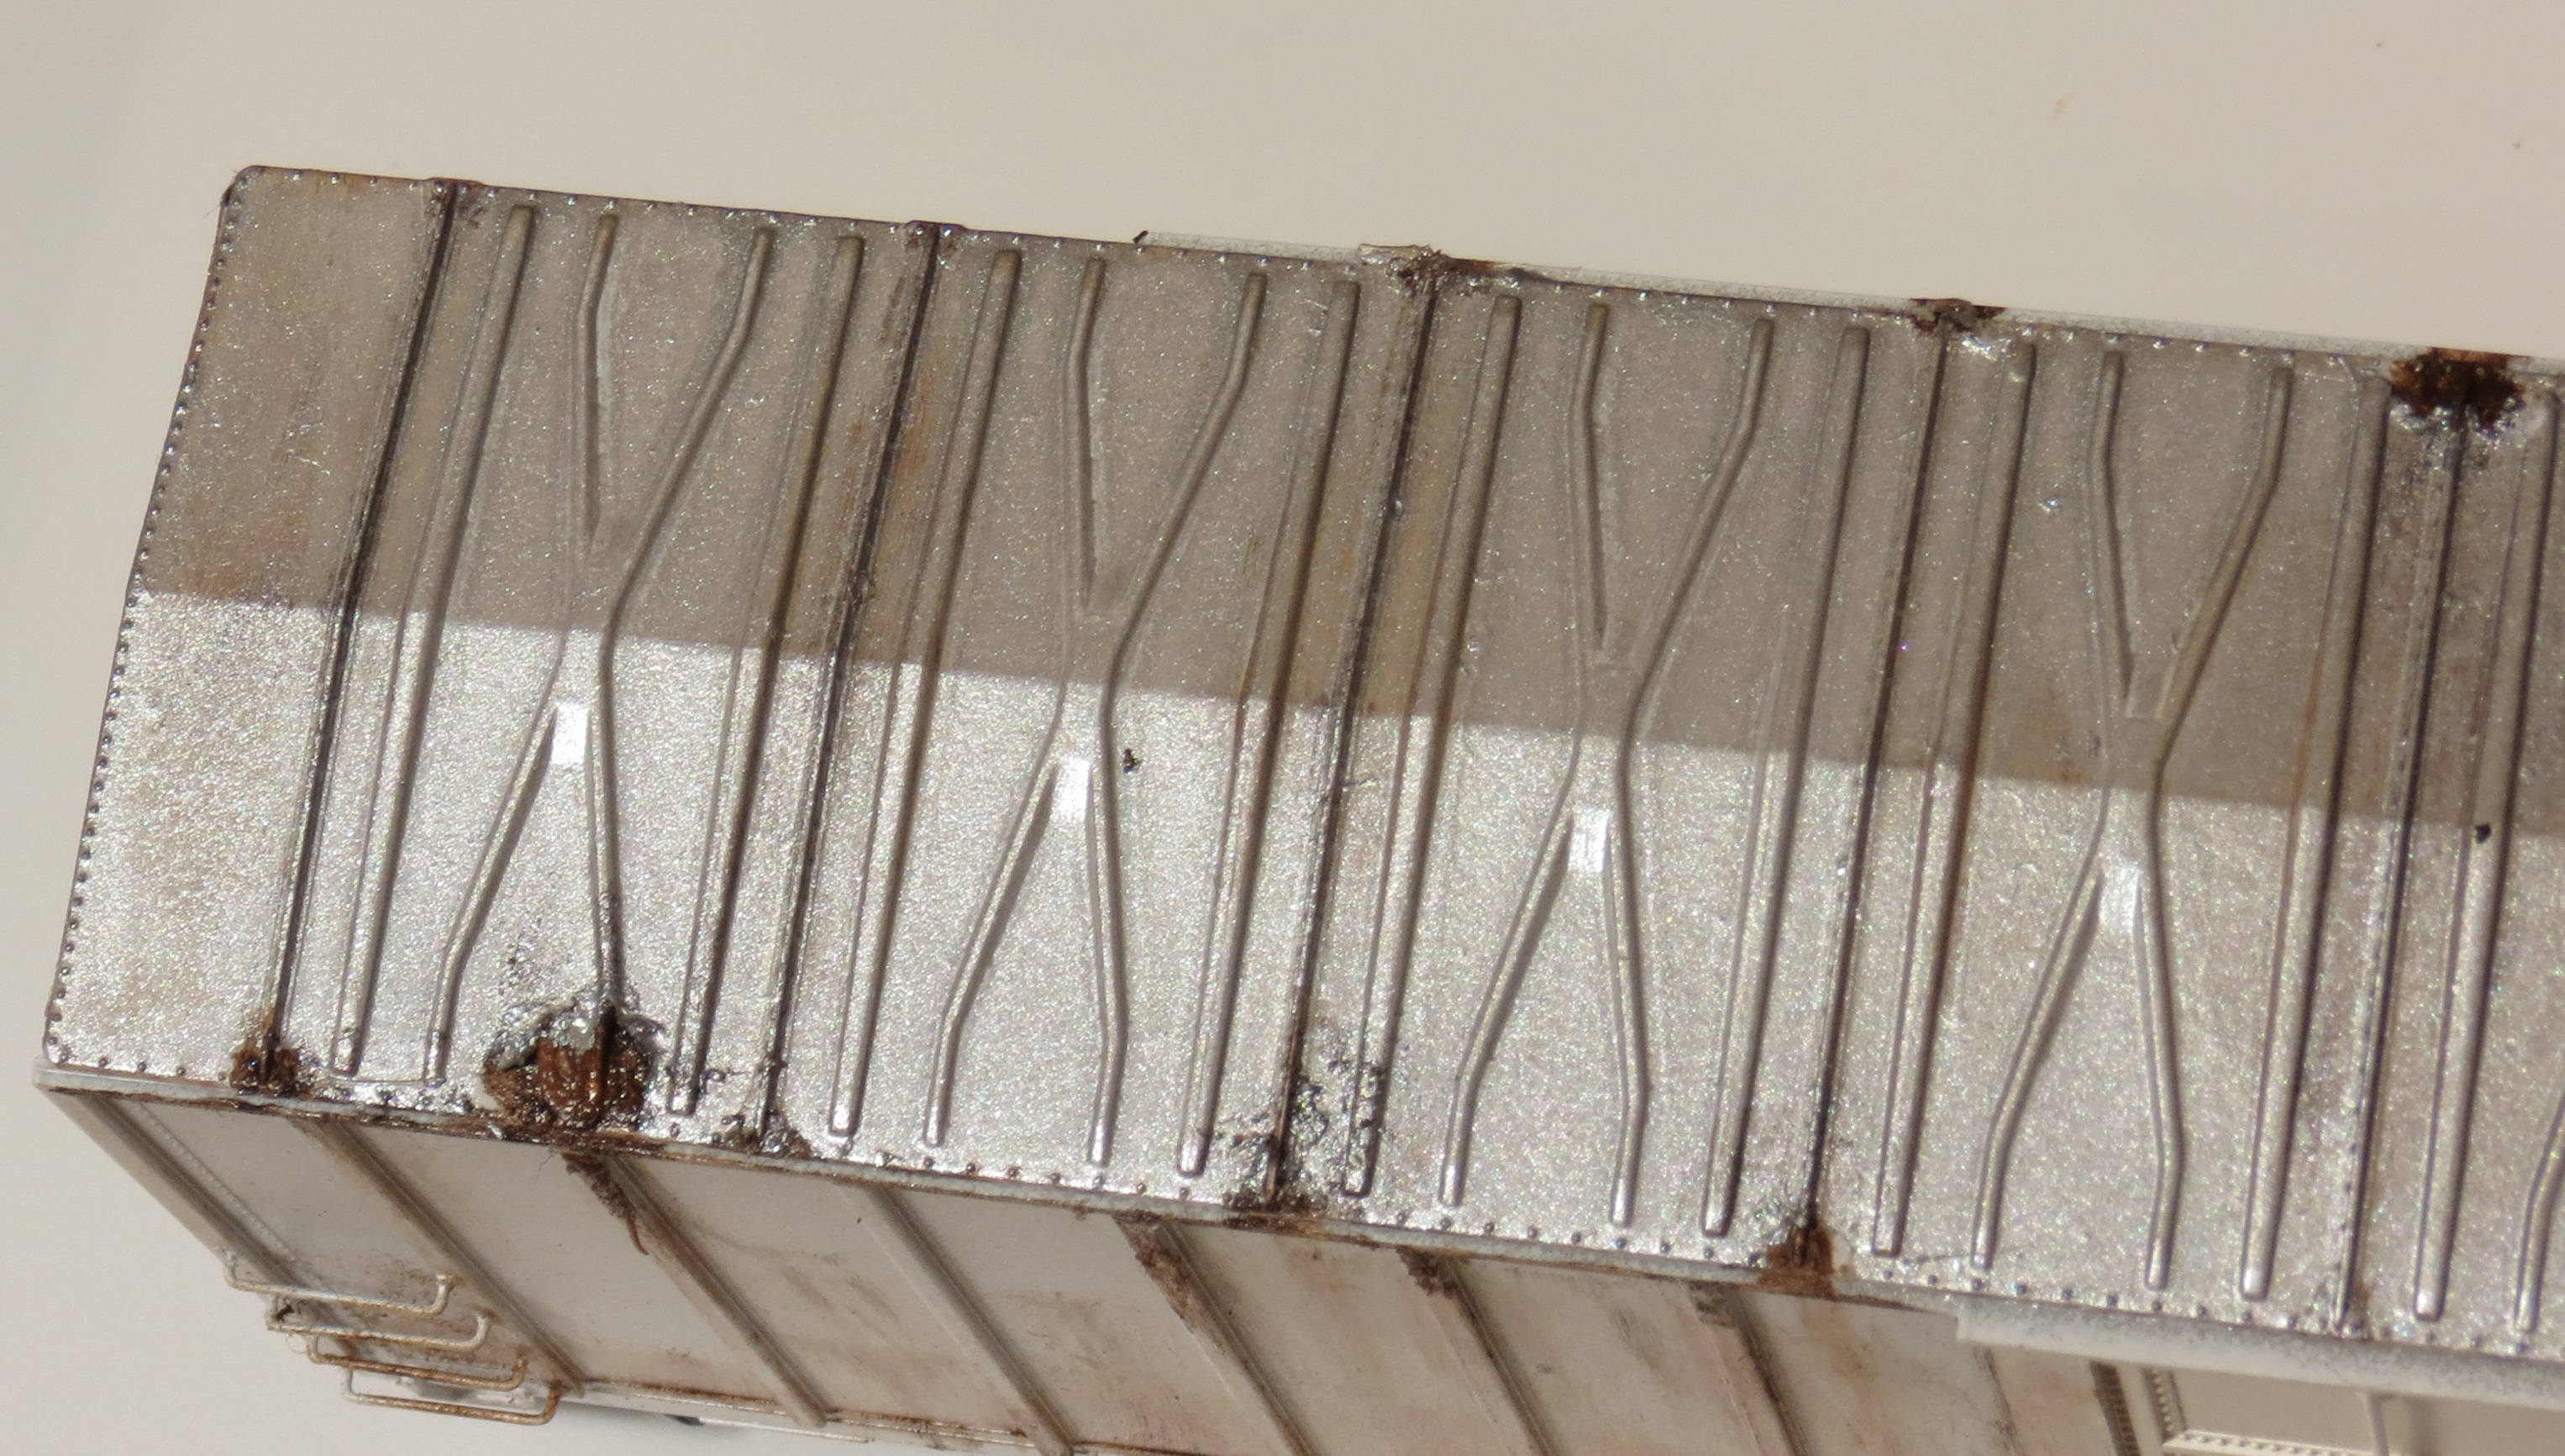 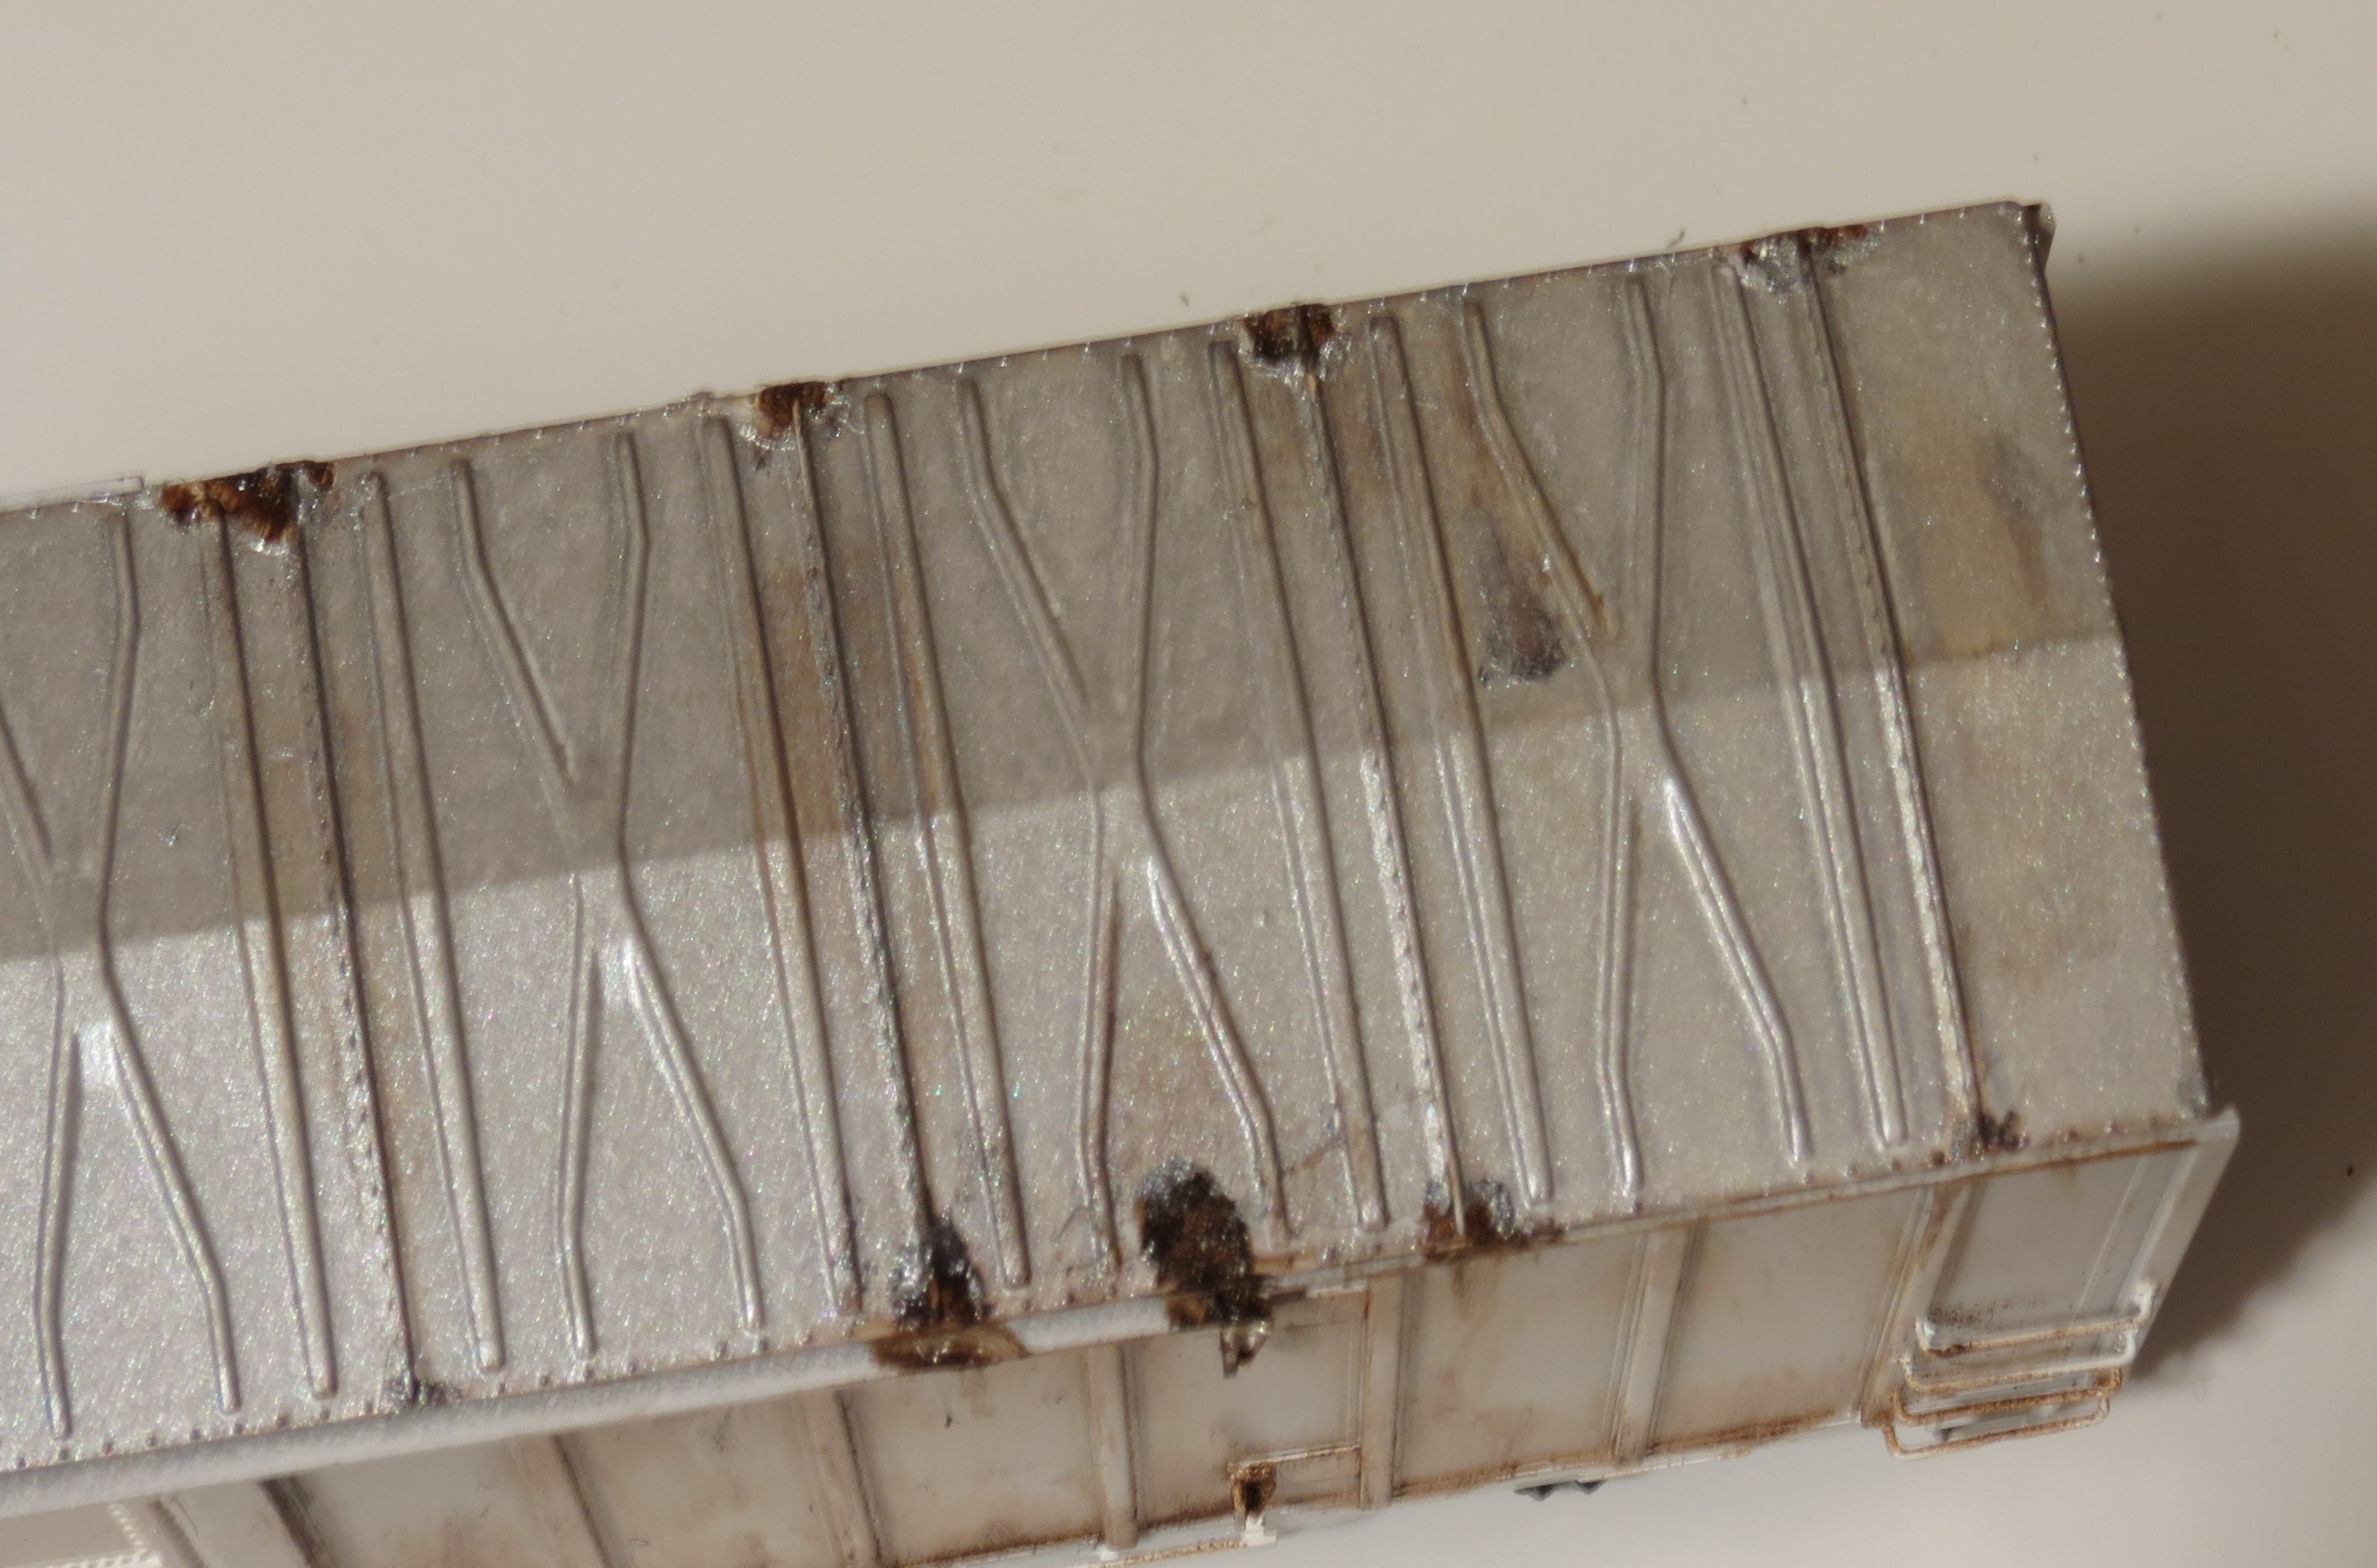 |
|
|
|
Post by emd16645 on Dec 10, 2014 12:33:52 GMT -5
Ric, you said in an earlier post that you got an accurail door as back up. Can you comment on the quality of the door as well as the door size for use on these cars? I have some of the details west door and could make them work similarly to your model, but I dislike the difference in height between the door and the opening.
Thanks,
Chris
|
|
|
|
Post by ricnok on Dec 10, 2014 23:10:27 GMT -5
While the Accurail door is taller, I don't think it fully fits the opening either and the latching mechanism was wrong which was enough to deter me. I would have to add height to both doors and fix the Accurail latching mechanism for what I am modelling.I really wish someone would come out with more door variety. The nice thing about the Accurail is that there are no rivets www.walthers.com/exec/productinfo/112-110 Both doors will require mods but both have pluses and minuses. More pics to show soon. Been painted and decalled, now, to finish the weathering |
|
|
|
Post by ricnok on Dec 17, 2014 18:40:09 GMT -5
Well, it is finally done 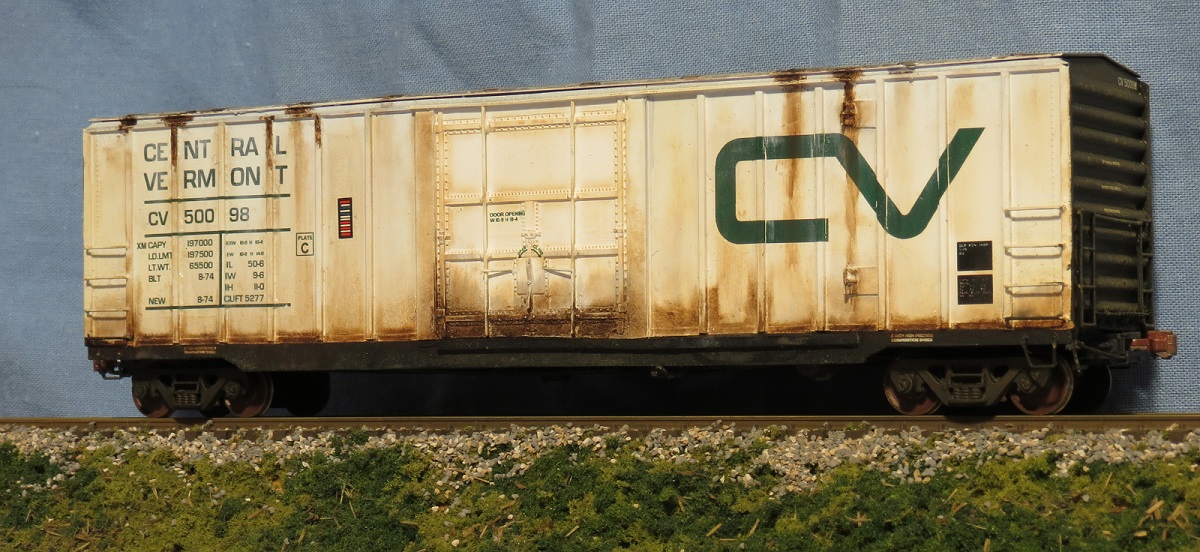 |
|