|
|
Post by alister on Oct 18, 2009 2:34:32 GMT -5
I thought I'd post my SD45-2 conversion to a SD40-2R that BNSF has rebuilt in N Scale. Prototype: www.rrpicturearchives.net/showPicture.aspx?id=970148www.rrpicturearchives.net/showPicture.aspx?id=1462206This should give you a feel for what I am attempting First I start with an Intermountain SD45-2 and alter it, by removing the rear fans. exhaust and T vent (eventually relocating it).   This shows the grafted in fans from a Kato SD40-2 with BLMA 48" Fan grills and blades.  The next clip shows the exhaust has been replaced with one from a Kato SD40-2 and a resin AC fitted along with brass walkway treads from BLMA, sunshades and lift rings.  The next clip shows the nose light being added, cast from a mid production Kato SD40-2 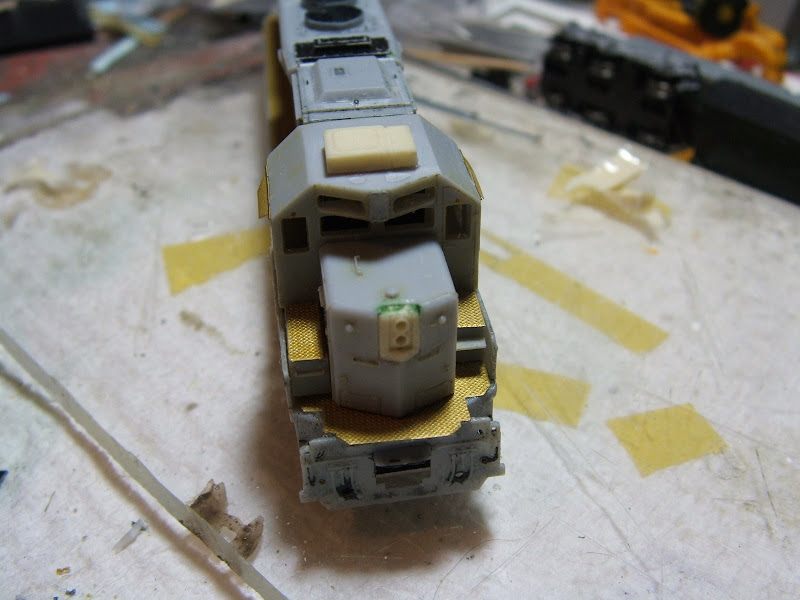 This is as it stands now: 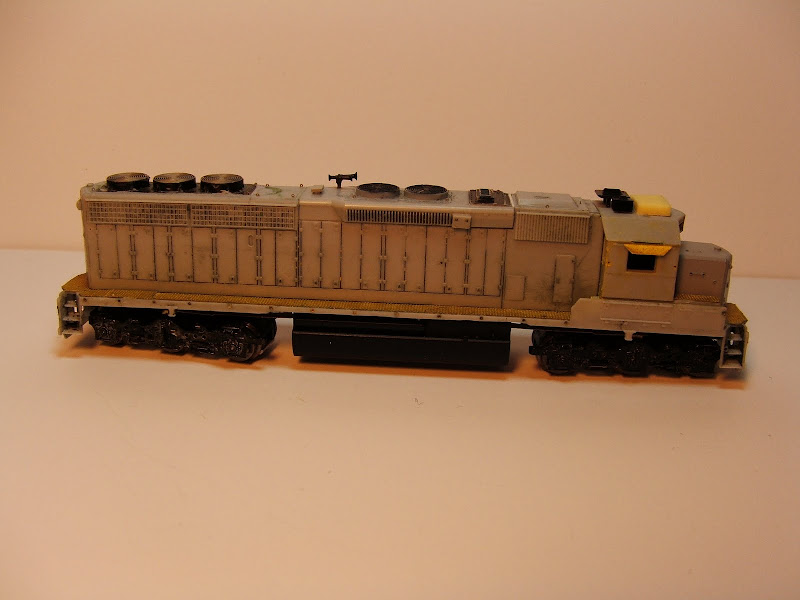  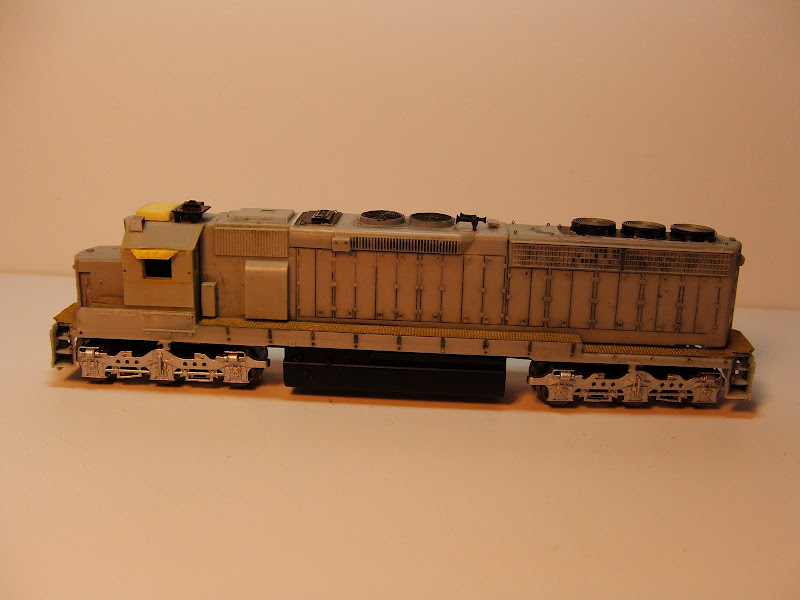 I did actually put a rear Fan grab on too. I also like to add the grabs after decalling (yeah I'm strange!!!) It's now in the paintshop!  |
|
|
|
Post by alister on Oct 18, 2009 2:55:27 GMT -5
The cut levers and mu hoses will be done before final paint. The cut levers are a bit tedious to fit and a lot of patience is needed!!!
|
|
|
|
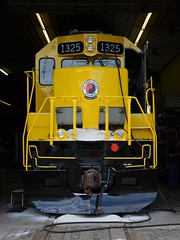
Post by NCCR 2580 on Oct 18, 2009 3:58:12 GMT -5
Nice work, but too small fer me, LOL! I would like to see this one after you are done, I shot this unit BNSF 7950 in Birmingham Al.
~DJS~
|
|
|
|
Post by gnsteve on Oct 18, 2009 23:29:39 GMT -5
Looks good. Happy painting.
|
|
|
|
Post by icghogger on Oct 19, 2009 11:13:59 GMT -5
Very Nice Work, Alister!
|
|
|
|
Post by alister on Oct 20, 2009 6:42:41 GMT -5
Thanks guys, A few things have been spotted so I'll be adding the 2 missing ribs on the blower cover behind the cab (oops Intermountain!! ya fergot that bit) - stretchy sprue trick should do it. And a fuel filter at the rear of the fuel tank and the usual filler etc maybe pipes.... |
|
|
|
Post by diesel on Oct 21, 2009 22:23:43 GMT -5
NICE! I haven't had much time to post lately... but I think this is gonna be a good looking unit. I can't wait to see it, SD40s are a favorite.
Dan
|
|
|
|
Post by alister on Nov 21, 2009 4:48:21 GMT -5
A bit of progress then I spot a problem, the electrical box was formed against the shell which is incorrect. I have had to remove it and create a new one attached to the cab. Unfortunately this was after paint!!!  |
|
dmir
Trainmaster
Posts: 111
|
Post by dmir on Nov 21, 2009 7:41:39 GMT -5
Even so, great job!
|
|
|
|
Post by alister on Nov 29, 2009 19:57:30 GMT -5
Thanks for the kind words ;D Well here's some progress, I have lost a side window and the windscreen wipers so I'll probably have t email Intermountain for some spares. I can't glue the cab in place without those parts. Unless I find those bits - spent 2 hours looking on the floor for them but to no avail. Anyway here's some pictures:  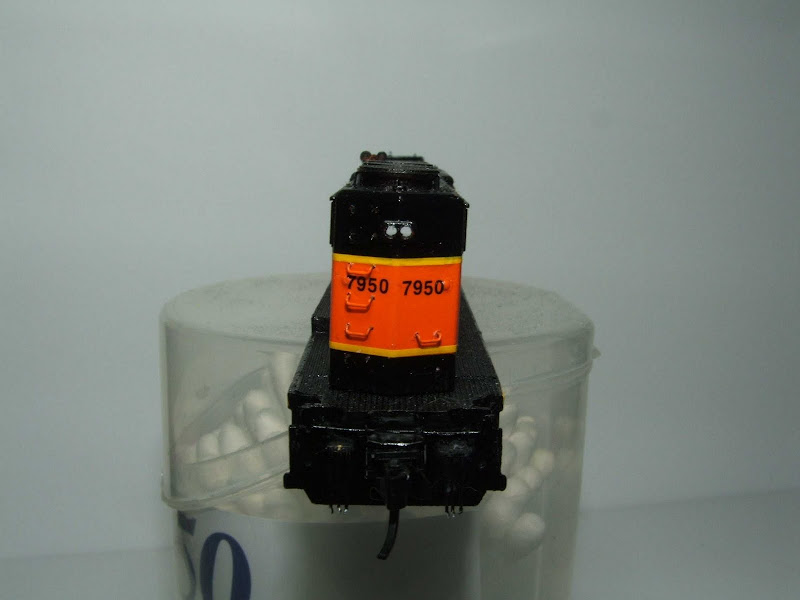   |
|
|
|
Post by gnsteve on Nov 30, 2009 1:42:47 GMT -5
I like the progress you've made. I've sent more parts to the floor than I care to think about. What saves me time and again is the carpet saver chair mat. If I don't have music too loud, I can hear parts land and start looking in that area. Optivisors and a good flashlight help too. Hope your delay isn't too long and you can put the finishing touches on this good looking engine.
|
|
|
|
Post by alister on Dec 10, 2009 18:28:01 GMT -5
Thanks for your tips - just might have to do that - i just found the missing part 4 feet away from where it dropped - go figure!!!!
I can now get going on this again.
What do you guys use for modern loco data warning signs and other stickers on the long hood? It looks like Microscale doesn't quite do the correct warning labels etc for this loco.
|
|
|
|
Post by alister on Jan 22, 2010 5:26:04 GMT -5
I got the nose on, and I now have to order new windscreen wipers then it's pretty much there. I'll have to add the fuel filter / pump thing behind the fuel tank and add the nano led for the nose light and convert it to DCC. The handrails are challenging to strip as the paint is caked on!!! It's a slow process! 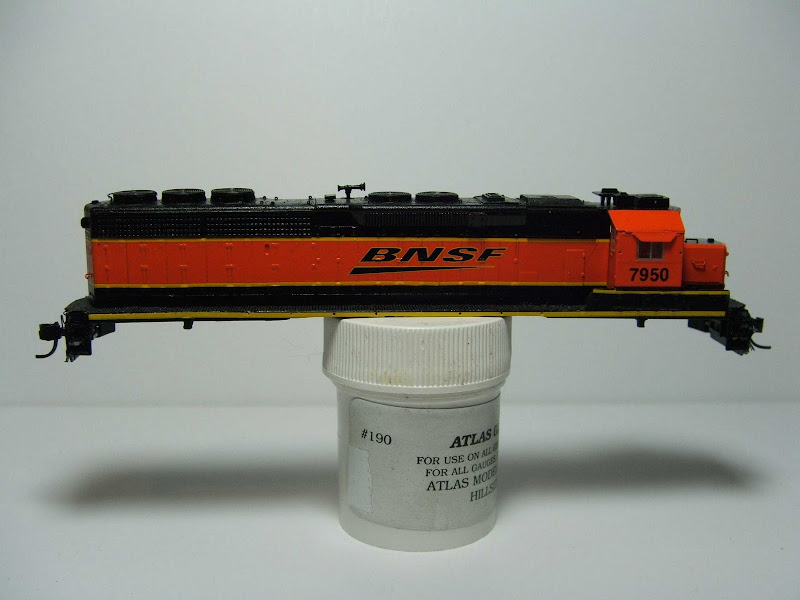 |
|
|
|
Post by icghogger on Jan 22, 2010 10:25:57 GMT -5
Kudos to you, Alister, it is really looking Good!
|
|
Freightrain
Chairman
Modeling CSX from 1995 to present
Posts: 625
|
Post by Freightrain on Jan 22, 2010 19:48:53 GMT -5
Awesome job!
|
|
|
|
Post by atsf90 on Jan 22, 2010 21:38:26 GMT -5
That is looking great.
|
|
HIGHWAYMAN9674
Engineer
From the computer chair of Dr.S.Genoroso Oppenheimer Sr
Posts: 25
|
Post by HIGHWAYMAN9674 on Jun 16, 2010 10:10:21 GMT -5
nice work.I too and a N-scale fan
|
|
|
|
Post by jpwisc on Jul 2, 2010 20:55:41 GMT -5
I love seeing a well done N scale engine, can't wait to see the finished product!
|
|
|
|
Post by m a y o r 79 on Jul 3, 2010 13:13:31 GMT -5
Wow that was an incredible amount of detail work for N scale, very impressive!
|
|
cbq2bn
Chairman
The Zephyr - The only way to Travel
Posts: 727 
|
Post by cbq2bn on Jul 4, 2010 17:10:43 GMT -5
Wow that was an incredible amount of detail work for N scale, very impressive! I agree, but man I don't how N scalers do it, very nice work... |
|