

Post by mikeinwi on May 25, 2019 11:39:02 GMT -5
This little gem is parked right down the street from me, and now property of the East Troy Railroad Museum, formally the East Troy Electric Railroad: www.easttroyrr.org/
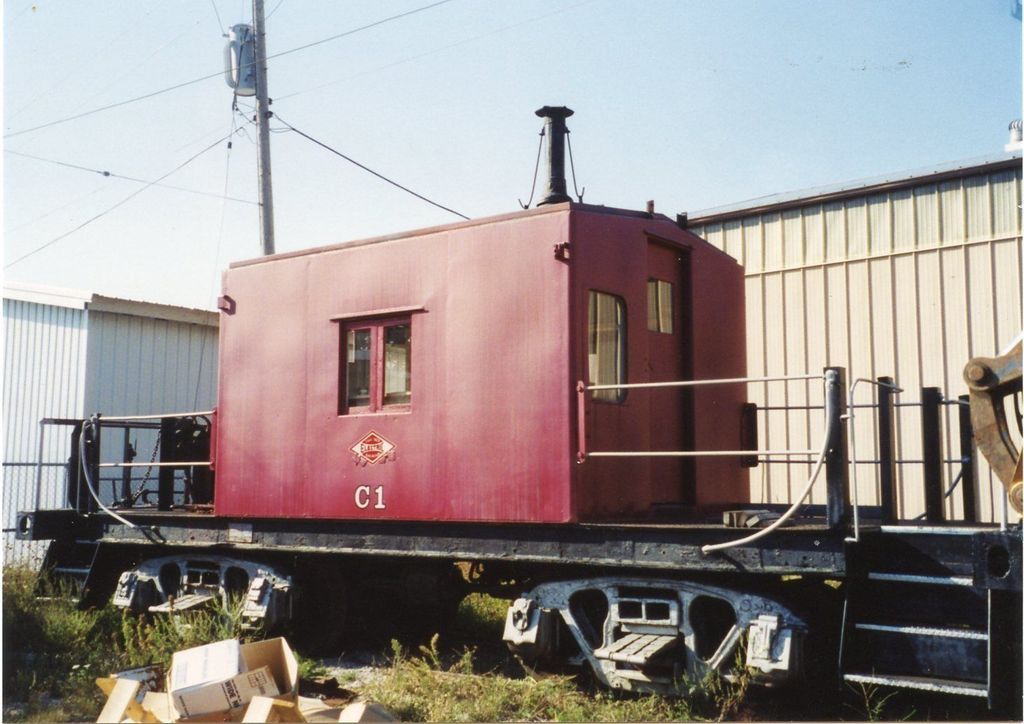
The ladders and running board have been stripped off, so I decided I wanted to build this cab the way it would have looked while in service on the MILW.
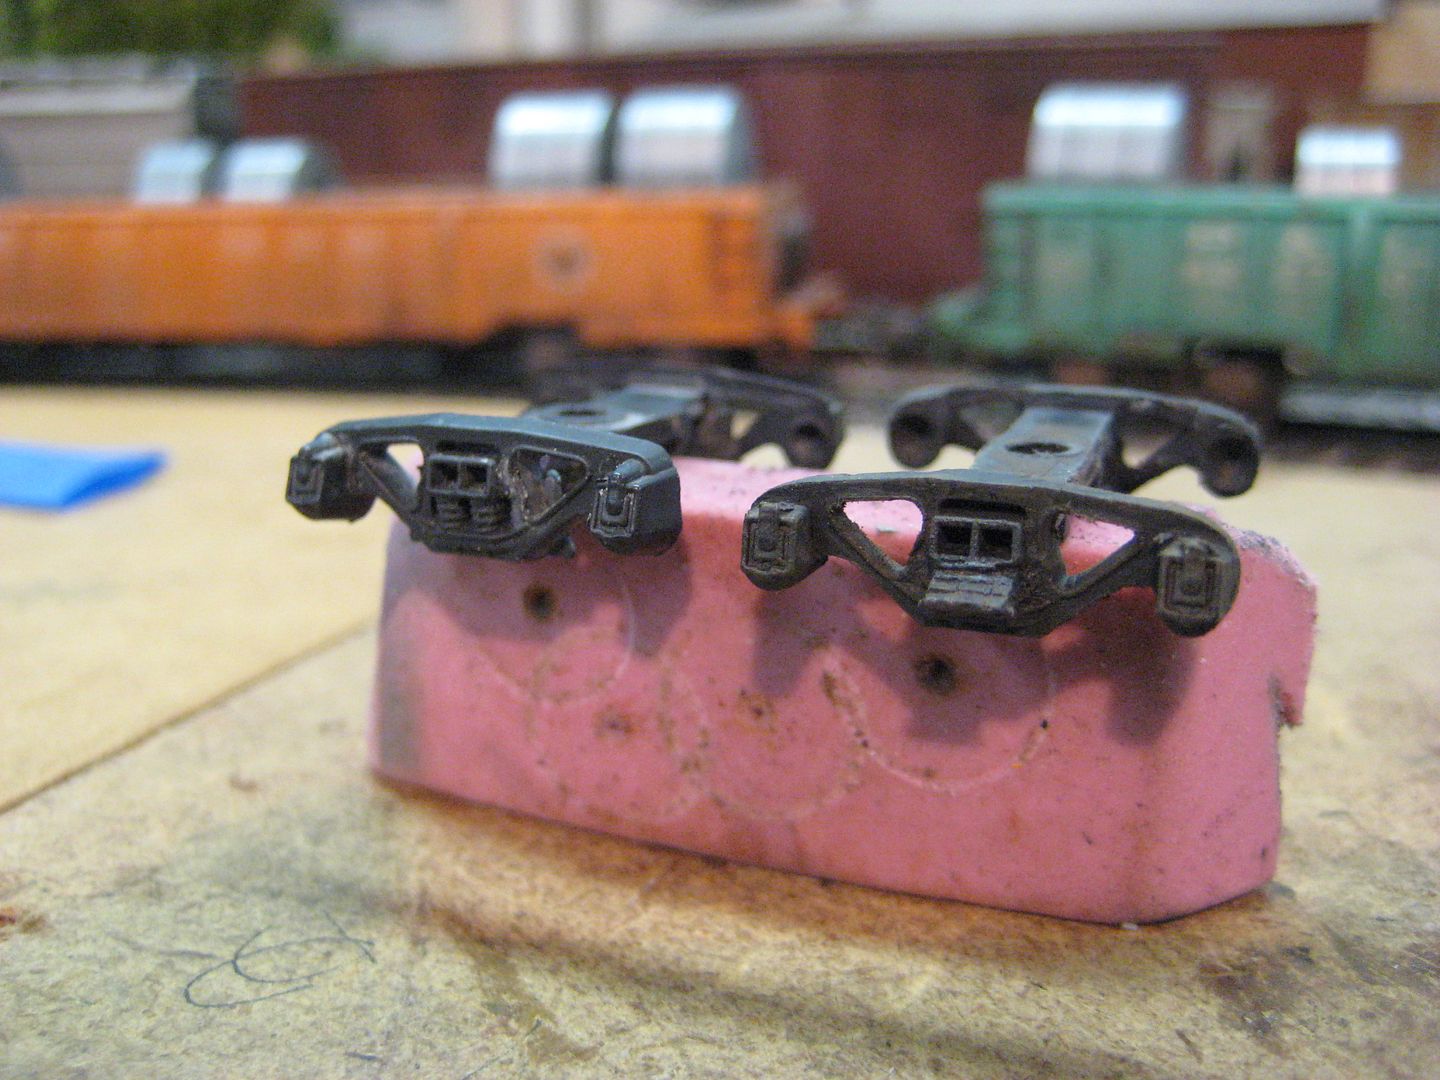
I started with the trucks. I couldn't find any I liked, so I milled out the coil springs, and fashioned some leaf springs to fit in.
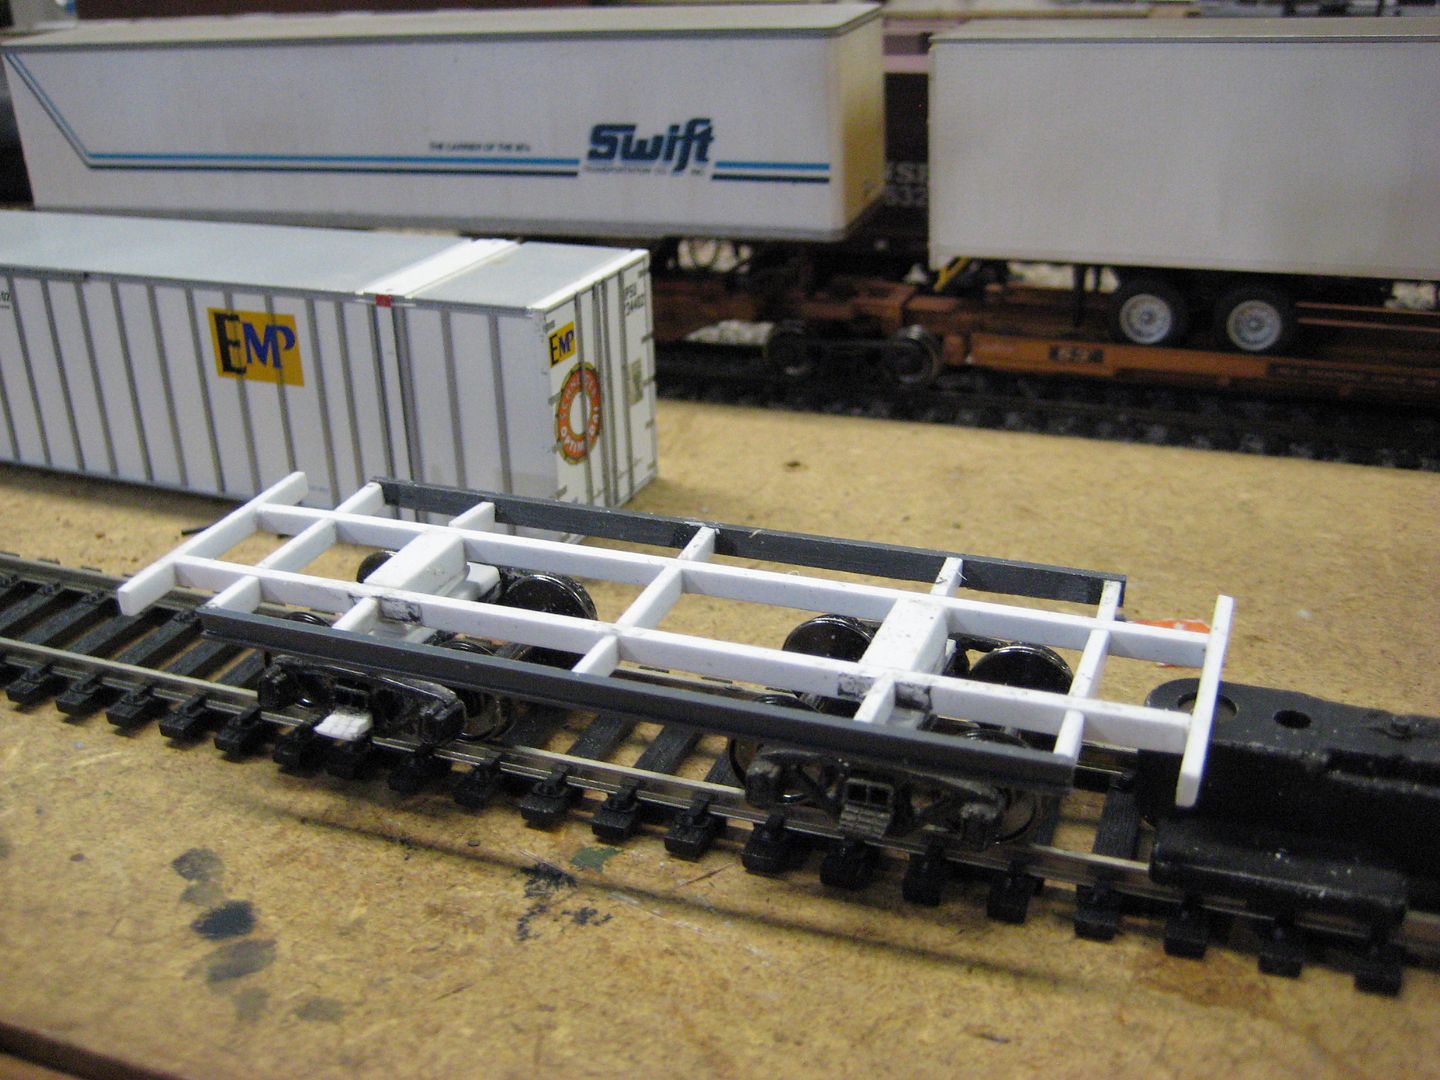
Next, I built the frame. I layed under the prototype to get pictures, and this is a real close representation of what's there.
This cab started life as a coal tender for MILW. L class steam locos, so it is built!
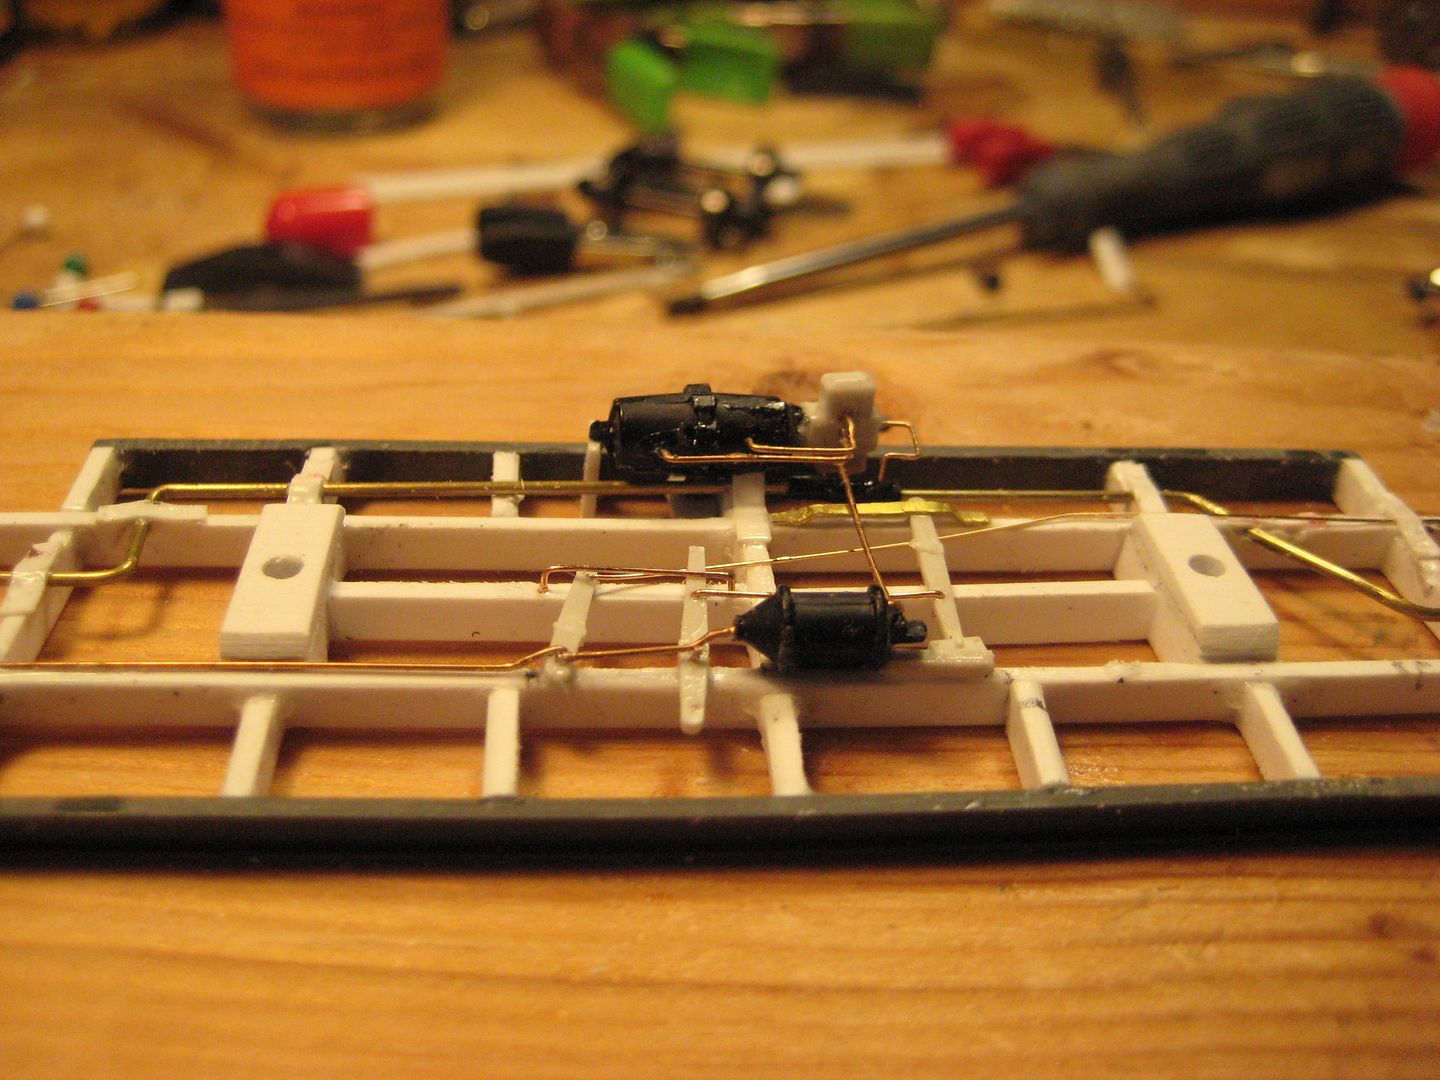
Once I got the frame the way I wanted it, I decided to do the brake gear and air piping. This is a first for me, as I've never done brake gear or air piping, so I'm venturing into new territory, for me, anyway.
I built the steps, added the diamond plate deck, and decided to paint and weather the bottom before I went any further.
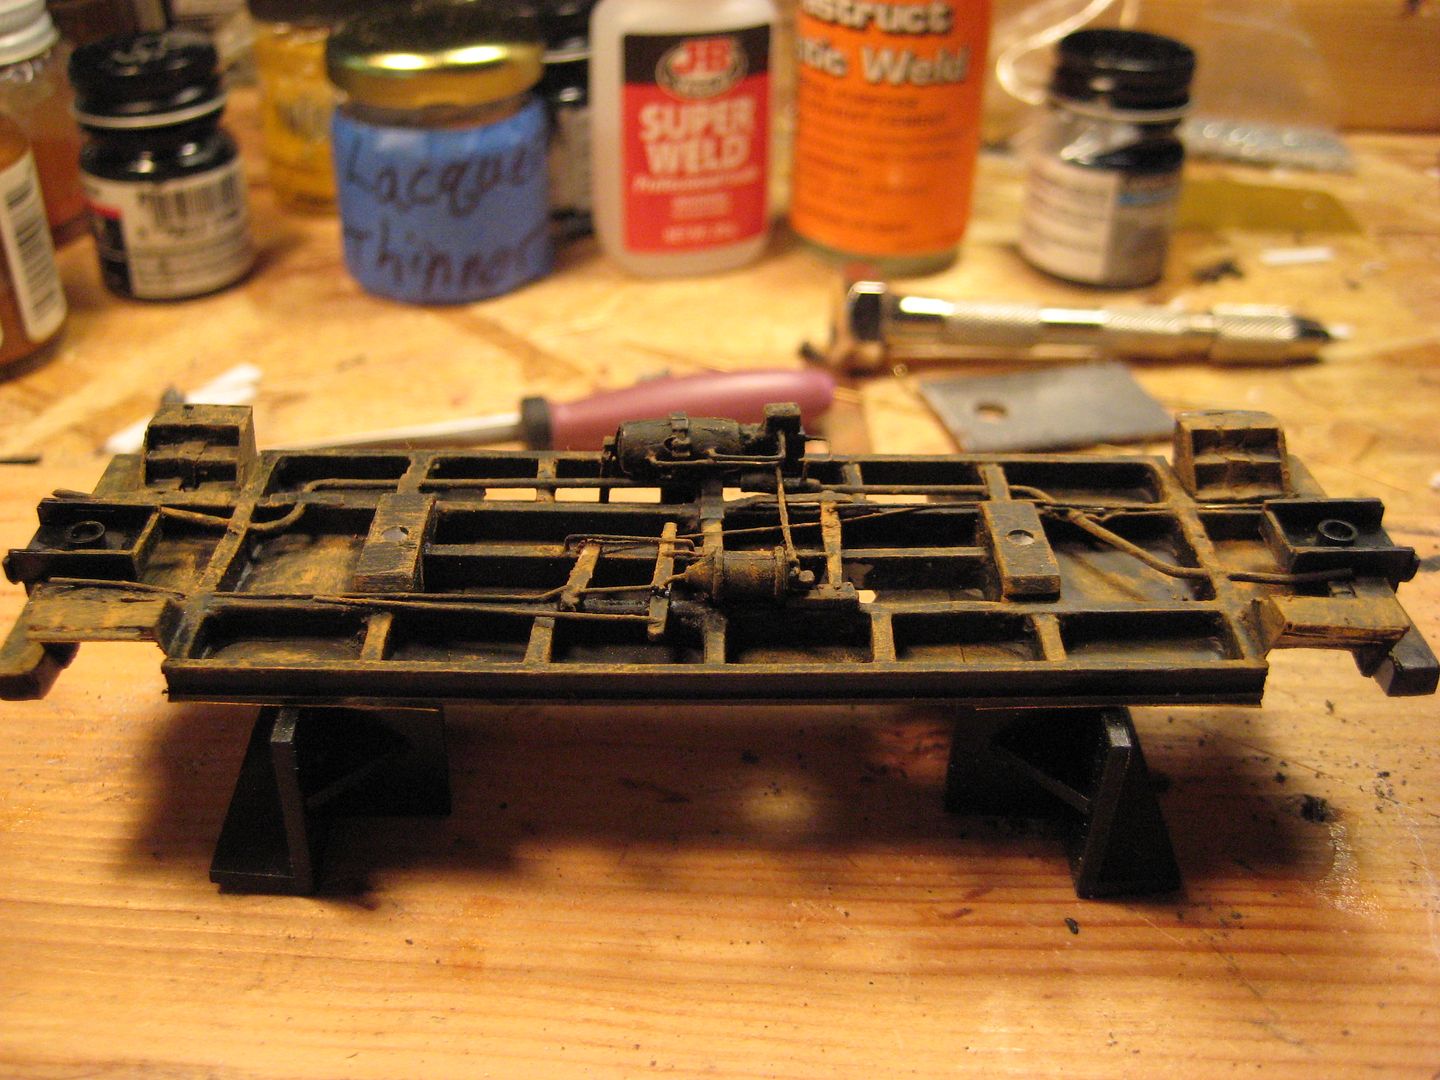
I had to be careful laying underneath this cab for pictures, as rust was everywhere, kind of reminded me of the days spent under my old pick-ups, replacing exhaust pipes!
I then moved on and built the cab.

Test fitting the cab on the frame.

Added cab details.

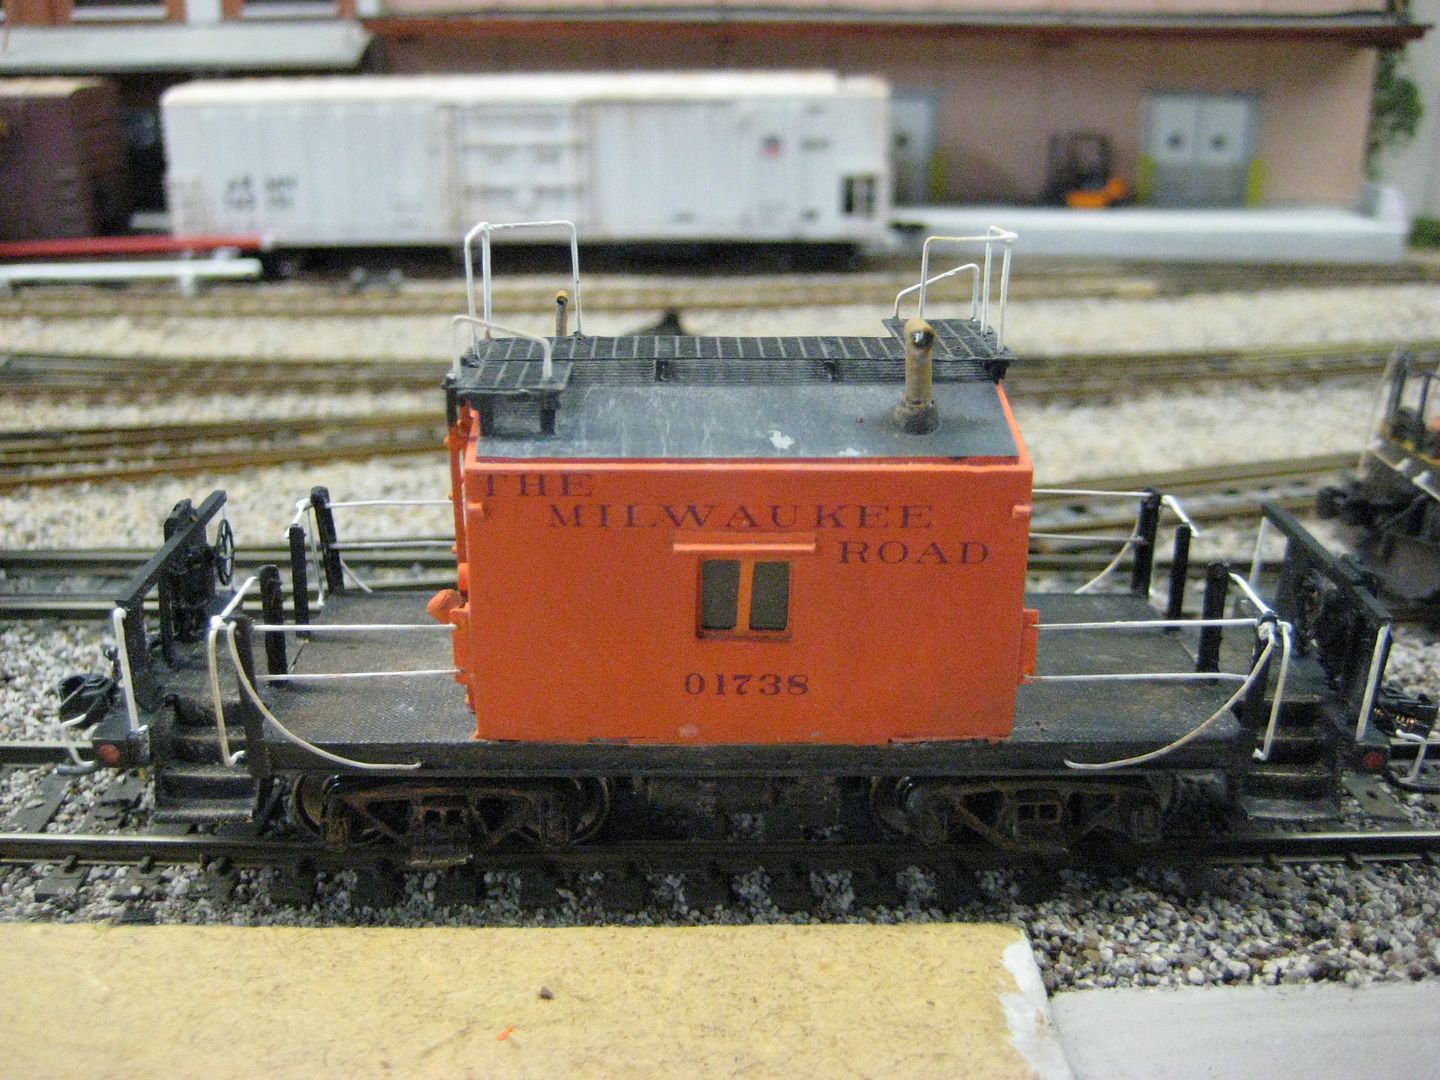
I gave the cab 3 coats of Polyscale MILW orange.

Added some other details, like marker lights and poling pockets.

Added Plana running boards, and handrails.

I finished the roof details, and started on the barrage of handrails around the deck.


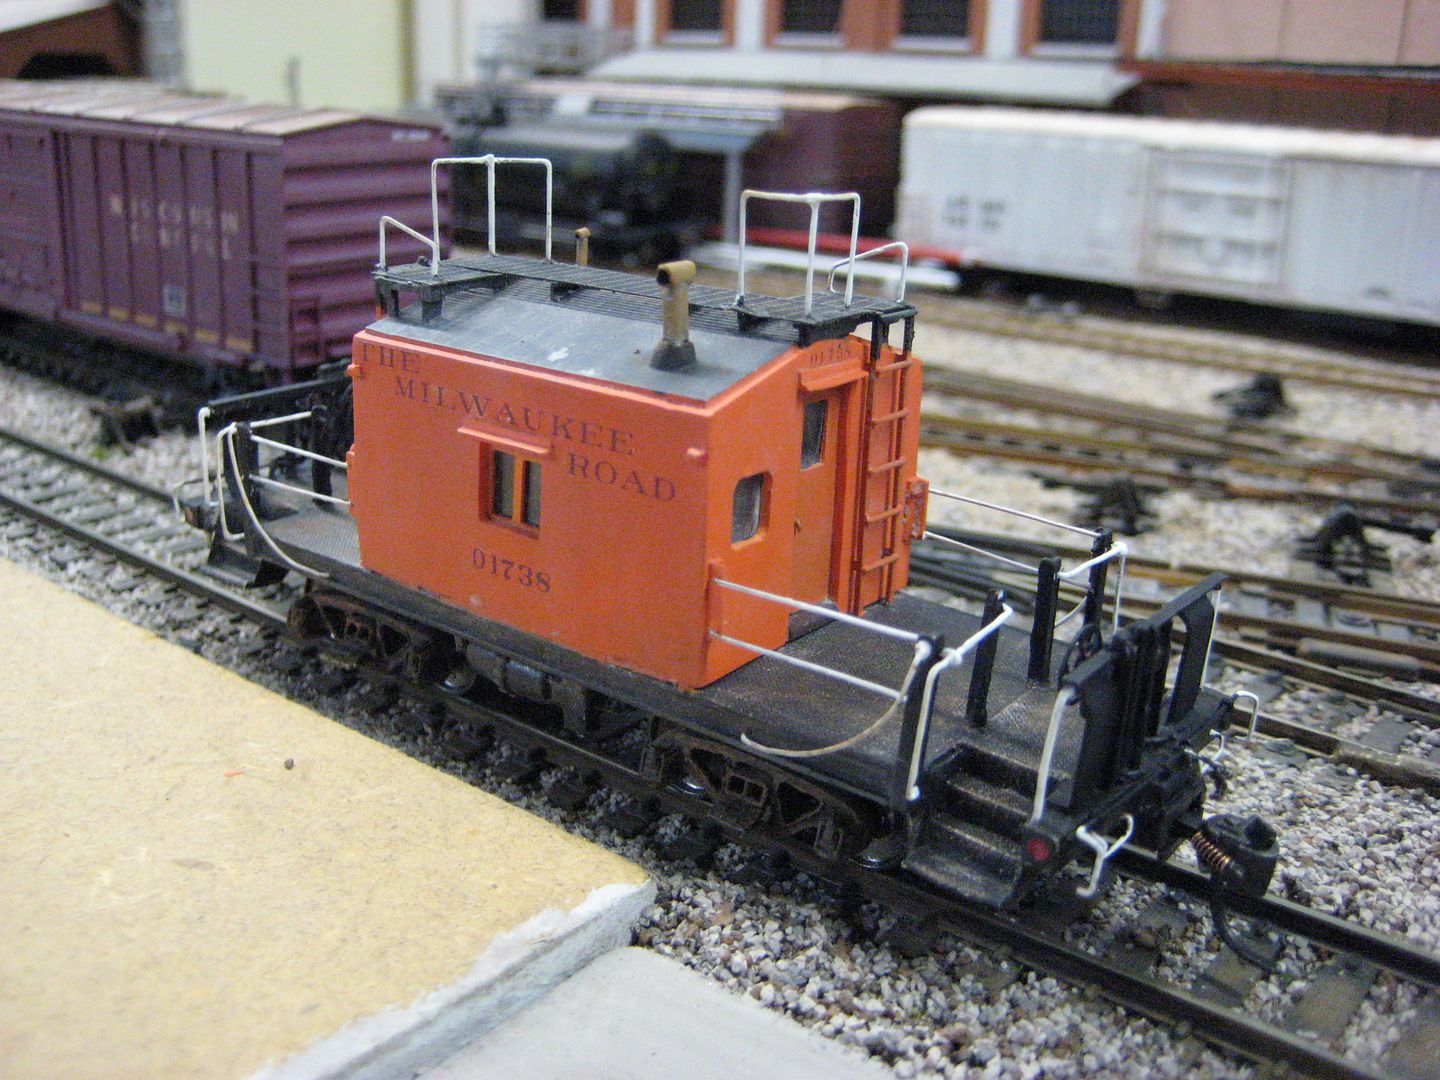
Added coupler cut levers and grabs on each end.

Added the rest of the top side air piping.

With rails done, almost, and handrails and piping painted, I added the cab.

Then I finished the handrails, and side bars, put the trucks and couplers on, decals, and some light weathering, to finish off the build.

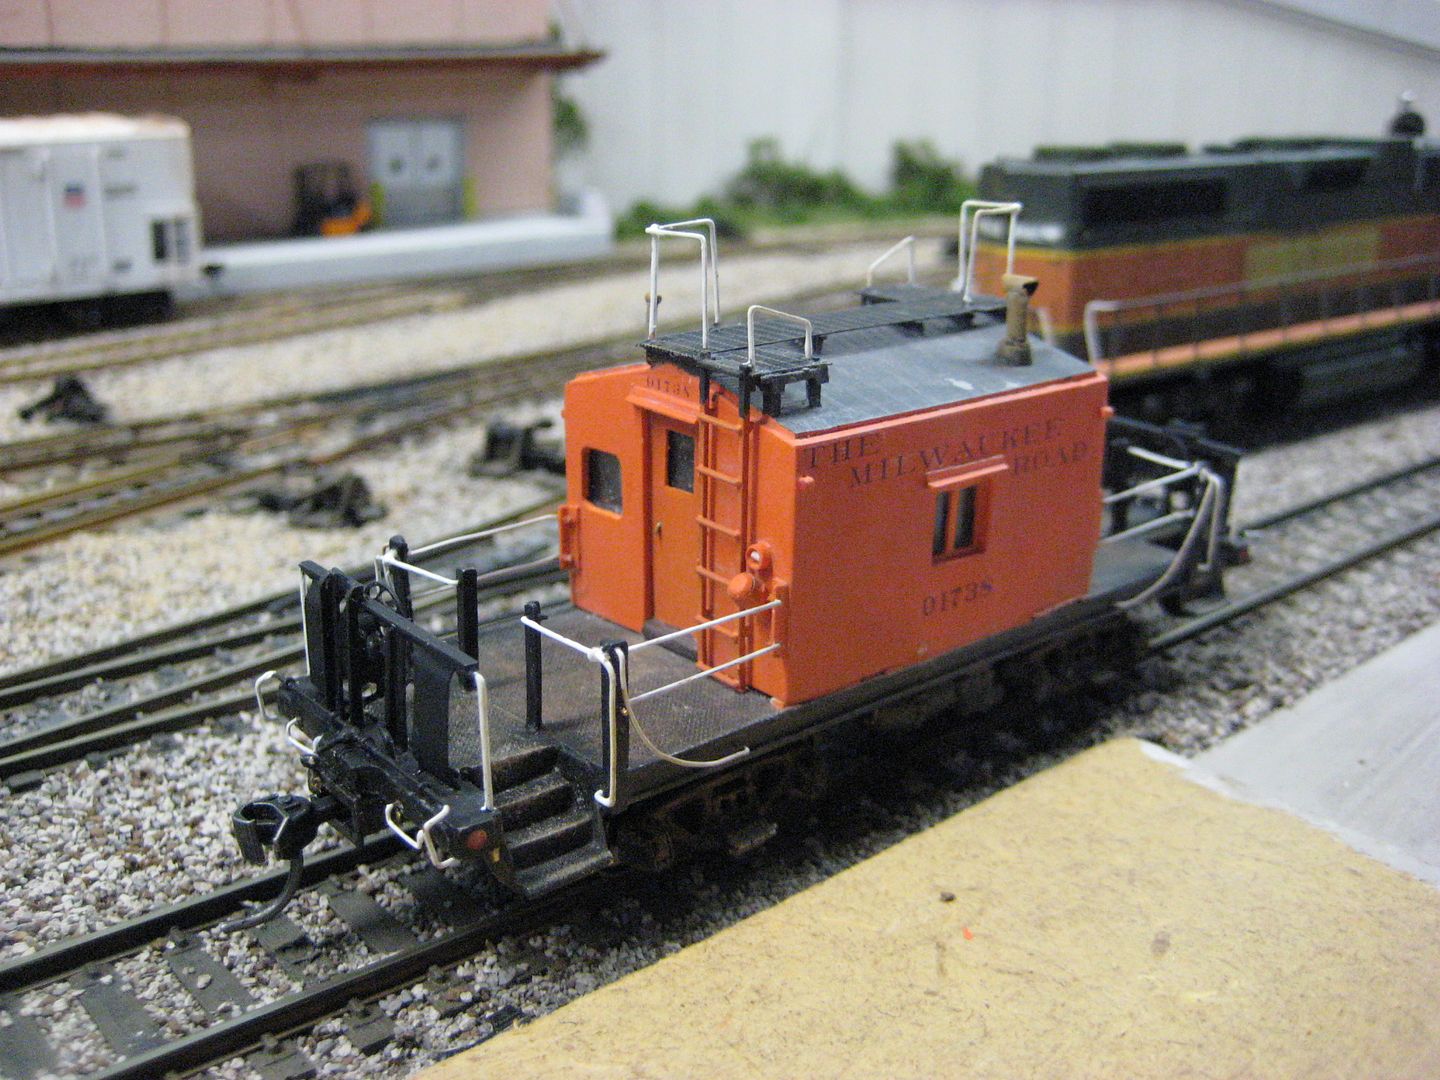
This is the first time at completely scratch building a car. I've done lots of buildings, but never a rail car from scratch.
Thanks for looking, and following along.
Happy Memorial weekend, and remember those that gave all, to keep us free!
Mike.
The ladders and running board have been stripped off, so I decided I wanted to build this cab the way it would have looked while in service on the MILW.
I started with the trucks. I couldn't find any I liked, so I milled out the coil springs, and fashioned some leaf springs to fit in.
Next, I built the frame. I layed under the prototype to get pictures, and this is a real close representation of what's there.
This cab started life as a coal tender for MILW. L class steam locos, so it is built!
Once I got the frame the way I wanted it, I decided to do the brake gear and air piping. This is a first for me, as I've never done brake gear or air piping, so I'm venturing into new territory, for me, anyway.
I built the steps, added the diamond plate deck, and decided to paint and weather the bottom before I went any further.
I had to be careful laying underneath this cab for pictures, as rust was everywhere, kind of reminded me of the days spent under my old pick-ups, replacing exhaust pipes!
I then moved on and built the cab.
Test fitting the cab on the frame.
Added cab details.
I gave the cab 3 coats of Polyscale MILW orange.
Added some other details, like marker lights and poling pockets.
Added Plana running boards, and handrails.
I finished the roof details, and started on the barrage of handrails around the deck.
Added coupler cut levers and grabs on each end.
Added the rest of the top side air piping.
With rails done, almost, and handrails and piping painted, I added the cab.
Then I finished the handrails, and side bars, put the trucks and couplers on, decals, and some light weathering, to finish off the build.
This is the first time at completely scratch building a car. I've done lots of buildings, but never a rail car from scratch.
Thanks for looking, and following along.
Happy Memorial weekend, and remember those that gave all, to keep us free!
Mike.


