Kurt
Road Foreman
Posts: 56
|
Post by Kurt on May 31, 2015 13:04:39 GMT -5
This project began when I stumbled upon an Ebay listing for this sad looking Proto 2000 GP30. It had a buy now price of $15 and with shipping I paid around $25. At the time I was eyeballs deep studying for the CPA exam and I purchased this little guy as a reward to myself for completing one of the four sections of the exam. I figured if worse came to worse I could use the drive but deep down I had this desire to see if something this seemingly far gone could possibly be saved. To say this model was in poor shape would be an understatement but it looked like it was at least possible so I went for it! Here are the photos of this "SOO GP30" upon delivery: 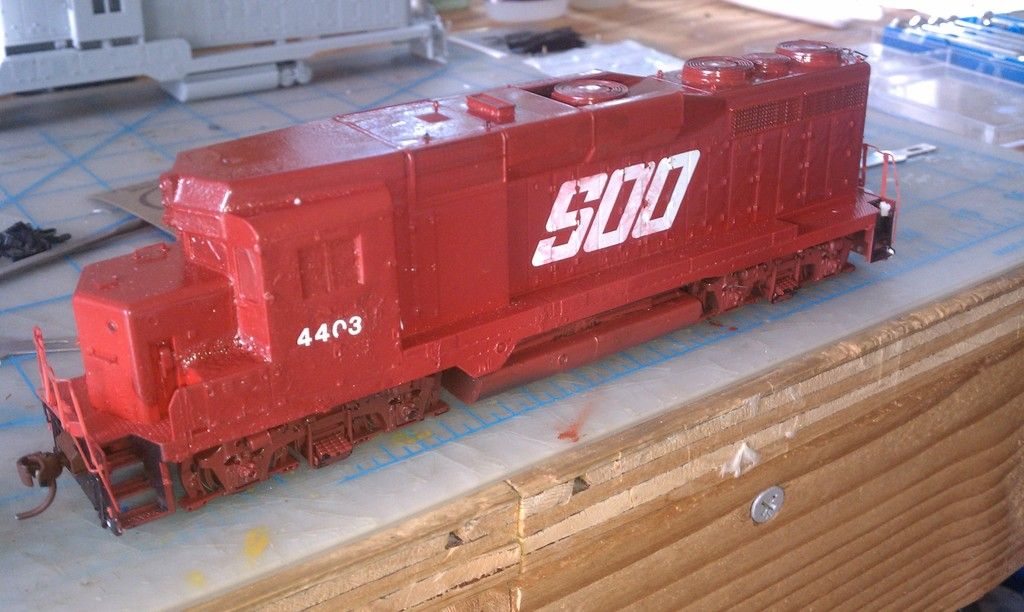 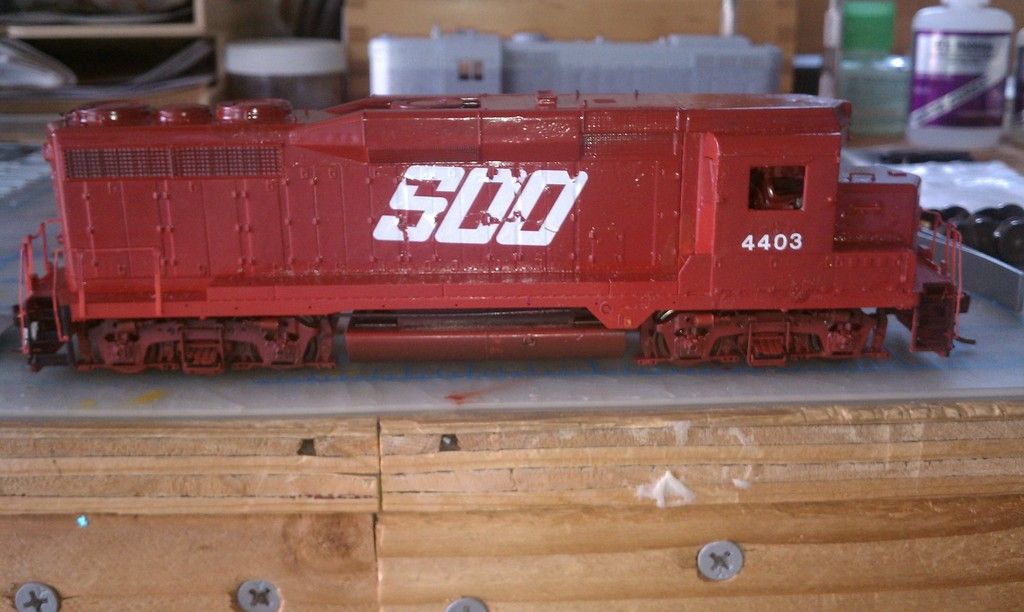 |
|
|
|
Post by iomalley on May 31, 2015 13:19:34 GMT -5
WOW! As long as that's not ladies nail polish, and you can strip it, you're in good shape! The cab glass is your achilles heel, but at worst case you can flush fit some glass. Its a later run too, with the improved sideframes! Good score! I shake my head, the paint jobs that pass as good enough to receive decals....  |
|
Deleted
Deleted Member
Posts: 0
|
Post by Deleted on May 31, 2015 14:59:00 GMT -5
Wow interesting project will follow this one
|
|
Kurt
Road Foreman
Posts: 56
|
Post by Kurt on May 31, 2015 16:43:42 GMT -5
I figured the best place to start would be the chassis since no matter what I knew it could be saved and I could find a new shell if necessary. I completely dissembled the chassis down to last gear and thoroughly gave everything a good scrubbing with soap, water and an old toothbrush. I found during the cleaning there was evidence of little run time which was a pleasant surprise. 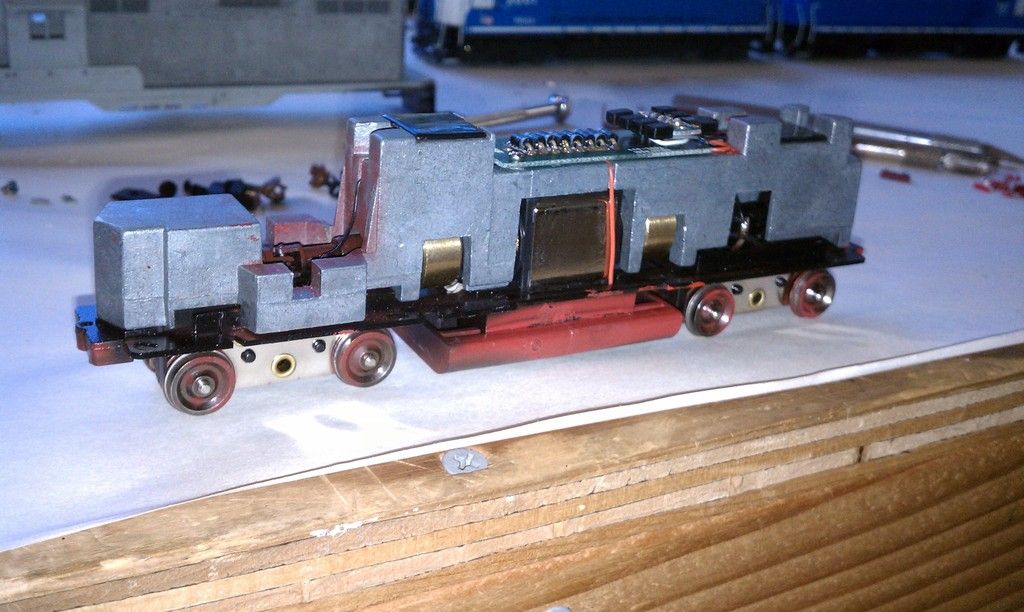 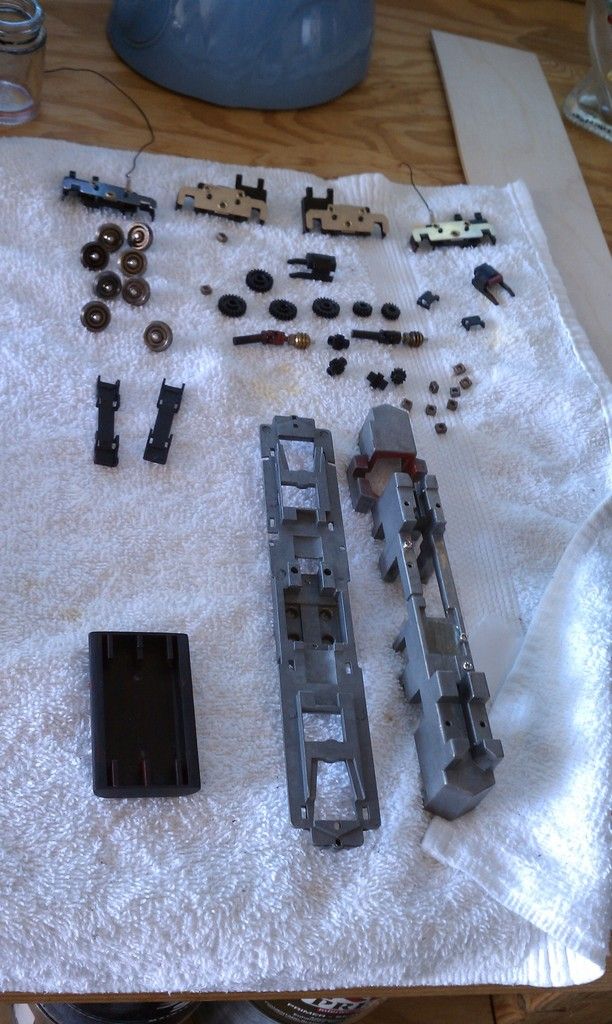 I sprayed the the frame with spray away paint stripper. There was red everywhere!! Whoever painted thing wasn't very concerned about getting paint all over the place unfortunately. 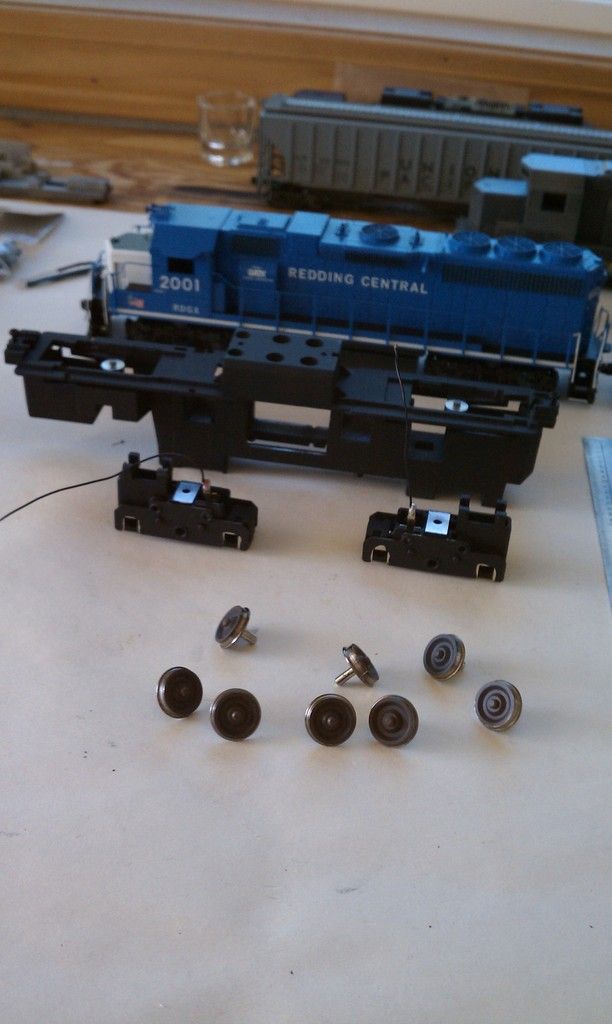 I sprayed the weight, frame and trucks with scalecoat flat black and also hit the wheel faces with floquil roof brown. Once lubed and reassembled it started looking much better! 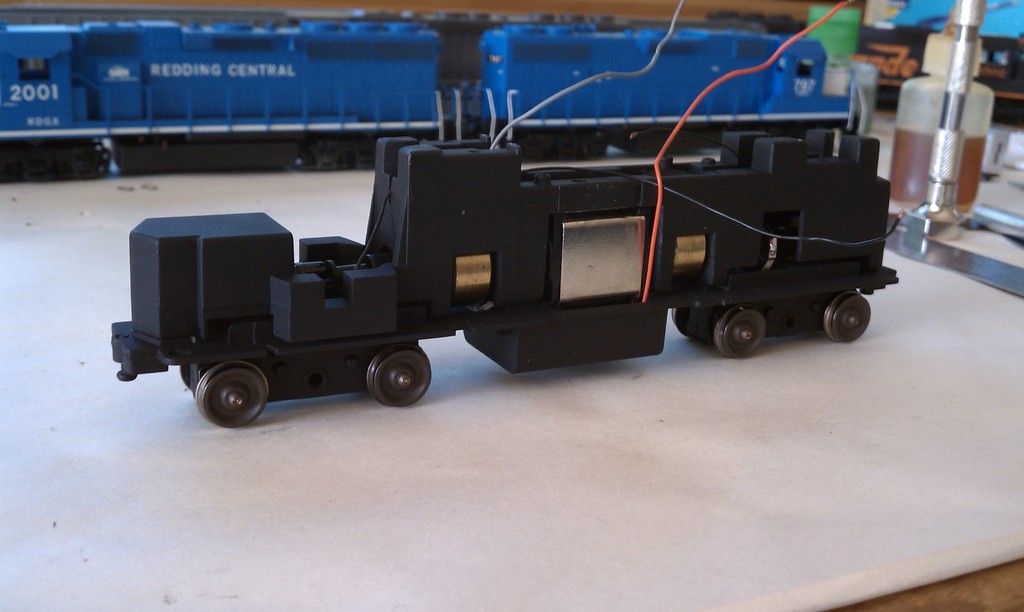 |
|
Deleted
Deleted Member
Posts: 0
|
Post by Deleted on May 31, 2015 23:22:03 GMT -5
A diamond in the rough turning out nicely
|
|
Kurt
Road Foreman
Posts: 56
|
Post by Kurt on Jun 1, 2015 12:26:23 GMT -5
I neglected to mention that while the frame was disassembled I abandoned Life-Like's amazingly ingenious piece of double sided tape to hold the fuel tank on. I drilled and tapped holes for 2 2-56 countersunk screws that do a much better job of holding the tank on. The picture below shows the completed set up. Much better now!! 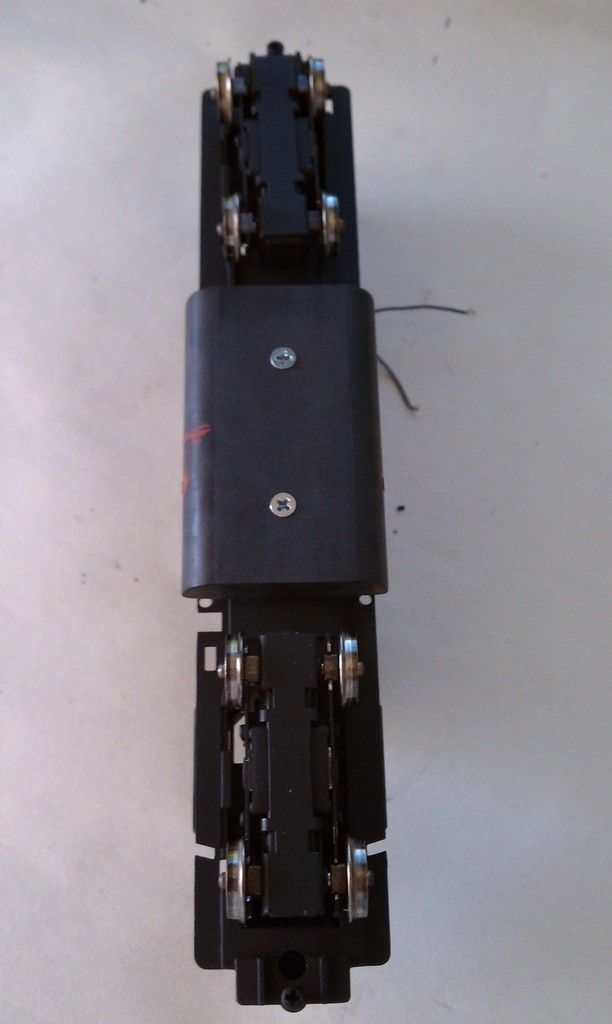 I purchased and installed a new set of Blomberg B sideframes from Athearn as I think they are the absolute best out there. The price is right too at around 7 or 8 bucks a set. At this point I considered this part of the project complete although eventually I added brake lines and a speed recorder to the sideframes. 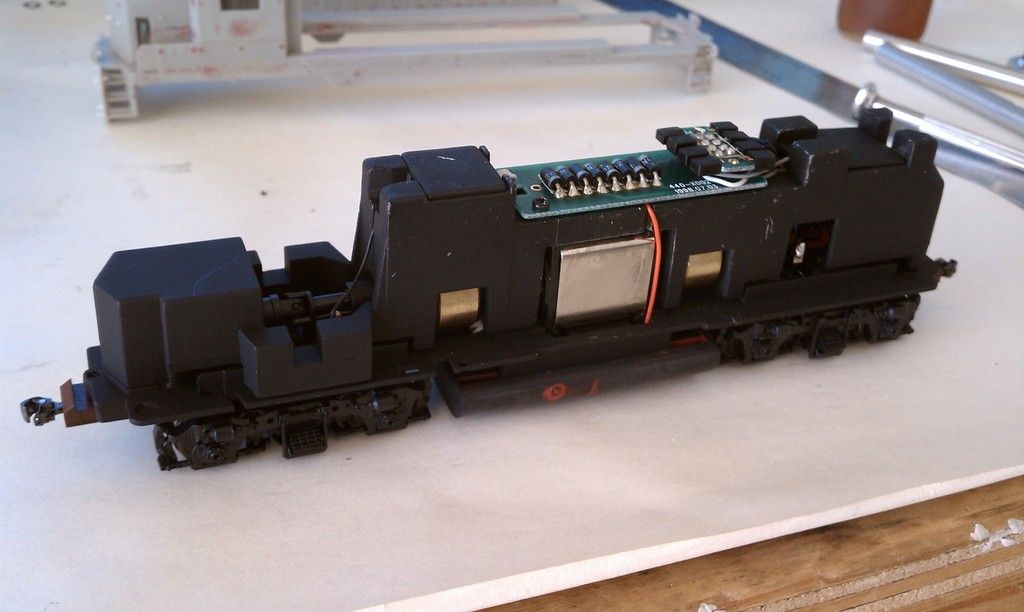 |
|
|
|
Post by icghogger on Jun 2, 2015 8:24:13 GMT -5
Nice Save, Kurt, keep us posted on your progress. I would especially like to see how you "get the red out"!!
|
|
|
|
Post by iomalley on Jun 3, 2015 20:25:48 GMT -5
How did the body strip fare?
|
|
|
|
Post by lajmdlr on Jun 4, 2015 14:45:58 GMT -5
Have you tried 90% isopropyl alcohol? Works on most paints w/o affecting the plastic unlike brake fluid.
|
|
Kurt
Road Foreman
Posts: 56
|
Post by Kurt on Jun 5, 2015 23:58:23 GMT -5
Simultaneous to the rebuilding of the powered chassis I began the stripping of the shell. The locomotive was originally painted in the red KCS scheme and the new coat of red was applied directly over the original coat of paint. The original paint being intact turned out to be a saving grace as it protected the plastic from the SOO red. Before I started soaking the shell in 91% isopropyl alcohol I removed all the unwanted delrin parts like the grab irons, mu hoses and fans. This thing took several separate soak/scrub cycles to get to this point but it's already looking a million times better!! 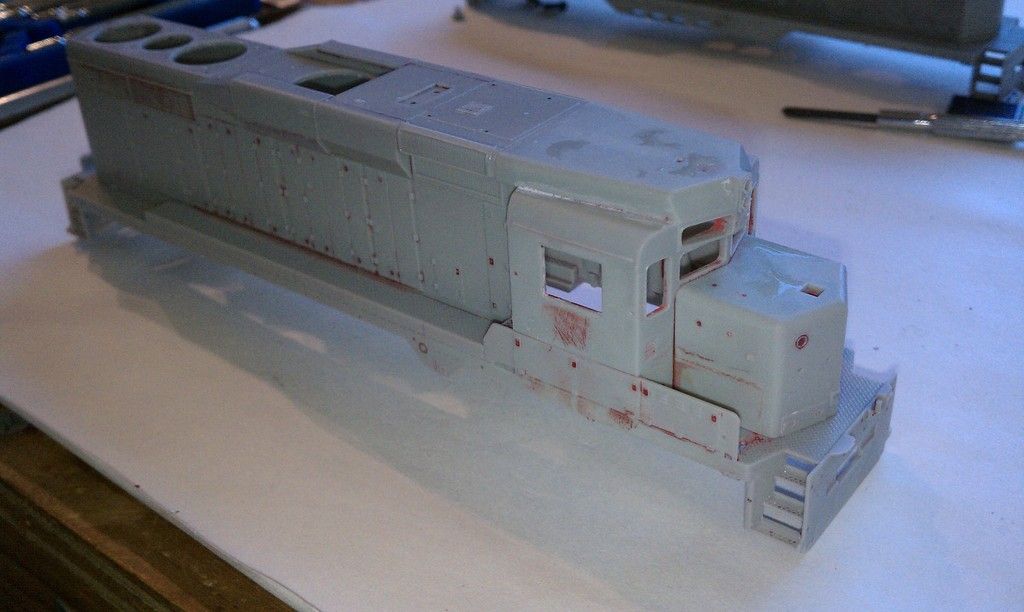 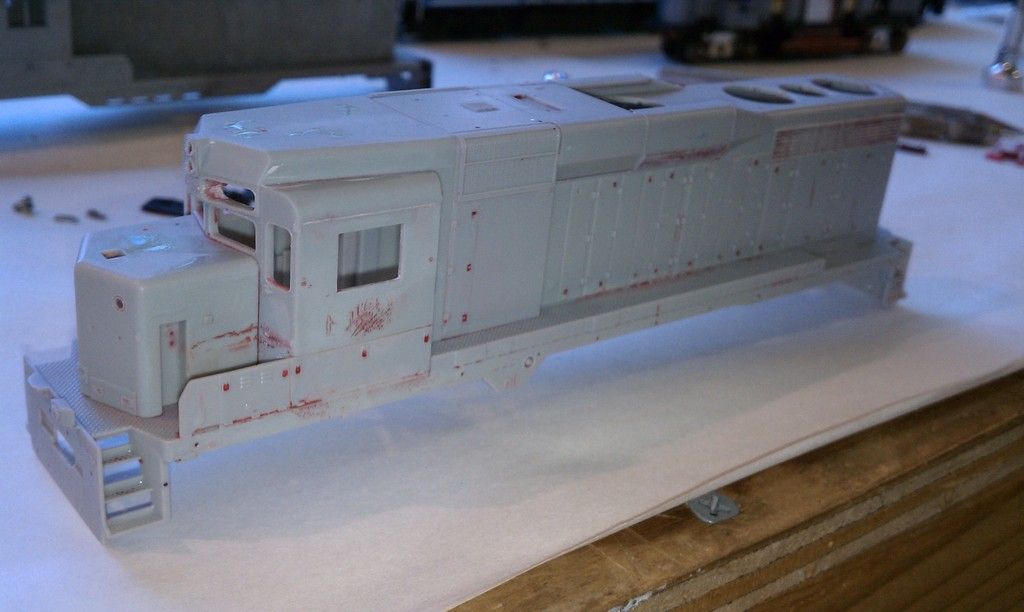 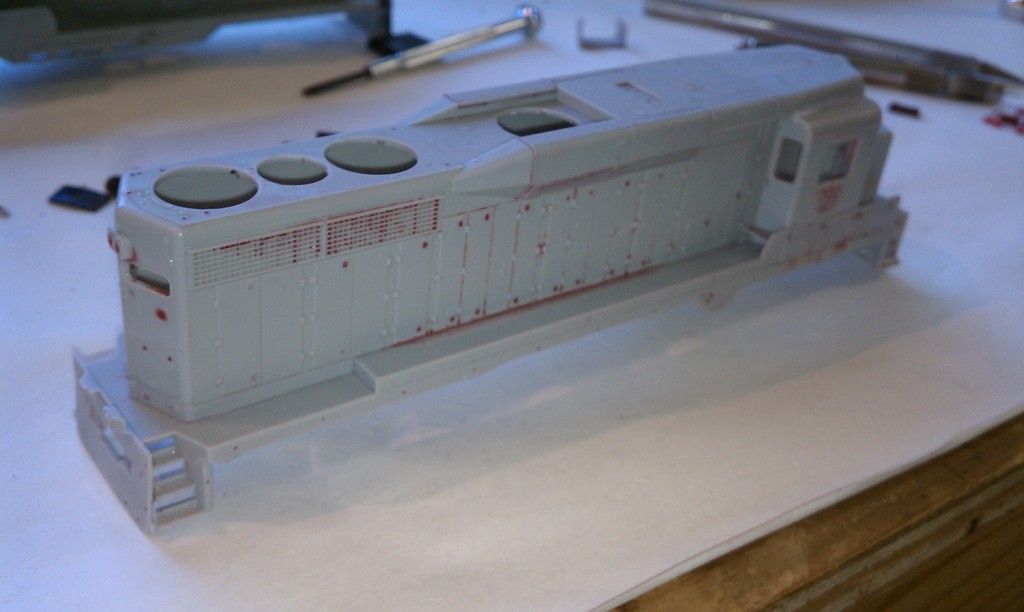 |
|
Kurt
Road Foreman
Posts: 56
|
Post by Kurt on Jun 6, 2015 0:10:05 GMT -5
After I was satisfied that I had removed as much paint as possible I started smoothing areas where the red has attacked the plastic like on the side and roof of the cab. At this point I also drilled out the molded in holes and filled them with .025 rod. 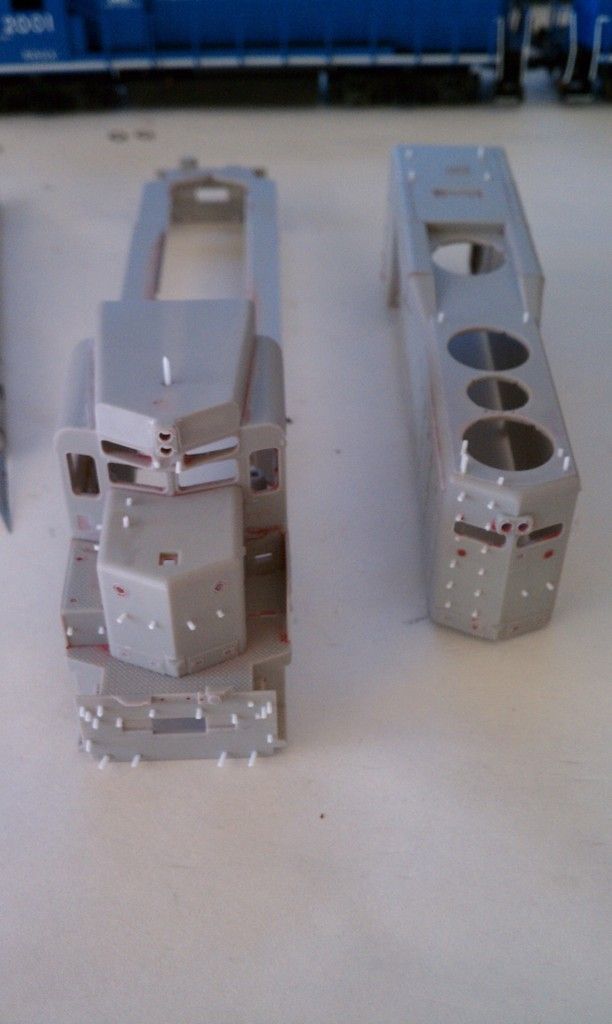 |
|
Deleted
Deleted Member
Posts: 0
|
Post by Deleted on Jun 6, 2015 5:49:54 GMT -5
looking good Mr Kotter
|
|
|
|
Post by ironstef70 on Jun 7, 2015 7:54:58 GMT -5
That's one nice recovery project. I am curently working on two Proto GP18s to be converted to CN GP9rm and I really like these engines with that massive die cast motor shell. I had to cut some upper sections, though, so I can add a decoder and speaker.
I may post on the forum too.
Stephane
|
|
|
|
Post by PVRR 2647 on Jun 30, 2015 19:06:26 GMT -5
Kurt~
I know that it's summertime, and for most modeling starts to take less precedence. Have you made any progress that you can share with us? I have been lurching/following this thread closely.
Thank You,
PVRR2647
|
|
Kurt
Road Foreman
Posts: 56
|
Post by Kurt on Jul 2, 2015 0:23:33 GMT -5
Sorry for the lack of updates PVRR I honestly didn't think anyone was really watching this project so I stopped posting any updates. However ask and you shall receive... The next round of photos show the model completely detailed right before I started the painting process. A lot of work that wasn't photographed happened between stripping that amazing red paint paint job and getting the model to this point and I will briefly try to explain the process. The shell was in worse shape than I initially thought as that red paint attacked the plastic where it built up heavily. There were red snow drifts on the battery box walkways ahead of the cab for example that ate away at the side of the nose, cab front and walkways. Parts of the roof around the three radiator fans were also pretty bad. However at this point I was "emotionally" attached to the model and really wanted to make it work. Suffice it to say I did a lot of careful polishing by wet sanding with 600 grit paper and more than a few spots received a little additional help with 3M red putty before sanding commenced. I knew right away that every detail part that was still present on the model was beyond any hope of recovery so I had to replace everything. This was good in one way as I had to replace all the fans with the beautiful Cannon parts and use better quality items in other areas like Details West MU hoses. But before I could decide on what detail parts to add I had to pick a prototype to follow. Usually I'm an Espee guy but their GP30's were before my time and they really didn't fit into the era of the mid to late 80's that I model. However I'm also a fan of Cascade Green and as we all know BN kept their GP30's around for much longer and in original form as well as rebuilt into GP39E's, GP39V's and GP39M's that are still with us today although working for BNSF. I decided on an unrebuilt version and after searching various web pages decided on the numerically magnificent BN 2222. archive.trainpix.com/bn/EMDORIG/GP30/2222.HTMwww.locophotos.com/PhotoDetails.php?PhotoID=107512 |
|
Kurt
Road Foreman
Posts: 56
|
Post by Kurt on Jul 2, 2015 0:38:31 GMT -5
So without further ado here is the BN 2222 before painting: 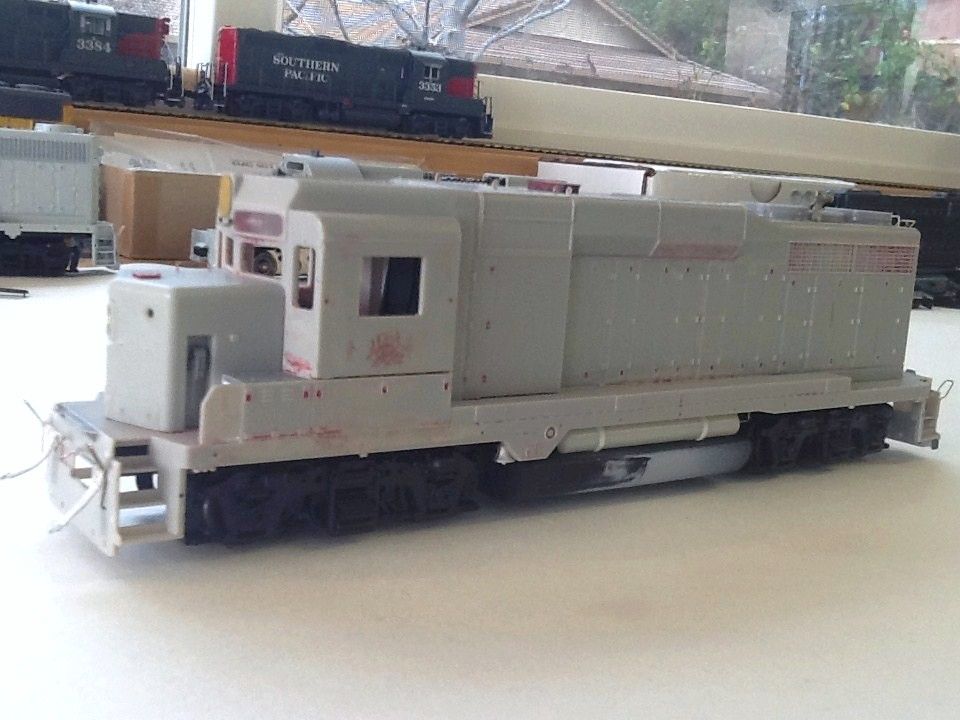 Here is a roof shot showing those beautiful new Cannon fans: 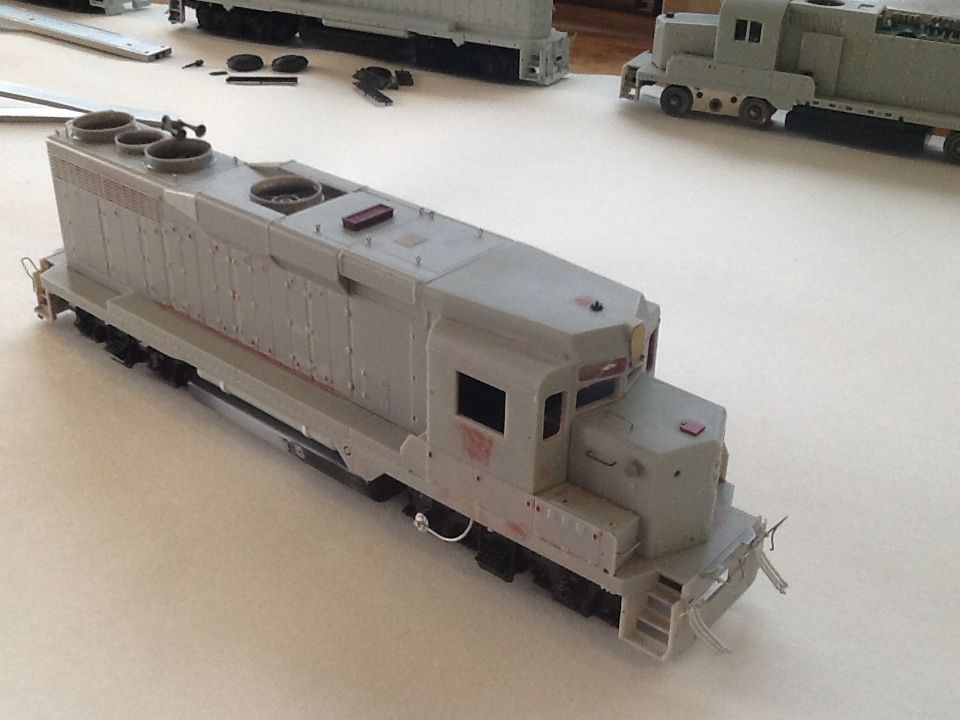 |
|
fr8kar
Chairman
Little man raise the cotton, beer joints get the money
Posts: 309
|
Post by fr8kar on Jul 2, 2015 1:20:17 GMT -5
Kurt, which Cannon fans did you use? I have a Cotton Belt GP30 I've been working on and I'd like to replace the fans on it, but I don't know which ones to use.
|
|
|
|
Post by PVRR 2647 on Jul 2, 2015 20:36:31 GMT -5
Kurt~
I don't know anyone that can really argue with Cascade Green for a paint scheme. Although I am a bit more partial to the Yellow Bonnet scheme on the 30s myself. Keep up the great work and updates when you get the chance, I am really enjoying this build thread.
Sincerely,
PVRR2647
|
|
|
|
Post by tamaman on Jul 3, 2015 9:52:33 GMT -5
Lookin good!
|
|
|
|
Post by simulatortrain on Jul 3, 2015 13:29:29 GMT -5
Quite a difference!
|
|