|
|
Post by cudak888 on Jul 20, 2013 10:20:05 GMT -5
Not quite diesel, but diesel-related. I figured there wouldn't be a point to my F40PH-2C build without some accurate rolling stock to go with it anyway. Thankfully, the issue of decaling an entire car to represent the prototype's vinyl wrapping isn't an issue - see below - but why stop there? 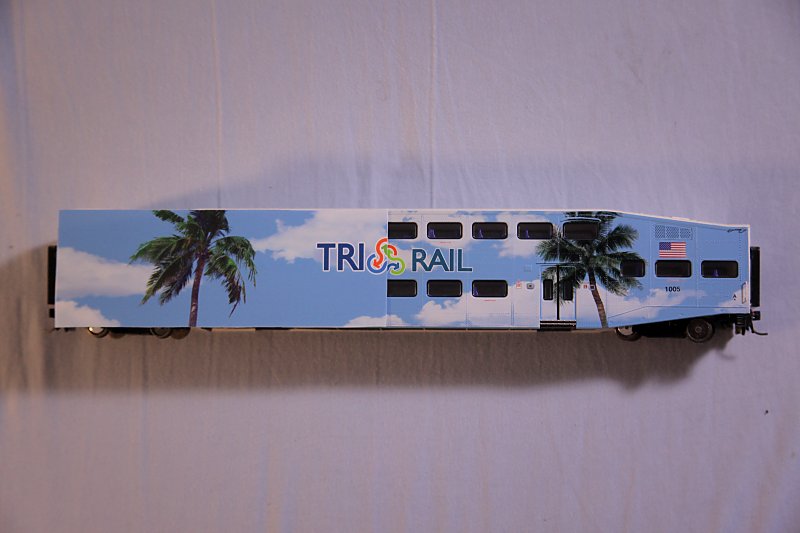 ^ I may try creating the decal in 1-1/2" strips. The prototype has been wrapped in strips as well, so I might be able to get the weathering to pool down each decal seam. 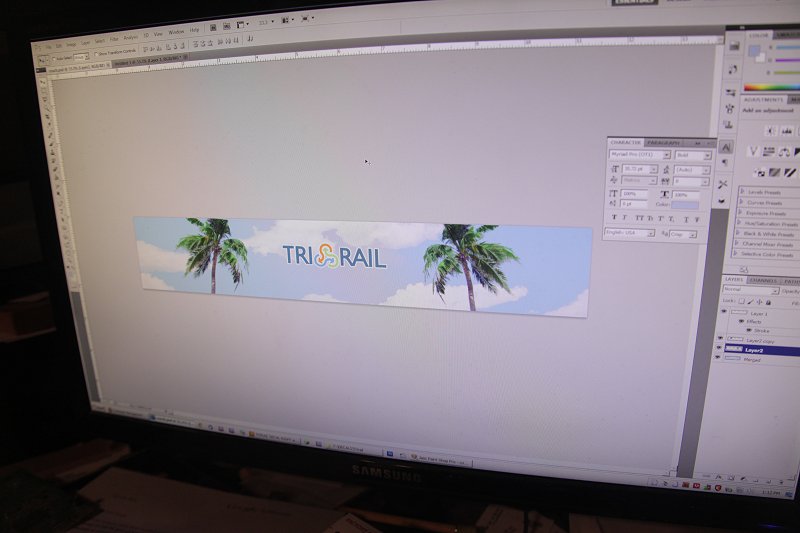 Thing is, all of Tri-Rail's coaches - both UTDC (1988) and Bombardier (1991) orders - have a row of 5 lower windows and wider spacing between doors (the original UTDC design later built by Bombardier until revised for wheelchair access restrictions) than than the later prototype modeled by Athearn; only cab cars 506-511 (ordered 1996) are properly represented as 4-window cars.   But how to go about re-arranging the window pattern and doors to represent the 5-window cars? Simple: Chop a pair of Athearn cars in half, and join the A-ends on each other. Am I nuts? We'll find out once the ACE cars I won on ePay arrive in the mail. Insert evil laugh here. -Kurt |
|
|
|
Post by cudak888 on Jul 20, 2013 14:31:42 GMT -5
Nothing like a yard sale. $40 yielded a perfect shell cutter: 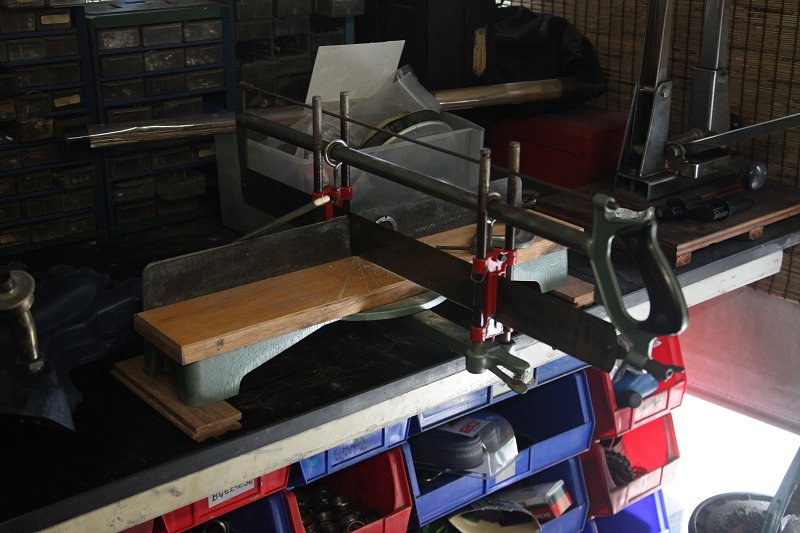 -Kurt |
|
|
|
Post by cudak888 on Jul 24, 2013 17:02:09 GMT -5
First donors sacrificed for the conversion: 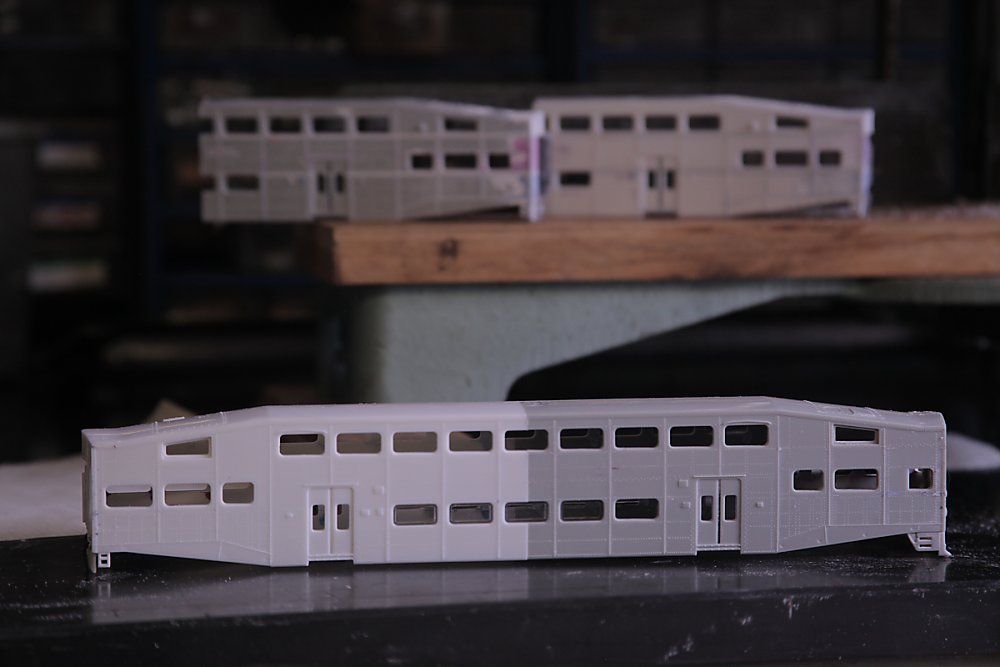 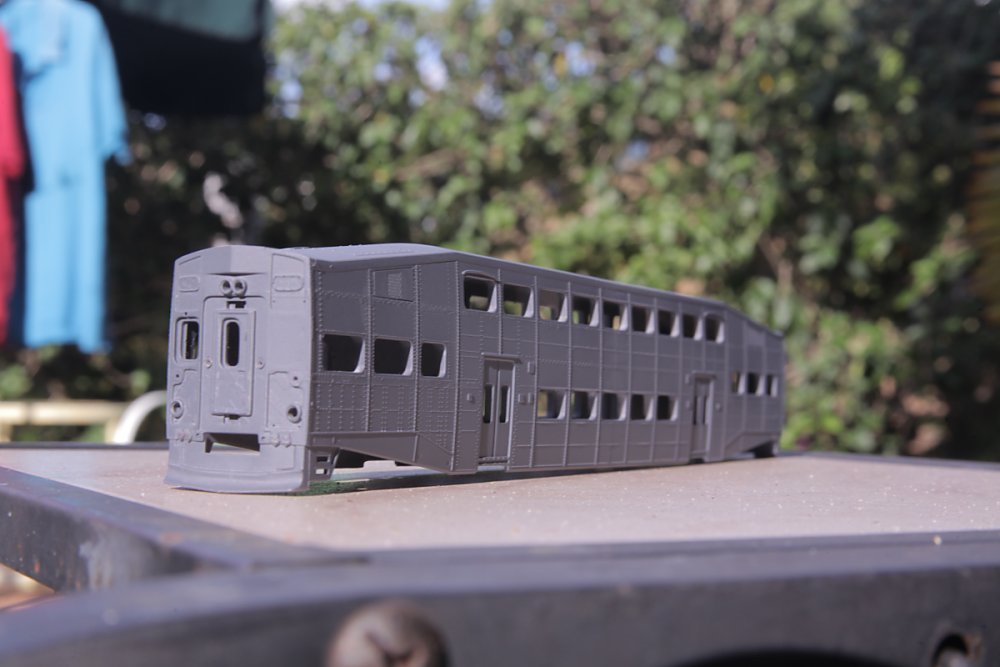 -Kurt |
|
|
|
Post by CP_8530 on Jul 24, 2013 22:48:55 GMT -5
Nice job. It's a pity the Athearn cars aren't the 5-window version (and for that matter, it's a pity they don't have welded-side cars...).
Don't forget to shave the "eyebrow" rain gutters off the rear top windows on either side. IIRC they only had it at the A-end (cab end) for controlling the doors from the upper level (although some newer cars have this eliminated in favour of controls in the A-end doorways).
|
|
|
|
Post by cudak888 on Jul 25, 2013 0:26:22 GMT -5
Nice job. It's a pity the Athearn cars aren't the 5-window version (and for that matter, it's a pity they don't have welded-side cars...). Don't forget to shave the "eyebrow" rain gutters off the rear top windows on either side. IIRC they only had it at the A-end (cab end) for controlling the doors from the upper level (although some newer cars have this eliminated in favour of controls in the A-end doorways). I shaved the gutters off the back end shortly after the photo. I also completely forgot about the door indicator lights at the center, which I've since added. One thing does bug me though - I had to shorten the new B-end windows (as they are shorter than the A-end); yet, I'm mystified at how to replicate the curve at the corners. I'm not convinced Bondo glazing putty will work for such an area, and cutting the tiny styrene piece from the donor ends just doesn't seem efficient. Coming up with the proper Canadian three-in-a-row class lights seem to be a bit of a problem too. I am not sure if such a thing exists other than the Railflyer etched set. -Kurt |
|
mgwsy
Road Foreman
Posts: 86
|
Post by mgwsy on Jul 25, 2013 8:02:26 GMT -5
|
|
|
|
Post by cudak888 on Jul 25, 2013 11:49:48 GMT -5
Decal is currently drenched in Micro Sol. Might have to apply another Tri-Rail logo over the mess, but it shouldn't be a problem. 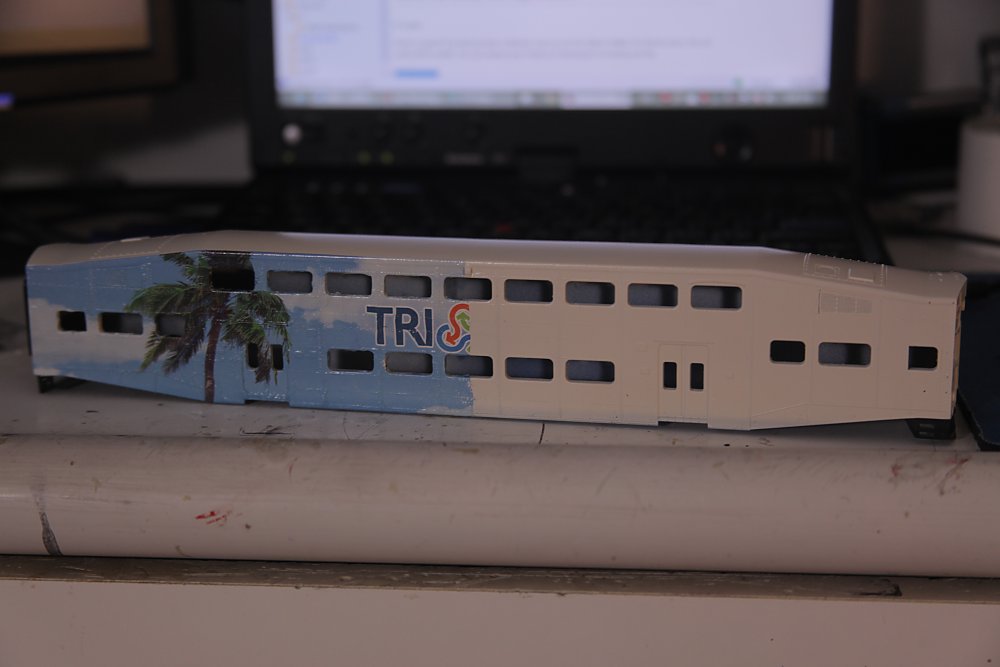 That's ideal - a shame I didn't catch it when I made an order with him yesterday. -Kurt |
|
|
|
Post by cudak888 on Jul 25, 2013 20:48:30 GMT -5
Questionable success with the decals. Despite quite a few applications of Micro Sol, there are some wrinkles that completely refuse to go away without decal damage: 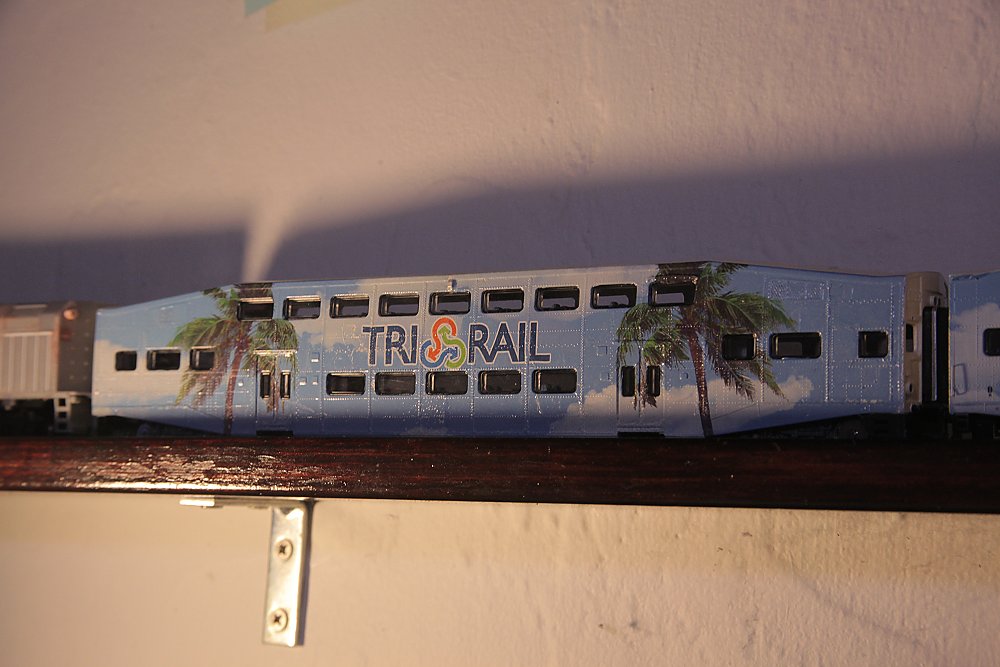 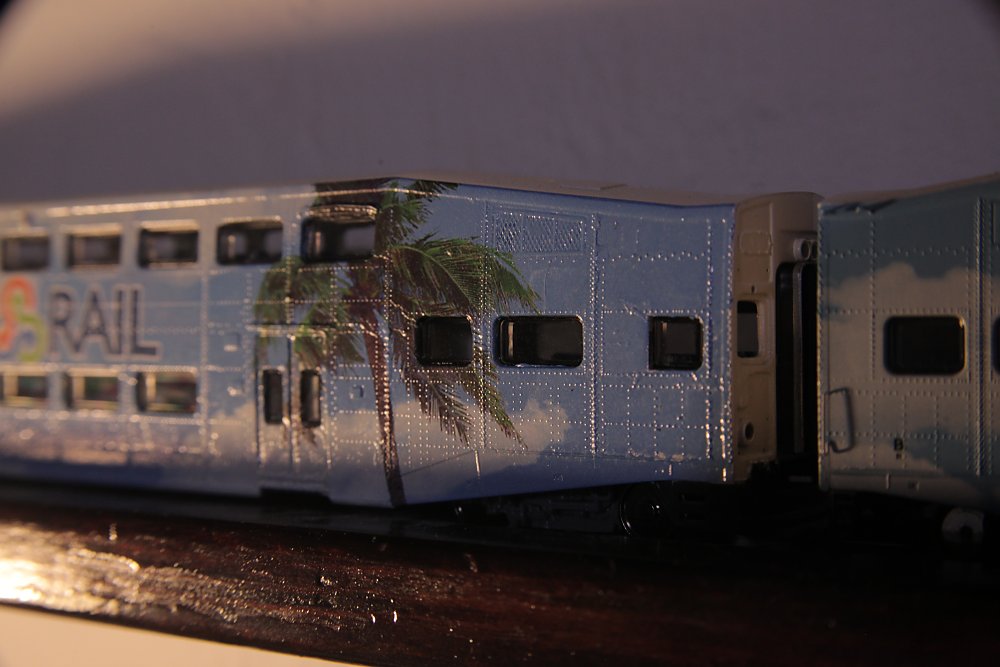 Worst spot is a wrinkle/crease to the left of the "T." The poor fit of the Tri-Rail logo isn't that much of a worry to me in comparison to the wrinkles, which will stick out like a sore thumb when weathered. 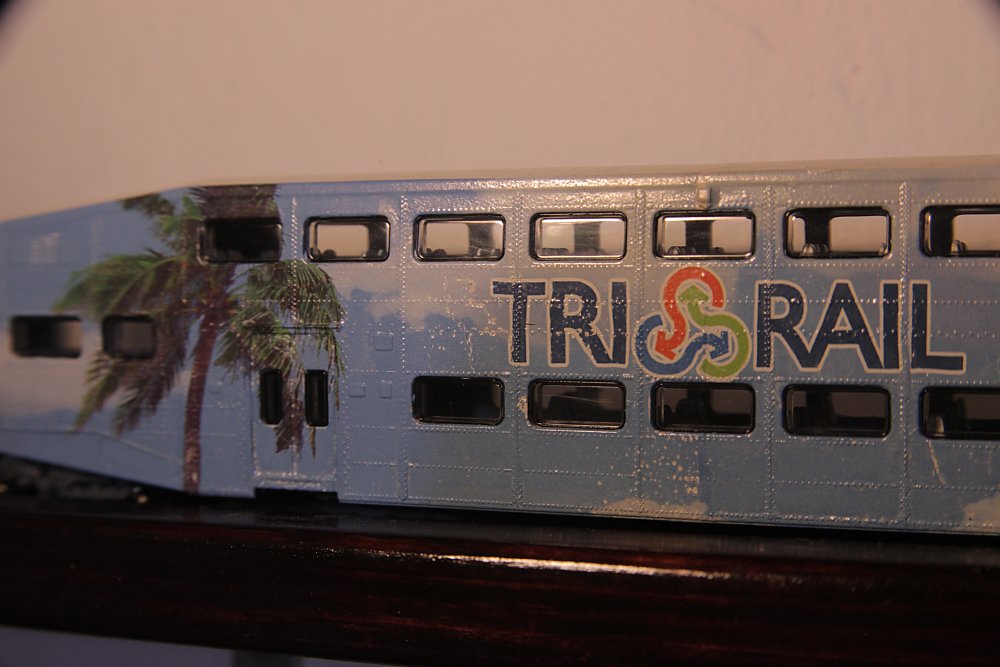 Ideas? Suggestions? Input? -Kurt |
|
|
|
Post by santafemikie on Jul 25, 2013 22:07:50 GMT -5
Hi Kurt,
I was reading a thread on a really nice SW build. One of the guys was saying he tried Micro-Sol and then hit it with a hair dryer. My thought was you'd have to be careful with the heat. Thin, detailed, plastic things tend to melt with that kind of heat. When I have had a problem with large decals like yours I usually take a pin or a brand new #11 blade and cut holes and small slits in the bubbled areas and then douse it with the Micro-Sol. In severe cases I have used small amounts of straight Solvaset on them. I love this build and your locomotive. I hope you are able to move on from this problem.
Regards, Mike
|
|
sgoti
Chairman
Posts: 459 
|
Post by sgoti on Jul 25, 2013 22:53:28 GMT -5
Find a large pan or dish capable of holding enough water to completely submerge the car.
Soak the decal enough to completely remove the glue holding it to the backing paper, then float the decal into position.
CAREFULLY the car out of the water, starting at one end, and use the edge of a wet paper towel to squeegee the water from under the decal. If the decal shifts, is in the wrong position, or has wrinkles, re-submerge the car, loosen the surface-tension bond between the decal and car, and try again.
Once the decal is in the correct position and bubble/wrinkle free, allow to dry completely. After it dries, go back with a sharp pin/NEW Xacto #11 blade tip and puncture the decal where it still needs to settle over details, etc.
Using a wet Q-tip, CAREFULLY push down on these areas. You can even carefully ROLL the wet Q-tip over these areas to force the air out. I have used Q-tips wet with both water and Micro-Sol. If the decals wrinkle/shrivel severely, you may need to dilute it with distilled water.
Once the decals have dried, CAREFULLY wash any remaining glue/setting solution off, and clear coat.
Alternatively, you can print the decal backwards, place it face-down where it is to go, and saturate the backing paper with water from an eyedropper. Use enough water to completely release the decal from the backing paper. After the glues have completely softened, you can slide the paper off the decal. Since you are not sliding the decal, you will avoid a major cause of wrinkles and creases.
Do the air bubble inspection/removal process, clean, and clearcoat.
Hope this helps...
|
|
|
|
Post by cudak888 on Jul 25, 2013 22:57:45 GMT -5
^
Good as done, Glenn. Just need to revise the artwork to suit.
That said, would you suggest I layer the roadname and numbers over the cloud decal, or print them as part of said decal? I'm a bit concerned about alignment, but if the latter would be better, I'll do so.
-Kurt
|
|
sgoti
Chairman
Posts: 459
|
Post by sgoti on Jul 26, 2013 0:32:02 GMT -5
You don't have the extra decal film around the numbers to deal with if you print directly them on the cloud decal, but you loose a bit of flexibility in the process. This may or may not be an issue for you.
I'd say it boils down to what is easiest for you, and what you are most comfortable with.
|
|
|
|
Post by cudak888 on Jul 26, 2013 10:09:54 GMT -5
You don't have the extra decal film around the numbers to deal with if you print directly them on the cloud decal, but you loose a bit of flexibility in the process. This may or may not be an issue for you. I'd say it boils down to what is easiest for you, and what you are most comfortable with. I'd rather deal with the film than risk warping the lettering or individual details. Warping of the background isn't as much an issue, but it'll be too ungainly if it shows up in the numbering or flags. -Kurt |
|
|
|
Post by cudak888 on Jul 30, 2013 13:22:00 GMT -5
Second time around...wish me luck: 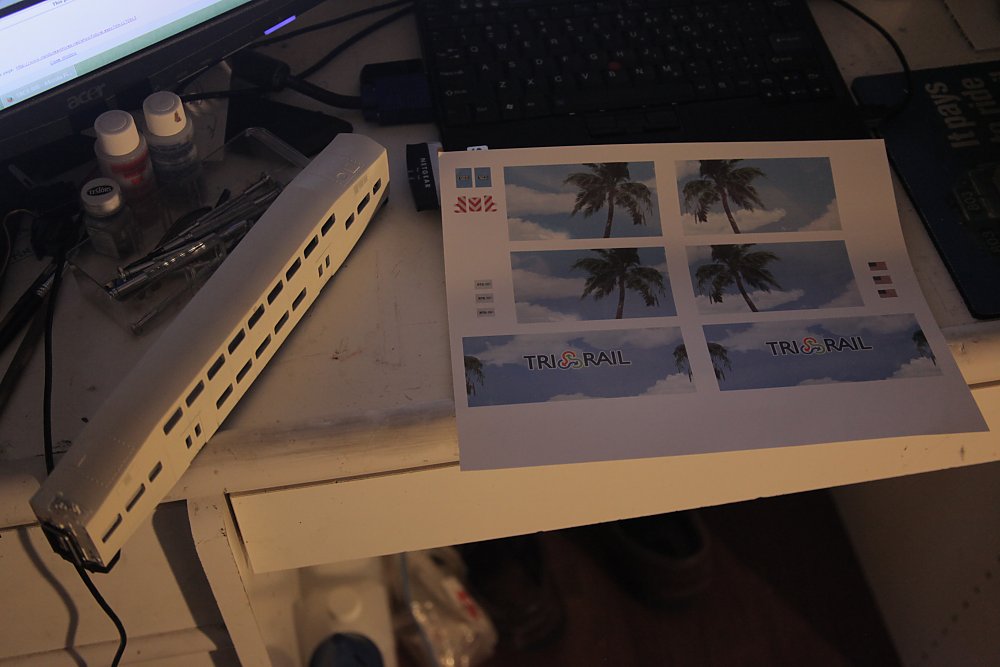 -Kurt |
|
|
|
Post by cudak888 on Jul 30, 2013 14:23:42 GMT -5
Quick update: The submerging trick only caused the decal to curl under itself at all edges during application.
The second try was more successful; I soaked the decal a bit more than usual to ease off the glue, then slid it on the side. Unfortunately, some of the ink worked its way off as well during this, but it blends with the clouds enough that I should be able to hide it. Lucky...
-Kurt
|
|
|
|
Post by redneckwes on Jul 30, 2013 17:42:56 GMT -5
Ambitious bit of decaling there Kurt, I think you are on the right track though.
You are braver than I am, I had enough trouble with Southern tuxedo stripes.
Aaron
|
|
|
|
Post by cudak888 on Jul 30, 2013 20:48:01 GMT -5
Third time is the charm, but not before having a disaster fumbling the car and having it split on me. Spent most of the afternoon gluing (added some 5-minute epoxy this time around) and filling the roof. That said, this is what I have to show for it. Using Micro Set without Micro Sol seems to be a good rule of thumb on these cars: 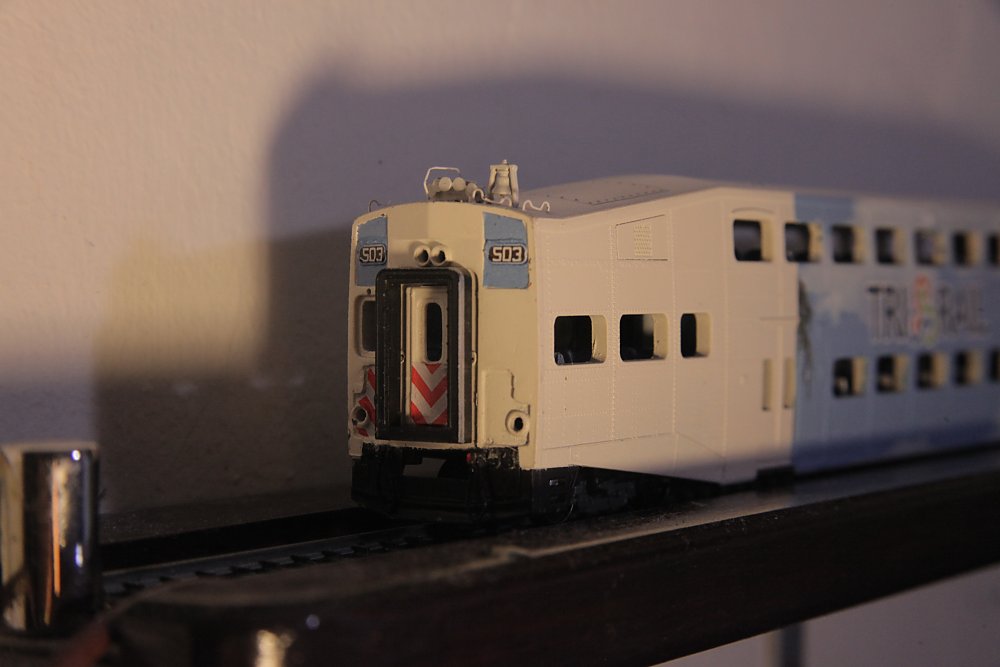 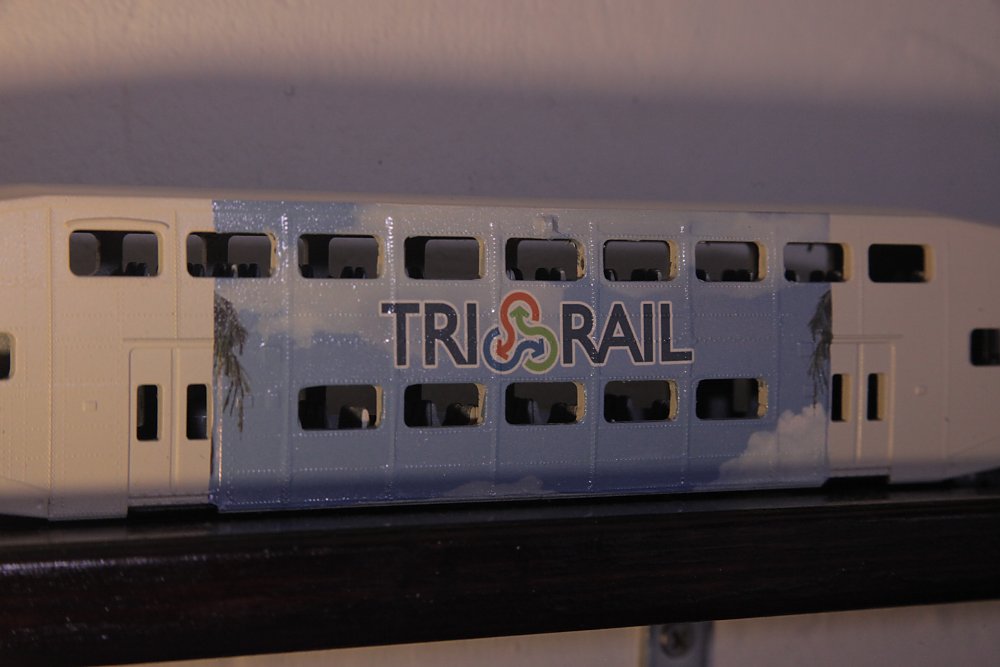 This time, I came prepared: 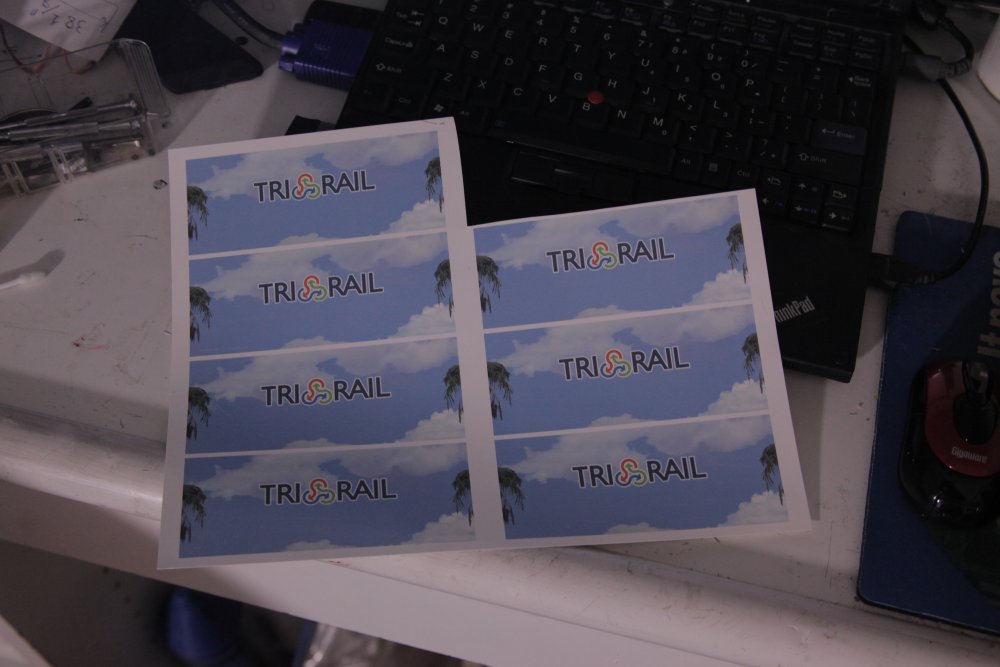 I've found that if I leave some of the white decal at the bottom (to curve under the car to the inside), I can get a much cleaner edge with less hassle. I'll do so for the next side, but some paint cracked on that side which turned out to be more visible than I thought once the car was painted. Filler + touch up before any decal goes there... -Kurt |
|
|
|
Post by cudak888 on Jul 30, 2013 22:58:30 GMT -5
One side on its way to completion: 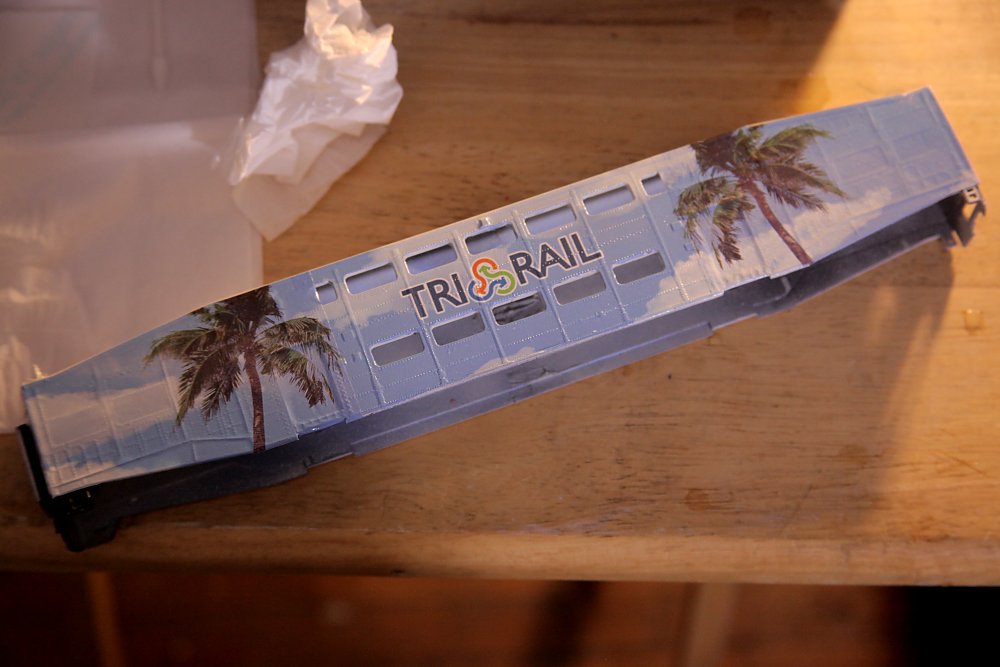 -Kurt |
|
|
|
Post by CP_8530 on Jul 31, 2013 1:51:30 GMT -5
Very nice! With all that rivet detail and the fact that the entire thing is a decal, you're probably going to have to spend a lot of time popping bubbles.
Hmm, since the blue looks consistent over the entire car, ever think of spraying the background sky blue, and doing the trees, logos/lettering and clouds as separate decals? It would simplify things greatly in that regard.
|
|
|
|
Post by cudak888 on Jul 31, 2013 8:57:03 GMT -5
Very nice! With all that rivet detail and the fact that the entire thing is a decal, you're probably going to have to spend a lot of time popping bubbles. Hmm, since the blue looks consistent over the entire car, ever think of spraying the background sky blue, and doing the trees, logos/lettering and clouds as separate decals? It would simplify things greatly in that regard. The results seem to be pretty bubble-free as of this morning. The window areas help quite a bit in dispersing air pockets. Stretching the decal around the door area appears to be the only difficult spot. There's one problem with the sky blue theory: I'm not printing with an ALPS printer. I've been there before, and I'm not keen on the resolution, despite the addition of white ink. -Kurt |
|