|
|
Post by John on Jun 16, 2012 13:52:04 GMT -5
Sounds great. Any pictures?
|
|
|
|
Post by Packer on Jun 16, 2012 18:09:38 GMT -5
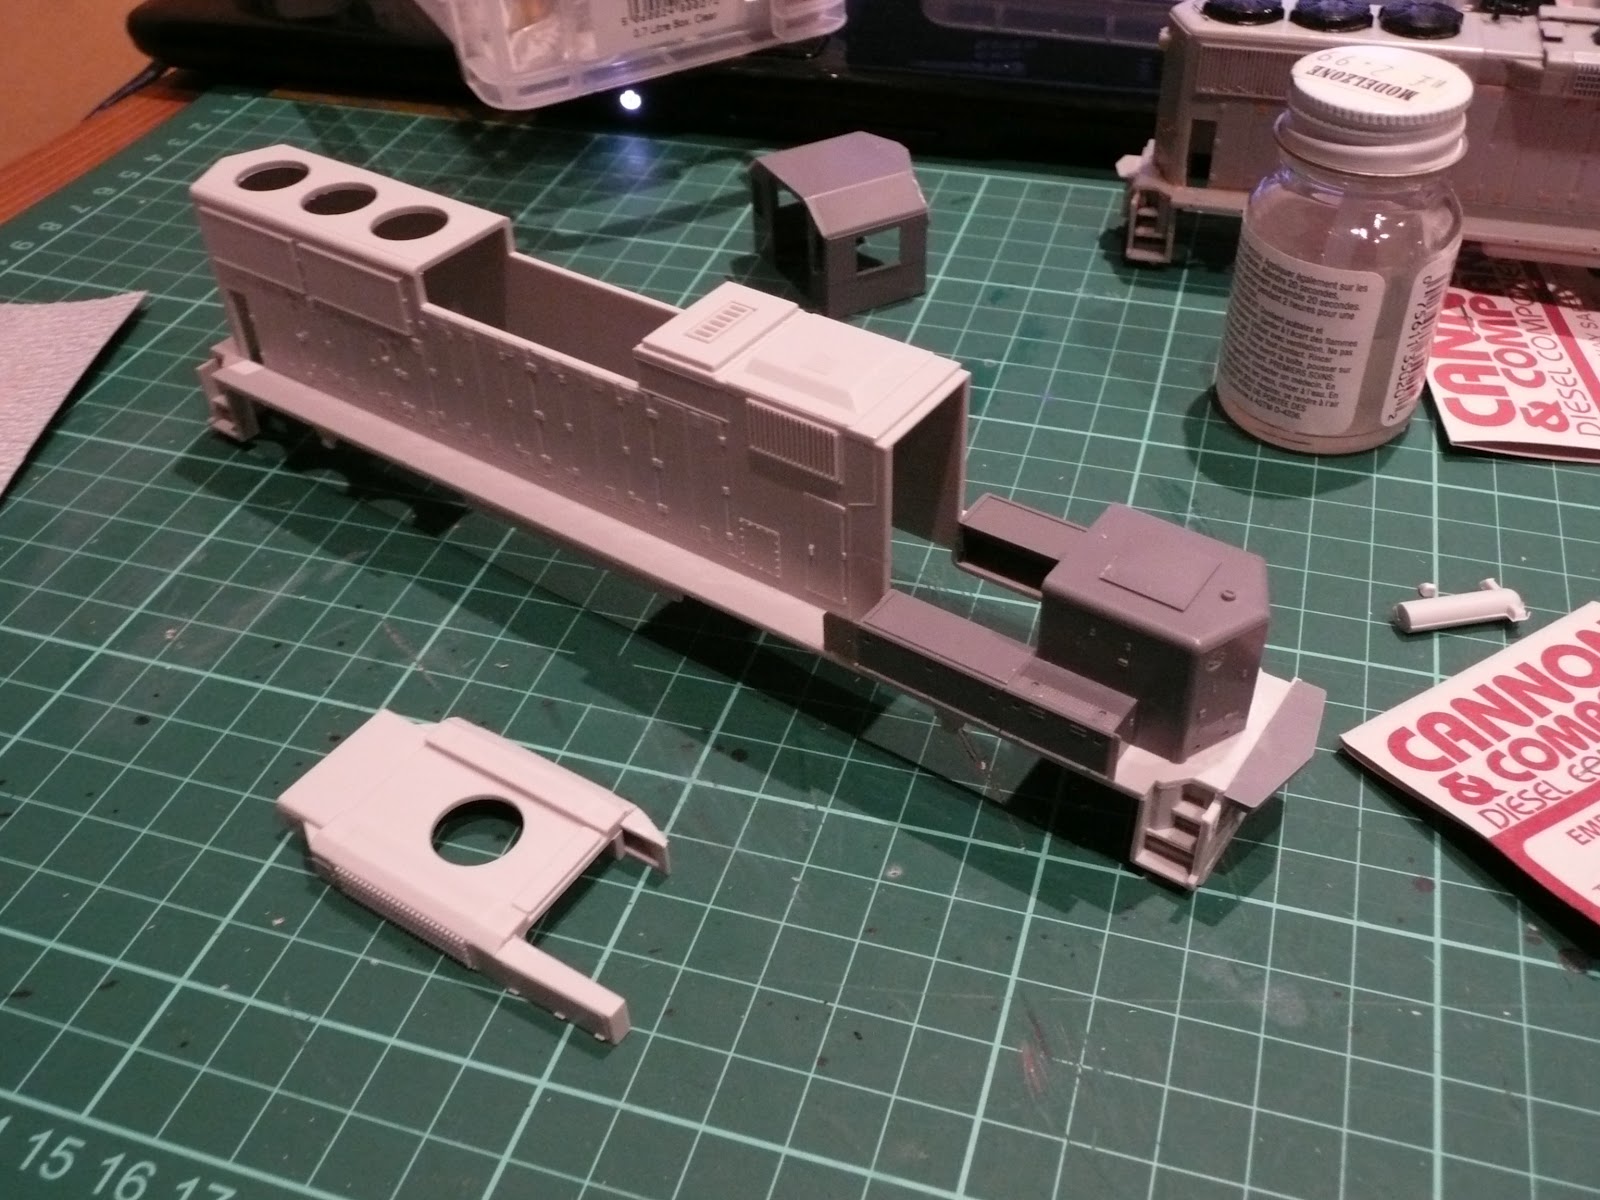
 A little filler piec to go under the atlas cab. A step will be placed here from the cannon set:  Here's everything pieced together: 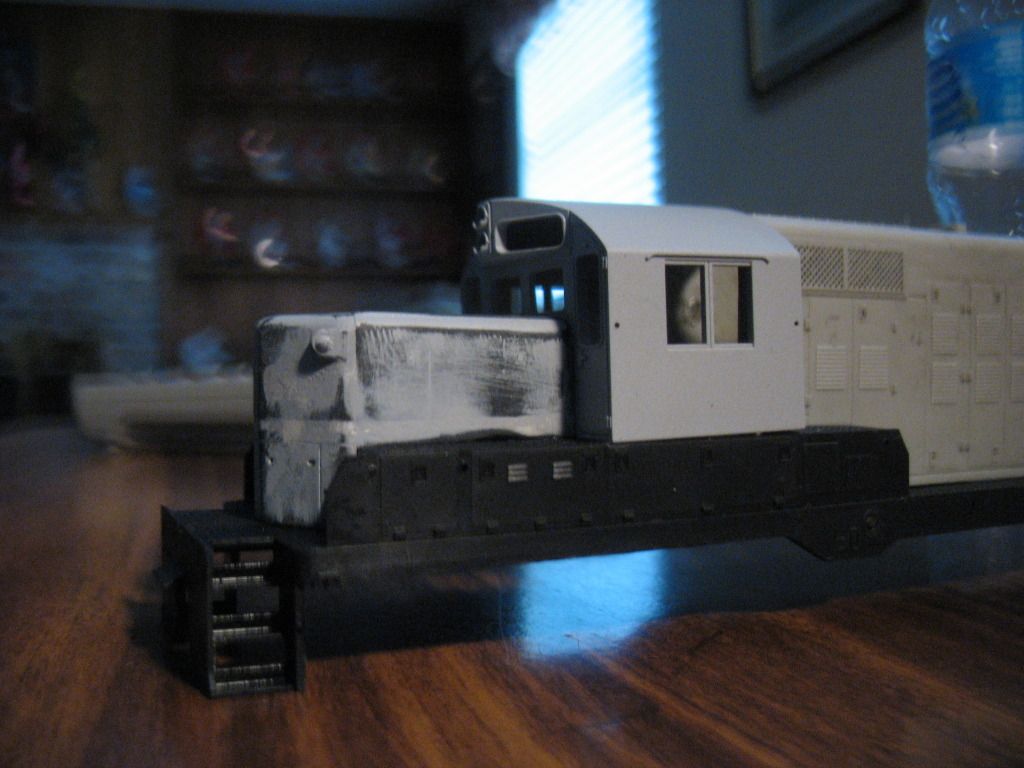 For some reason the nose looks like it has a reverse slope, but that might be due to all the tabs for it being broken. I may just wind up gluing the whole shell together since all the tabs are gone. Since I took these pictures I noticed a few problem areas and am addressing them as I type this (filler is drying). I also did some sanding to get the nose to be even front to back. |
|
|
|
Post by Packer on Jun 24, 2012 17:22:59 GMT -5
Today just happens to be one of those days... I learned 2 things today, but at the cost of a major setback.
I found out that the front windows from the AMB kit for an SD40-2 work for the desplaines insert.
So I stuck them in and they fit really nice. But then I noticed the bottom of the cab bowed out. I took the windows out and it was still the same. I found the culprit to be the seam on the right front of the cab where the DPH inset and the atlas cab meet. For some reason the seam was spreading apart.
I pushed it back together to apply some Ambroid Pro-weld to weld the 2 pieces together. Unfortunately the insert and the lower portion of the numberboard snapped. I mangaged to partially fix it.
So I applied the other body filler (nitro-stan's spot glazing) and It wound up turning the DPH insert into mush... I pulled the insert trying to save the cab, but I didn't know that filler had softened the cab like it did... So parts of the cab wound up turning into mush...
So I'm back to square 1 on the cab, but at least I know what to use for glazing and that the spot-putty is bad for plastics...
Guess I'll order some SD24 cabs and DPH inserts in a few weeks...
|
|
|
|
Post by Packer on Jul 3, 2012 13:19:07 GMT -5
My order from atlas and desplaines arrived recently and I've spent my day off making cabs:  The one on the right was an experiment to see if I could save the holes for the windshield wipers, but it didn't work out. I had bought a 3rd cab, but I found out that using my flush cutter to cut out the center portion under the numberboard wound up causing part of the numberboard to split. I couldn't repair but I bought one more than I intended on using anyways. Also in the Des plaines order were 2 sets of DA AAR coupler cut bars for this unit (2nd was for extra brackets because they were out of the set of brackets) and 2 sets of cannon steps. The only issue is the sticker covers the directions on the cannon steps, so I don't really know how to use them; much less make it the correct 4-step well (which was why I wanted the HH GP20 sills. The extra cab will be used for a future build, likely BN 1947 |
|
|
|
Post by CP_8530 on Jul 3, 2012 20:07:40 GMT -5
For some reason the nose looks like it has a reverse slope, but that might be due to all the tabs for it being broken. I may just wind up gluing the whole shell together since all the tabs are gone. Since I took these pictures I noticed a few problem areas and am addressing them as I type this (filler is drying). I also did some sanding to get the nose to be even front to back. What I did with a few of my P2K Geeps whose tabs broke was replace them with metal tabs bent from wire. I drilled 2 holes into the bottoms of the nose/hood sides and glued them in place. It works quite well, and allows you to remove/add the part freely. You just need to be careful not to drill through the sides. That aside, it looks like you're off to a good start! |
|
|
|
Post by gnsteve on Jul 4, 2012 23:48:12 GMT -5
How quickly are going to tackle the steps? I've done three 3 to 4 step Proto Geep conversions and am going to do several more. It's not very complicated but it does involve some work. I don't have any pictures yet so if your project is several days off, I could put together a show and tell sooner than I had planned.
Steve
|
|
|
|
Post by Packer on Jul 5, 2012 12:35:57 GMT -5
How quickly are going to tackle the steps? I've done three 3 to 4 step Proto Geep conversions and am going to do several more. It's not very complicated but it does involve some work. I don't have any pictures yet so if your project is several days off, I could put together a show and tell sooner than I had planned. Steve It would depend how long the nose and cab take, as some of the cannon steps have to be used there. I'd love to see how you do them. I'm a bit lost on how to. Edit: I got the shells in primer, only for some foliage from a tree to fall into the wet primer. So they are soaking in alcohol and will re-prime later. |
|
|
|
Post by Packer on Jul 14, 2012 20:43:16 GMT -5
Man I haven't touched this thing in 2 weeks?
I managed to finally get both cabs straightened out and stripped. I'll be doing the final work on them and the priming tomorrow. I also touched up the nose, but am thinking about starting over on it. I seem to have lost the "sharp" vertical edges on the nose, but it might not be too bad. I'll make a desicion when I get the nose ironed out.
|
|
|
|
Post by conrail45dash2 on Jul 27, 2012 10:51:53 GMT -5
I did two chop nose Conrail GP10's, on one I used the proto cab and carefully cut out the front wall and modified a cannon front wall and installed it, and the other I used a complete cannon cab and added several layers of styrene to the roof and slowly sanded it to match the rounded contour of the GP9 cab
|
|
Rudy Garbely
Chairman
Modeling Conrail from 1976-1979 in HO scale.
Posts: 1,073
|
Post by Rudy Garbely on Jul 28, 2012 7:07:40 GMT -5
I've heard you could also use two Cannon cabs - use the switcher cab for the rounded roof and use the normal GP/SD cab for the walls and windows and just fill in the angled contours on the front and rear walls to match the rounded roof.
|
|
|
|
Post by icghogger on Jul 28, 2012 10:30:45 GMT -5
I've heard you could also use two Cannon cabs - use the switcher cab for the rounded roof and use the normal GP/SD cab for the walls and windows and just fill in the angled contours on the front and rear walls to match the rounded roof. Rudy, do you know of anyone who has tried this?? I would love to see how it turns out. |
|
|
|
Post by slowfreight on Jul 28, 2012 16:57:41 GMT -5
Can you measure the length and width of the DP Hobbies window openings with a caliper? I have the Atlas SD26 cabs but only the glazing for the SD24 cabs, and I'm trying to find an AMB set or something similar that will fit the Atlas window openings.
|
|
|
|
Post by Packer on Aug 4, 2012 13:26:08 GMT -5
And for a slight update. I got the cabs cleaned up, just need a good primer to use on them. I'm out of the SEM primer I've been using.
Rudy, haven't tried that one before. I would like to see some pics of one done that way though.
Slowfrieght, The DPH windows are about .31 wide and .18 tall. The front windows from the AMB set for the athearn BB SD40-2/GP38-2 work in them.
|
|
|
|
Post by diesel on Aug 15, 2012 17:59:29 GMT -5
Hey Packer, glad to see you're chipping away at this! I don't know of anyone else who has done a GP5.
Great Scott Rudy, I'm gonna attempt that for the GP10 when I get back to it. That stalled because my ill thought out plan to fix the cab didn't work.
|
|
|
|
Post by Packer on Feb 27, 2013 6:04:42 GMT -5
Wow, this has been sitting for a while... I found the unit on the bench and am having another go at it. I figured out the step well thing. I had brackets cut (a guy on another forum had a vinyl cutter) that were designed from the actual blueprints for BN GPs. The only issue I had was that the progam couldn't get it exactly right. So at most it's about half a scale inch off... Note, this isn't 1365, but the P2K GP7 I picked a couple of months ago.    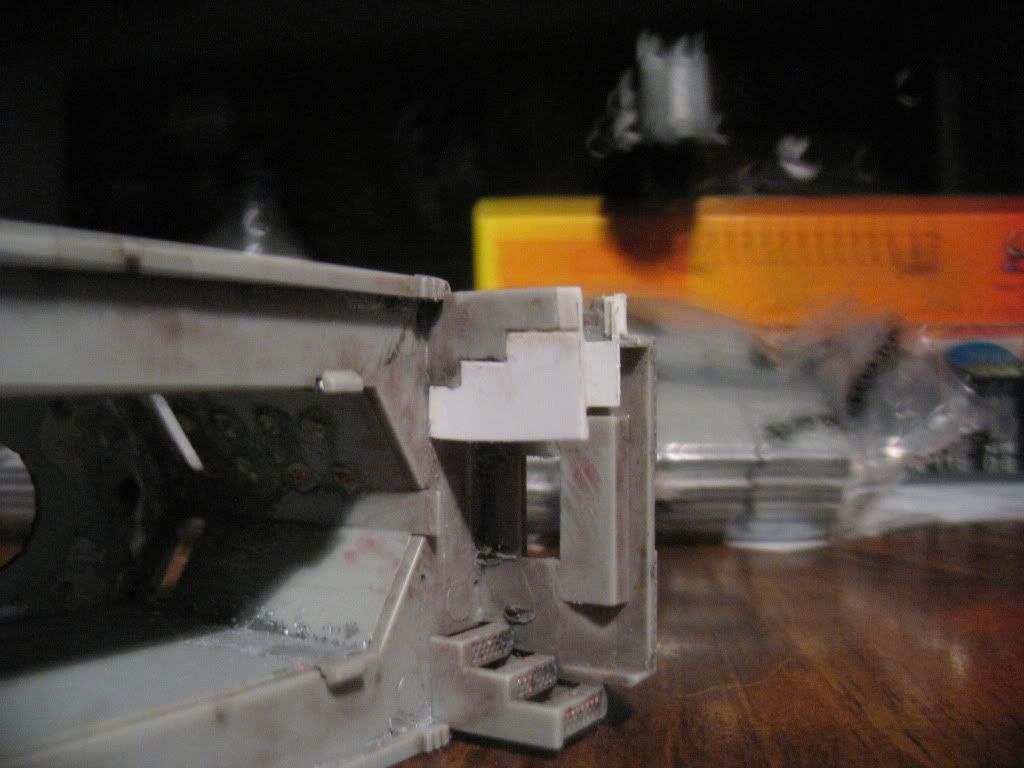 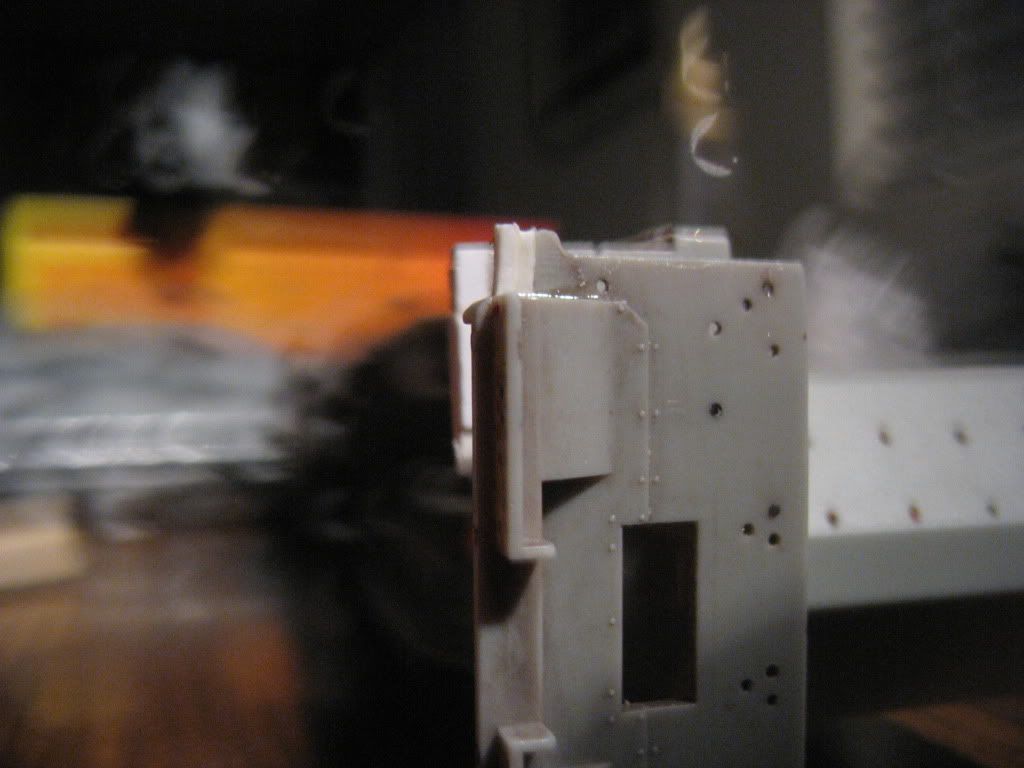 Still need to order some more stuff (BLMA template, tichy grabs, winterization hatch, horn, antennae, etc. |
|