Post by CanadianRails43 on Aug 1, 2015 15:32:13 GMT -5
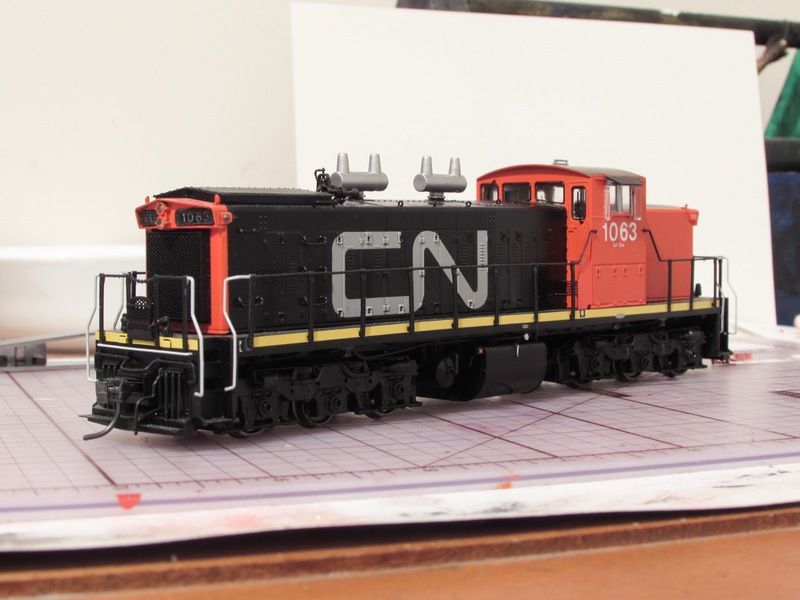
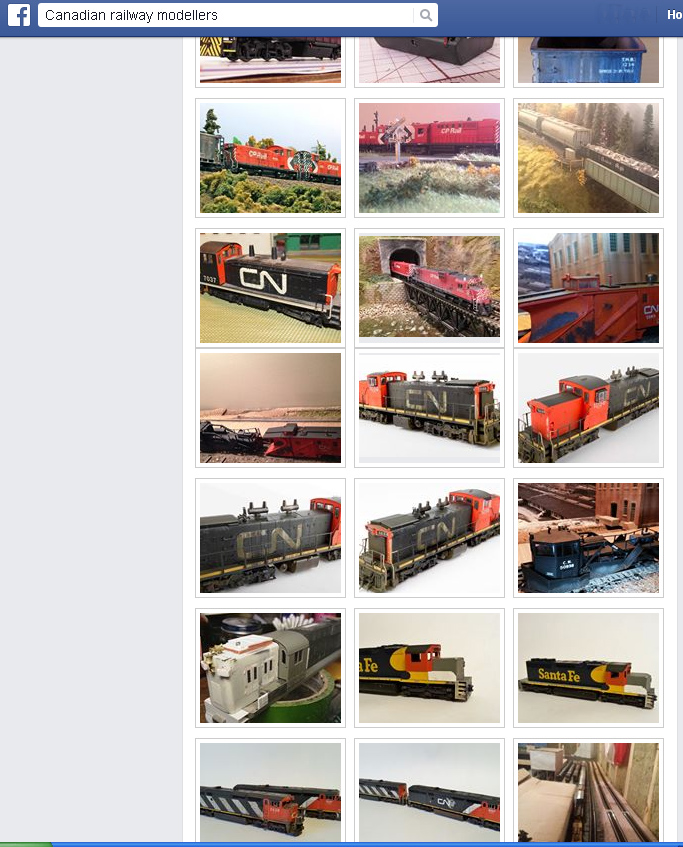
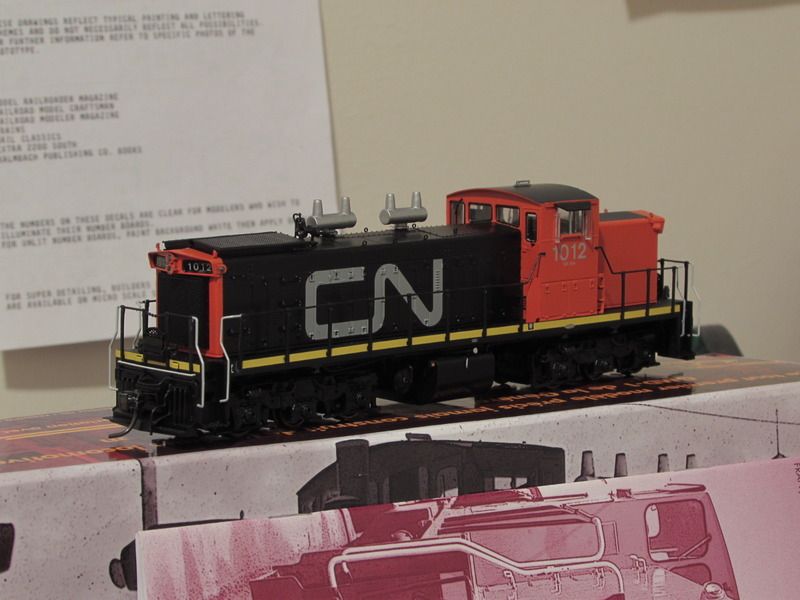
Here's one of the newer locomotives in my fleet, and my only CN unit for now. My first ever Rapido Trains locomotive (not my first product from them though) is this CN GMD-1. Out of the box, factory painted as CN 1012 with the three axle A1A trucks.
Decals
I am very impressed with the model. However, the number it held was not running smooth with me. It didn't fit my layout era for one, and the decals seemed too dark.
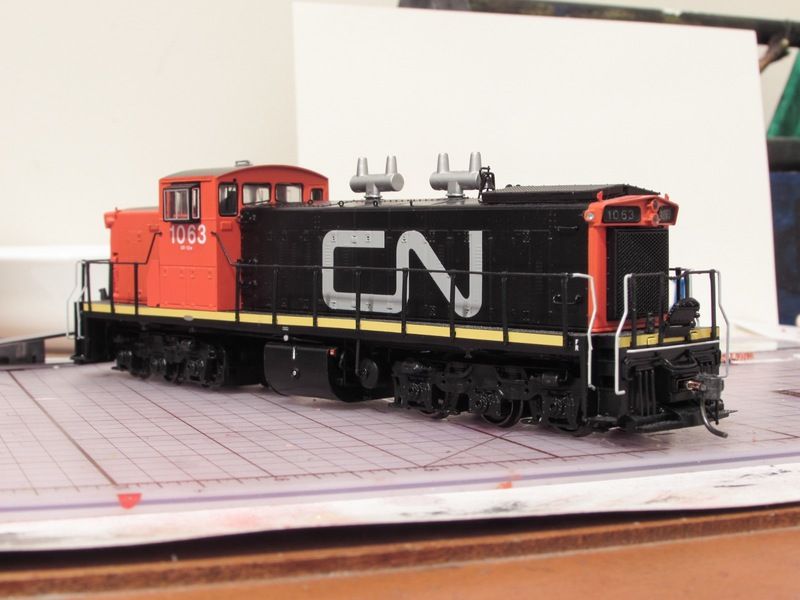
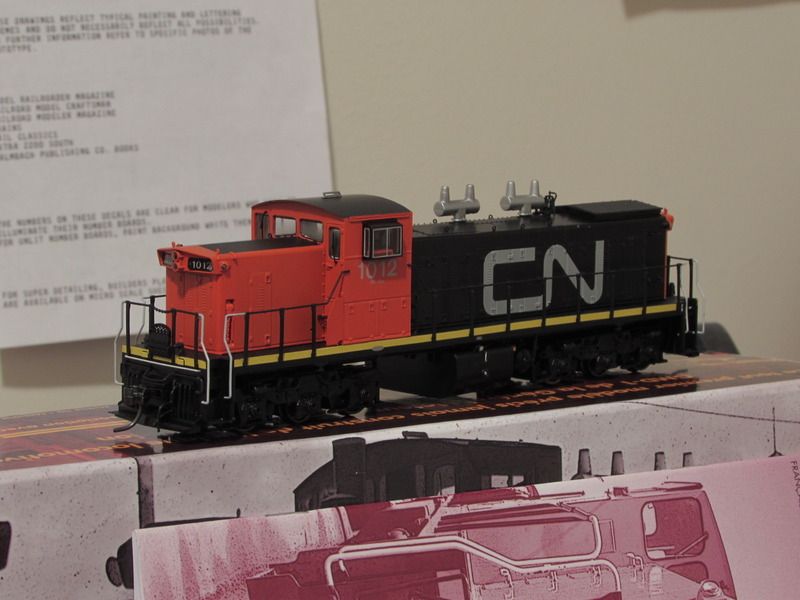
Rapido luckily supplied a sheet of decals with different numbers, model class designations, and other symbols to meet the needs of many modelers who may want to renumber the model to what they desire. The decals are also white, as they should be, which will serve as better replacements for the stock numbers.
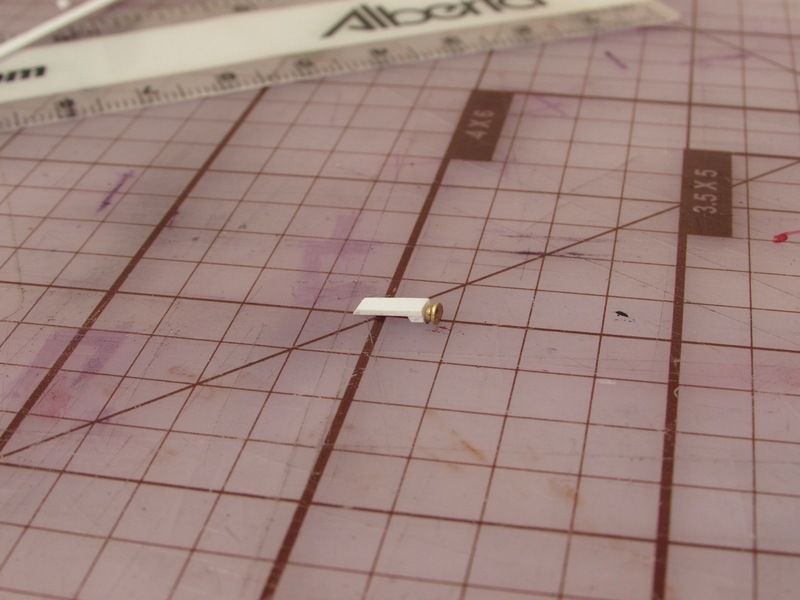
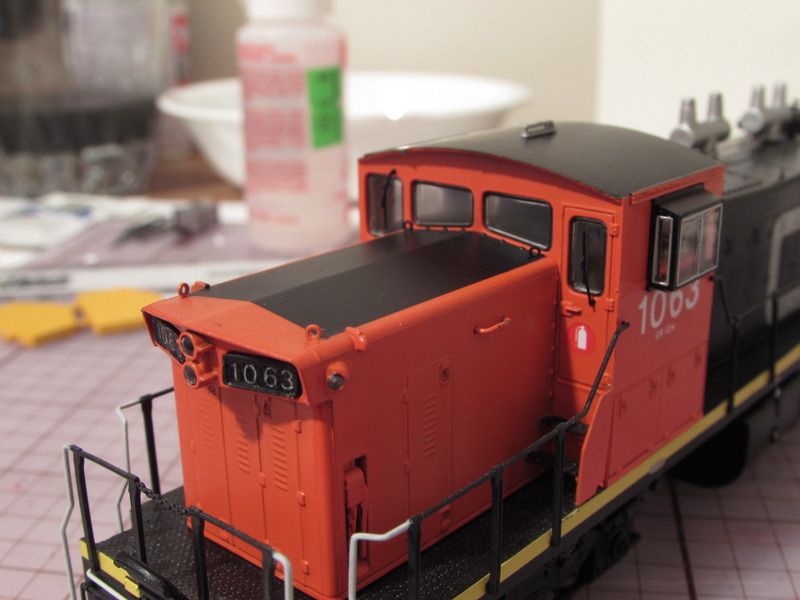
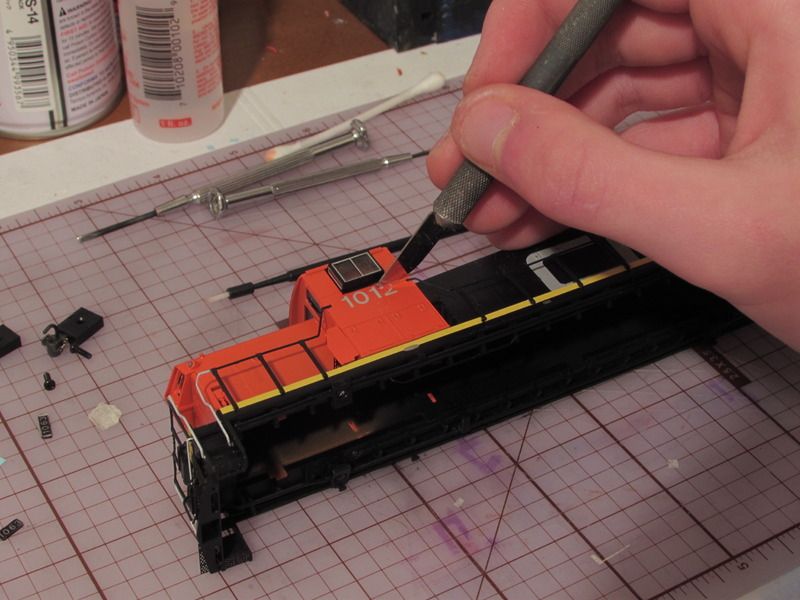
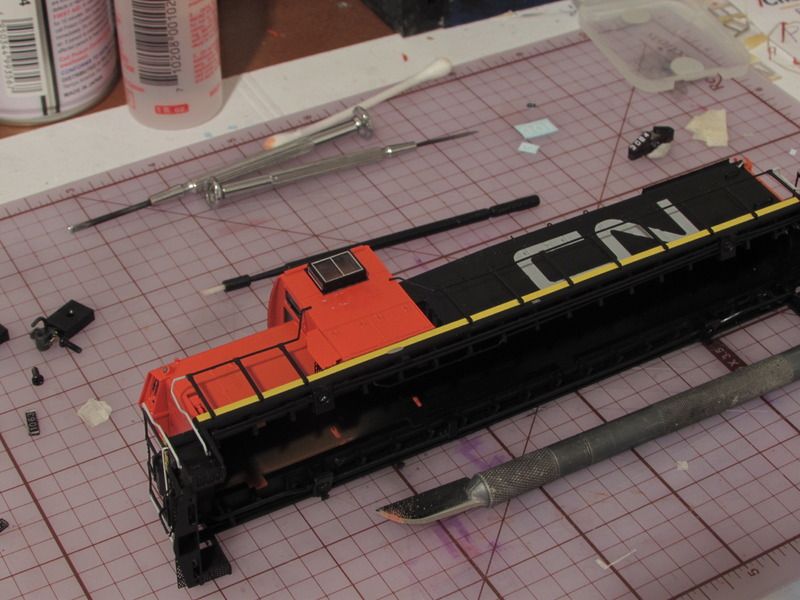
In order to remove the factory decals, I had to decide my strategy of getting them off, without damaging the paint or details. I went with a rounded X-acto blade and gently scraped the decals off, only scraping in the downward direction to decrease the chance of removing too much paint.
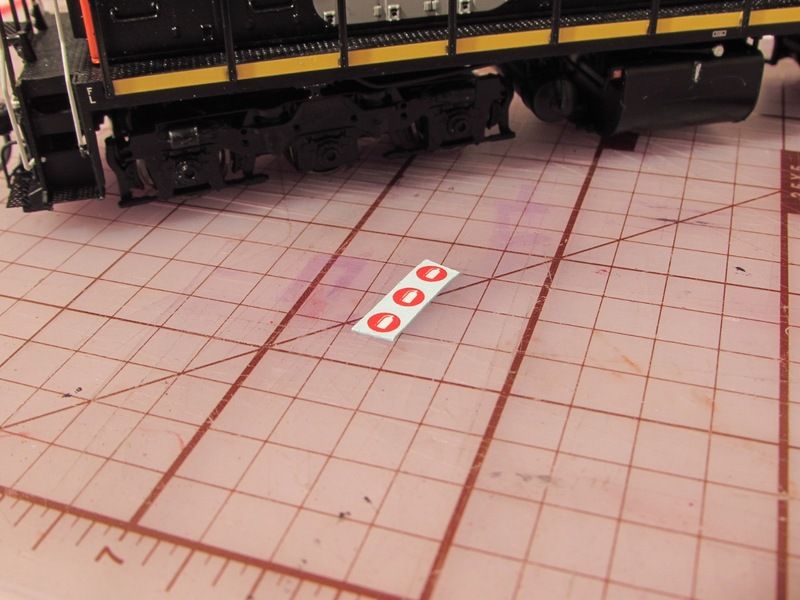
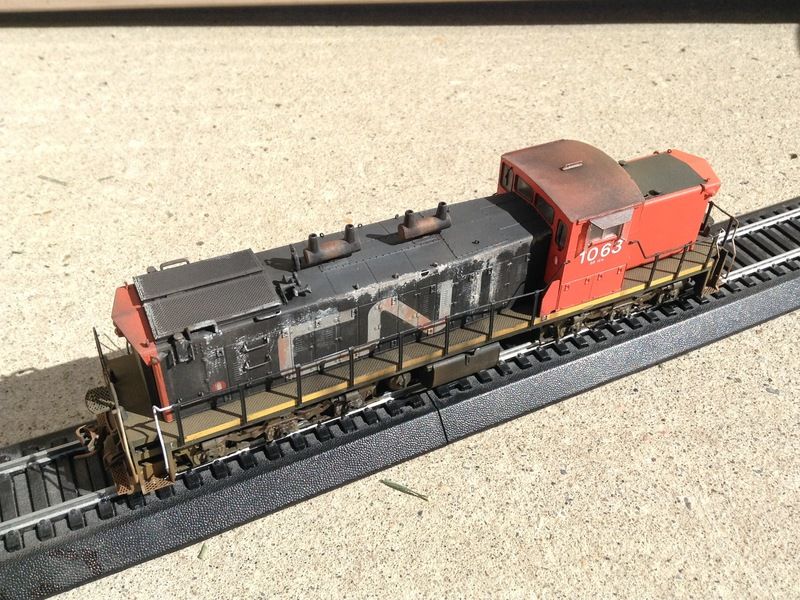
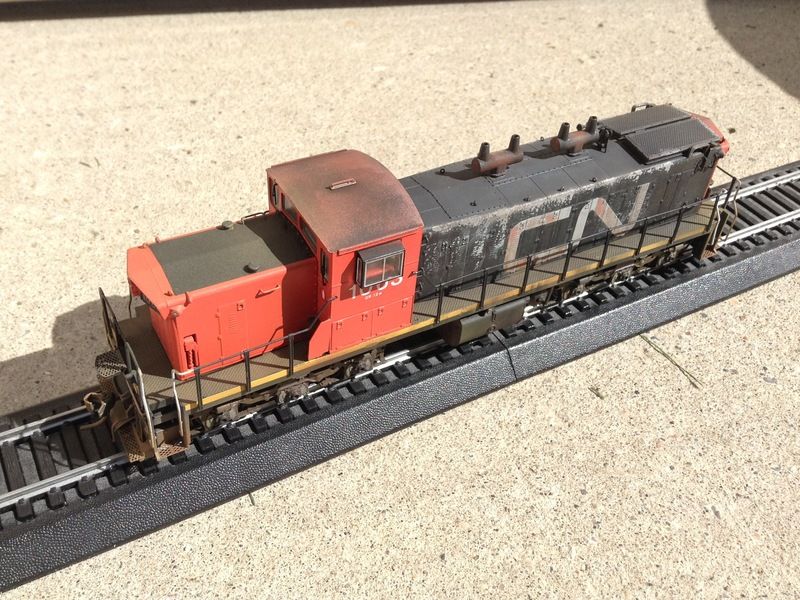
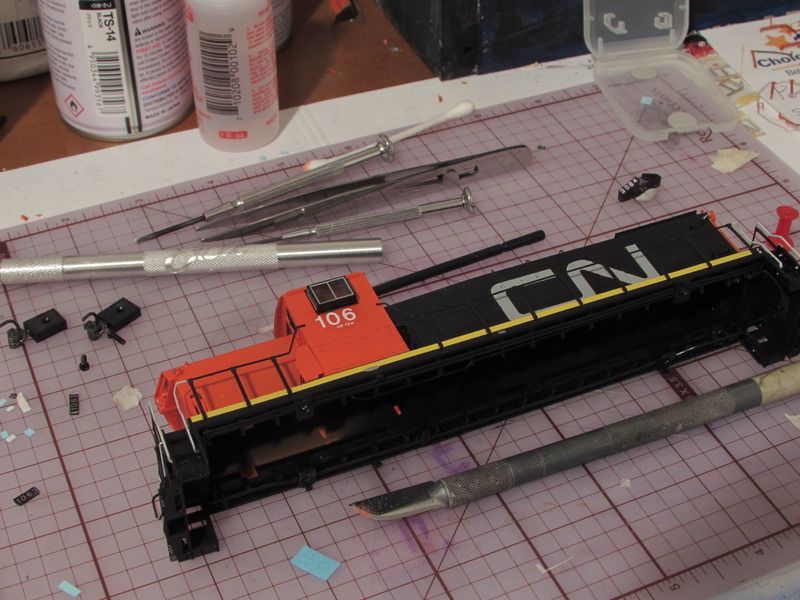
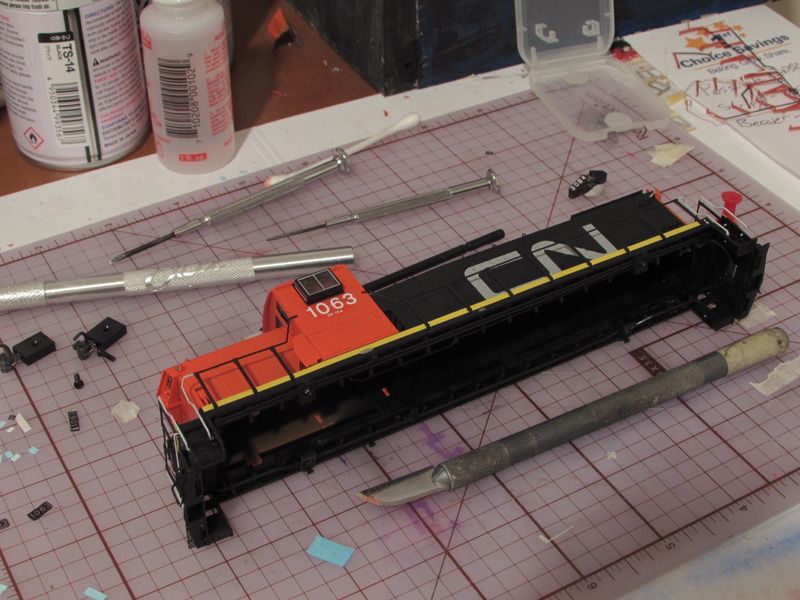
After the factory decals were removed, (I did leave little remnants of original decal as a guide to placing the new ones) I got the numbers I needed off the decal sheet, taking the 106 from a already set 1060 with the same model class I needed below it, GR-12w. Then I nabbed 3 from the optional 0-9 number list. Applied them, and all finished! Numberboards were also finished after some trial and error.
Details
Now to move onto details. Your probably saying "Braedan, it has enough detail already! Why would you want more?!"
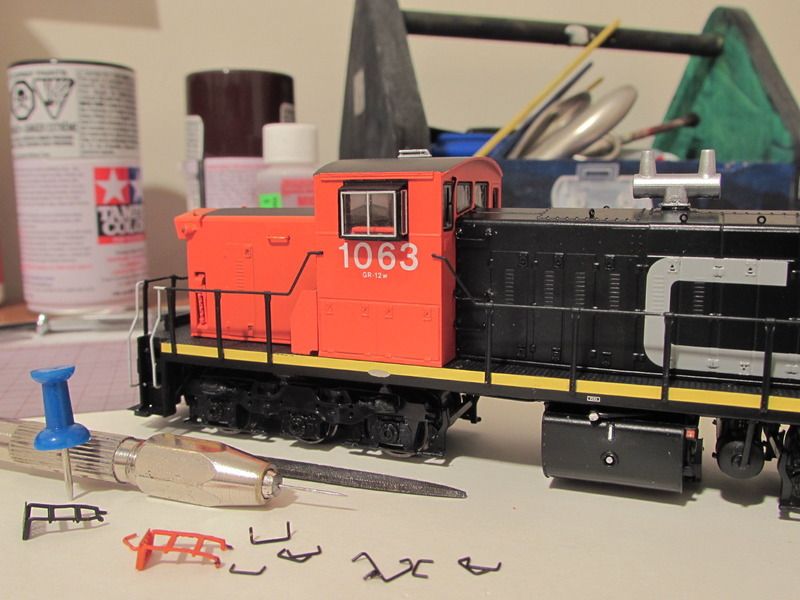
Well my curious modelers… In order to get a model closer to the prototype, you need to go big. Luckily, Rapido supplies a packet of optional prototype details to fit certain units in certain eras. Details such as shorter rad grills, grab irons(factory painted in both red and black), truck-mounted sandboxes, rerailers, steps, and more are in this little packet.
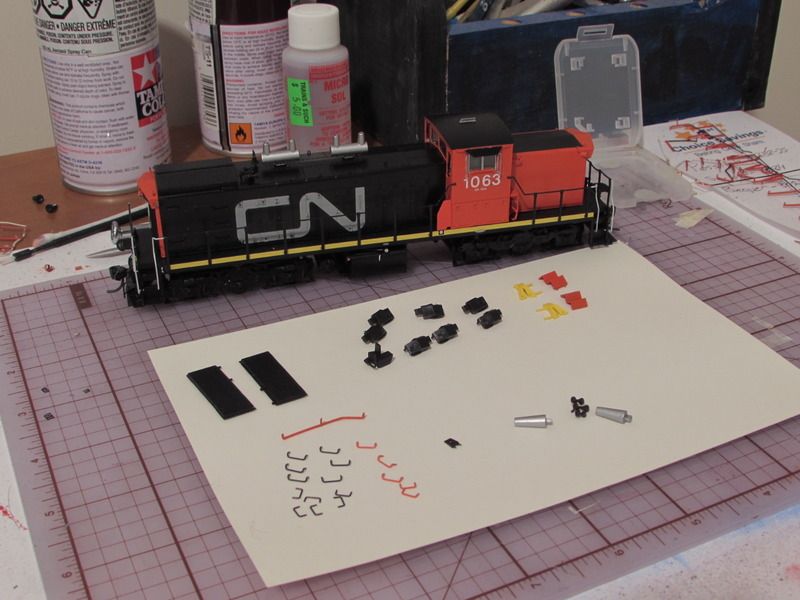
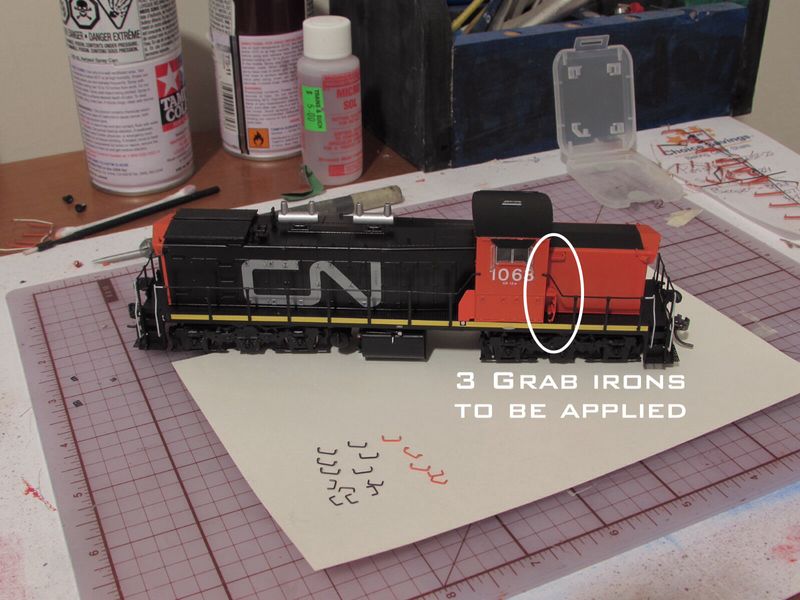
Basically, I only want grab irons for now. I need to add a total of seven grab irons that were on the prototype in my layout era. You can check the links to prototype photos I'm using as references.
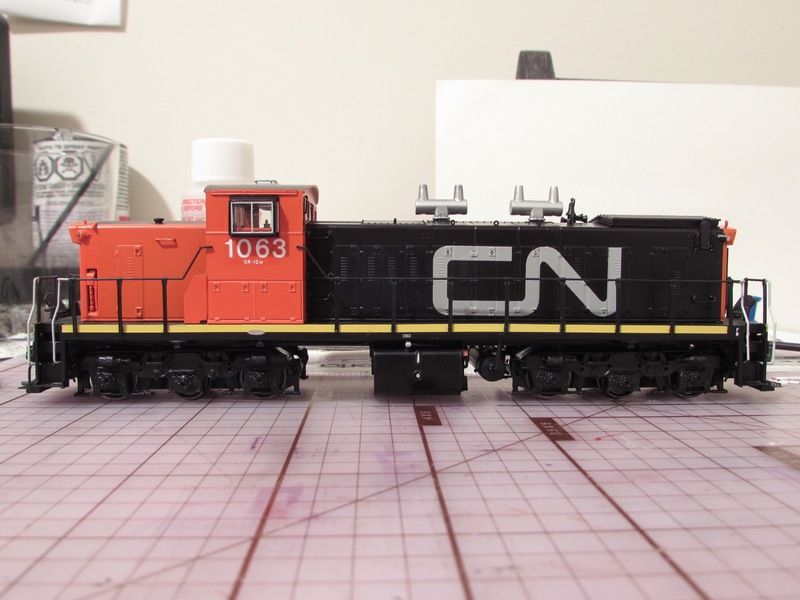
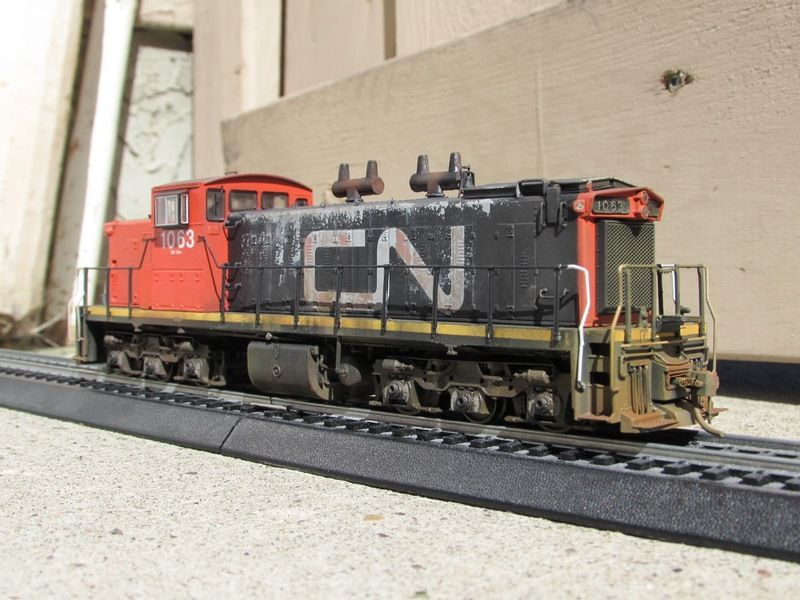
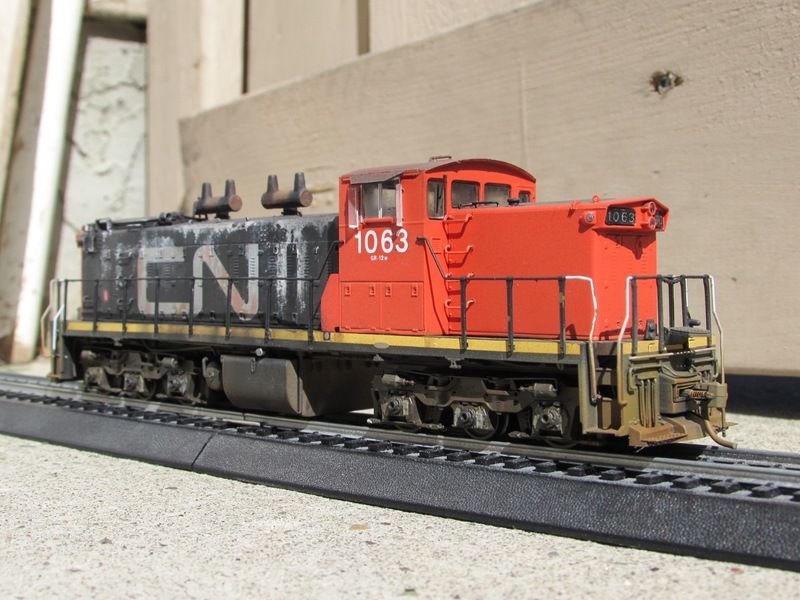
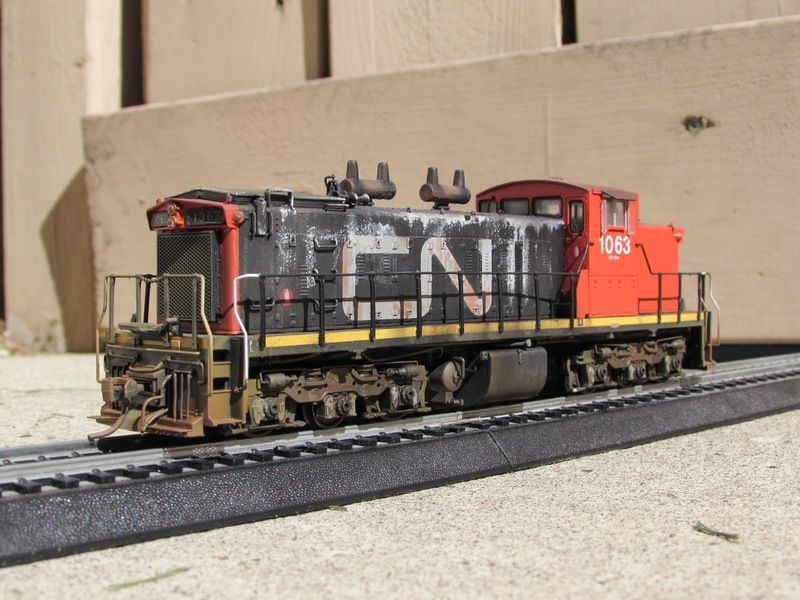
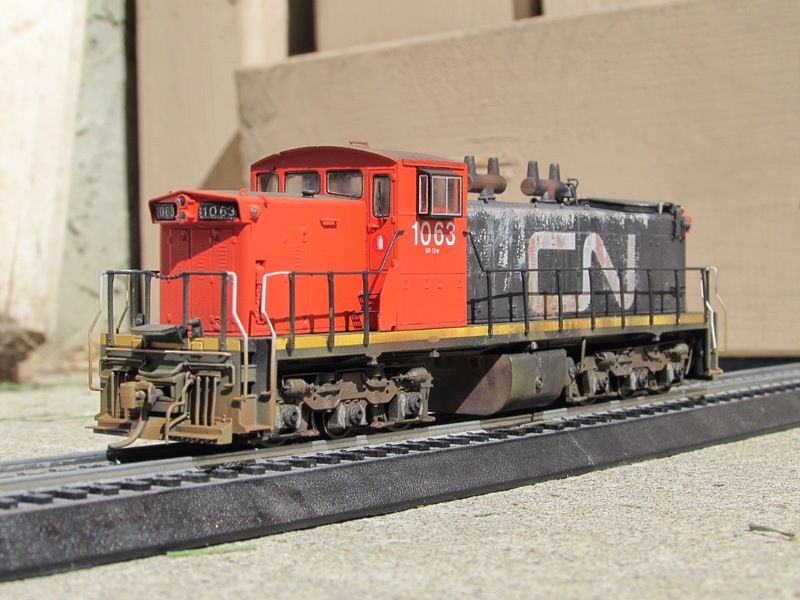
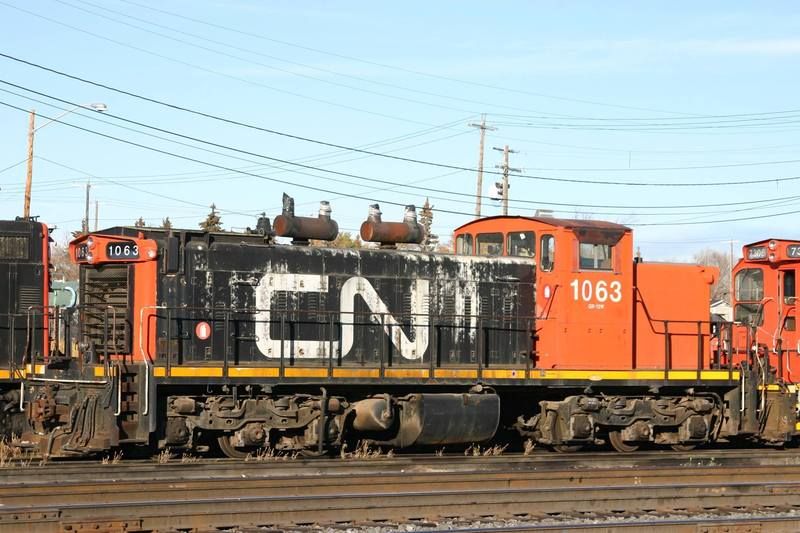
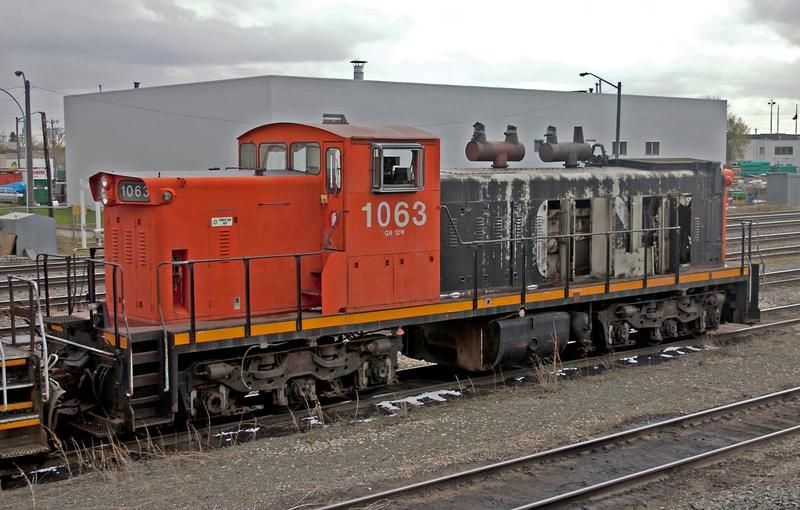
CN 1063 - Rear Left view
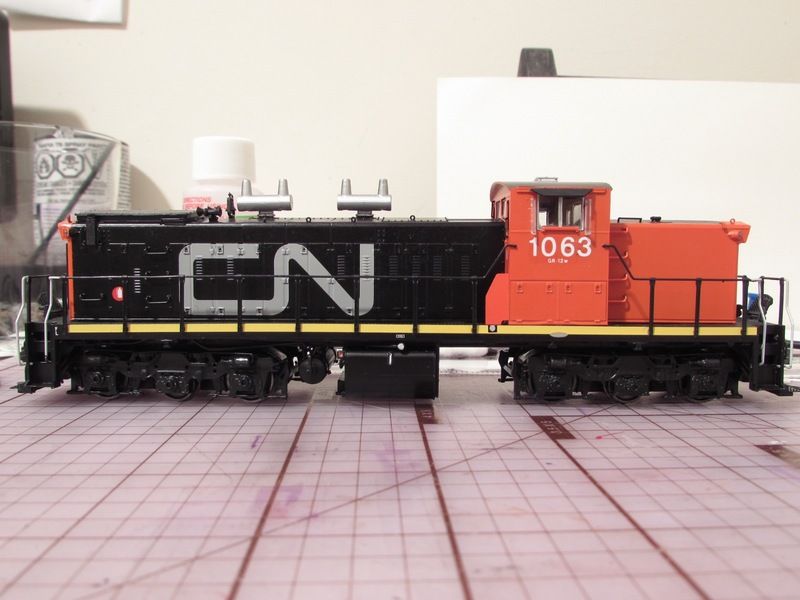
CN 1063 - Engineer Side view
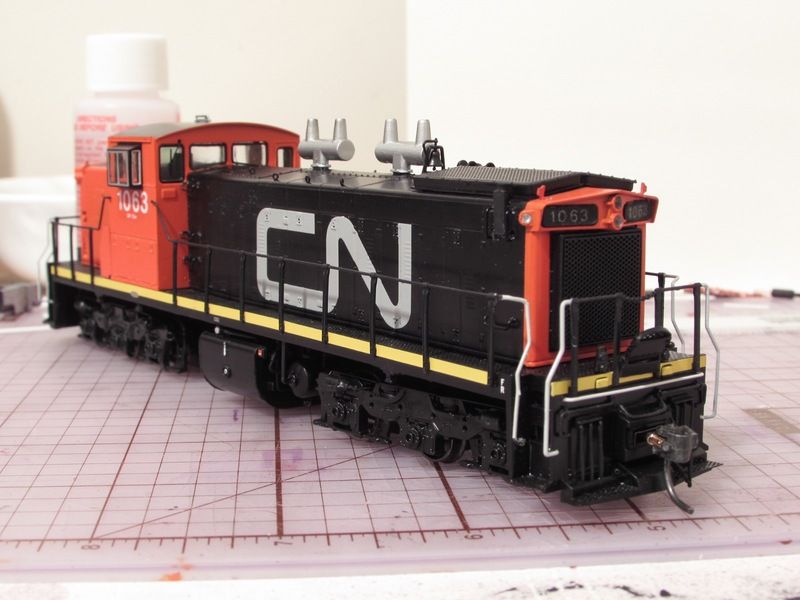
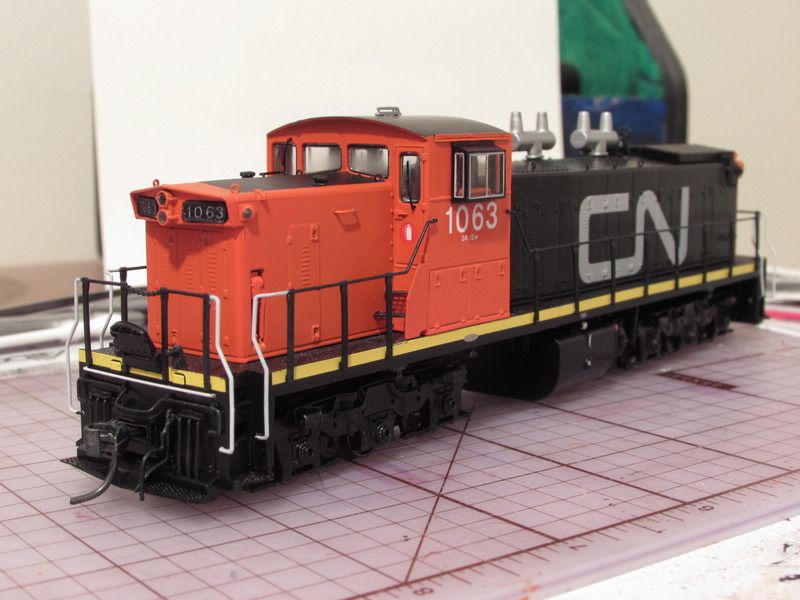
CN 1063 - Front Right view
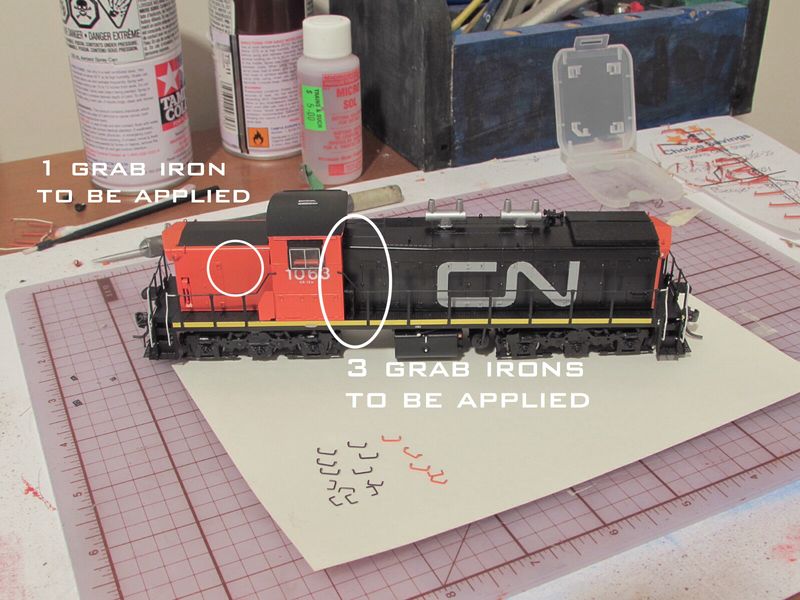
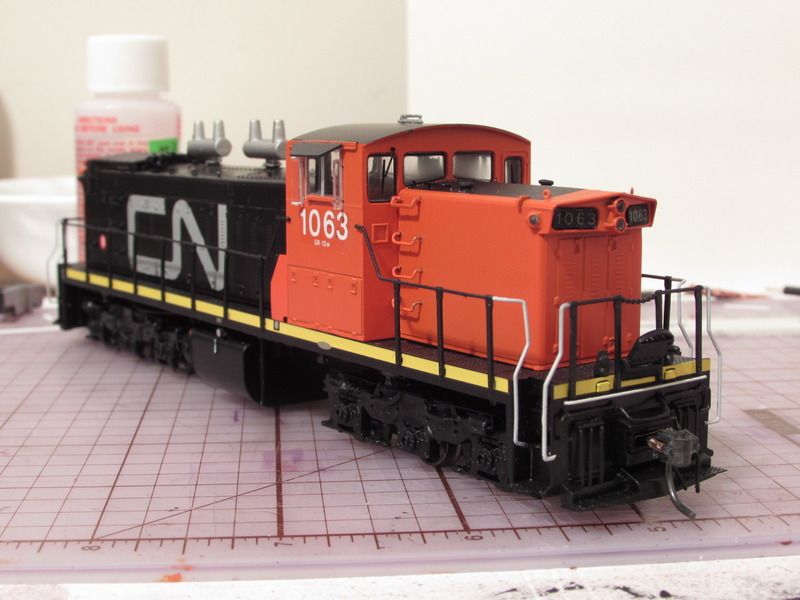
Before drilling the holes, I make tiny dimples with a thumbtack to mark where to drill. Once I'm all straight and square, I can begin drilling.

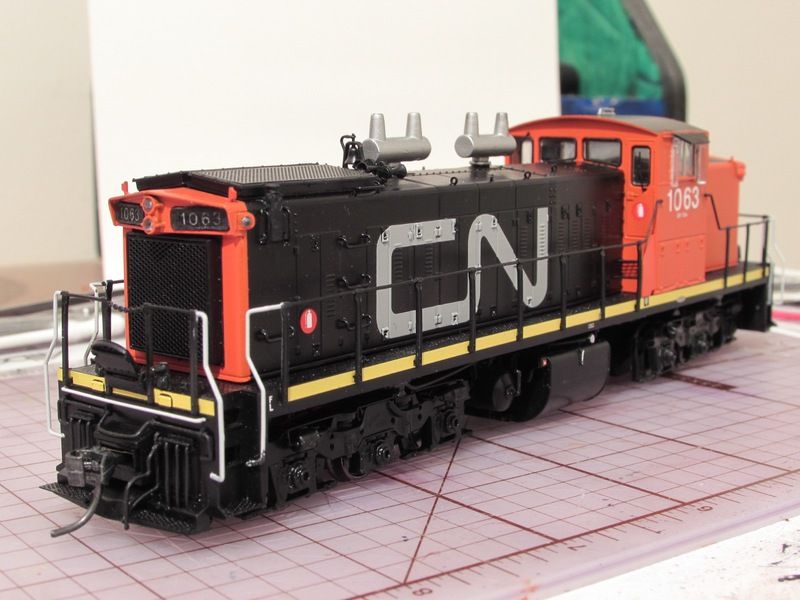
And the final look. Those black grab irons blend in quite well so they are hard to see.
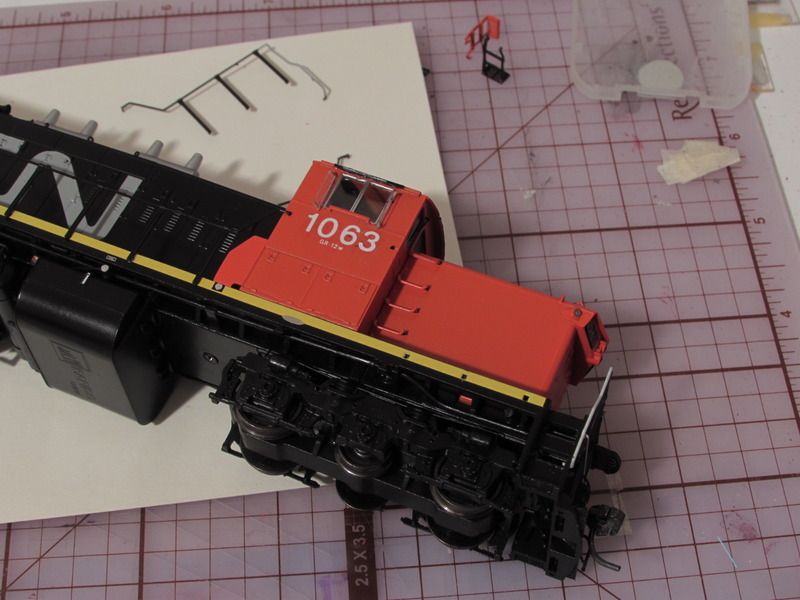
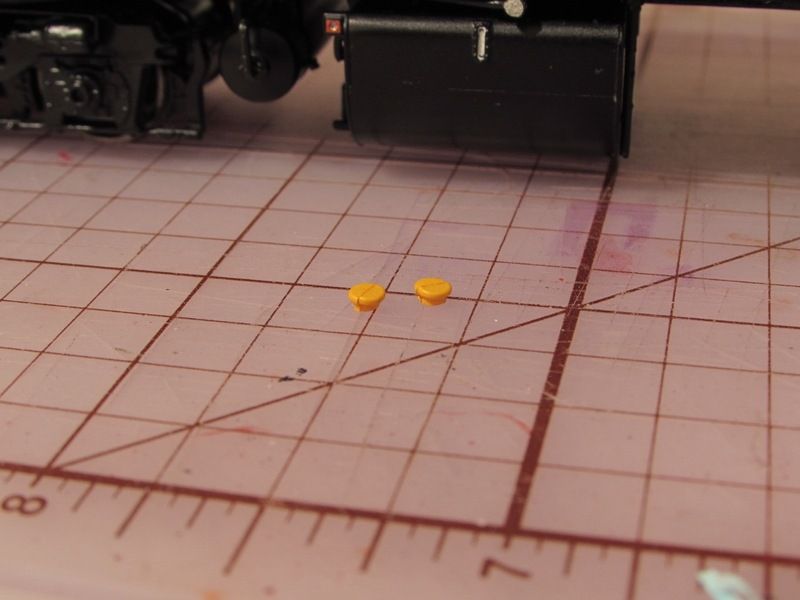
I still have more to do, like add the sandboxes mounted at the front end of the unit. Oddly, these sandboxes are not supplied with the optional details. So I will have to scratchbuild them. I will post most more whenever I get more detailing finished.
Decals
I am very impressed with the model. However, the number it held was not running smooth with me. It didn't fit my layout era for one, and the decals seemed too dark.
Rapido luckily supplied a sheet of decals with different numbers, model class designations, and other symbols to meet the needs of many modelers who may want to renumber the model to what they desire. The decals are also white, as they should be, which will serve as better replacements for the stock numbers.
In order to remove the factory decals, I had to decide my strategy of getting them off, without damaging the paint or details. I went with a rounded X-acto blade and gently scraped the decals off, only scraping in the downward direction to decrease the chance of removing too much paint.
After the factory decals were removed, (I did leave little remnants of original decal as a guide to placing the new ones) I got the numbers I needed off the decal sheet, taking the 106 from a already set 1060 with the same model class I needed below it, GR-12w. Then I nabbed 3 from the optional 0-9 number list. Applied them, and all finished! Numberboards were also finished after some trial and error.
Details
Now to move onto details. Your probably saying "Braedan, it has enough detail already! Why would you want more?!"
Well my curious modelers… In order to get a model closer to the prototype, you need to go big. Luckily, Rapido supplies a packet of optional prototype details to fit certain units in certain eras. Details such as shorter rad grills, grab irons(factory painted in both red and black), truck-mounted sandboxes, rerailers, steps, and more are in this little packet.
Basically, I only want grab irons for now. I need to add a total of seven grab irons that were on the prototype in my layout era. You can check the links to prototype photos I'm using as references.
CN 1063 - Rear Left view
CN 1063 - Engineer Side view
CN 1063 - Front Right view
Before drilling the holes, I make tiny dimples with a thumbtack to mark where to drill. Once I'm all straight and square, I can begin drilling.
And the final look. Those black grab irons blend in quite well so they are hard to see.
I still have more to do, like add the sandboxes mounted at the front end of the unit. Oddly, these sandboxes are not supplied with the optional details. So I will have to scratchbuild them. I will post most more whenever I get more detailing finished.